Stalled progress
My Ahsoka lekku did not cure as well as needed. So I’m going to see if I can tidy the belt template and start tooling leather.
My Ahsoka lekku did not cure as well as needed. So I’m going to see if I can tidy the belt template and start tooling leather.
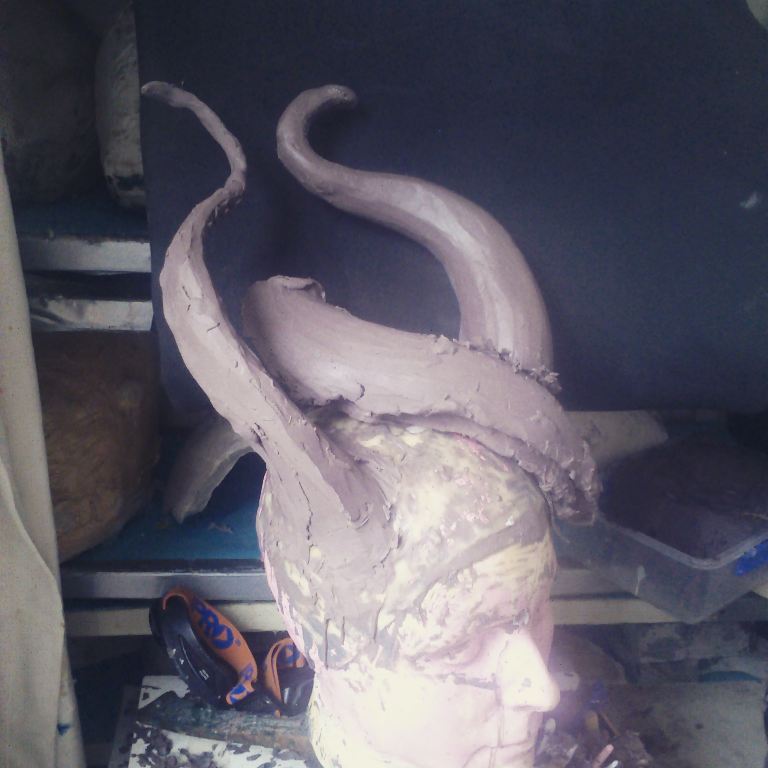
New horn frame with some clay added back. The aim is that this will be easier. Also when scanning I only need one horn, thank goodness.
But I am nearly back to where I was. I decided that I was too annoyed by the short back lekku to be happy. Side track to making a new stand for sculpting and I now have wiggly lekku- one attached two on the floor.
And so much mess.
So much.
But the back lekku has a layer of latex, there is latex grouting on the new montral seams (actually an older cast that was still in pieces) and I also templated a headband for her.
I mainly use Iinstagram right now- shared to twitter, facebook page, and tumblr. I used to be able to use a handy plugin to import the 750x750pxl images into my media, but can’t now. So it’s a case of remembering to batch convert a whole pile of images as well as crop them before updating 🙂
I also went through all my digital photos and put them in folders month by month, year by year. Did you know you can use command to create hundreds of files? To get to that point for yearly files has to be done year by year but basically, this works:
I changed the theme here. One small issue with my fonts (can’t seem to call on the google fonts), but it loads faster. Not in love with the blog page layout- that may be a case of changing preview image sizes. Or seeing if I can tweak the layout. But it’s clean and as close the theme I most love. But it loads faster and even editing here is a bit faster.
There have been things happening, but they deserve their own posts. While waiting for my iron and Berocca to kick in there will be an attempt!
I had a good start yesterday. Having experiemtned with many tools now I will be able to do a poper tutorial on making best use of latex under different circumstances.
I’ve used filler, paints, brushes of all kinds, and now it’s finally paying off. My lekku are looking good and my montral can be trimmed down today 🙂 I tried to get video of the trimming process but had instagram fail. so to the camera and tripod!
I can also get some photos the laying up in progress 🙂
I have started my new cape so I thought I’d quickly set out the measurements of dye needed.
For a 2.5m long cape (2 1/2y+10″, 1m is 1y+4″):
Do this in two batches, do not be tempted to do it all in one go unless you have an industrial sized pot and oven!
5m of 150cm tulle/net (5y 20″ of 40″ wide fabric)
1 dye pack of iDye poly blue
2x Color enhancer (unless you have access to the colour enhancer sold separately (I wish I did!)
Stovetop
Stock pot
tongs
whisk
measuring jar (and two smaller identical containers)
bucket (2x if you want to save the dye)
Latex gloves
Additional: horsehair braid for hem will also tint to match.
Pre-wash the net to remove any shop dust or sizing that may be on the fabric. I often use a liquid dish soap for this. It creates a lot of foam but it really strips any oils off. Dry fabric.
Divide the length of fabric into two 2.5m (2 1/2+10″) lengths.
Dissolve the dye in a glass measuring jug use about 2 cups. Whisk the dye through to totally dissolve the now gummy pack.
Heat water in a very large stock pot. I am not sure what mine is but I fill it to 2/3 then top with boiling water to a level the dry tulle comfortably fits in. When wet it will collapse and so be able to stir evenly.
Once the water is simmering add half the dye. I had no markings on my jug so I first divided it equally between two glasses that had obvious markings to use as a guide.
Then tear the colour enhancer pack perfectly across and use every last drop.
Let water come to near boil.
Quickly use the tongs to transfer the tulle to the pot, short lengths at a time, push the newer fabric so that the earlier fabric moves along and creates a circular spin in the water, continue to add the fabric until all is in the pot. Using the fabric dry will not cool down the water and so will actually help get a very vibrant colour.
Boil and stir for 5m.
Transfer to bucket and take the fabric out of the bucket on a lawn. This saves the dye and also cools the fabric and dye down to stop the dyeing process.
If you do not have an outdoor area, then put a plug in to a stainless steel tub and rinse dyed tulle under cold water. This too will stop the dyeing process.
Repeat for the other side.
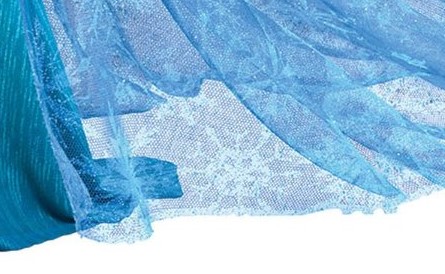
The fabric will be very dark. It will seem to dark. But tulle and some nets are made from totally clear monofilament. What this means that as it dries it will allow light through but also bounce white light back from the glossy surface. This will eventually turn the net royal blue.
This dark tone in turn also makes the net even more translucent against your dress and the floor. It will then create very distinct lines of colour when pleated into crisp angles.

Note how the cape is quite dark while the snowflake designs are paler and very light reflective.
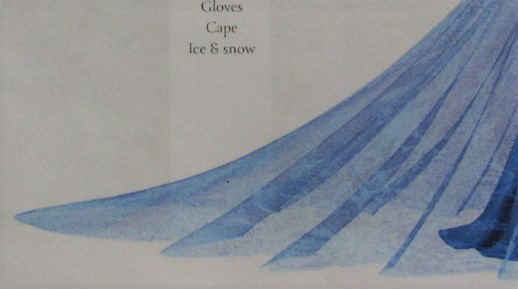
If you are nervous then it is possible to use half the dye pack for both lengths but still 2x colour enhancers. It will create a blue that is more what people expect her cape to be. In very close up details the cape fabric is indeed quite dark. The aforementioned physical properties of clear monofilament
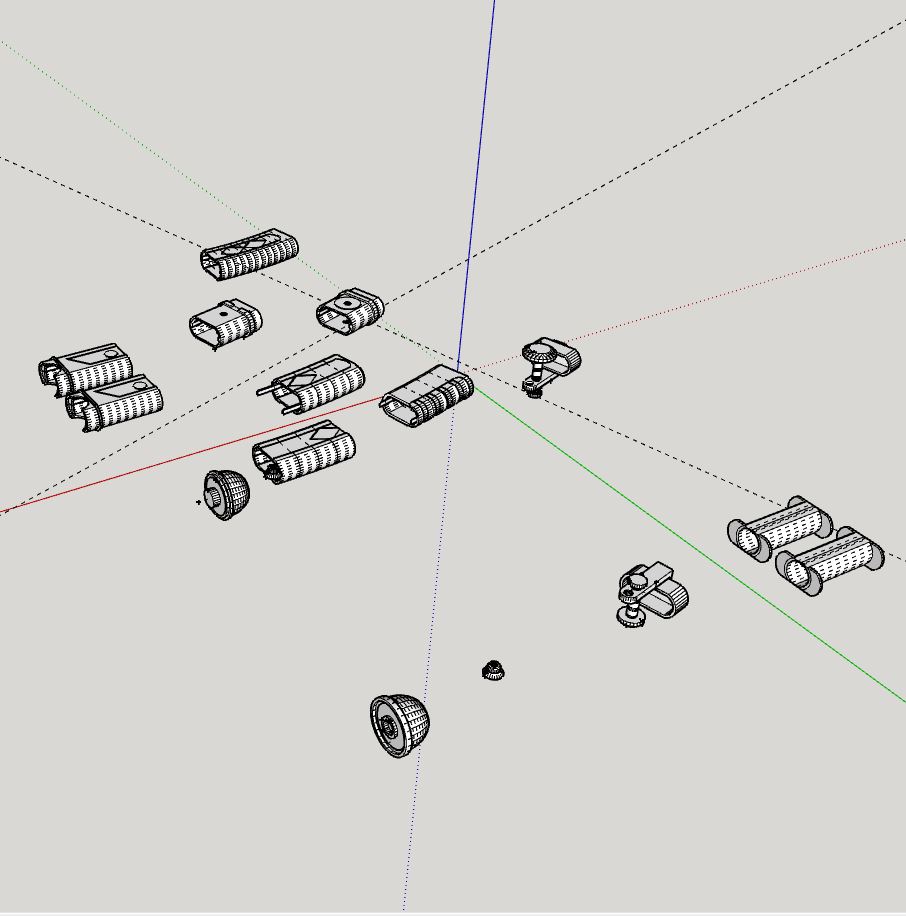
Well I have divided the hilts into reasonable lengths and created supports so now… now I hope I can just make a curve and use the plugin. Hopefully. I am exhausted.
My Ahsoka hilts skew up the green axis when I used the plugin that bends shapes. It’s so subtle though that it’s very hard to see. And there seems to be a strange slight warp on the surfaces too. So I have had to go back to a much earlier saved file to see if I can get it to do the thing it needs to. I will take the opportunity to try and create the support extrusions as they can be all bent at the same time.
I may have to face the fact that my infusions are wearing out and I need to get ahead of the pain rather than treat it as it happens. I can hardly walk at the moment due to weirdness. I think it’s a mix of nerve pinching and muscle wasting after that nasty nasty bug.
I’m wearing heavy boots, it’s true but that’s also to try and build up strength again. I tried going for a walk and got to the end of the street and wanted to go back home :/ And today it was just the length of the drive! I’ve been standing and doing things but actually walking- my legs feels half numb like I’ve been sitting on my knees for a while!
But my wrists are also really acting up (note- hand surgeon appointment next month) and I’m sore all over like with the flu. So that’s usually the start of a big flare. But I don’t want to take steroids. I may try upping my Leflunomide again. Right yes. It’ll take longer but will last longer.
The site will default to your WP login but if you aren’t logged in you can use FB, or Twitter at the very least. Woo!
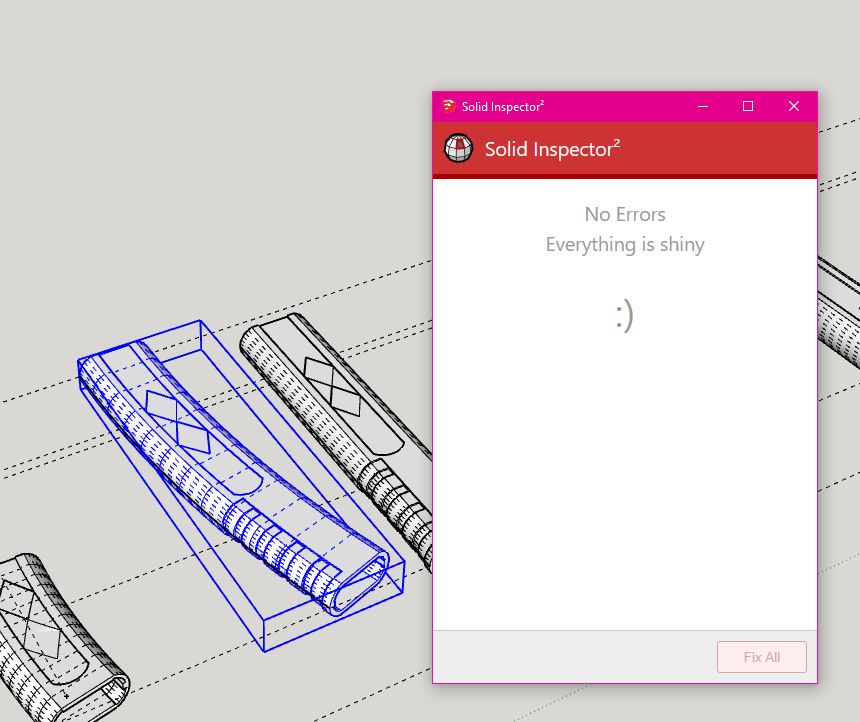
After using the shape bender I used hidden geometry to work out why the end looked blunt and then added lines.
And then used Solid Inspector2 to check for errors. It actually fixed some things that were meant to repair, but not my edges which I did expect.
And then I found trying to slice through horizontally just did not work. The model is perfectly horizontal but as soon as I intersect faces it doesn’t. So lots of short pieces like for Ventress 🙂 I know that worked so this should work too 🙂
I started making fairly the overlaps to help join those pieces once printed but I’m not so I like them, so I’ll spend a little more time today on making ring supports instead.
Each hilt is more than 10 pieces. This is to better reflect the different materials (copper, silver, black) Also to allow the same print to be used as non functional and functional by having some separate blade holders able to be used simply as support, the end cap being functional with the D ring holder and screw. I kept getting errors using the bolt making plugin so I’d rather just not use that atm. It should work at a larger scale but I did find scaling could be unpredictable with curves,
These also have to be arranged in correct alignment for printing. which I will do once the connecting sections are added.
I find this quite painful and painfully slow work. A lot has had to be drawn by hand even after using tools and plugins. For example the supports I’m making can’t be just extruded as they connect into pieces on a different angle. So I have to copy from one piece and add to the first and then measure and draw to size. Luckily 5mm seems to work well so I can at least be fairly consistent with that 🙂
It’s seriously fiddly work, lots of copy paste and drawing on the inside and outside