instagram update

Shared dinner tonight from @greenbaystreetfood @akemigyoza and @mamatahina still time to head over 🙂
Shared dinner tonight from @greenbaystreetfood @akemigyoza and @mamatahina still time to head over 🙂
Finally got the last pieces of the bodice cut 🙂
This was exciting because yes it’s two layers even for these pieces- it looks really weird as a single layer.
But I knew there was some clever use of stretch and basically was able to show it 🙂
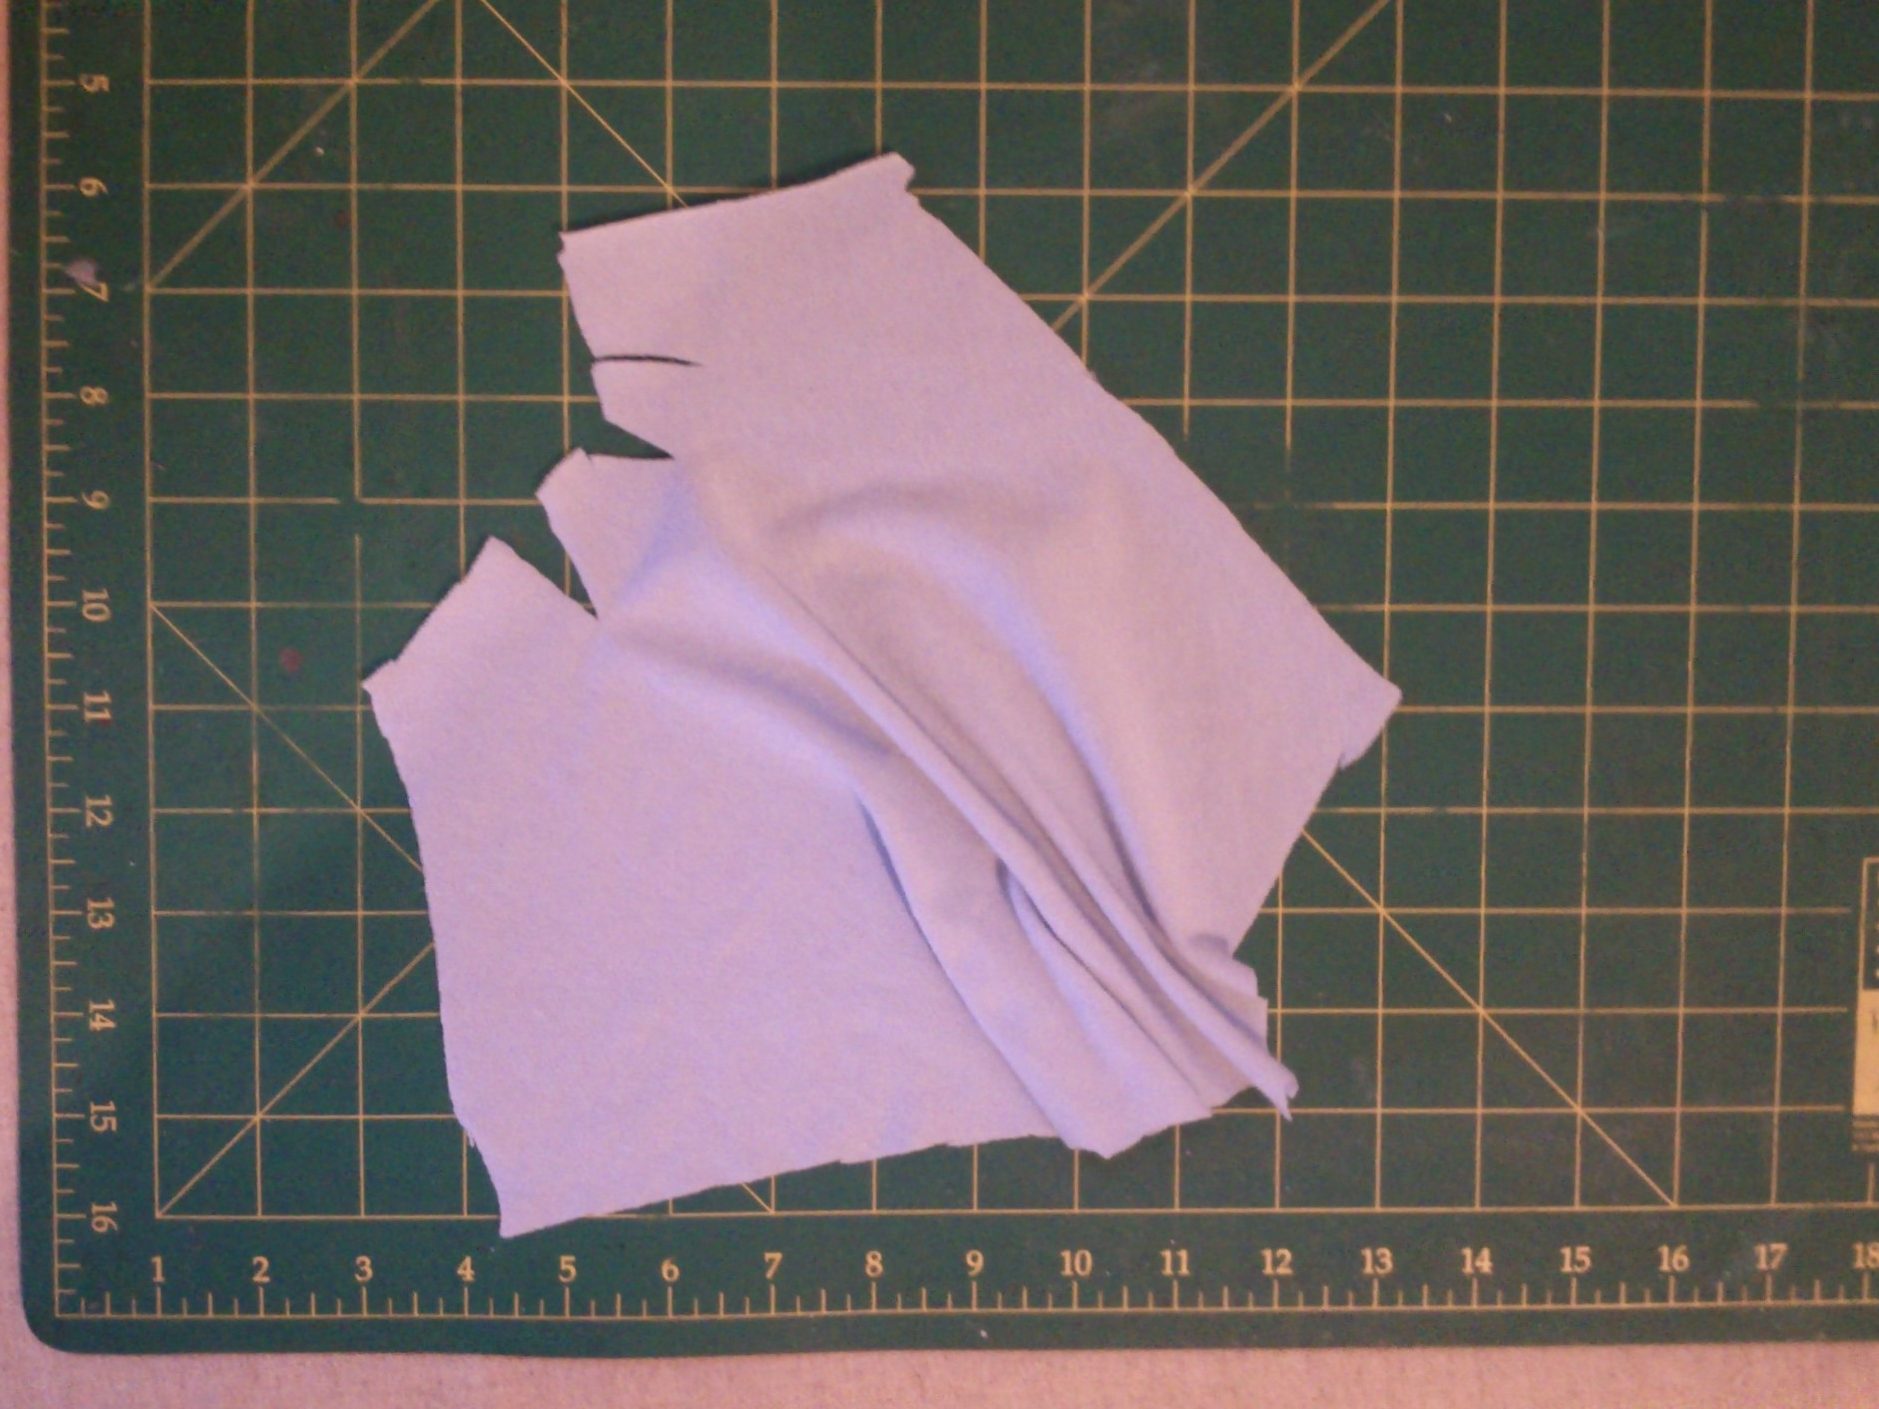
This is a piece from the left side. The curve at the upper left is for the armscye, the gathers are directional to the bust point.
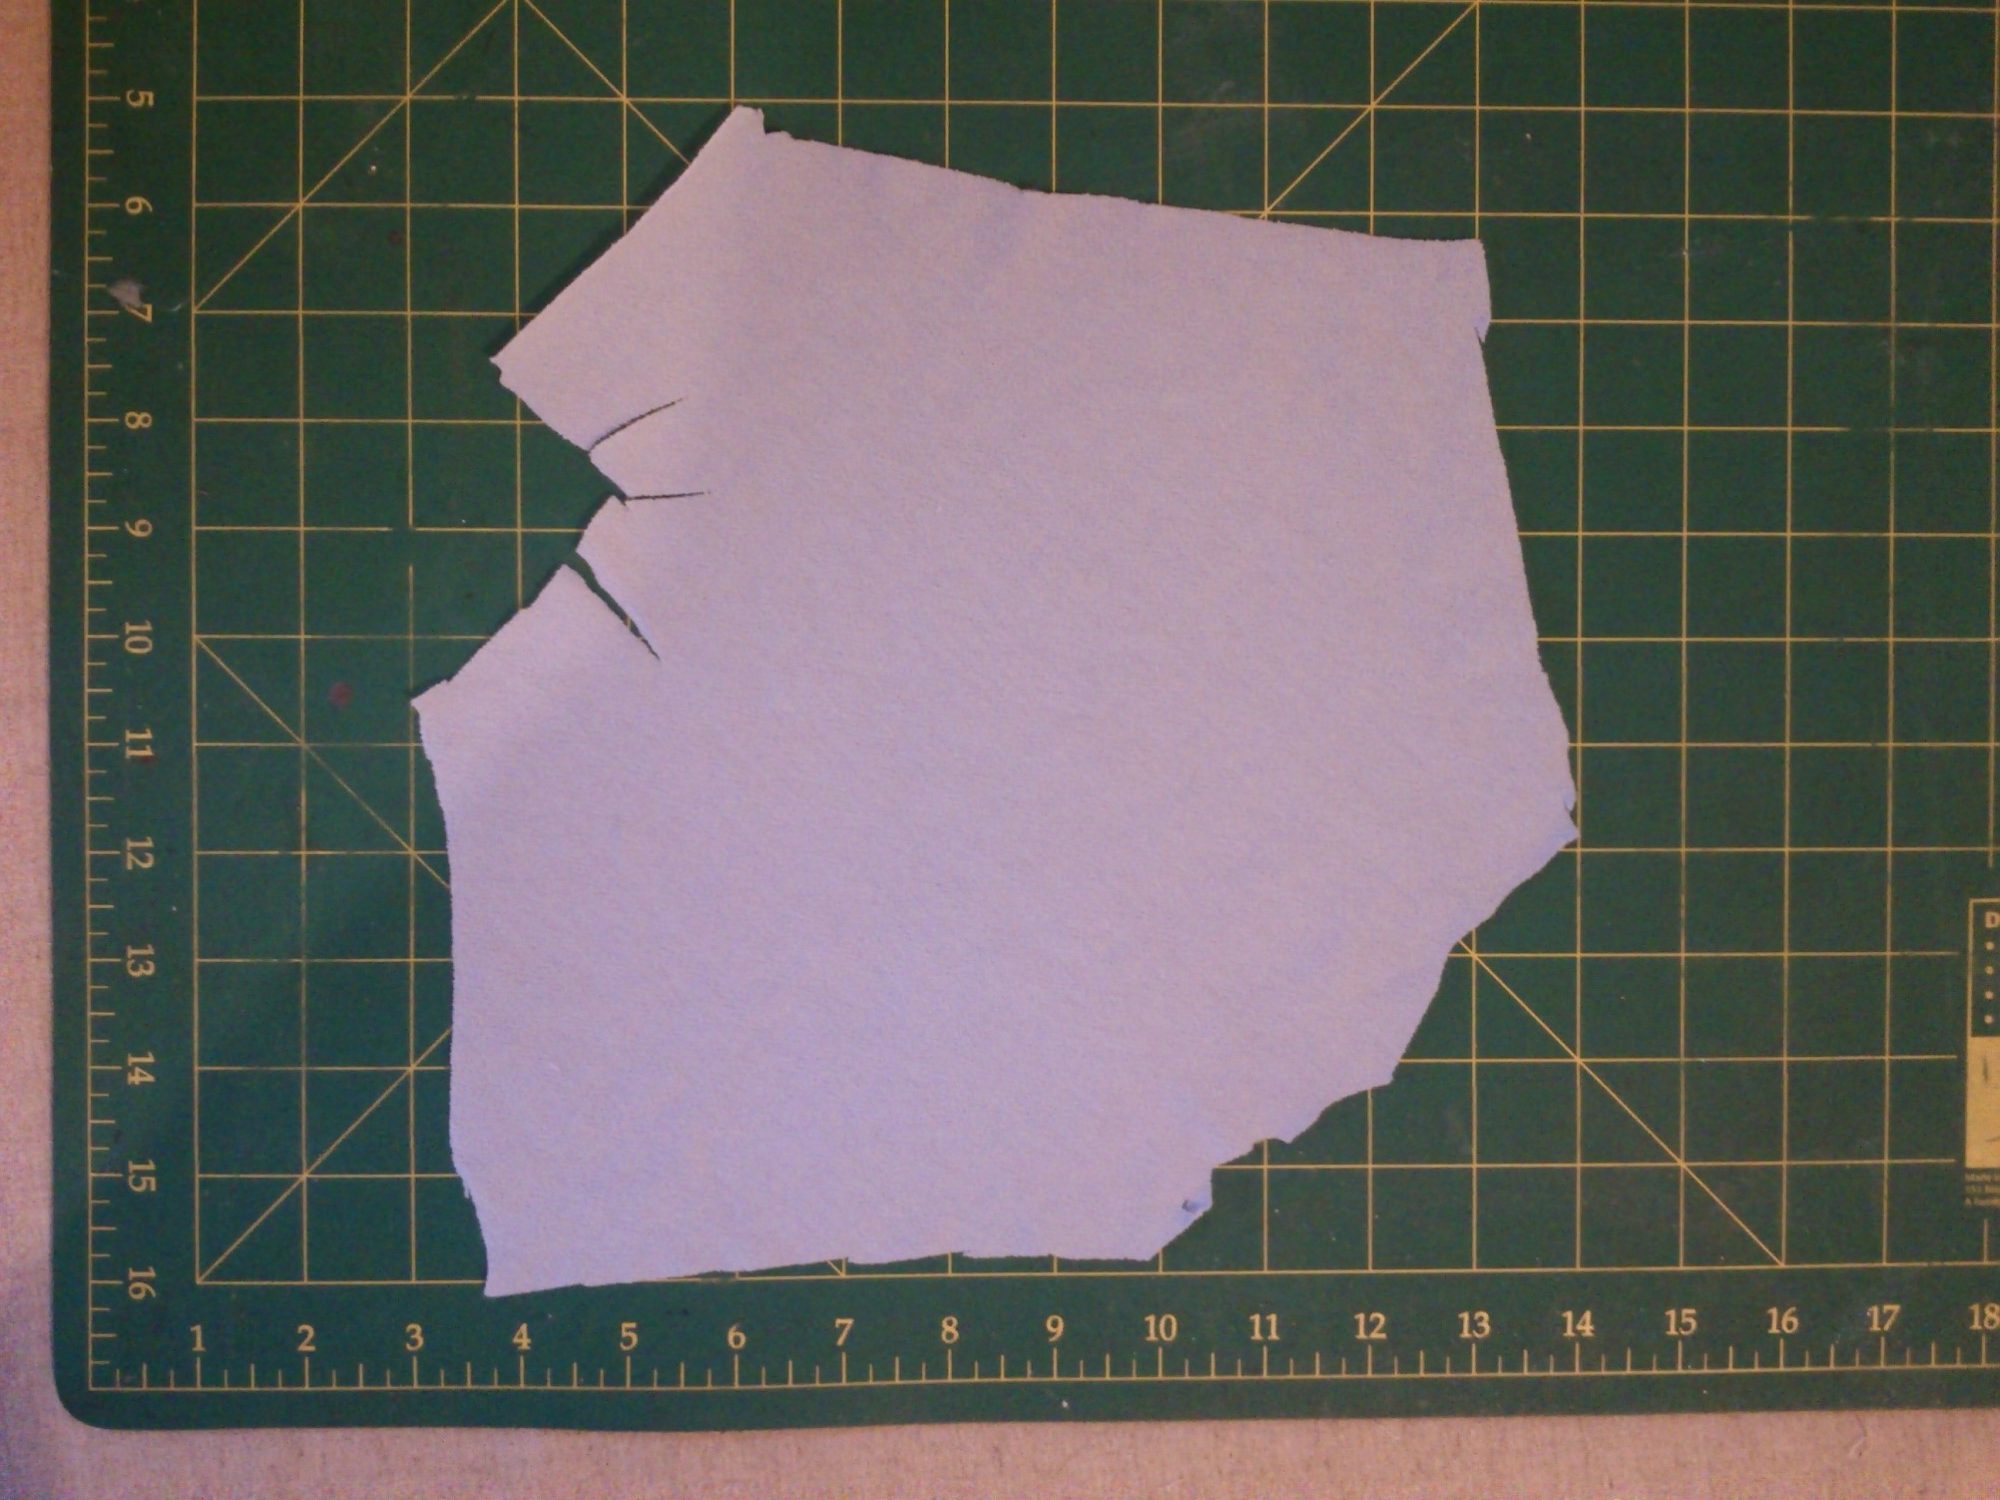
This is the actual shape.
This is what I love about garments like these, they require drafting and draping skills and to not just see fabric as something that is linear 🙂

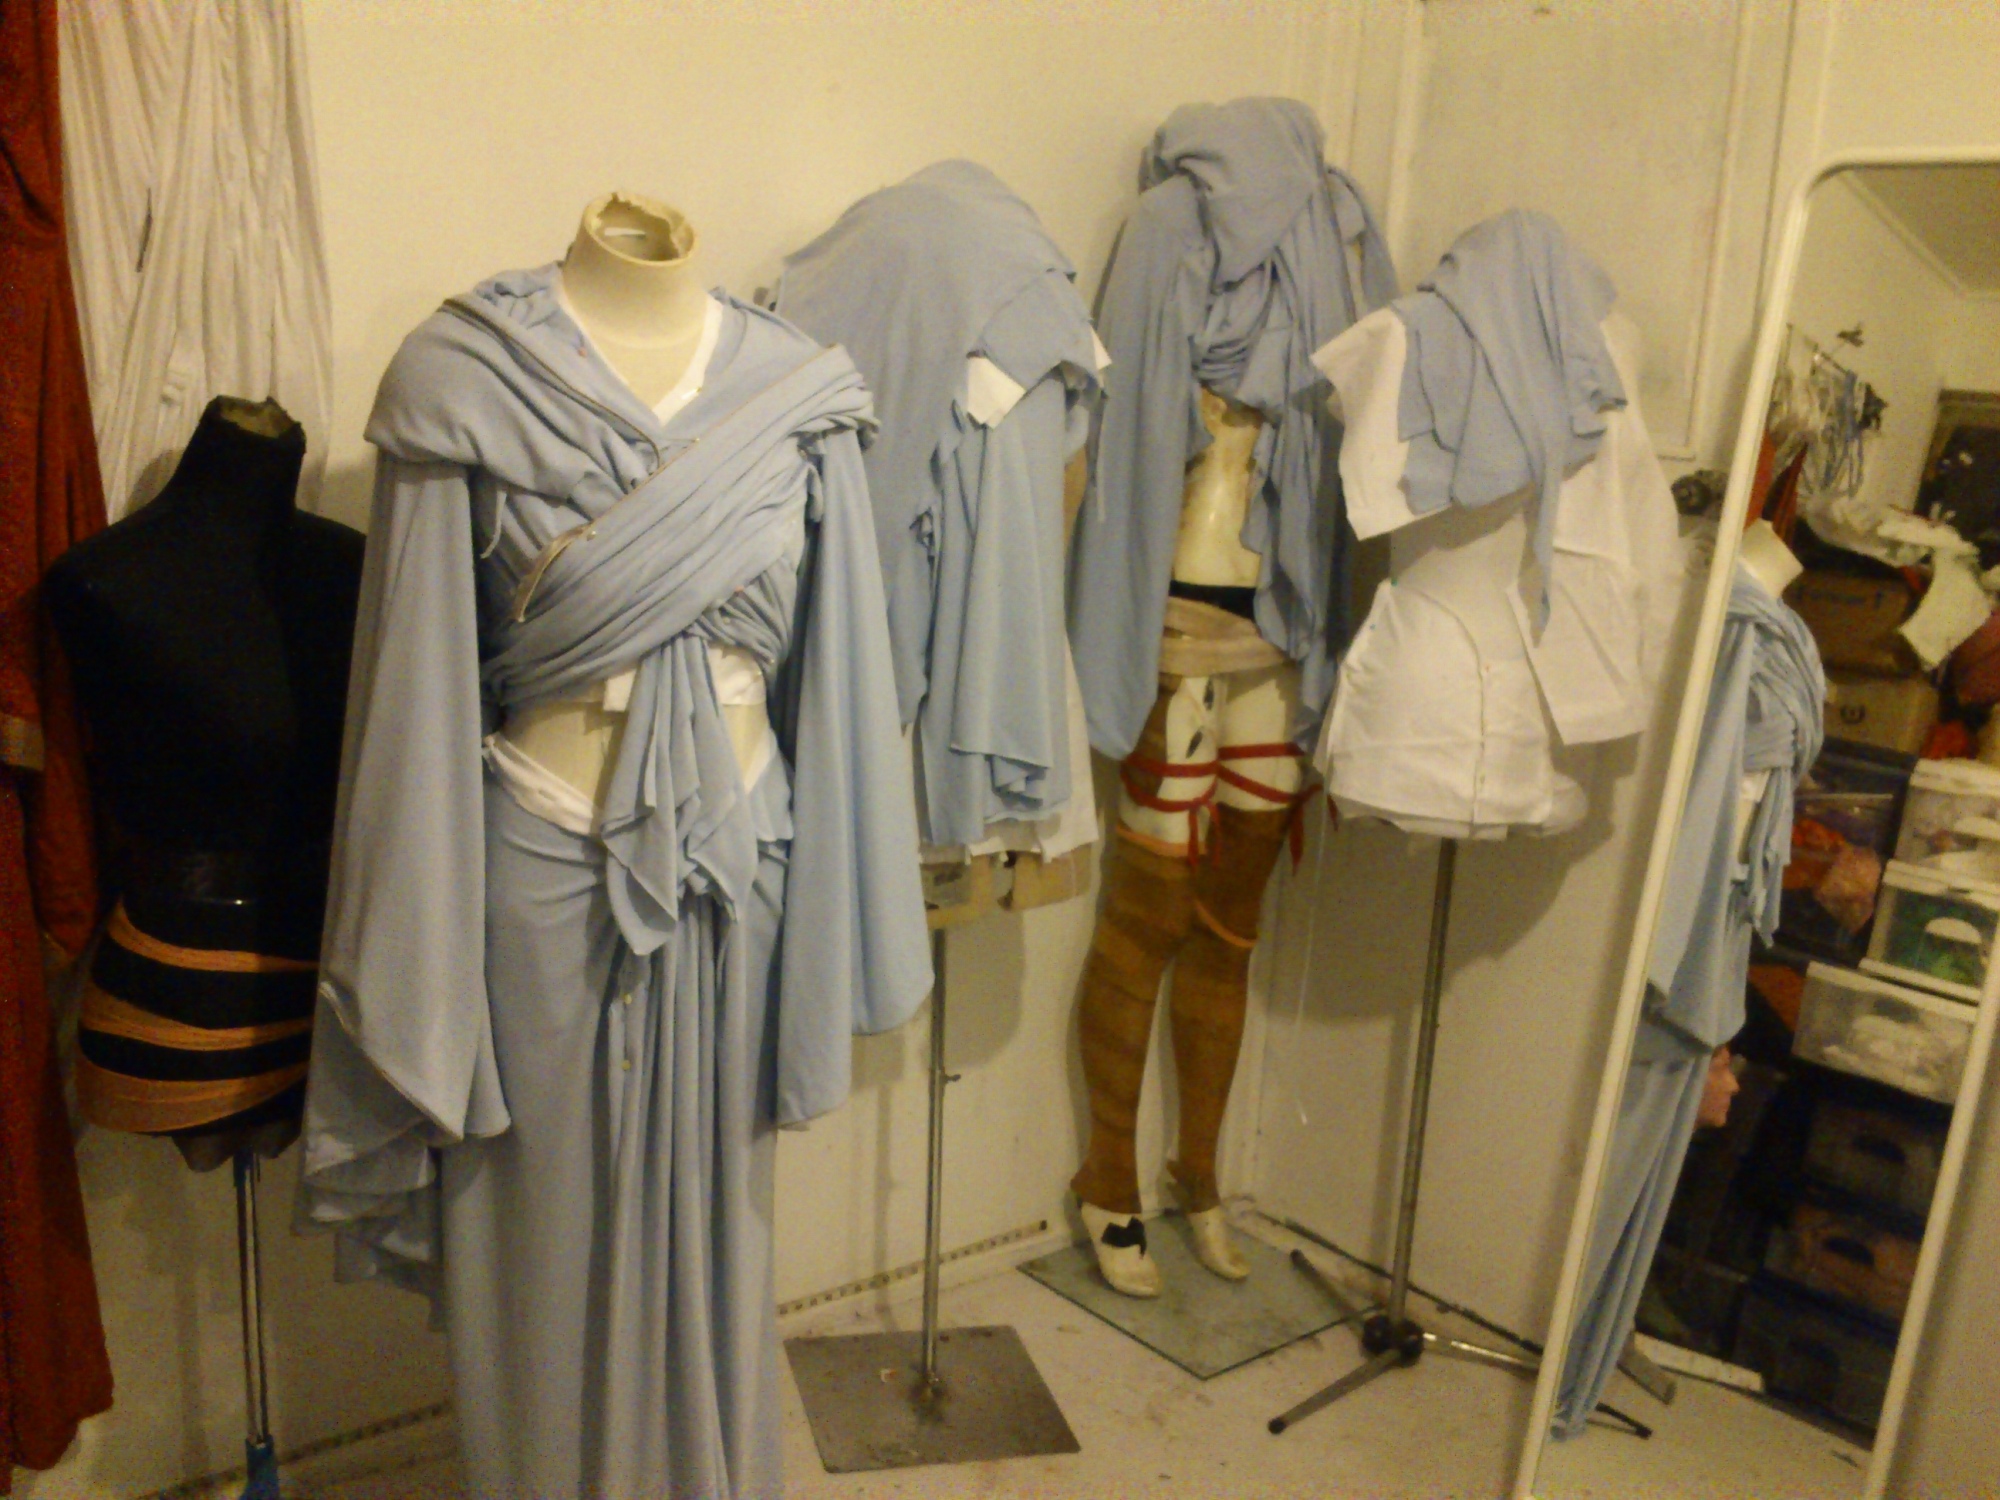
I’m not obsessed you are! #padmeamidala tatooine gown 🙂 this time I grabbed my pattern for the drapery bits very cool 🙂
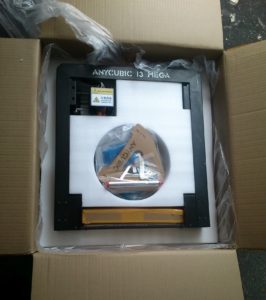
I have an Anycubic I3 Mega. Basically I know the company will review videos for troubleshooting which makes it much easier for tech support! And these things need a bit of support as they are machines that move a lot and so over time will have wear in everything from electronics to heated bed to.. well everything.
It’s not reading the files on the card it came with though, nor any I drop over from Cura and in reading TS for other printers it may be a case of finding the right card (under 2G and FAT 16 and maybe even different brands…. which is not really helpful. A brand name would be easier to track down! As in it may come down to a specific card not even a make and number.)

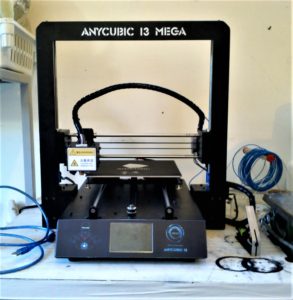
This is quite a nice sized printer! I did get to see the Kossel and the Prusa, the Kossel is taller but the Prusa is quite a bit smaller. And I have seen a Makerbot clone so yeah. Pretty well on par, just not enclosed.
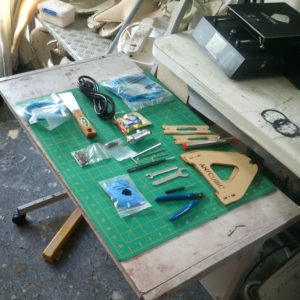

I am very impressed that this is genuinely a complete kit. I accidentally bought an extra spool holder (to which I say have at it! I am going to give it away to someone who needs it 🙂
Also pretty intuitive to assemble- I did have trouble with the connections, but I also was going by the set up video rather than actually going by the pdf.
Also extra parts!
So I did use the leveler- not quite automatic but the noise is a very clear and easy to understand instruction to stop. Stop right now. And maybe go back a fraction of a turn. You still will have to adjust each corner because checking but even so.
I do have a small problem in this regard…
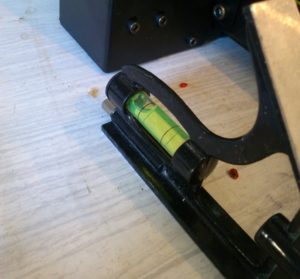
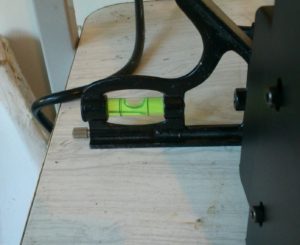
Okay so the leveling is between bed and nozzle but this really cant’t be helping things…
But I can’t get the printer to read any SD card. It recognises there is a card. Just not the contents. I am trying to troubleshoot a little blind here. But I have seen what these machines are capable of and it is perfect for what I want to do.
I have a dream project or five that will benefit from this so I want to get it to work and to not break it. So far I have let the machine feed the filament as I can’t get it to align. And I have leveled and tested temperatures a few times.
But I will need to install Cura on a machine and attach it to get any test print I think 🙂 Yeah, I can’t even get the gcode file on the card to come up on the LCD.
And it does seem to keep wanting to move in the y axis in a very disturbingly noisy way. But I knew these were noisy based on reviews.
What I was most concerned with is the heating elements- but the temperature is well monitored.

So far I have been able to troubleshoot except using an sd card. Will tether to a comp tomorrow to test printing from Cura.
And so this has required finding a place for the thing, getting help from a firned to carry the thing 😉 And also incidentally clearing out more than just space. Things too.
Feels okay in fact 🙂
omgomgomgomgomgomg
It was right on my actual budget not my fingers in ears somehow figure things out budget.
It is reassembled, has autoleveling and the company support looks really good. The online community is also supportive. ANd I have watched the thing in action via a review. The most recent model looks slightly more improved but this model has everything I’m after.
Autoleveleing. I cannot describe how my joy turned to dismay when I saw how leveling usually works. Literally a series of wingnut and judge my eye measures. Why? the print bed of all machines need to be aligned to the nozzels. This is not like levelling to geography.
Heated bed. I want to print in ABS so.. this is a must. I can make abs juice no worries but this is a little more predictable.
sheet metal frame. It’s where a lot of the price difference goes to the next step less costly. But I live in a climate that is weird, sturdy metala frame will save precious troubleshooting time.
generic filament roll. A few printer I was looking at had proprietary software or filament holders/feeders. This adds cost and more than that waste (can send them back to manufacturere for a refund but at own shipping cost.)
community. As mentioned there is an active community that share files for better prints. The first one will be to make an airtight spool case- basically a standard sealable bin and the print is for a hose connection or filament feed.
Support. I have seen this in action. The makers will replace genuinely faulty parts with video evidence! (thus my desire for easy troubleshooting and warped support is a big issue.)
Print volume. 210x210x205mm. About 8 1/3X8 1/3×8″. That is not the biggest print volume but it’s damn decent.
0.05mm resolution. Most good printers will get down/up to 0.1mm but this can do 0.05-0.3mm resolution. So I can do slightly less fine prints fairly quickly (prevent warpage?) if I am prepared to tidy a little more after. Yes.
What I didn’t manage:
enclosed casing. This is to help maintain temperature for tall ABS prints. Apparently ABS will warp in tall prints. It also means ABS fumes will just permeate the environment. So I will need to make sure my studio is warmed up for big prints and there is space for the printer to be supported and not be wobbled. My industrial overlocker will be a semi-temporary home.
So I still need to pick the darn thing up. But if I can’t get a ride I have paid for a courier 🙂
OMGOMGOMGOMGOMGOMGOMGOMGOMG!!!!!!!!
Jewelry! props! Horns!!!!!!! OMG!!!!!!!!!!
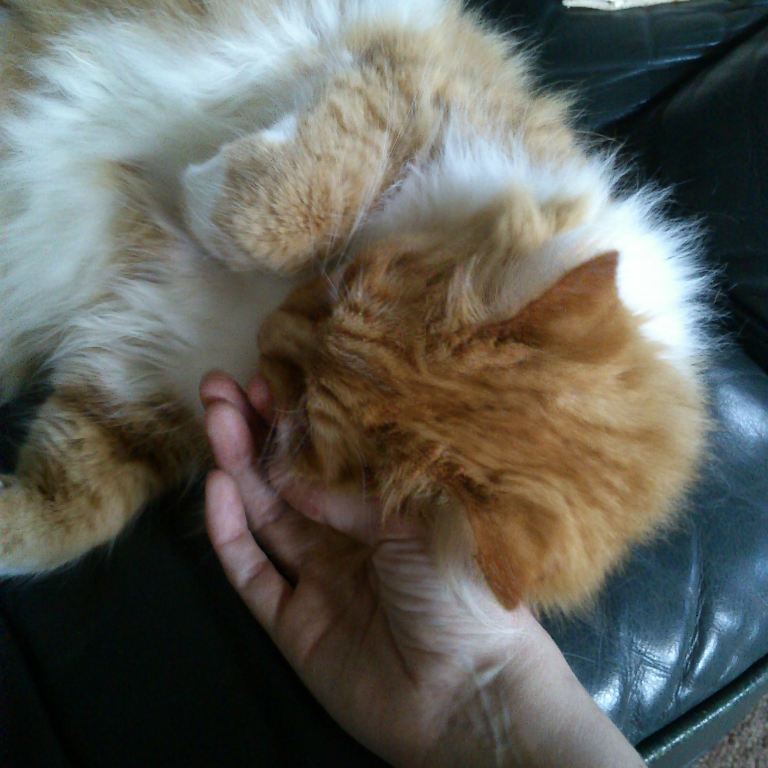
Superfluff is a big kitty btw. Same size as my darling Boo but with an even broader face. He had a furball today. I learnt with Boo to just calm kitties rather than try to move them somwhere convenient. Seems to help build trust.
I wound up breaking out the overlocker all day instead of working on horns. Which was probably wise. The rain is still leaving everything damp so curing would be risky.
So I zipped around the edges of my Worth sunburst skirt (the satin is so perfectly buttery that it was just nice to do!) and used the drafted bodice pattern from the 1876 tool to trace a new pattern for my new Phantom wedding dress bodice. I did use the vintage organza after all so that leaves some of the crepe for a potential Moulin Rouge dress. If I ever find a trim that works!
So that was tracing and transferring the pattern to a layer of twill, a layer of calico, and a layer of organza then overlocking all the edges tidy.
And then finally I cut the trim for my Cleves sleeves having removed the colour from the silk. And that leaves some softer trim for the undersleeves.
And finally, my last cast from my Ahsoka molds finally worked!
