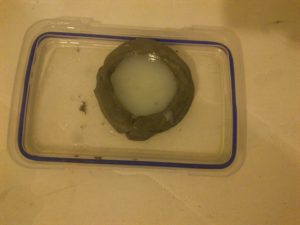
Today I cleaned my Mon Mothma brooch of the badly cured silicone and remolded using caulking silicone.
I have seen a few tutorials on this but I wanted to see if I could add to the general knowledge having experimented over seven years 🙂
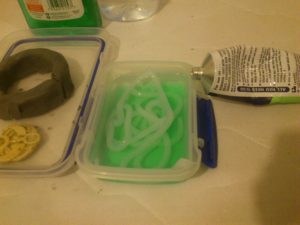
Supplies:
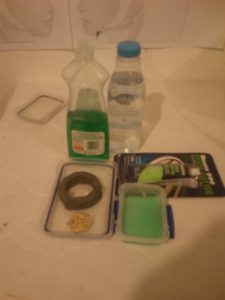
Warm water
Dishwashing soap
Caulking silicone
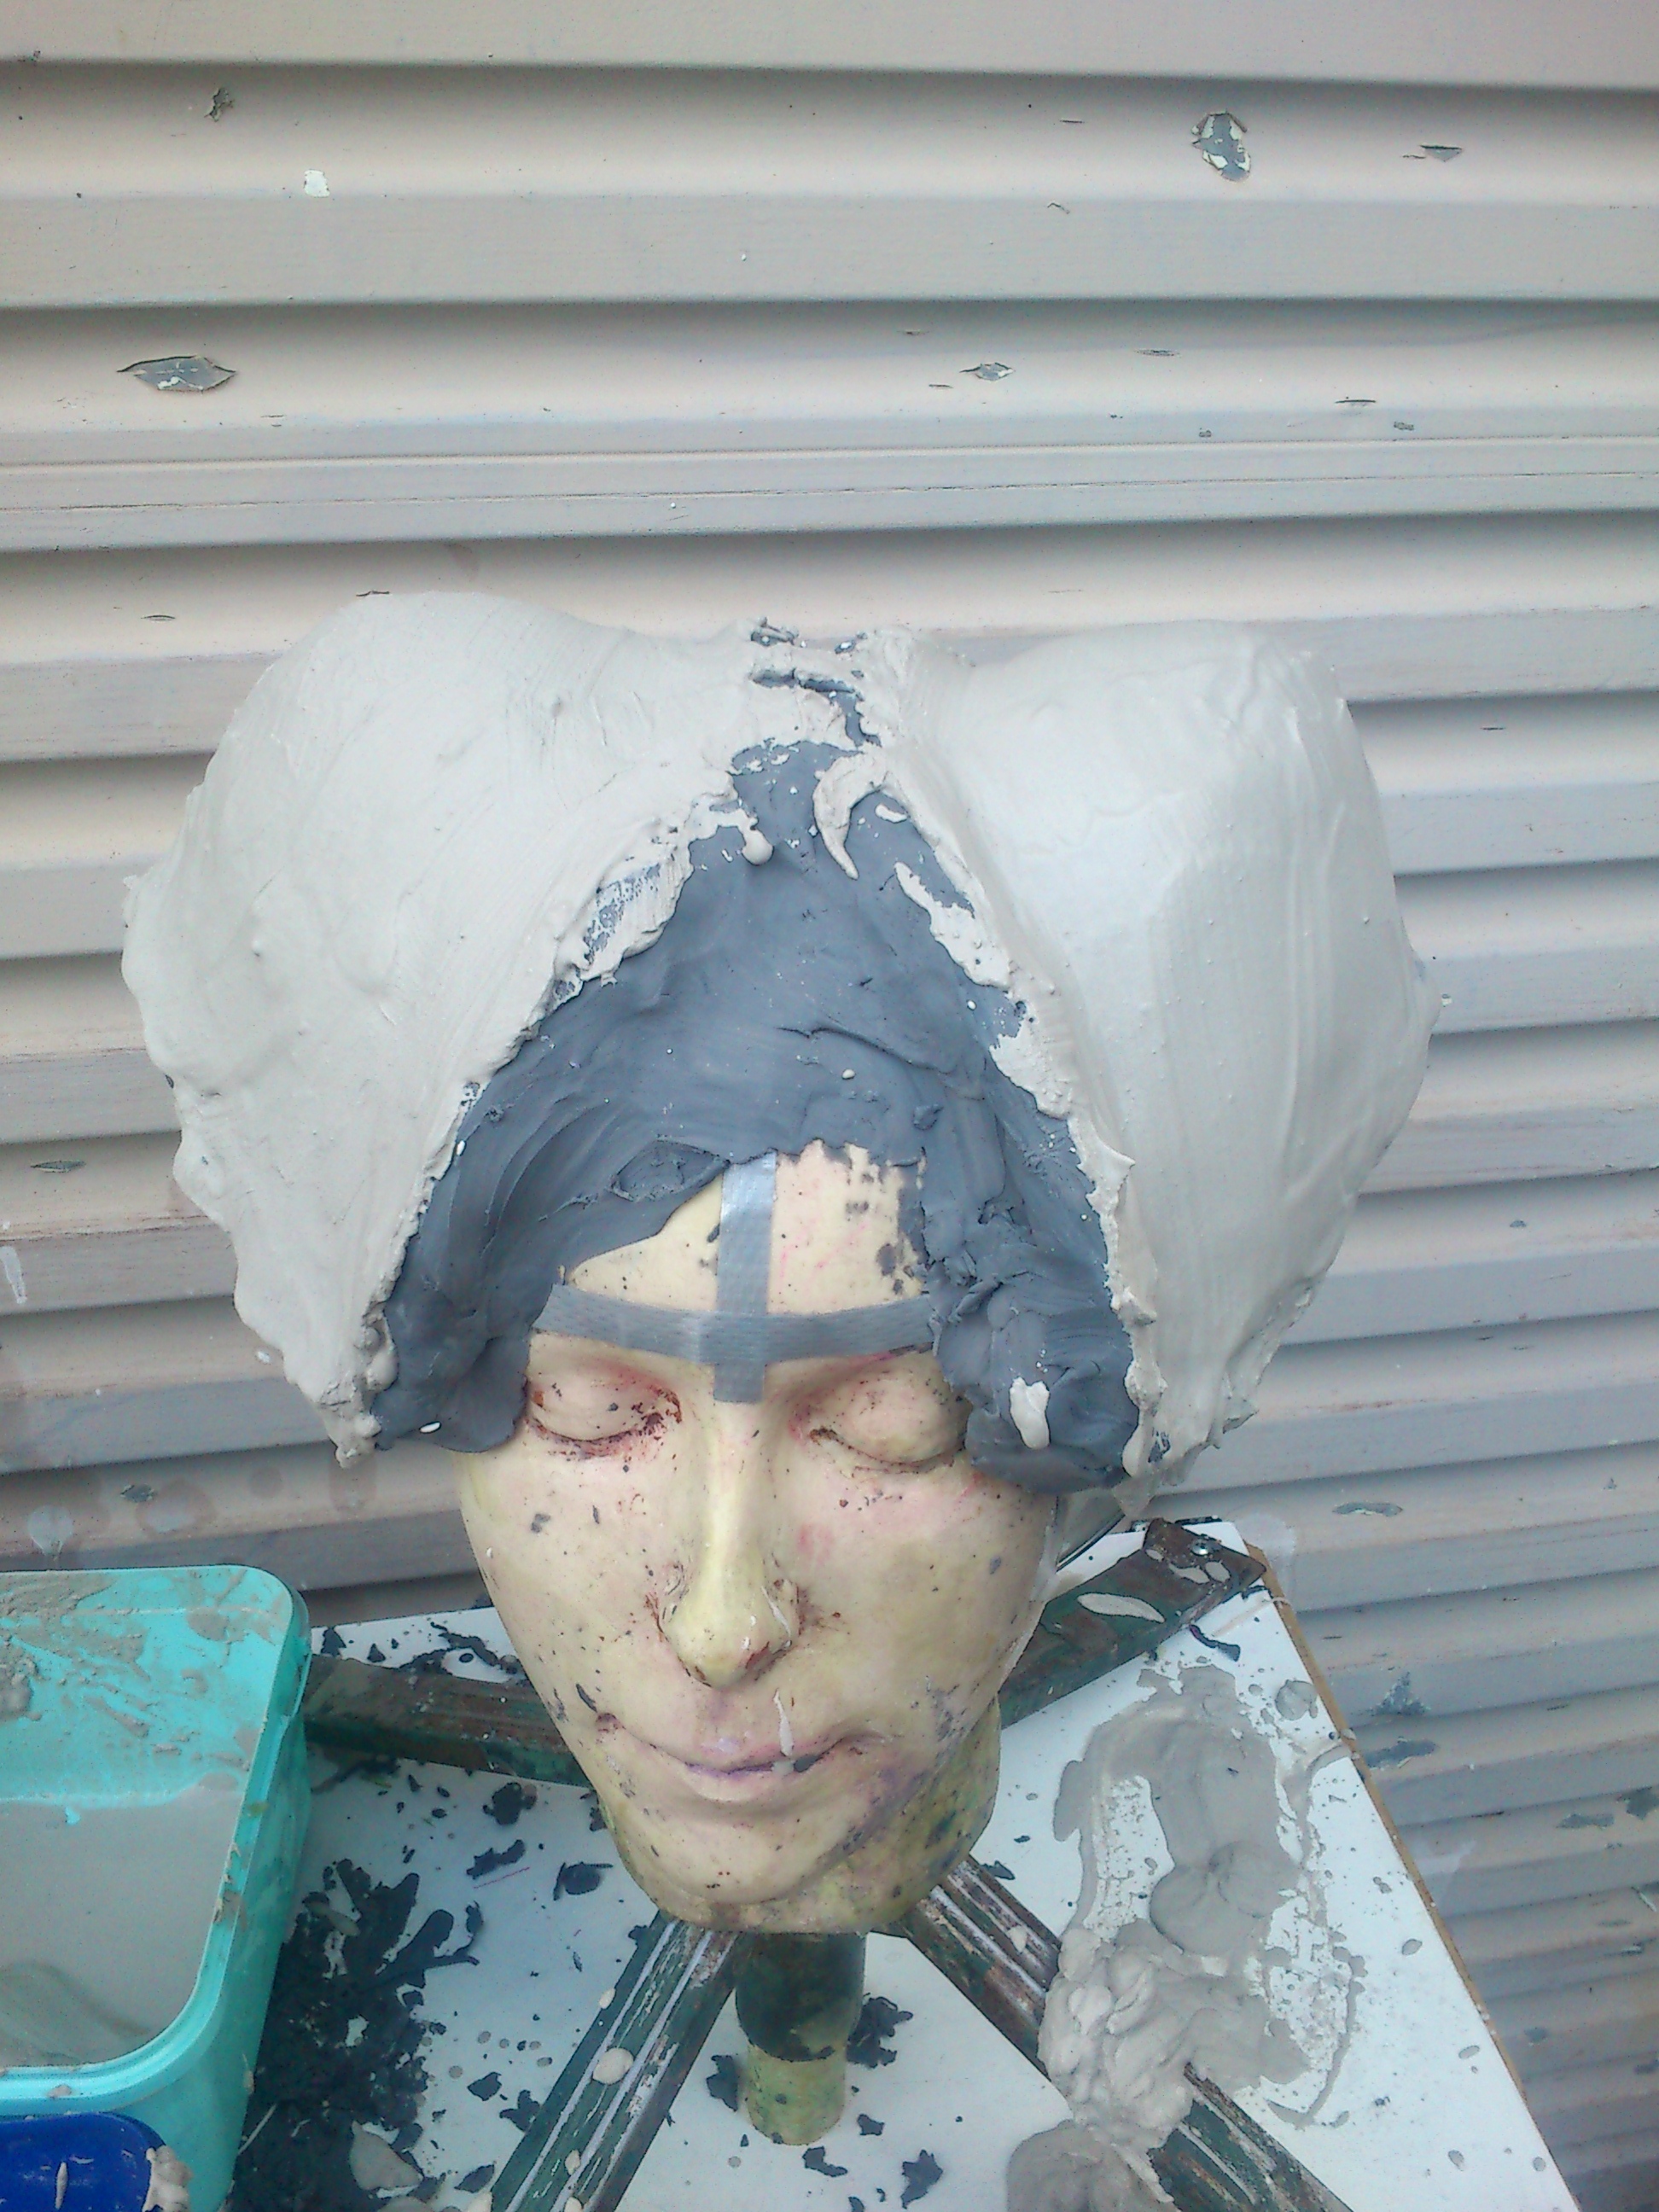
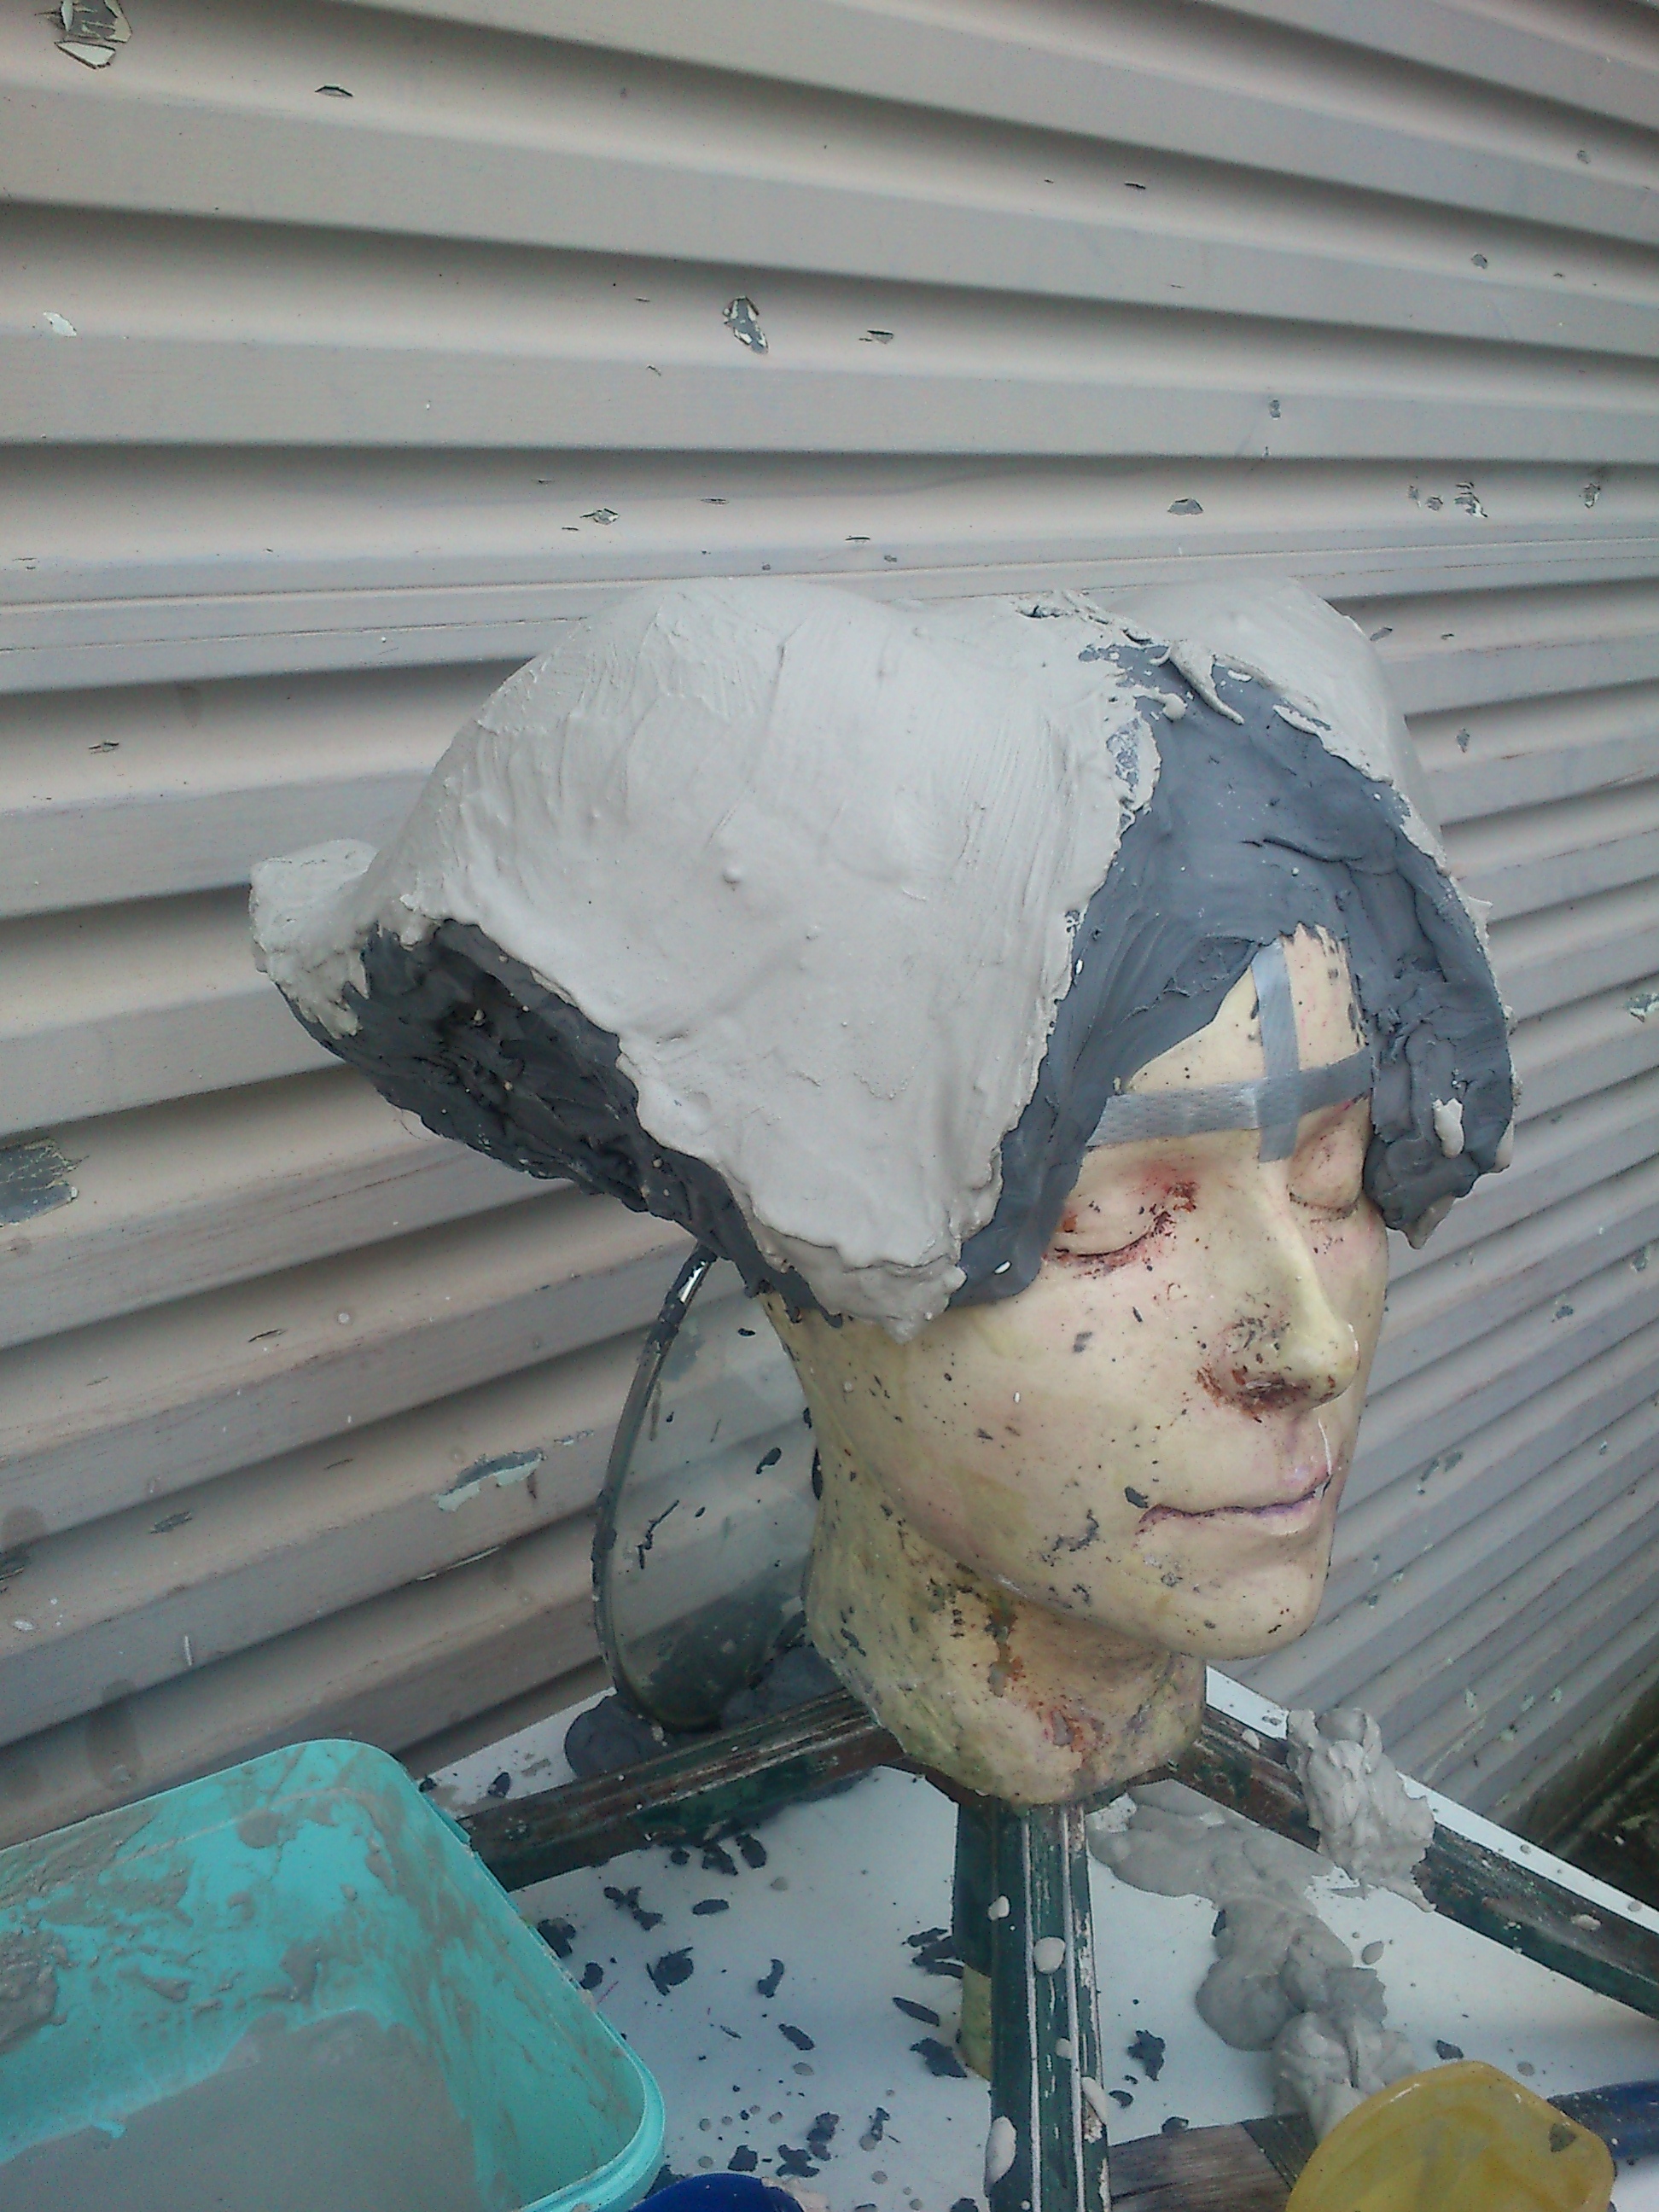
I used Selleys roof and guttering silicone as it is translucent and allows me to see how thick my layers are. I used regular clay for the walls.
I also covered the surface of my brooch with a very thin layer of vaseline.
I use warm water as it speeds up the curing process considerably.
Method:
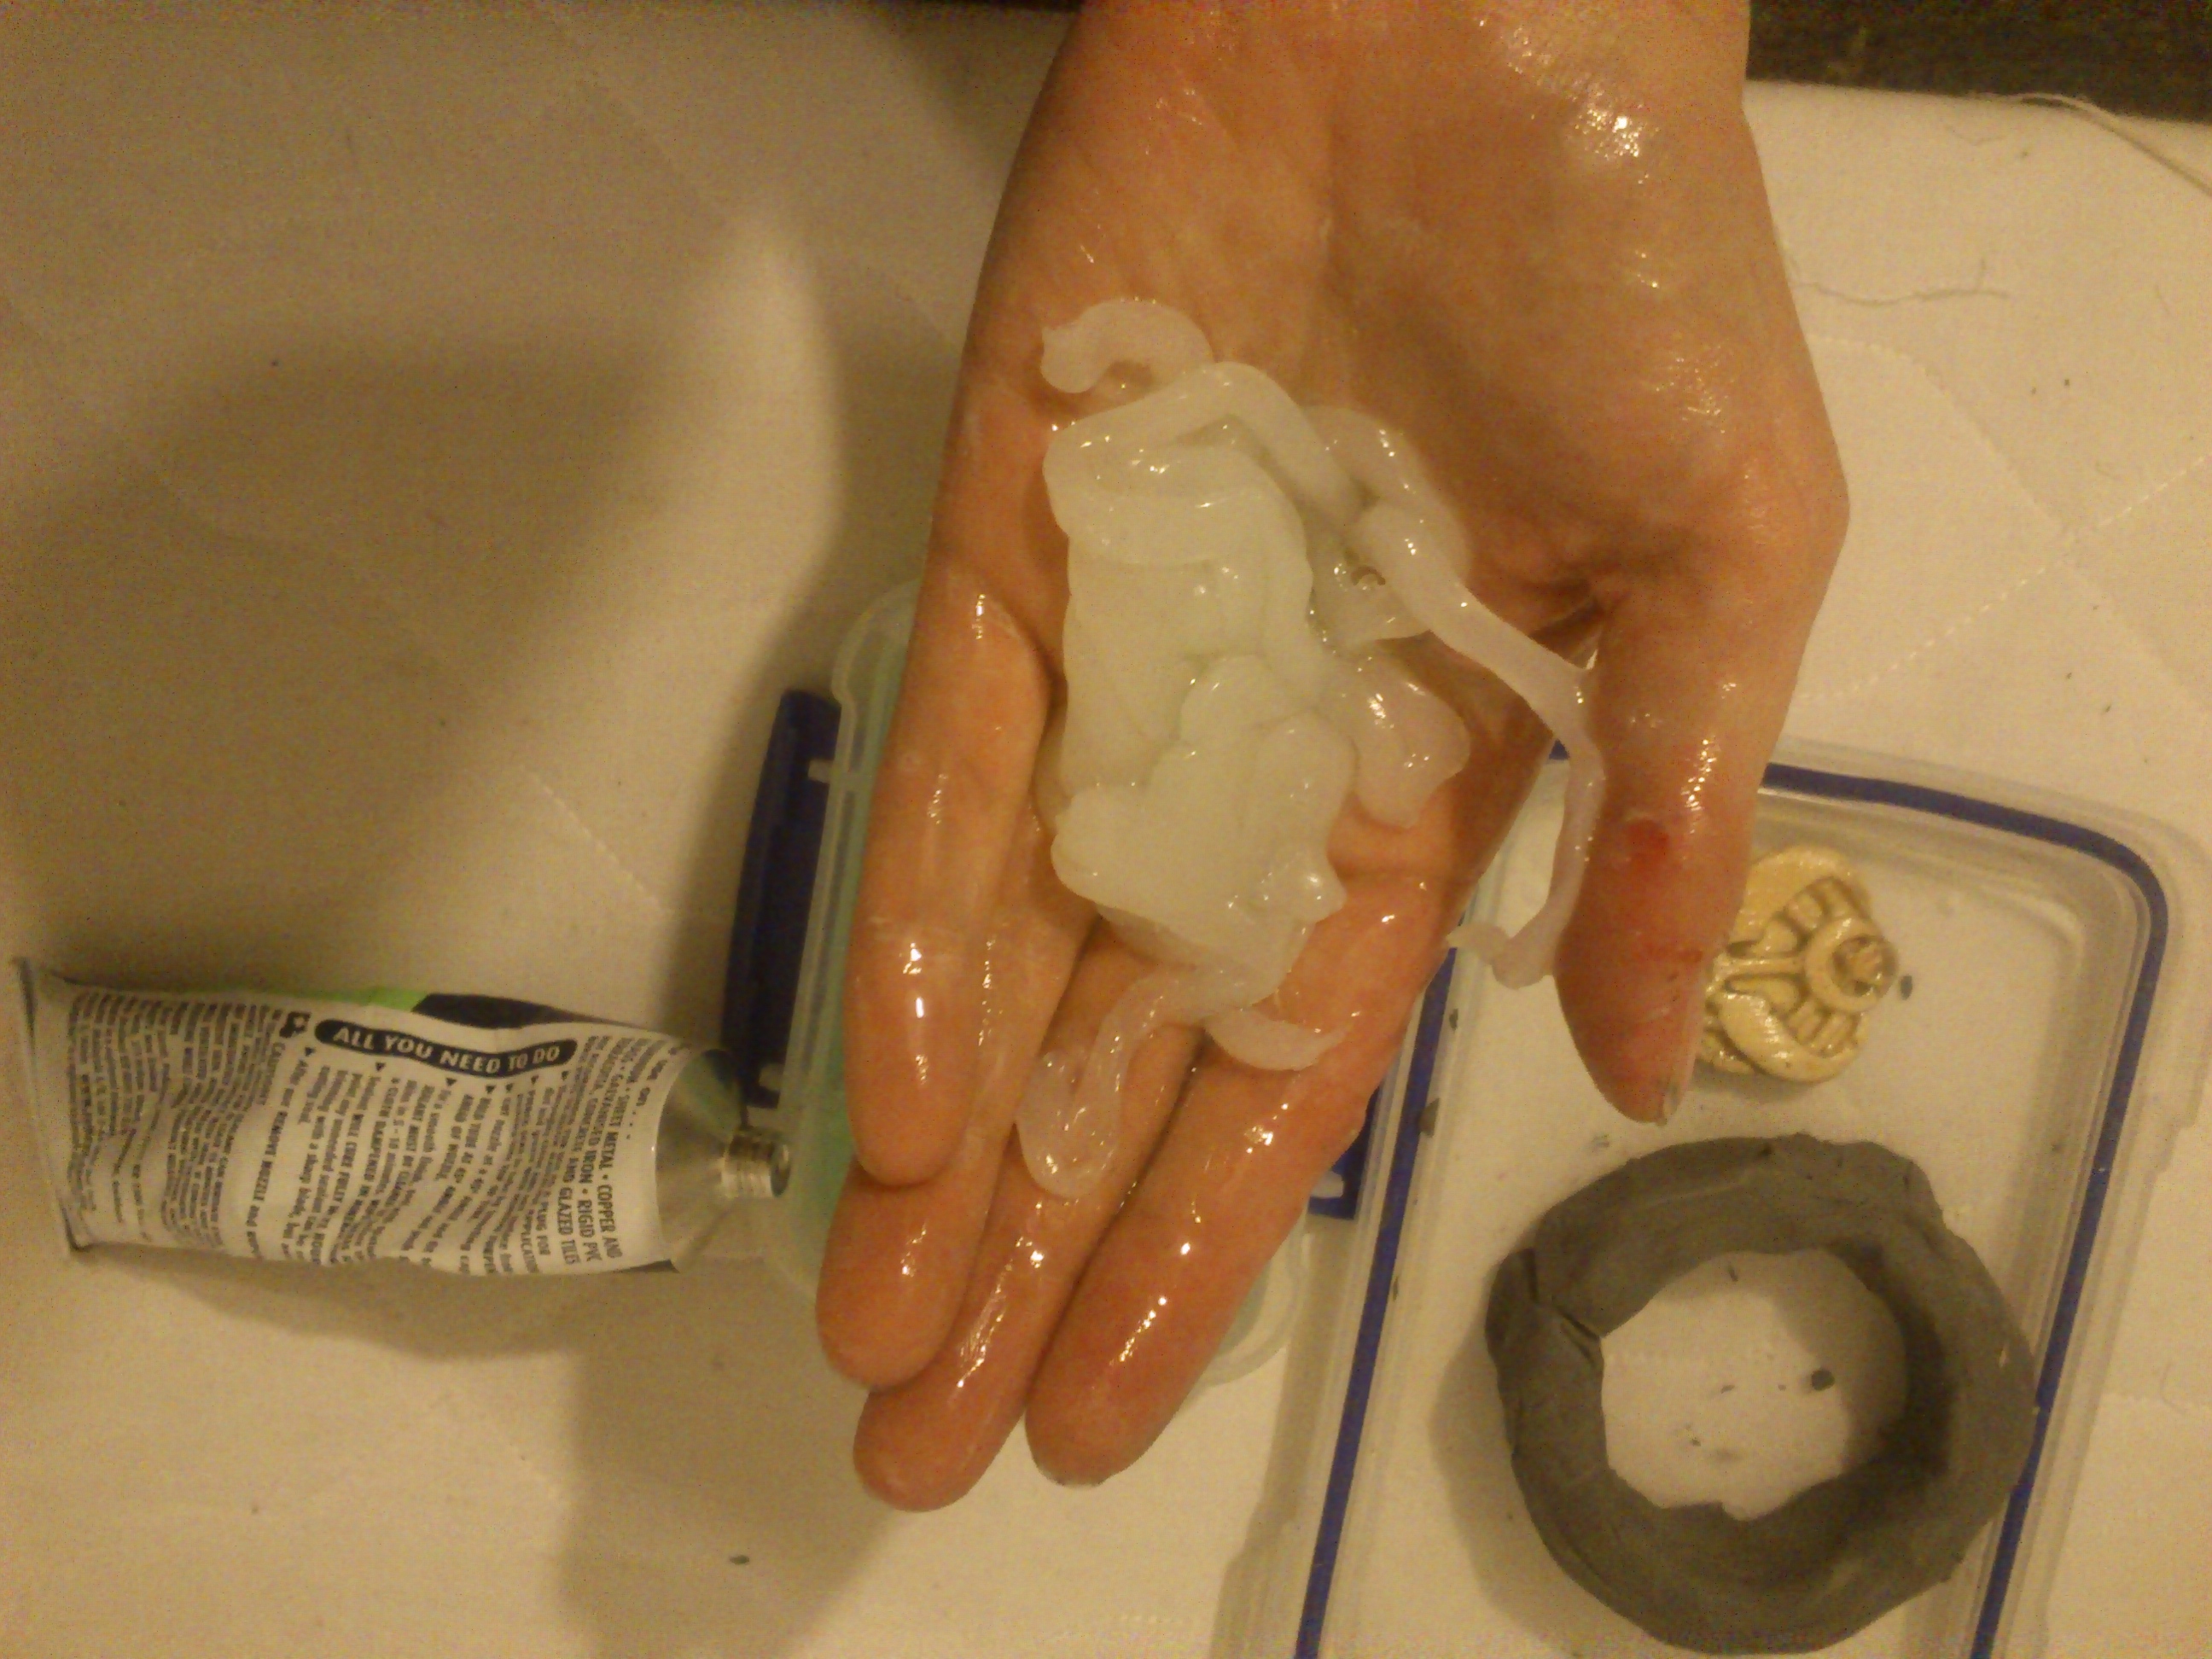
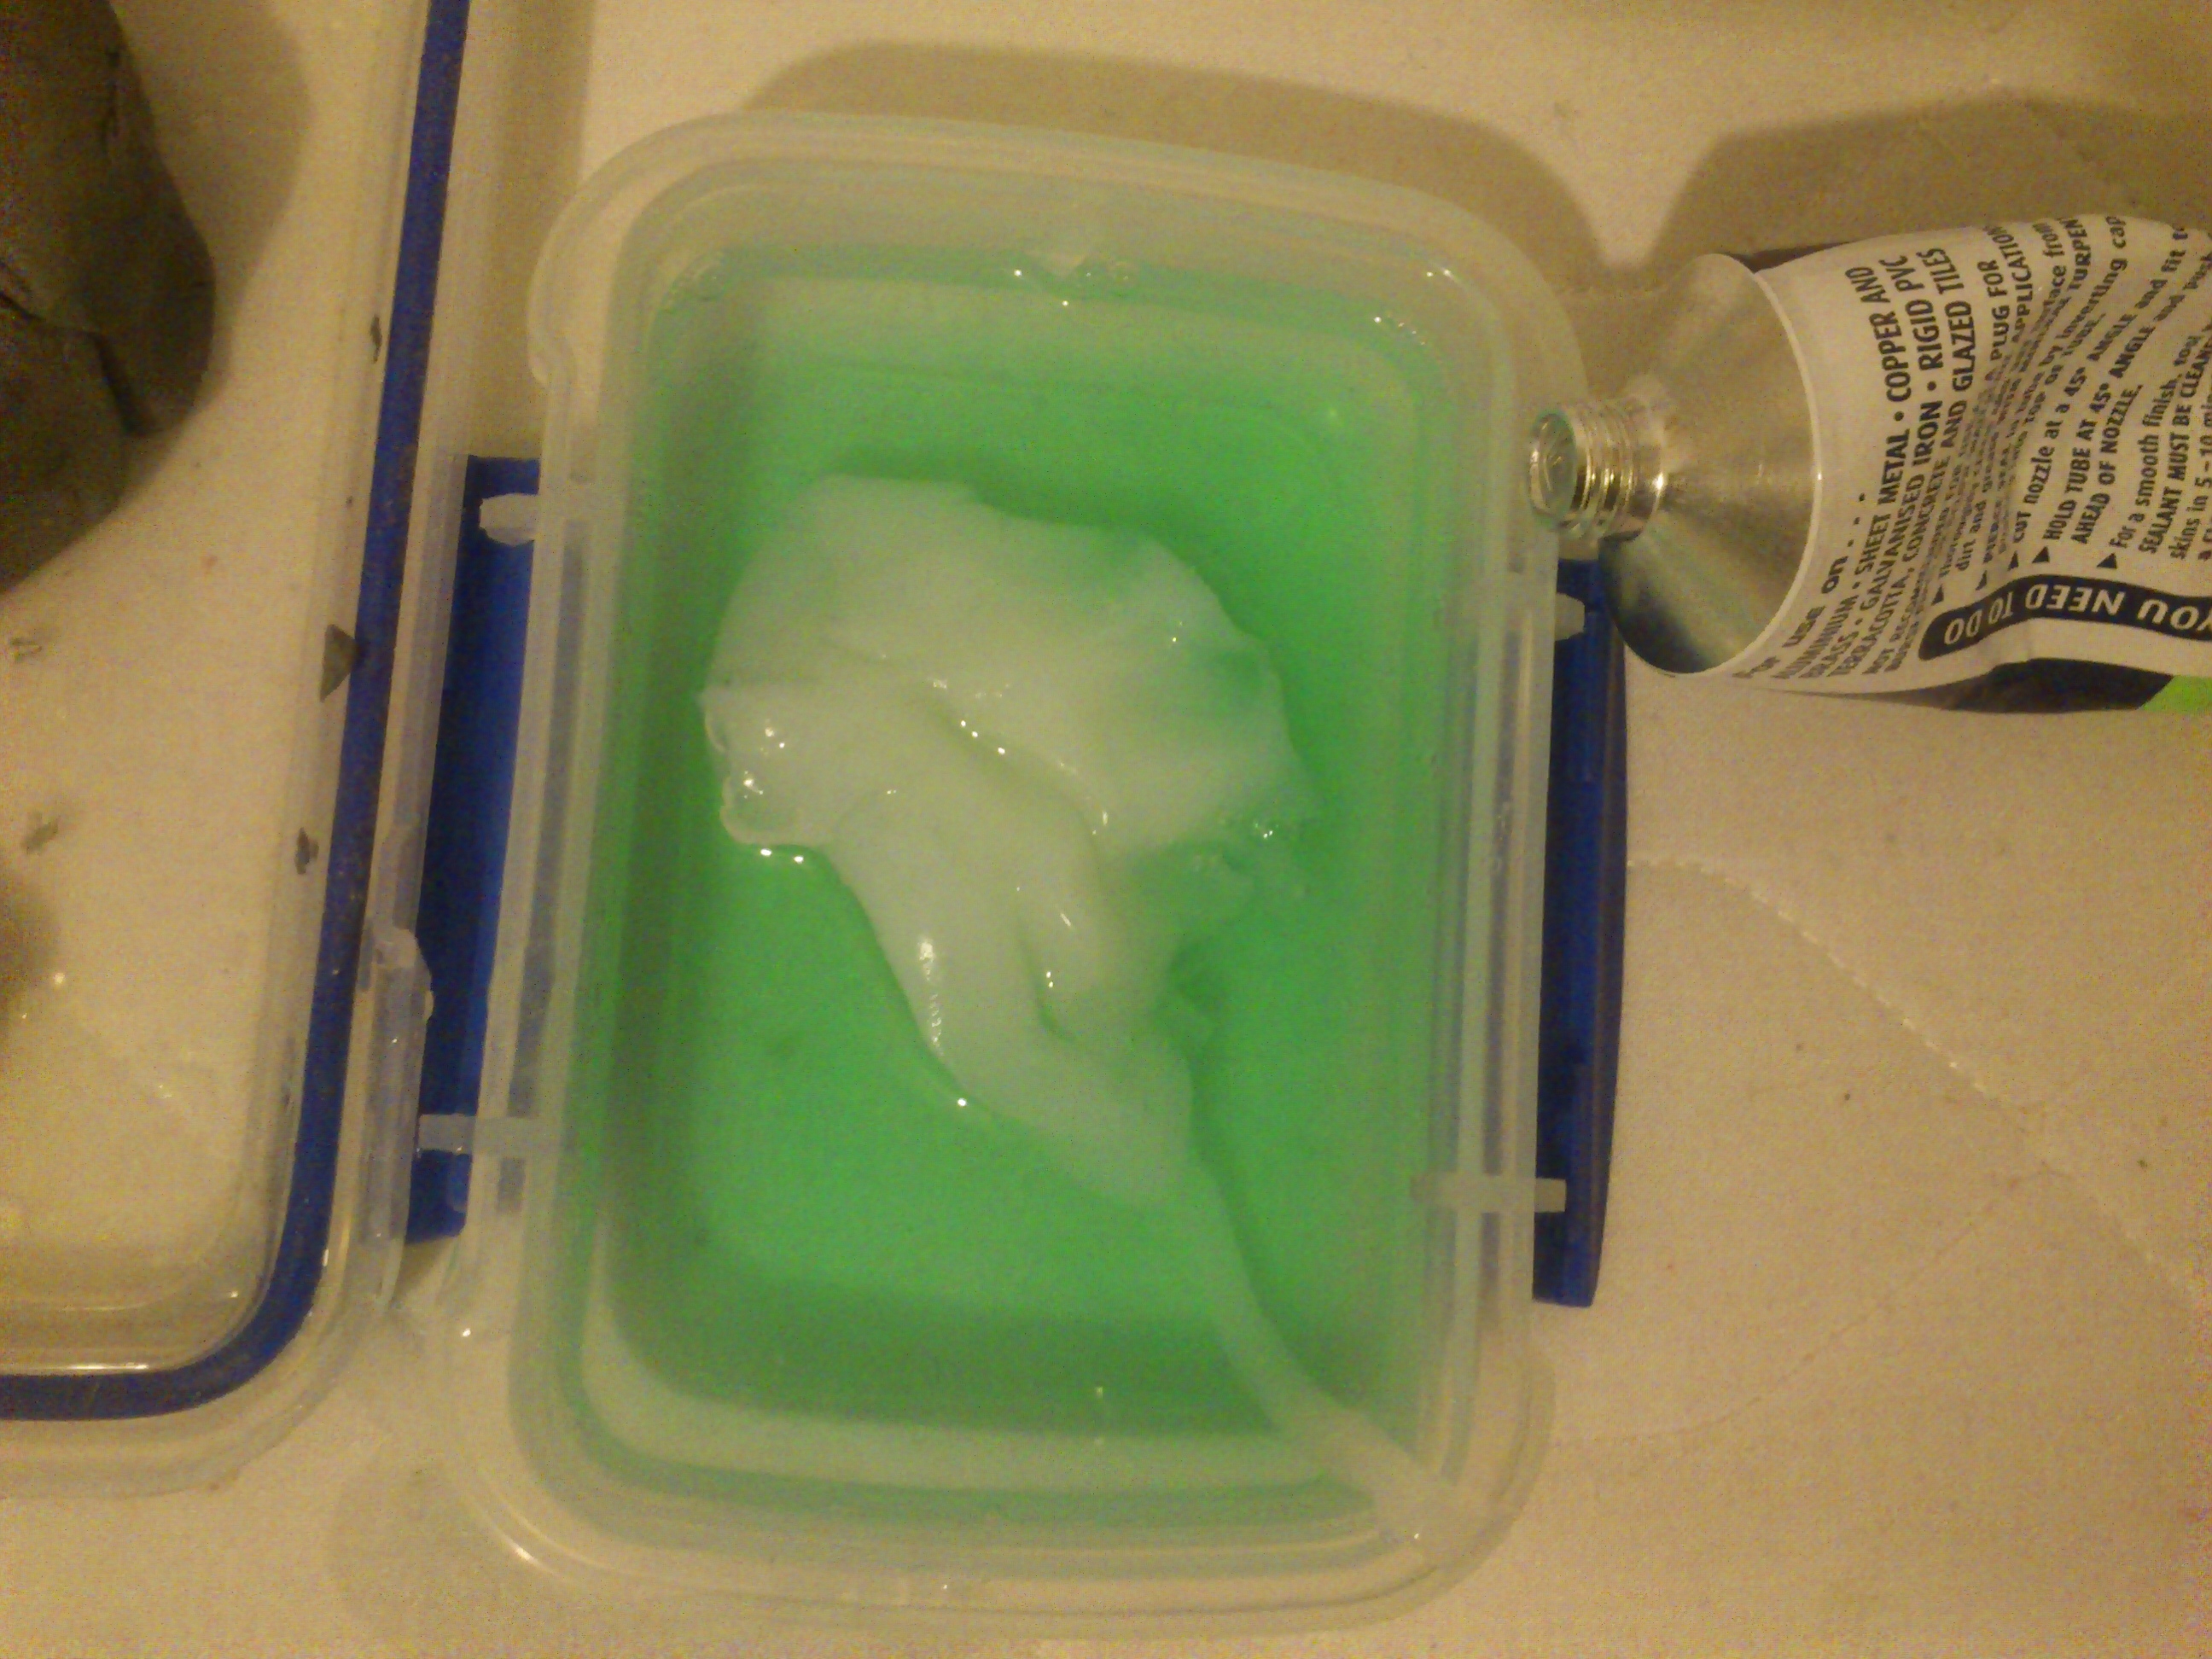
Squeeze caulking in to a mi =x of soap and water. I used about 1/4 soap to water. And I often use more. The soap detacks the silicone while working with it but allows the product to still stick to itself.
I deliberately make noodle shapes to immediately expose as much of the silicone to water was possible.
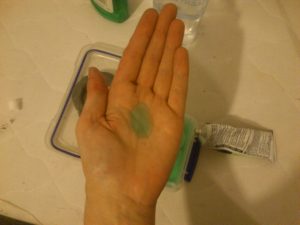
I then put soap on my hands to prevent the silicone sticking to me! For larger projects I use the warm soap and water in my larger container and also soap all the way to my elbows to avoid any accidental sticking.

I then put the silicone in my hands and work the noodles together to form one mass. It’s very important to work it gently but to also push any water out and to the surface.
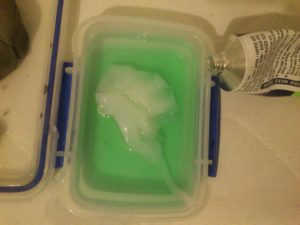
I then put it back in the water if it is still very loose and not curing. Take care! Sometimes you can over cure the surface and get lumps.

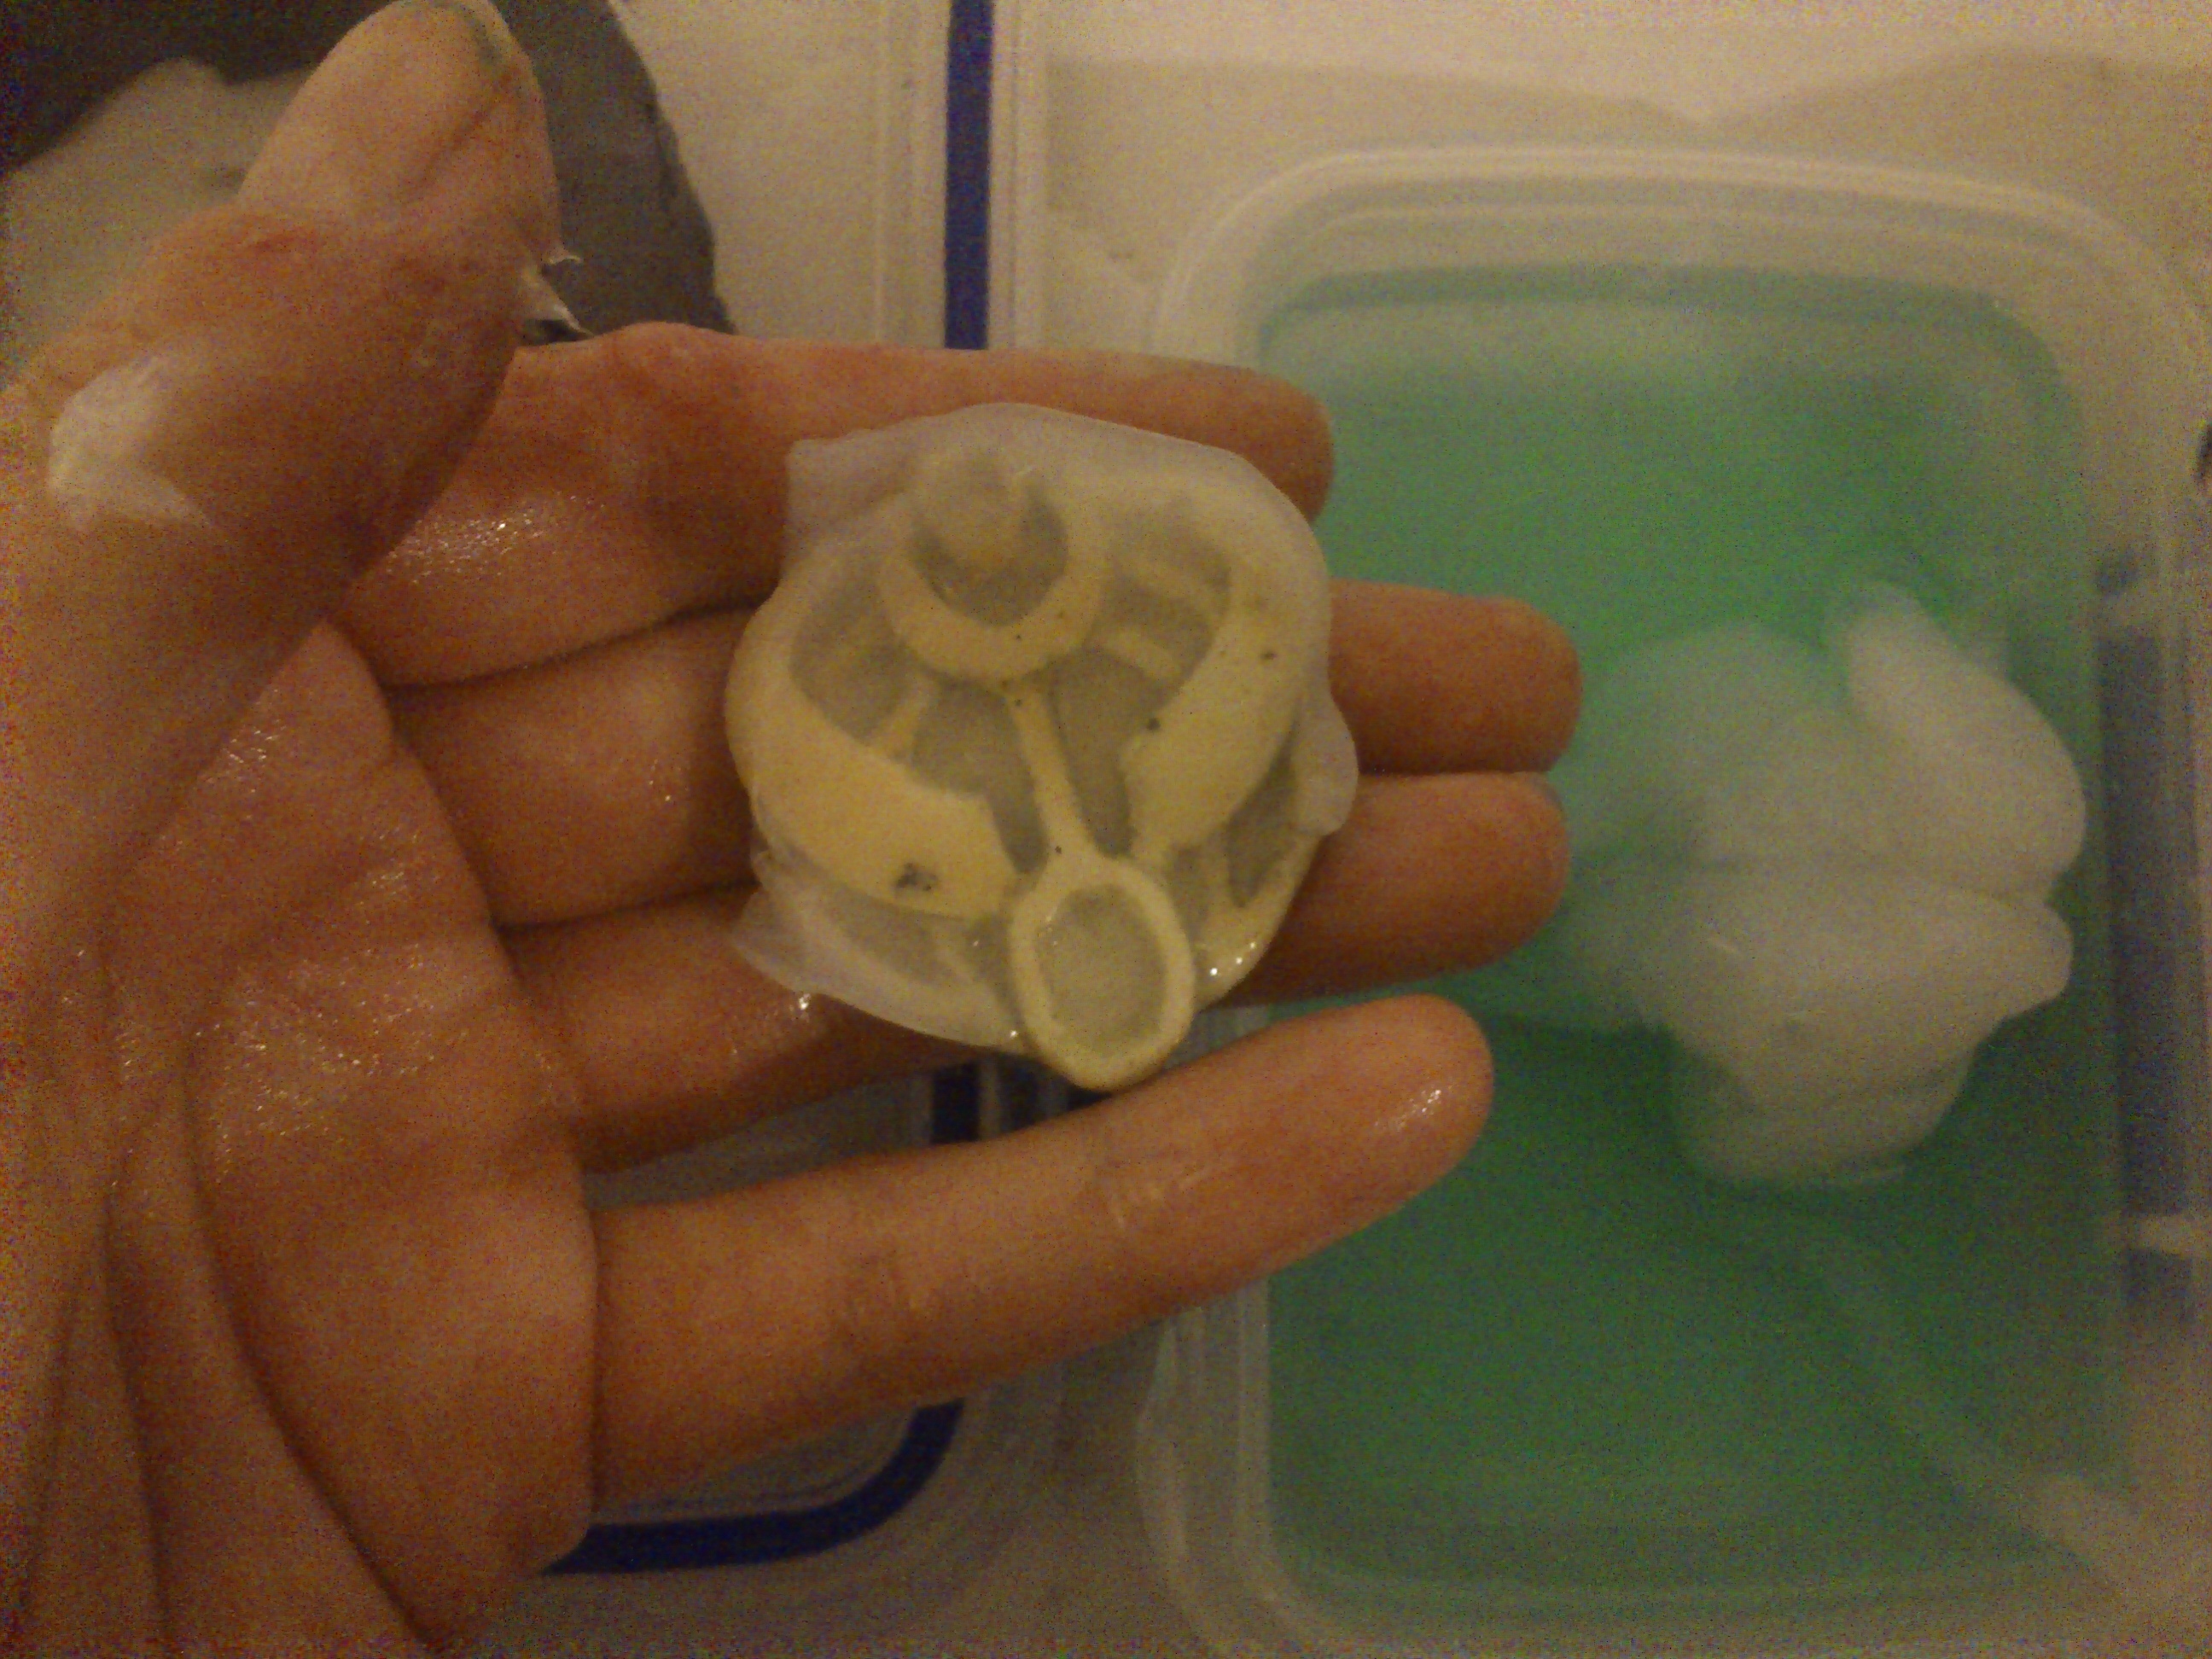
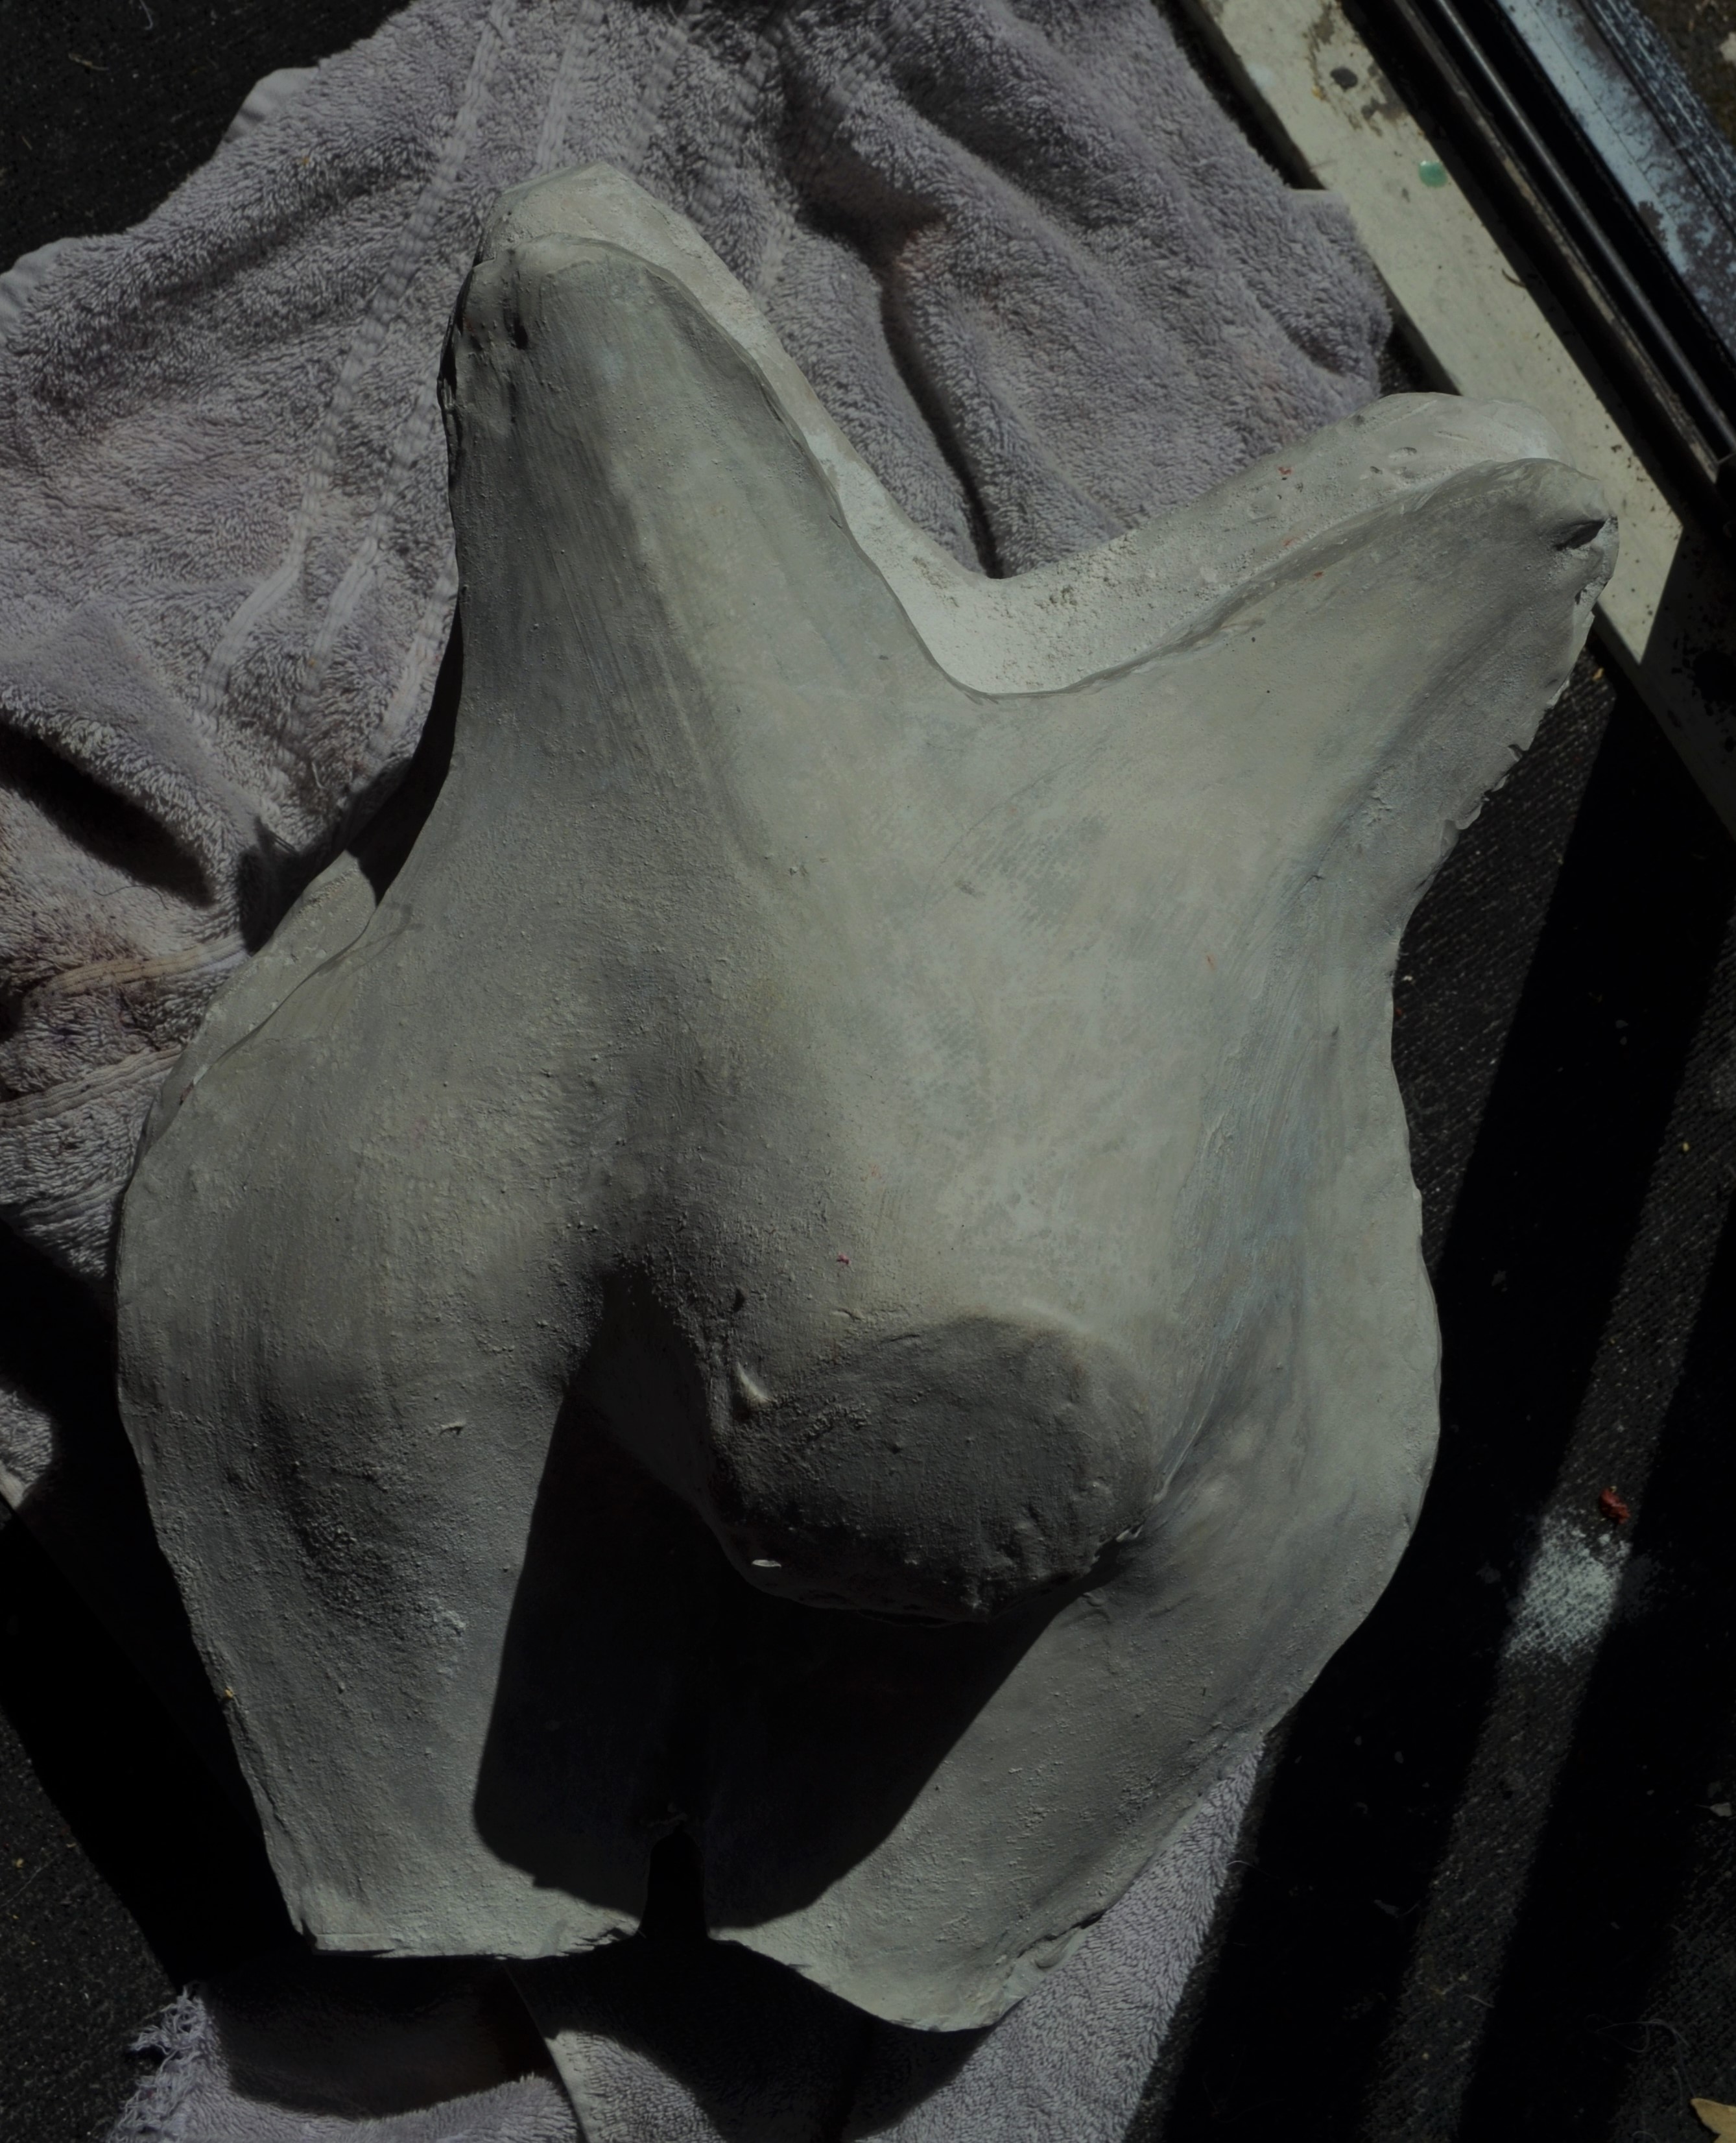
I push a very thin layer in to the piece and check for air bubbles. Once this is done I set the piece in the mold.
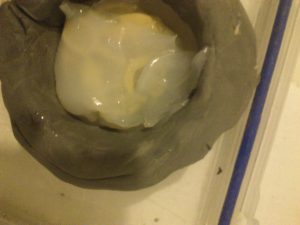
One in place I use small piece to press around the edges, pushing air bubbles out as I go.
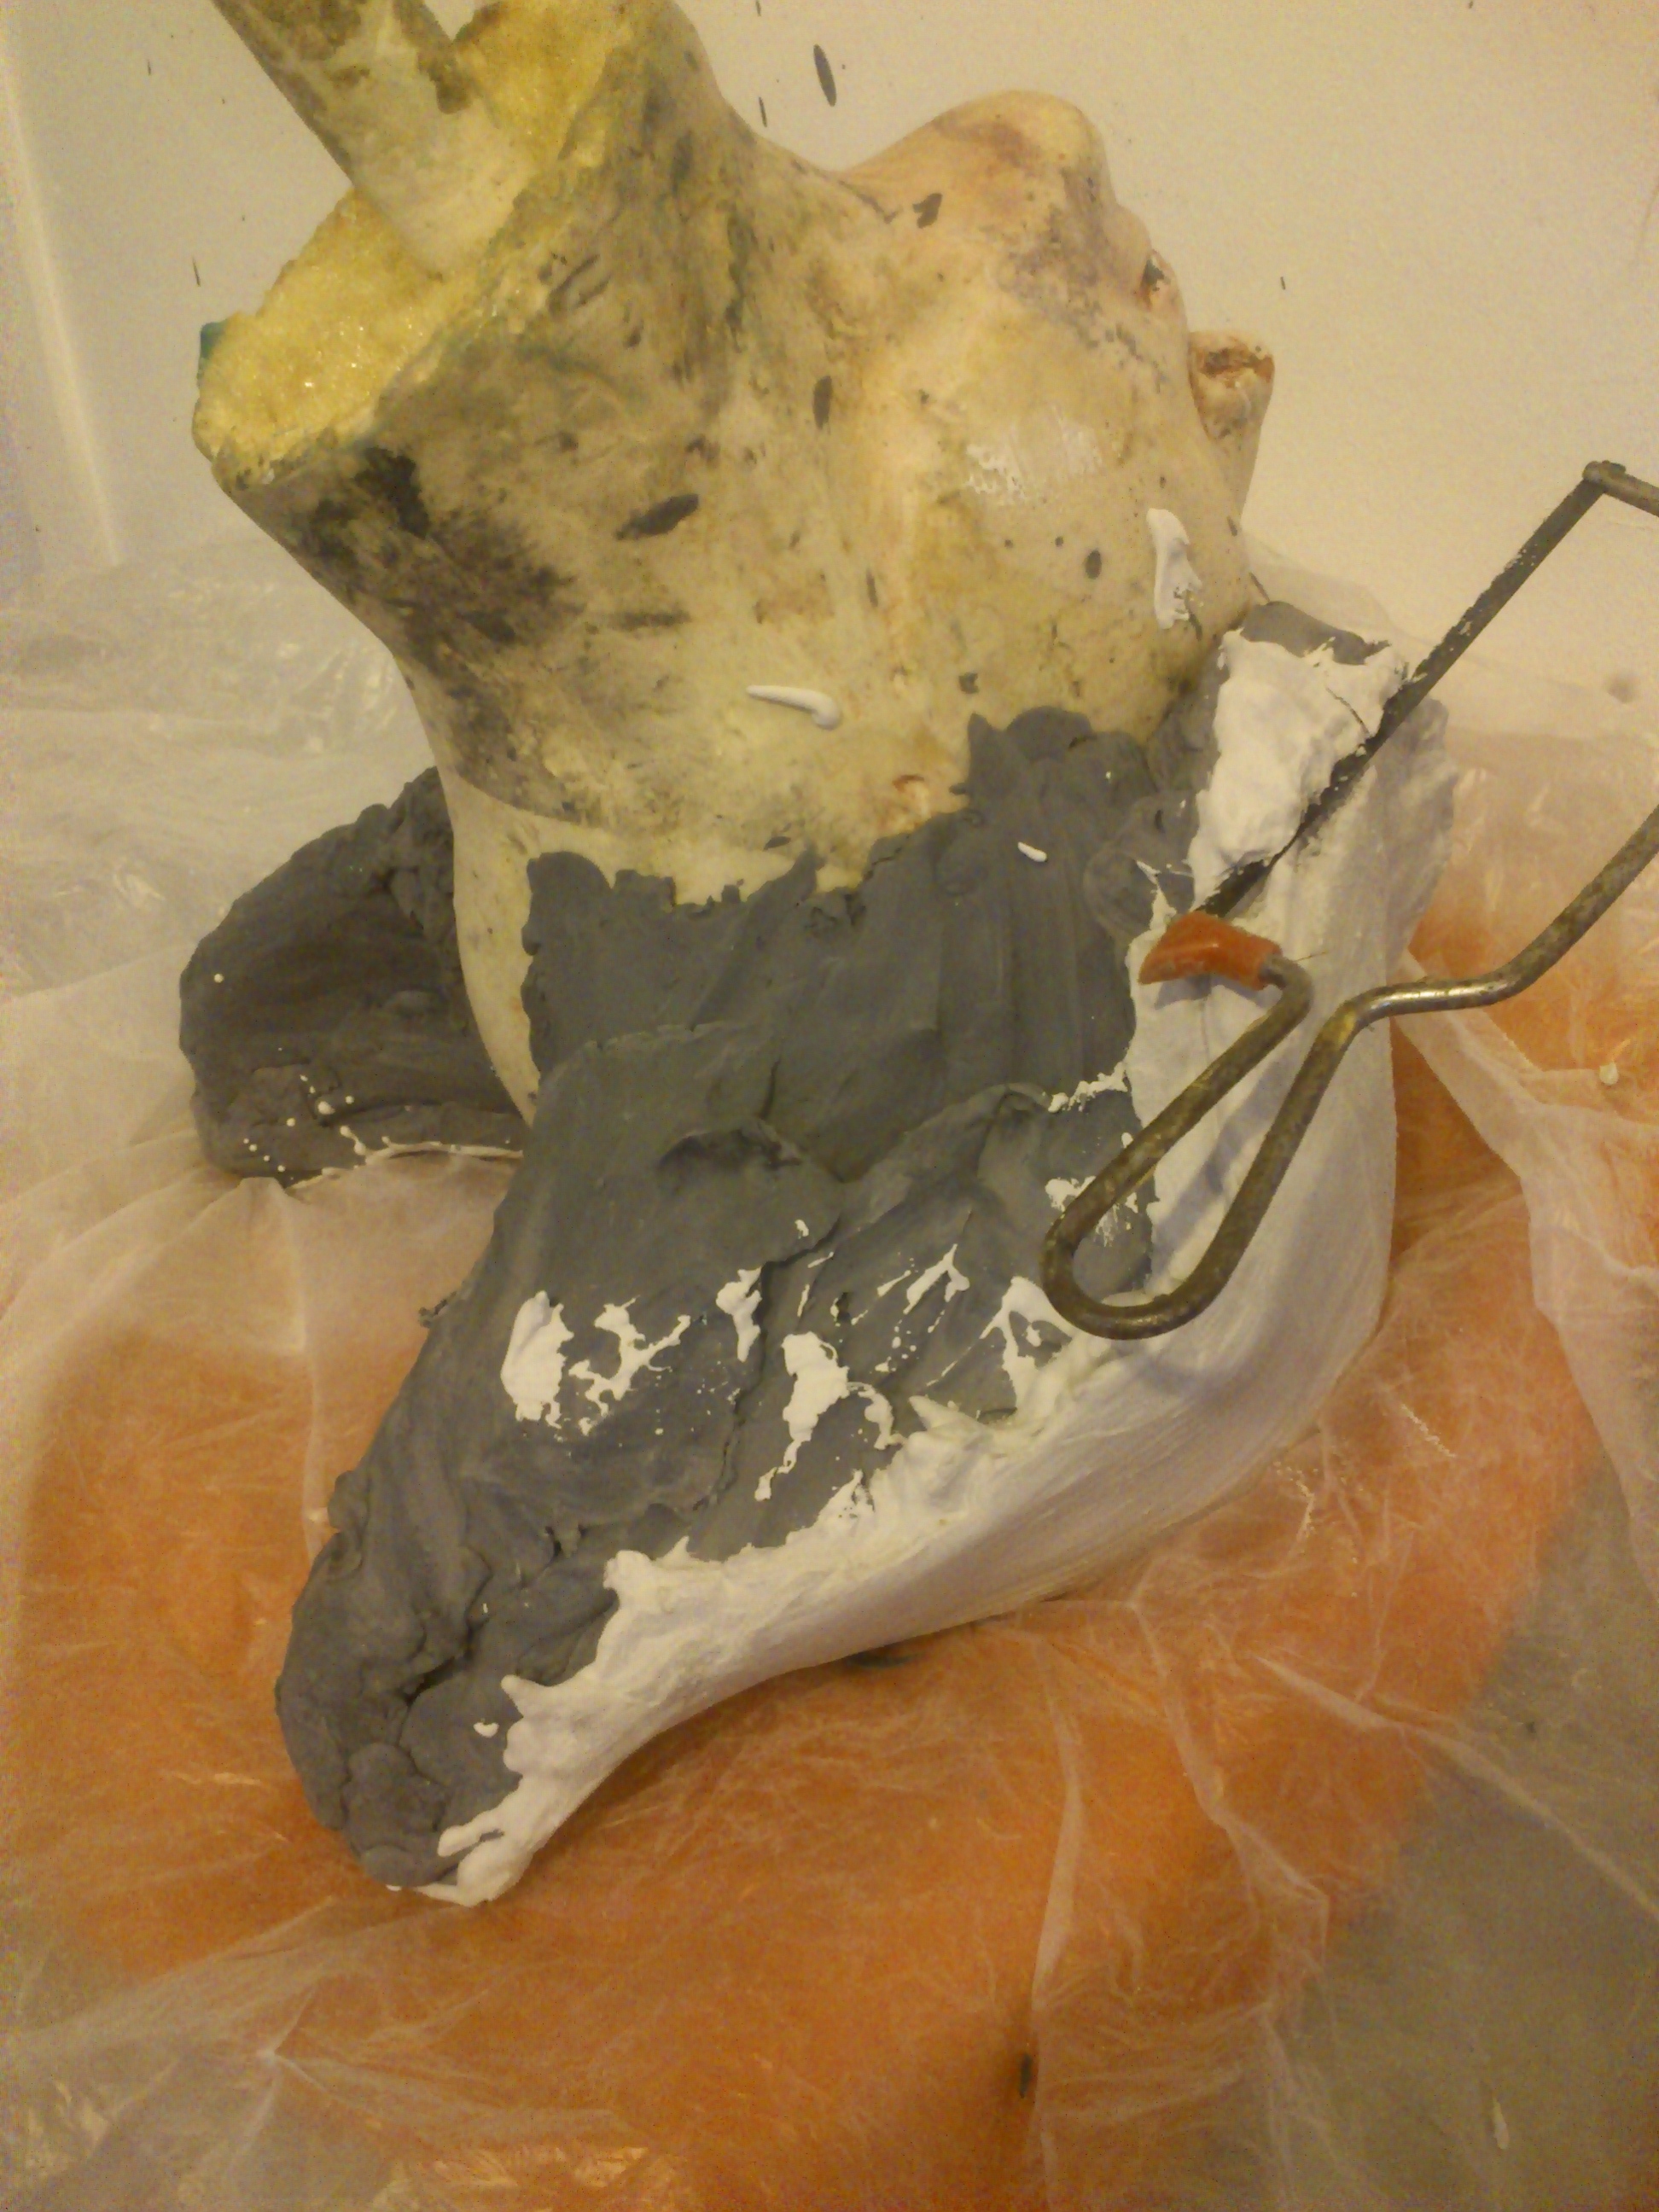
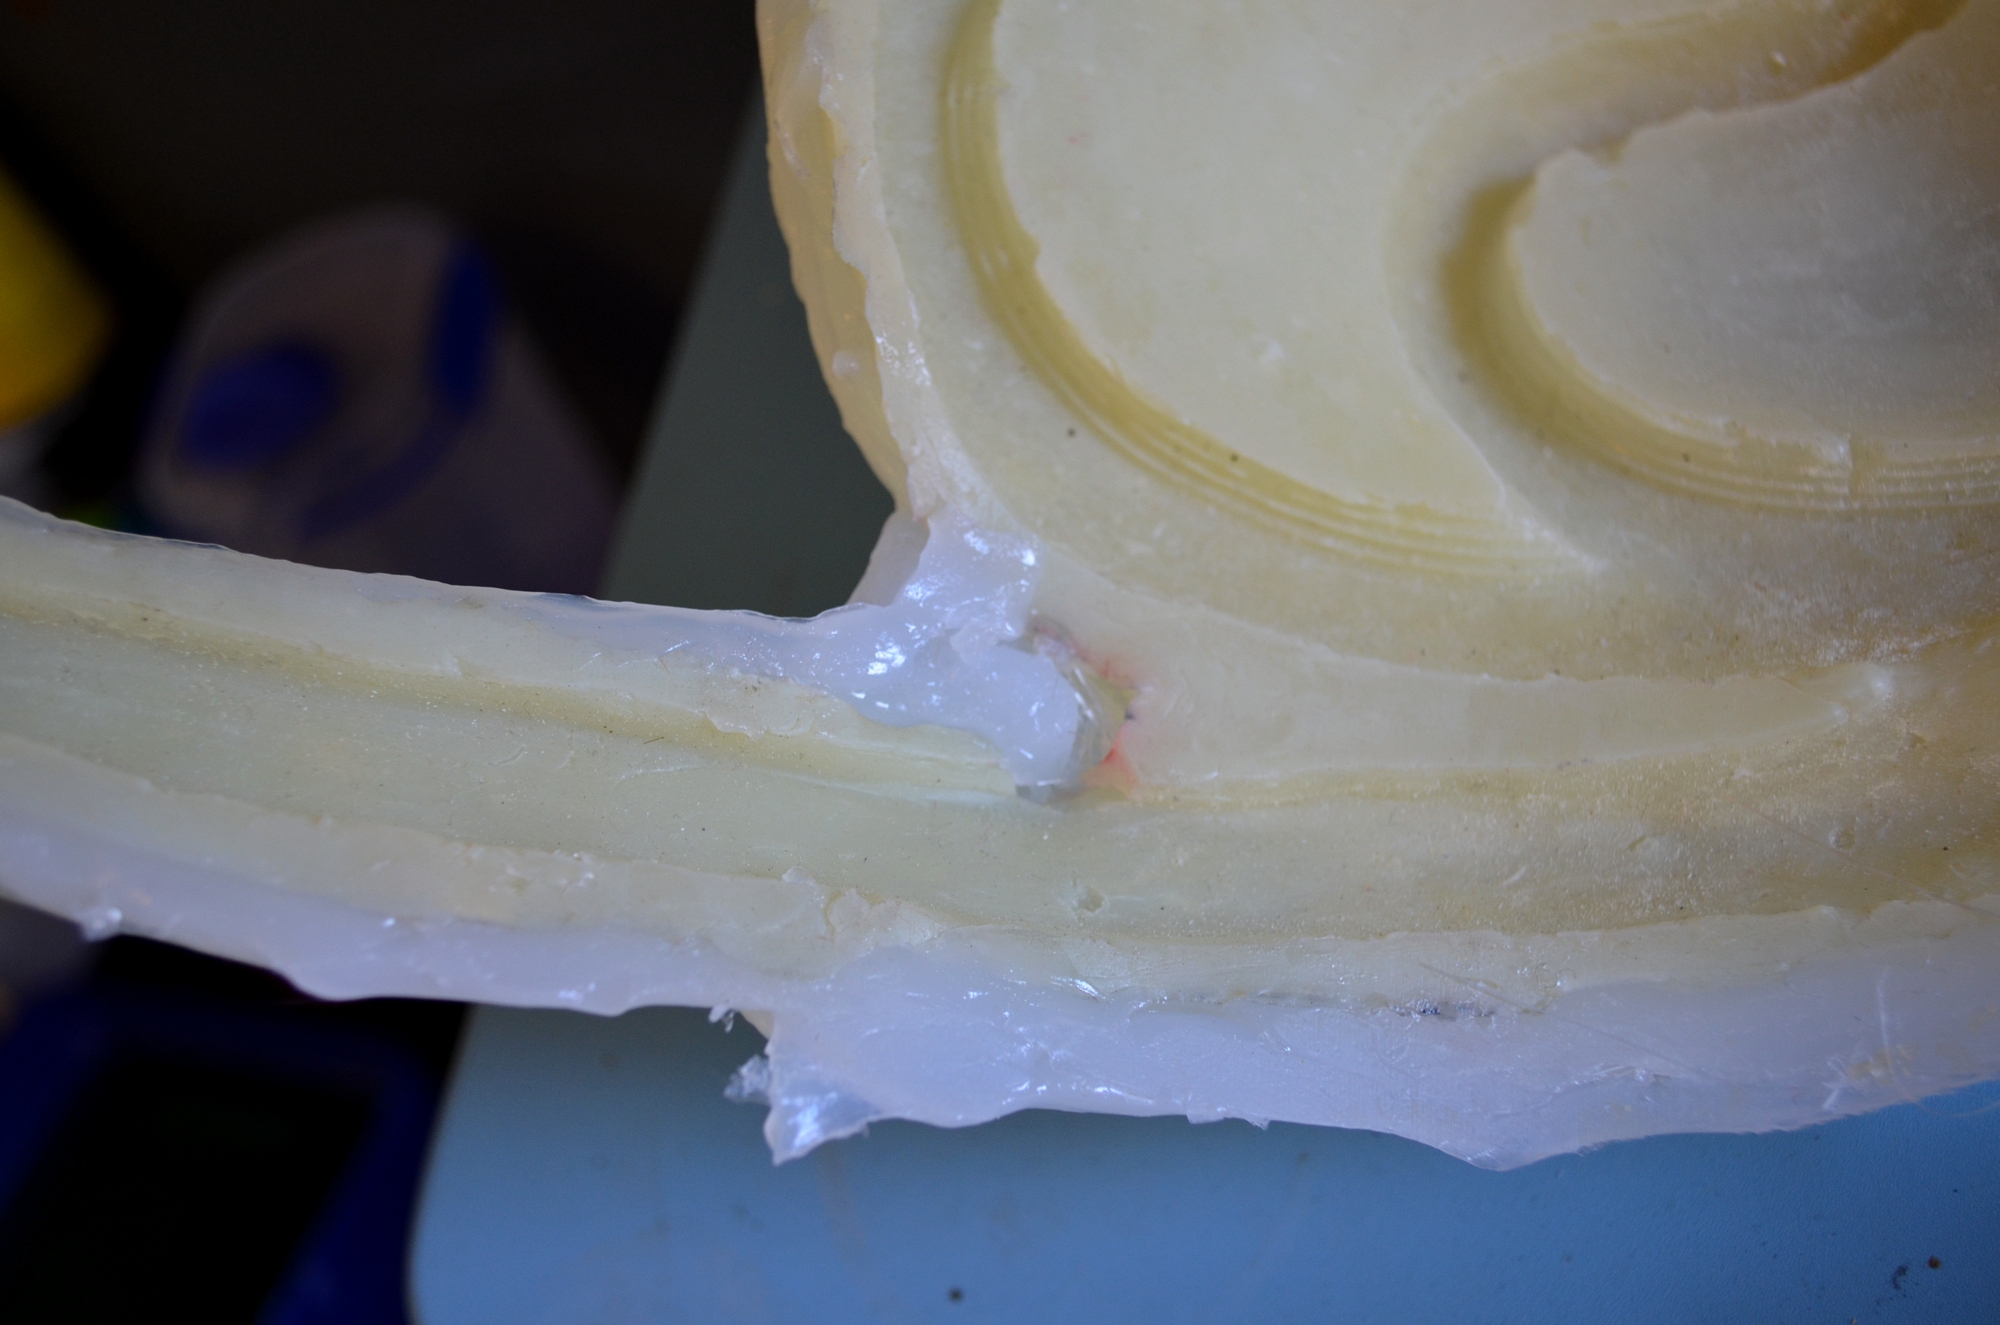
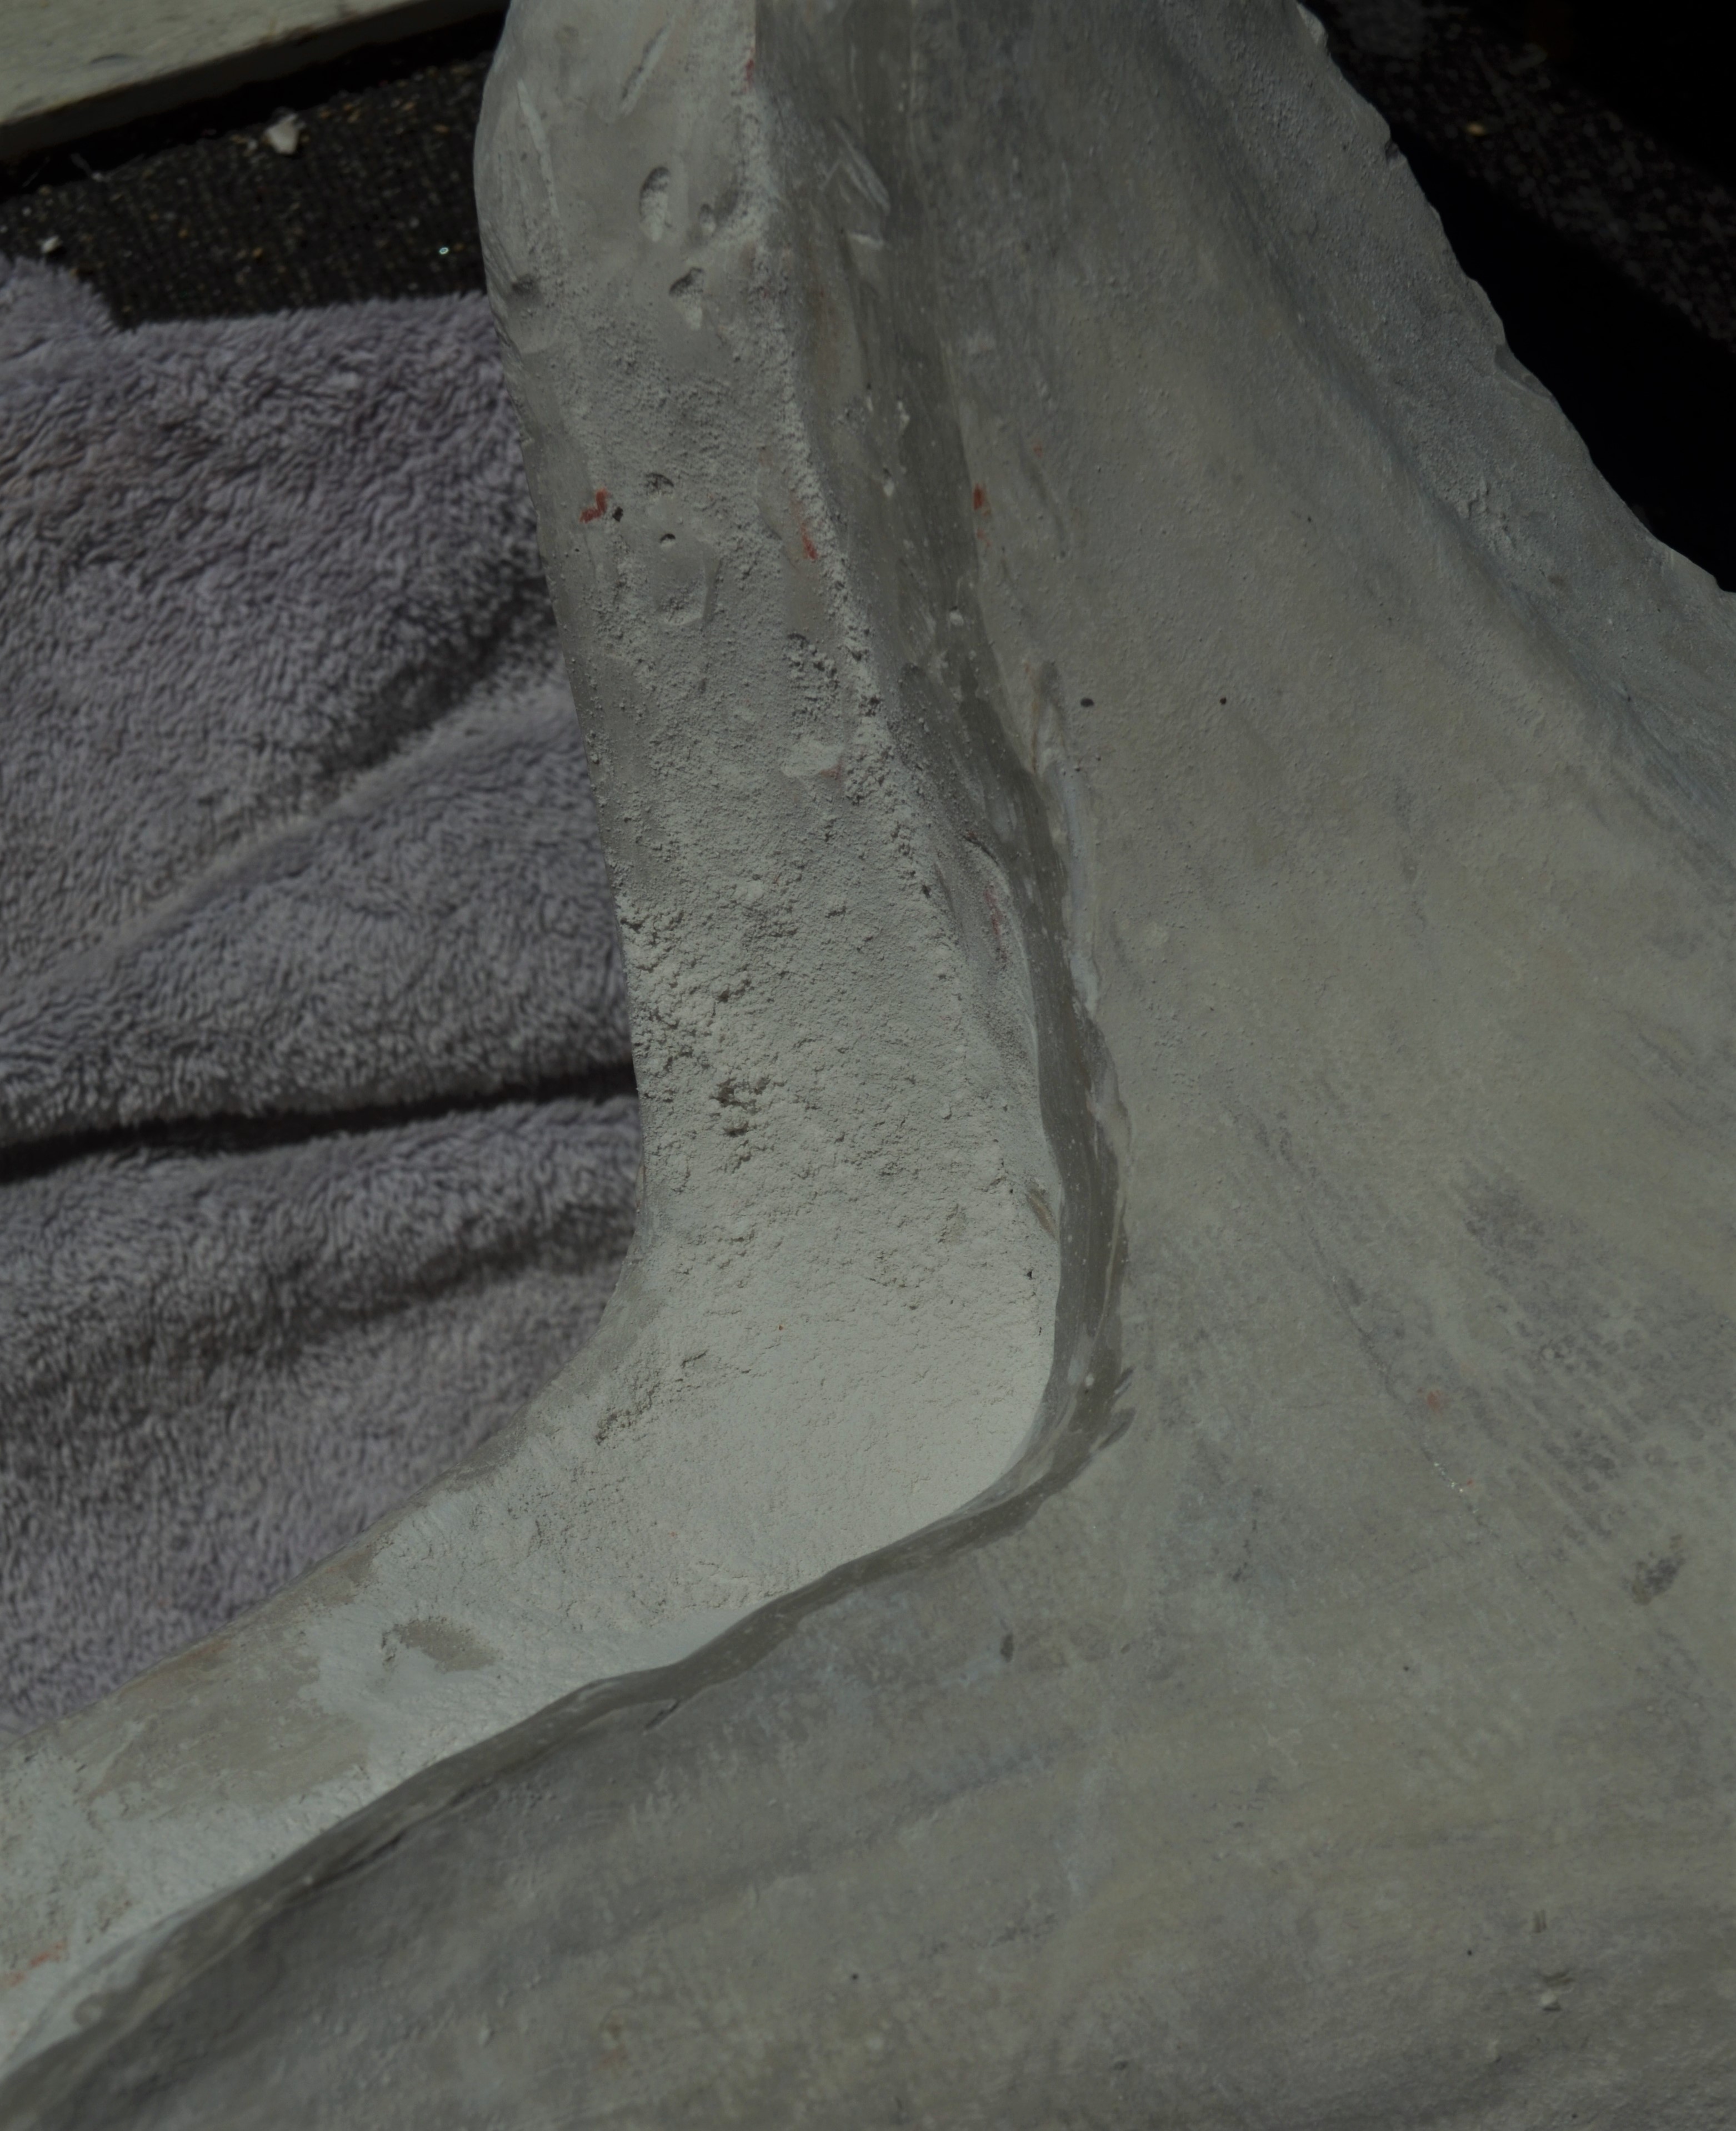
Finally I build up the last layer and smooth the surface. As the caulk is not self leveling you do need to make sure it is flat as possible if you are going to use it as a flat back mold.
Once this is cured I will trim the edges, and use more caulk to glue the back to a flat surface.
For very large pieces I do put the whole object and mold in a large container of water. I will then also remove the mold from the object and repeat.


 by
by