
Mon Mothma progress
I don’t like to use patterns, I find infinitely more success with drafting (more than drafting, and drafting more successful than using an existing pattern.) It has everything to do with modern pattern blocks. In general bodies vary each generation but there is a fashionable shape as well as a fashionable size.
My shape goes against modern fit models in a way that does not conform to the methods of correcting a pattern.


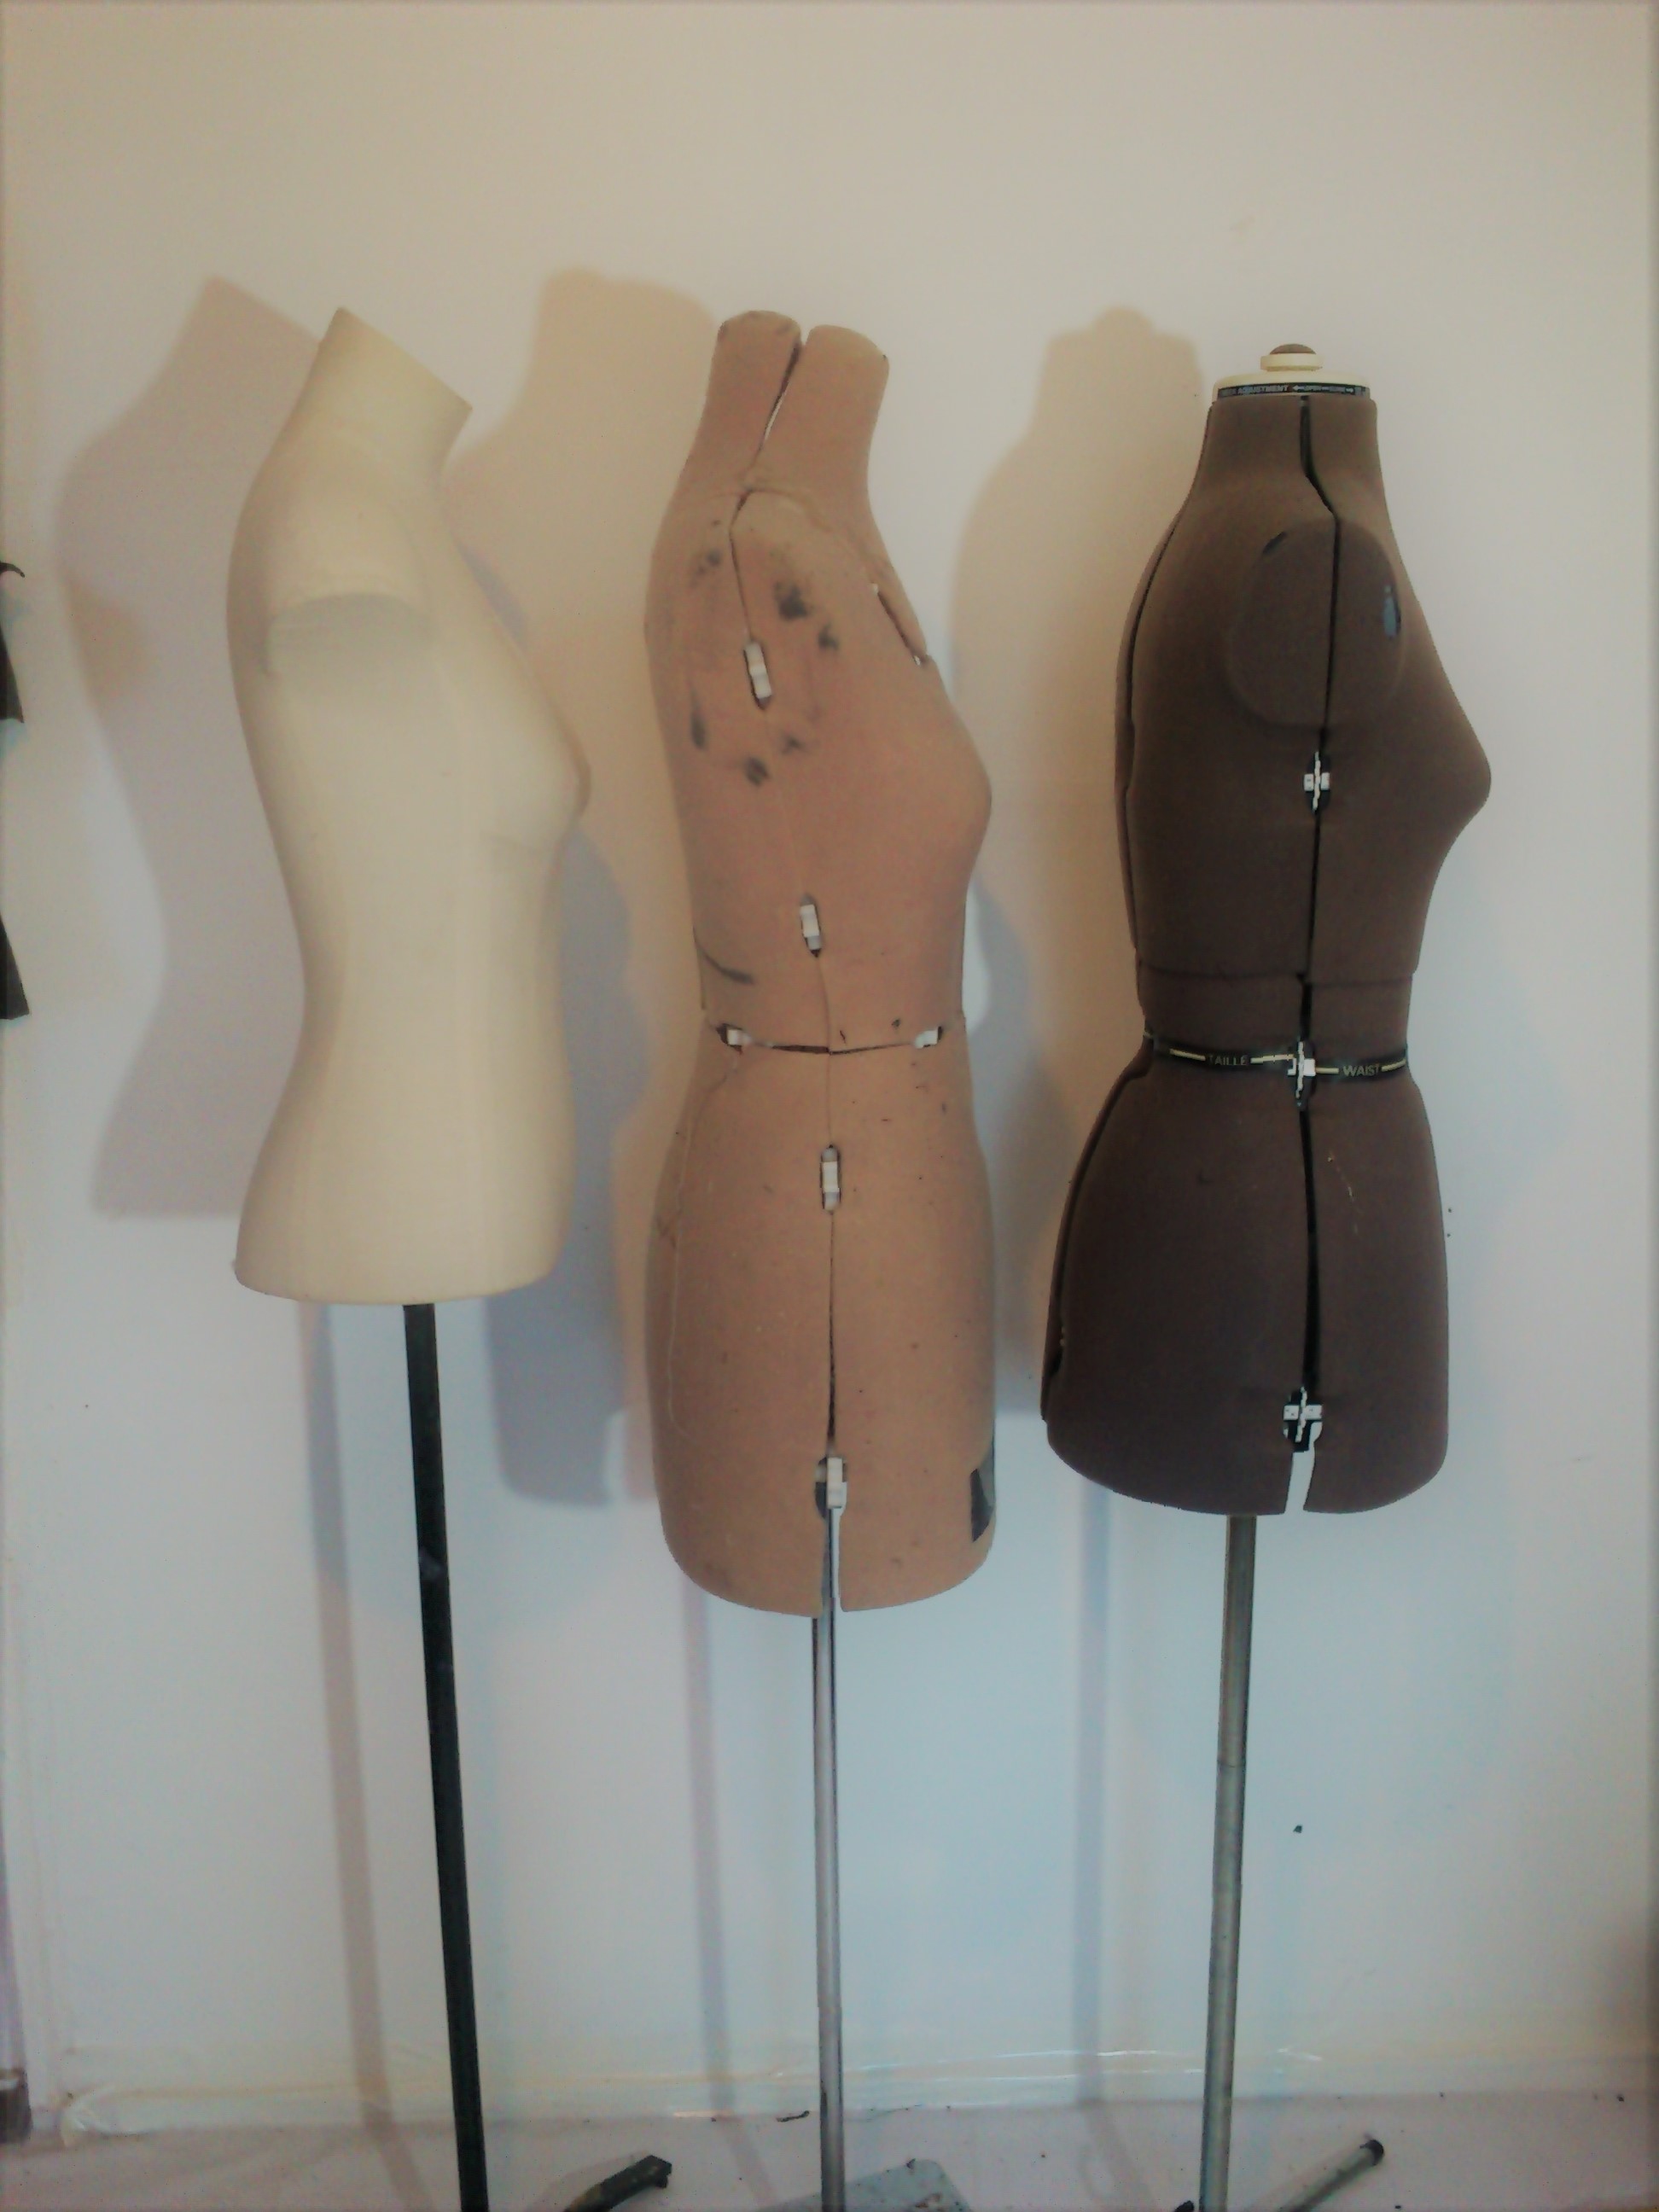
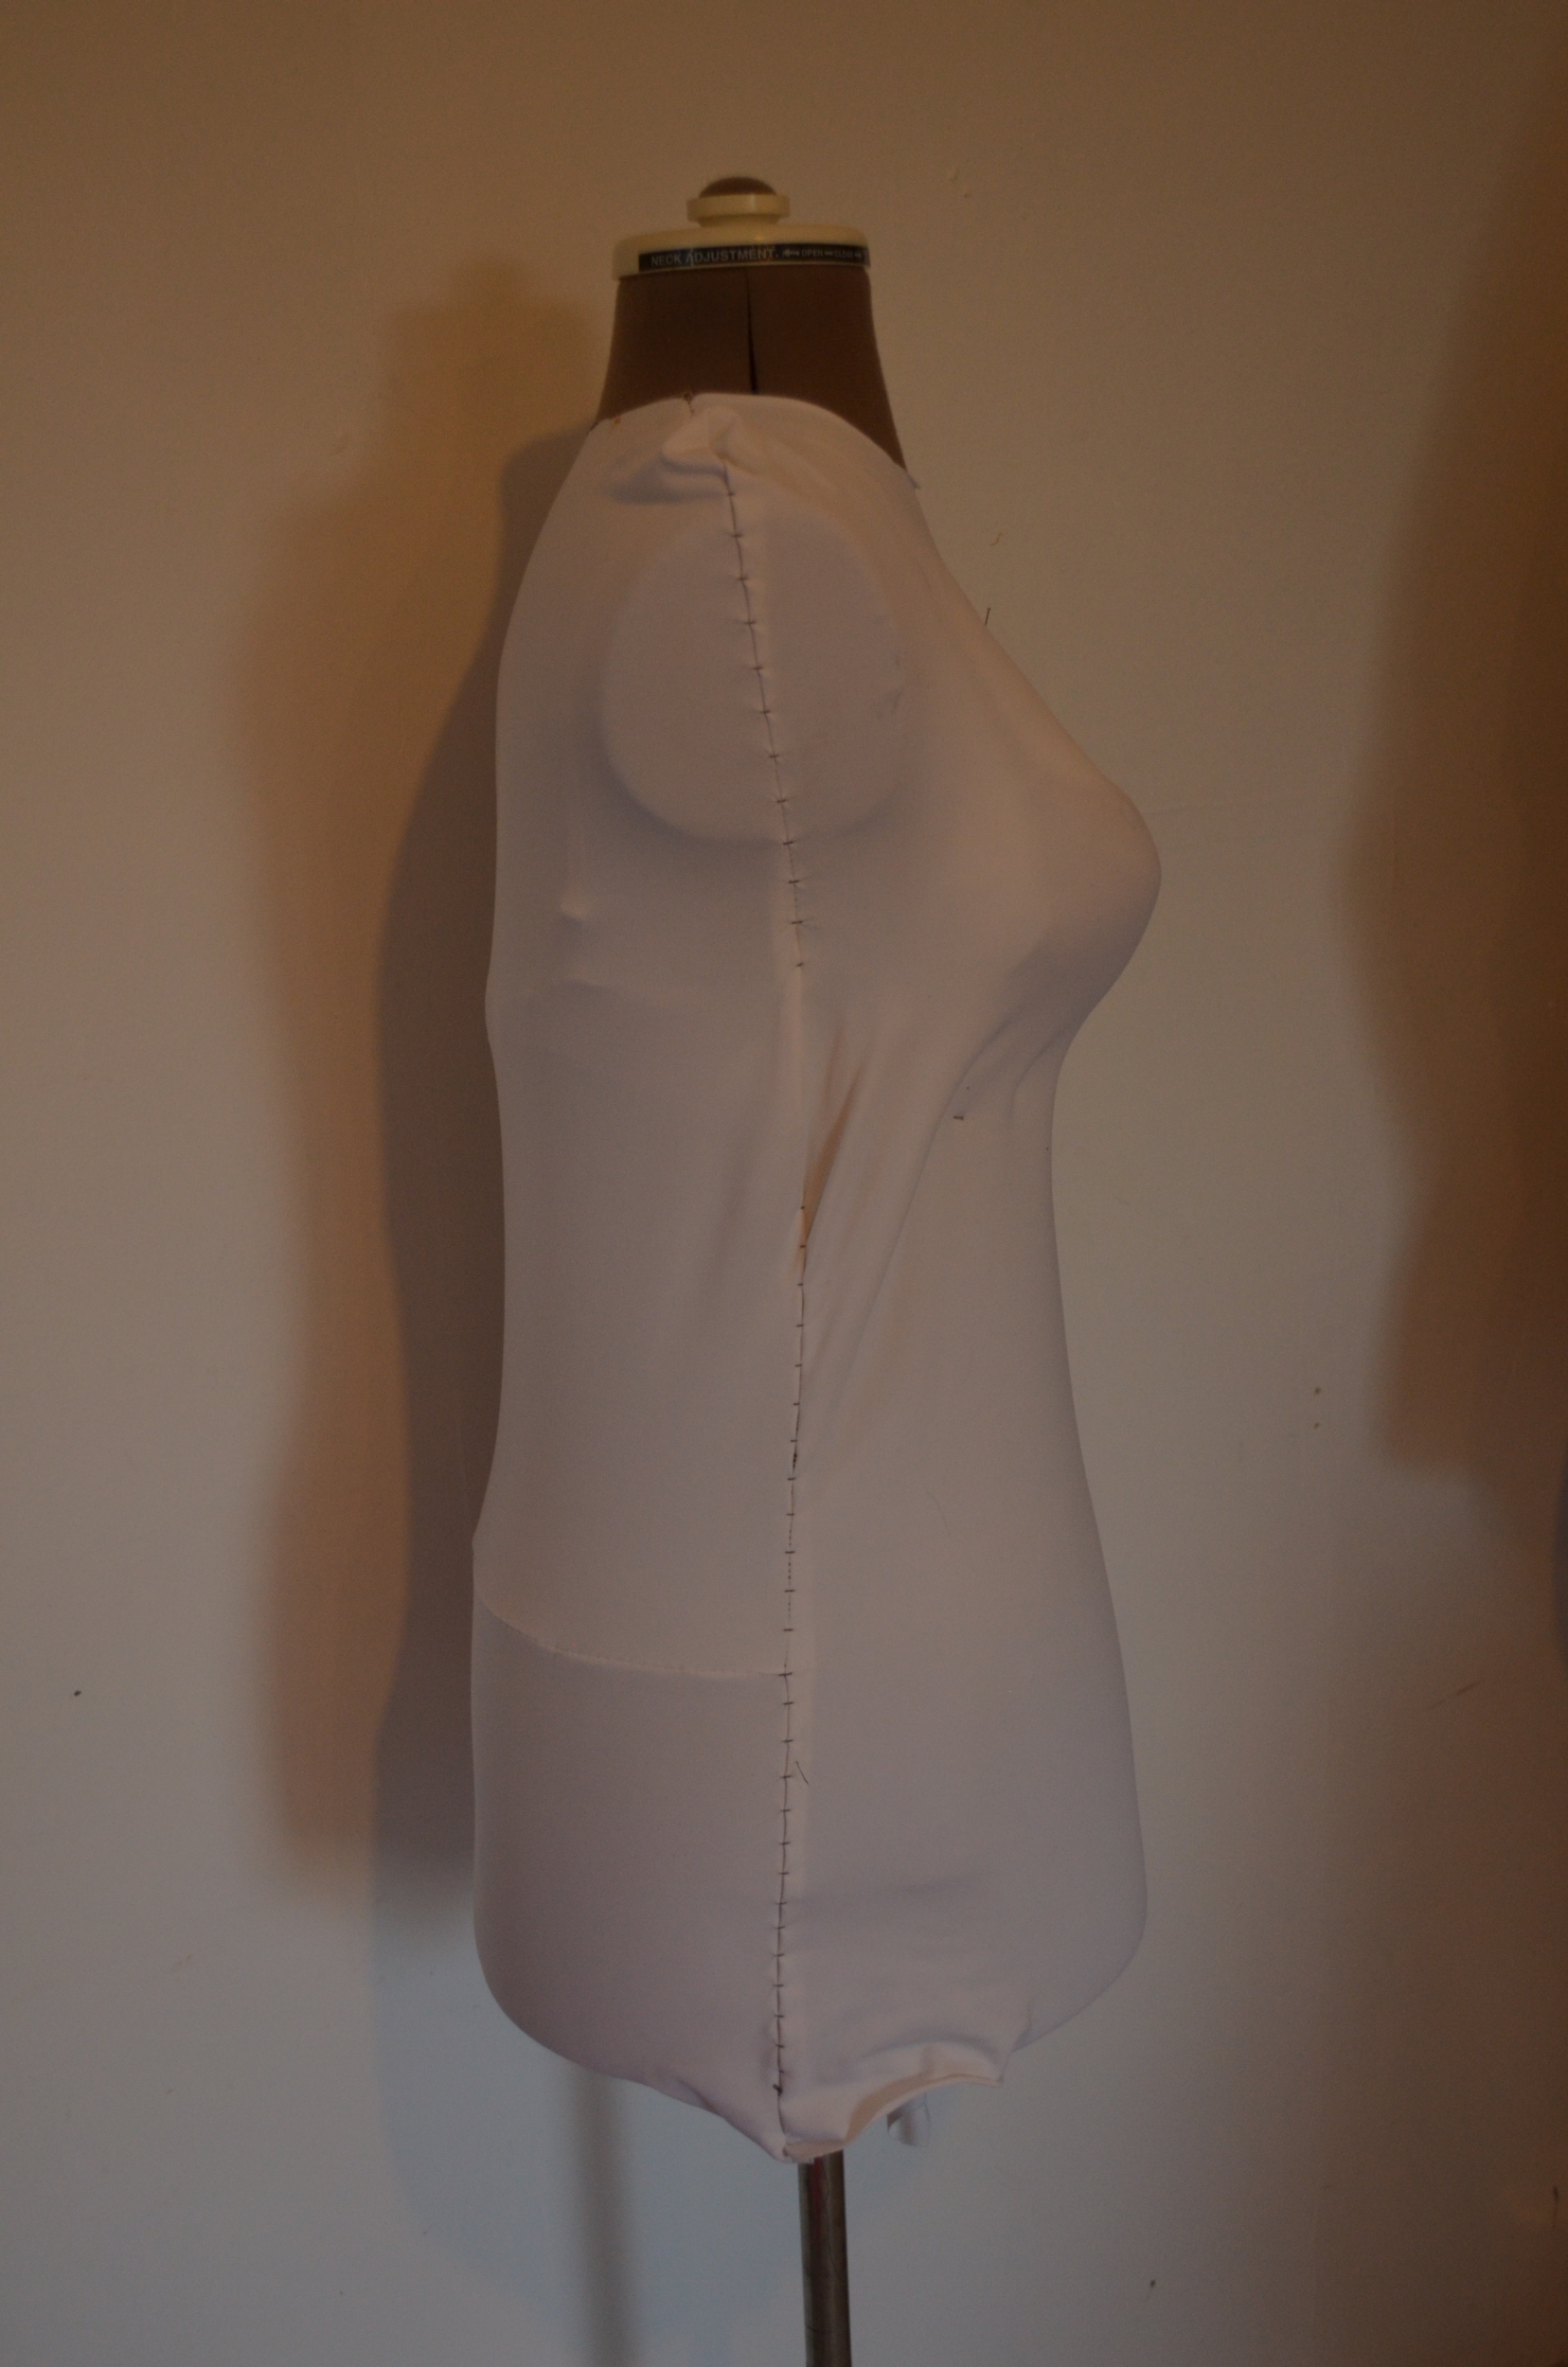
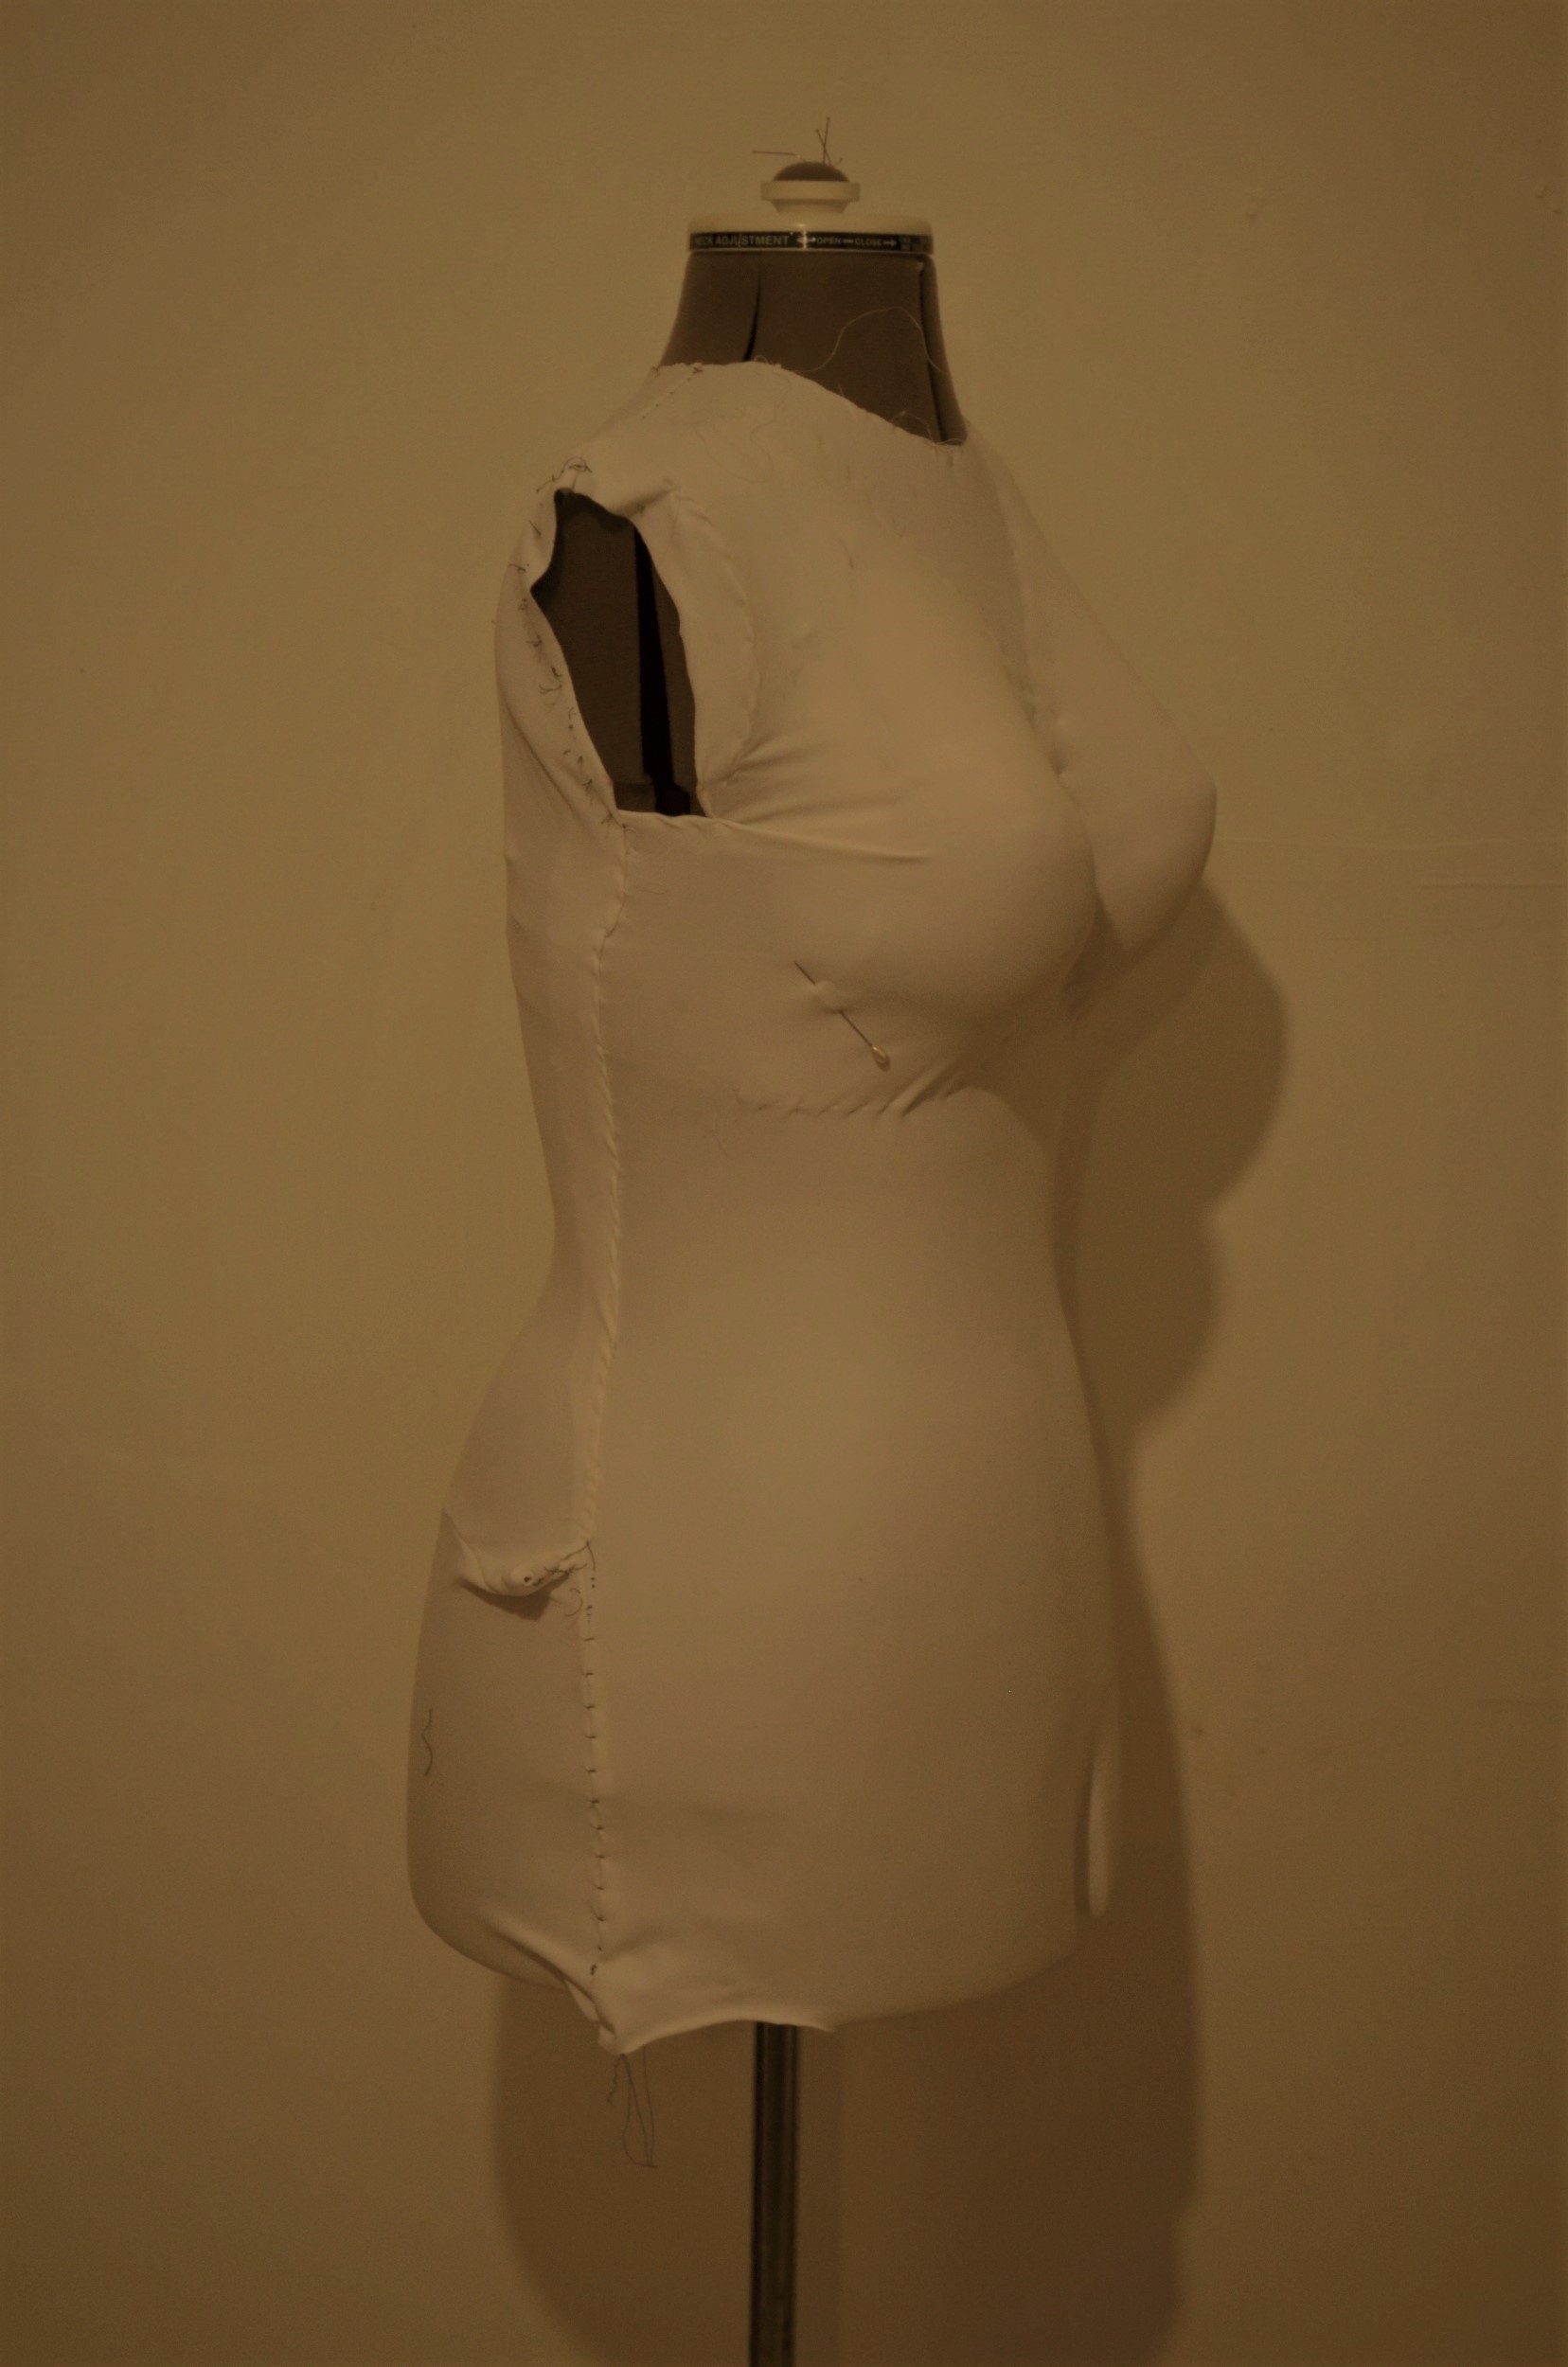
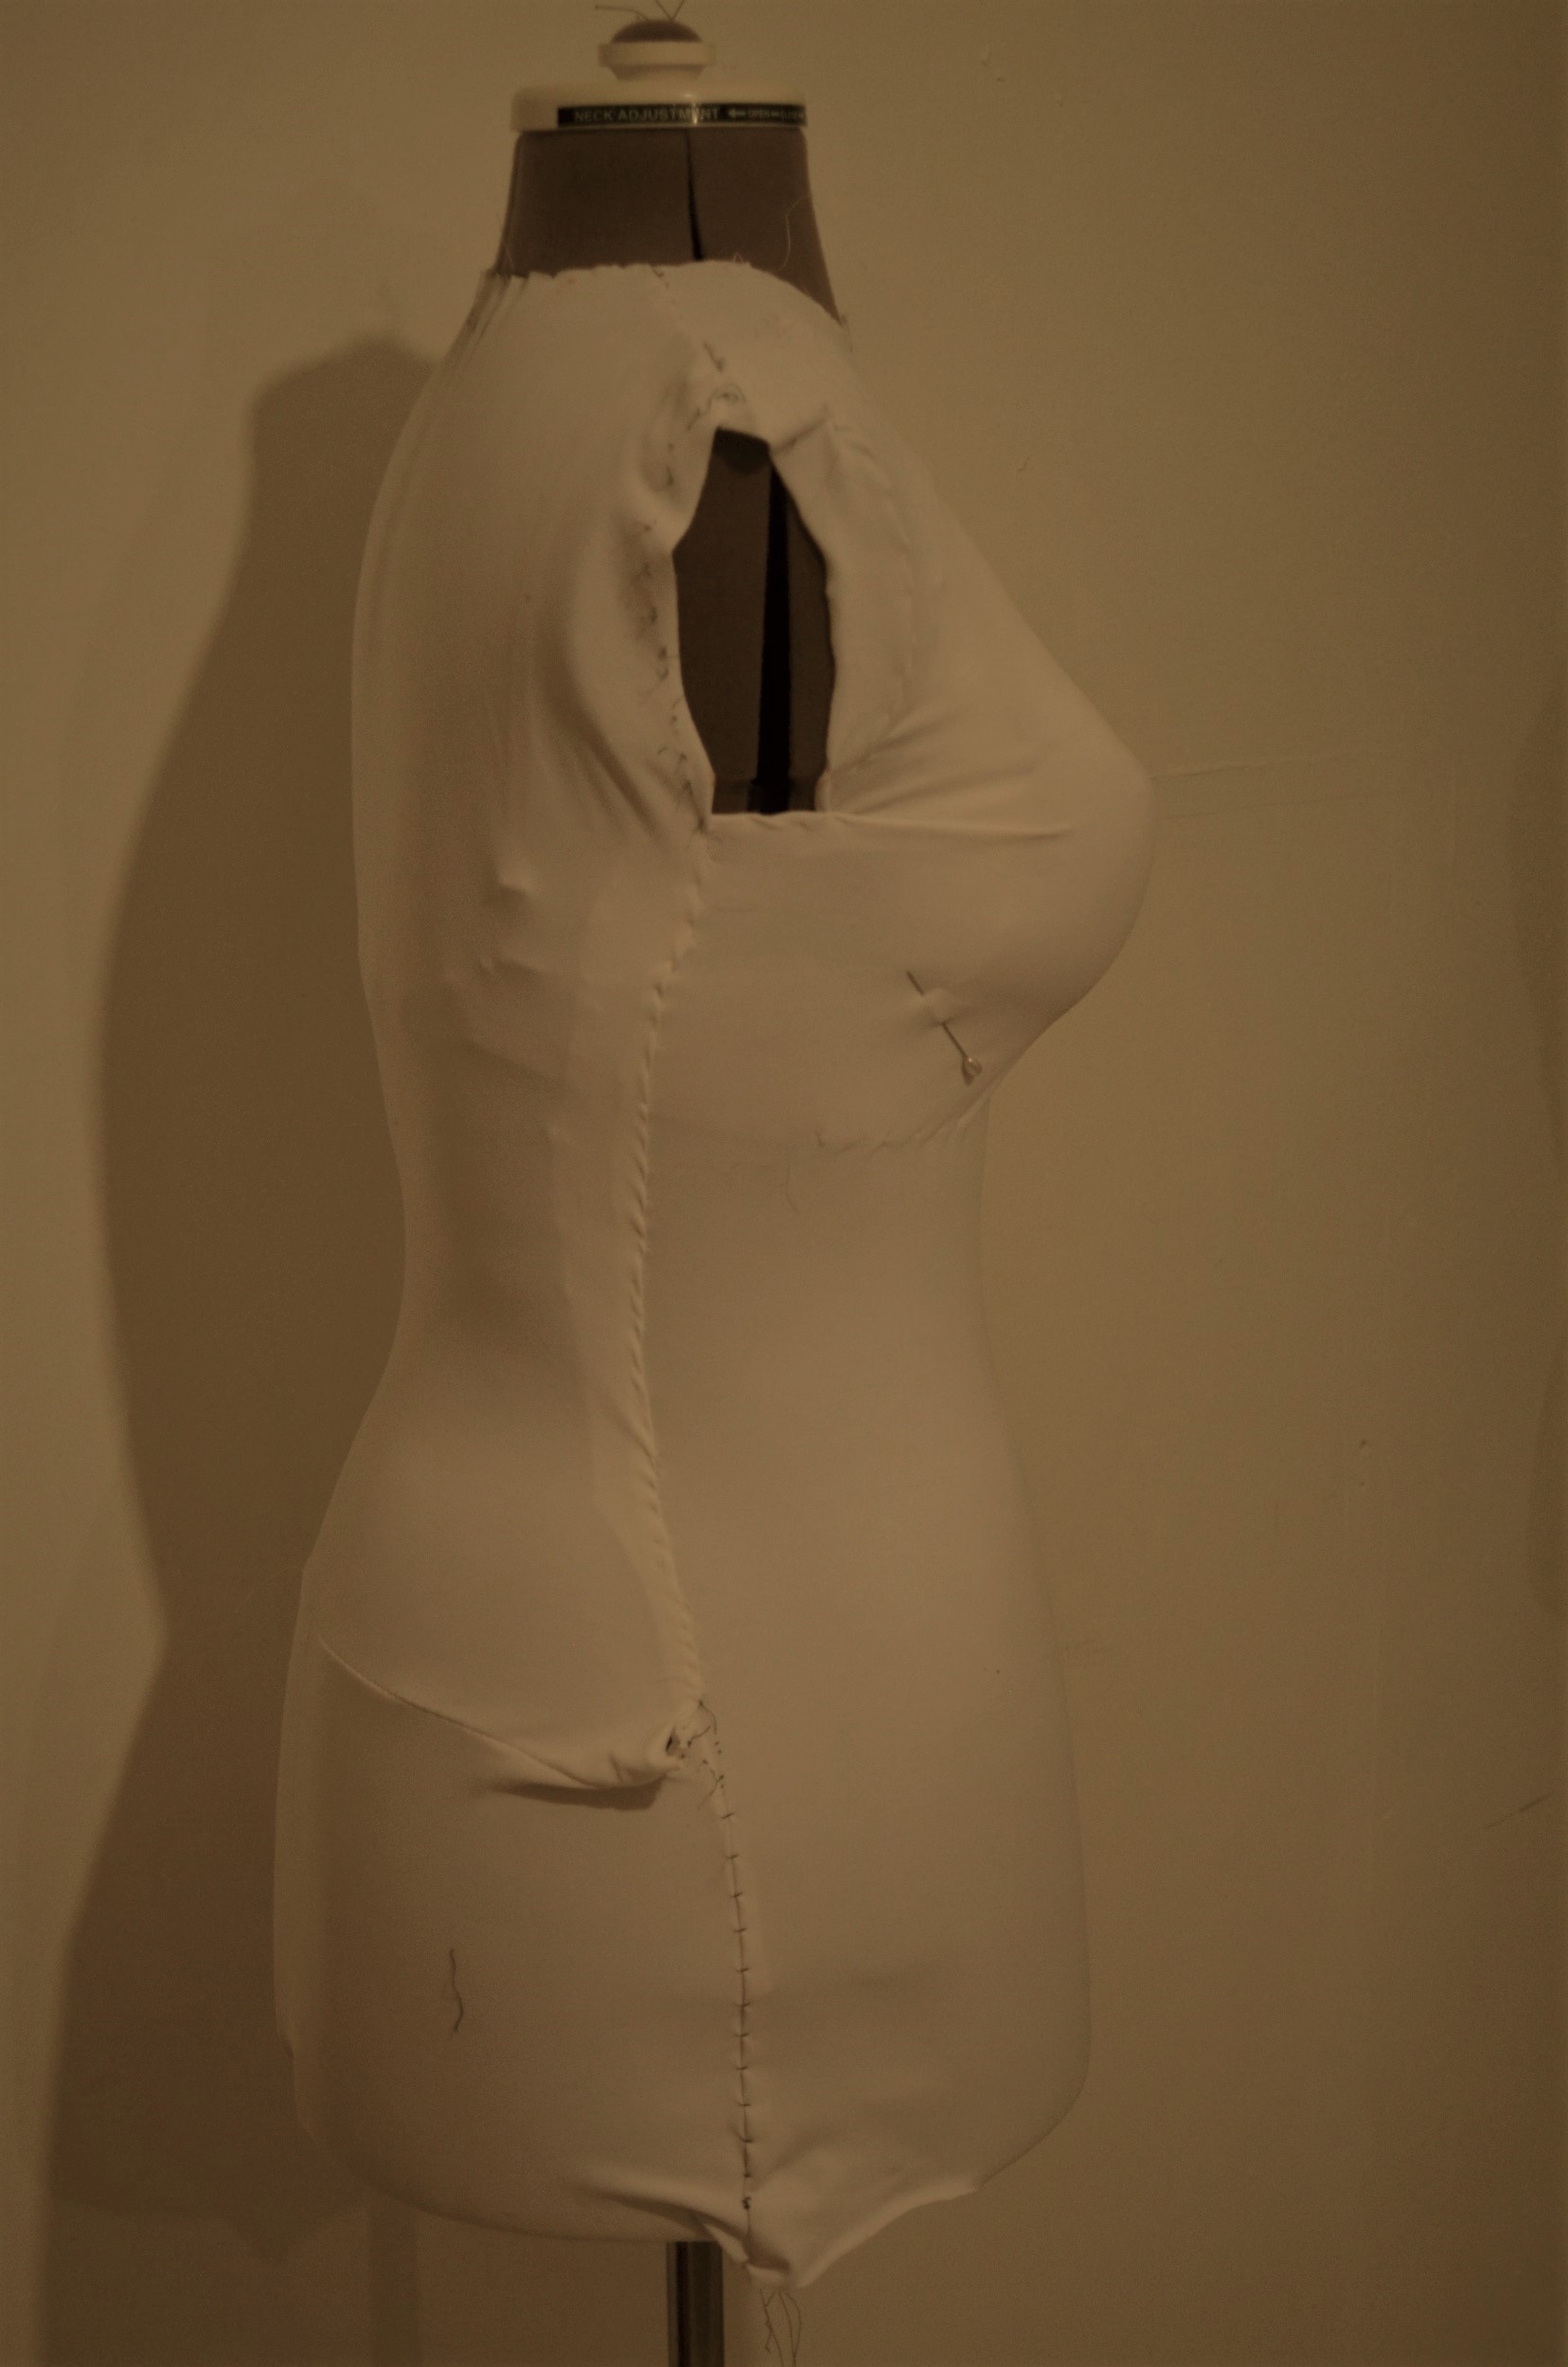
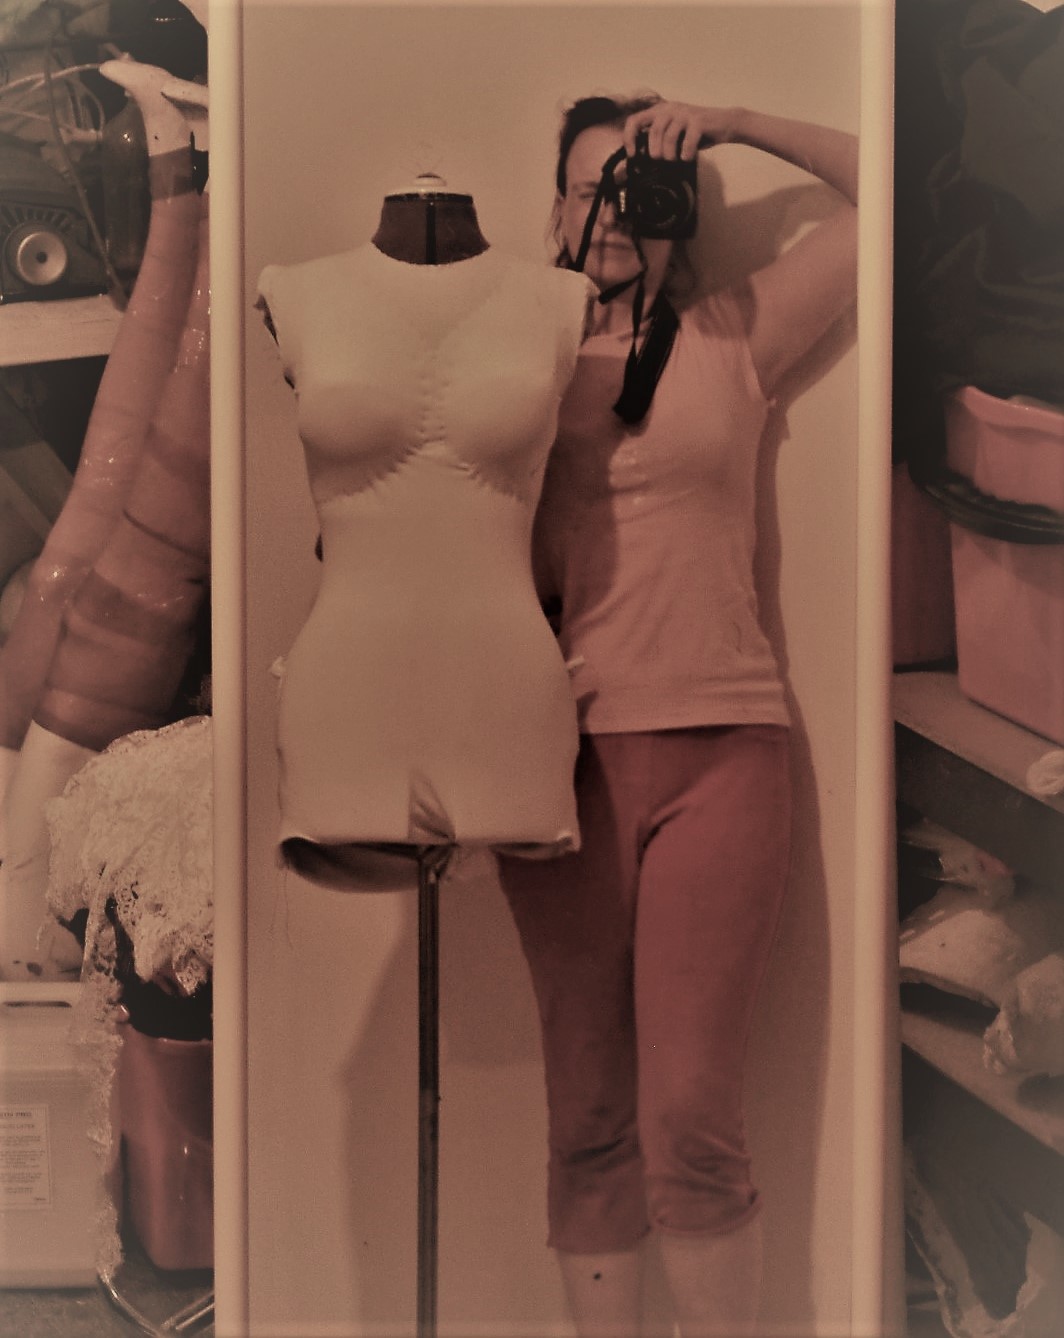
(photos above- three mannequin torsos on narrow stands stood side by side to illustrate differences in shape despite being set to the same size. The mannequin on the left of each photo is covered in white cloth and is not adjustable, the mannequin in the centre is adjustable but is narrower across the chest/waist/hips, but wider in profile, the mannequin to the right is much rounder in all directions and has a much rounder upper back with the armscyes set further forward.
Once again these three mannequins show the different fashion shapes.
Why is this important for Mon Mothma? Isn’t it just a robe?
Nope! She has Raglan sleeves, with four seams each sleeve! Her robes have semi-princess seams (they do not cross the bust point but do terminate in the armscye.)
I do collect vintage patterns when I find useful ones however. Or useful to me 🙂

(photo above: a vintage pattern from the 1970s, three women in different variations of the same garment- all with full lower sleeves, semi fitted through the body, and flared skirts)
The dress is unfortunately four panels but has the raglan sleeve to a closed neck 🙂 And bishop sleeves.
The samples are actually much more true than I am used to so I did add too much extra SA when transferring but here is how I did it:


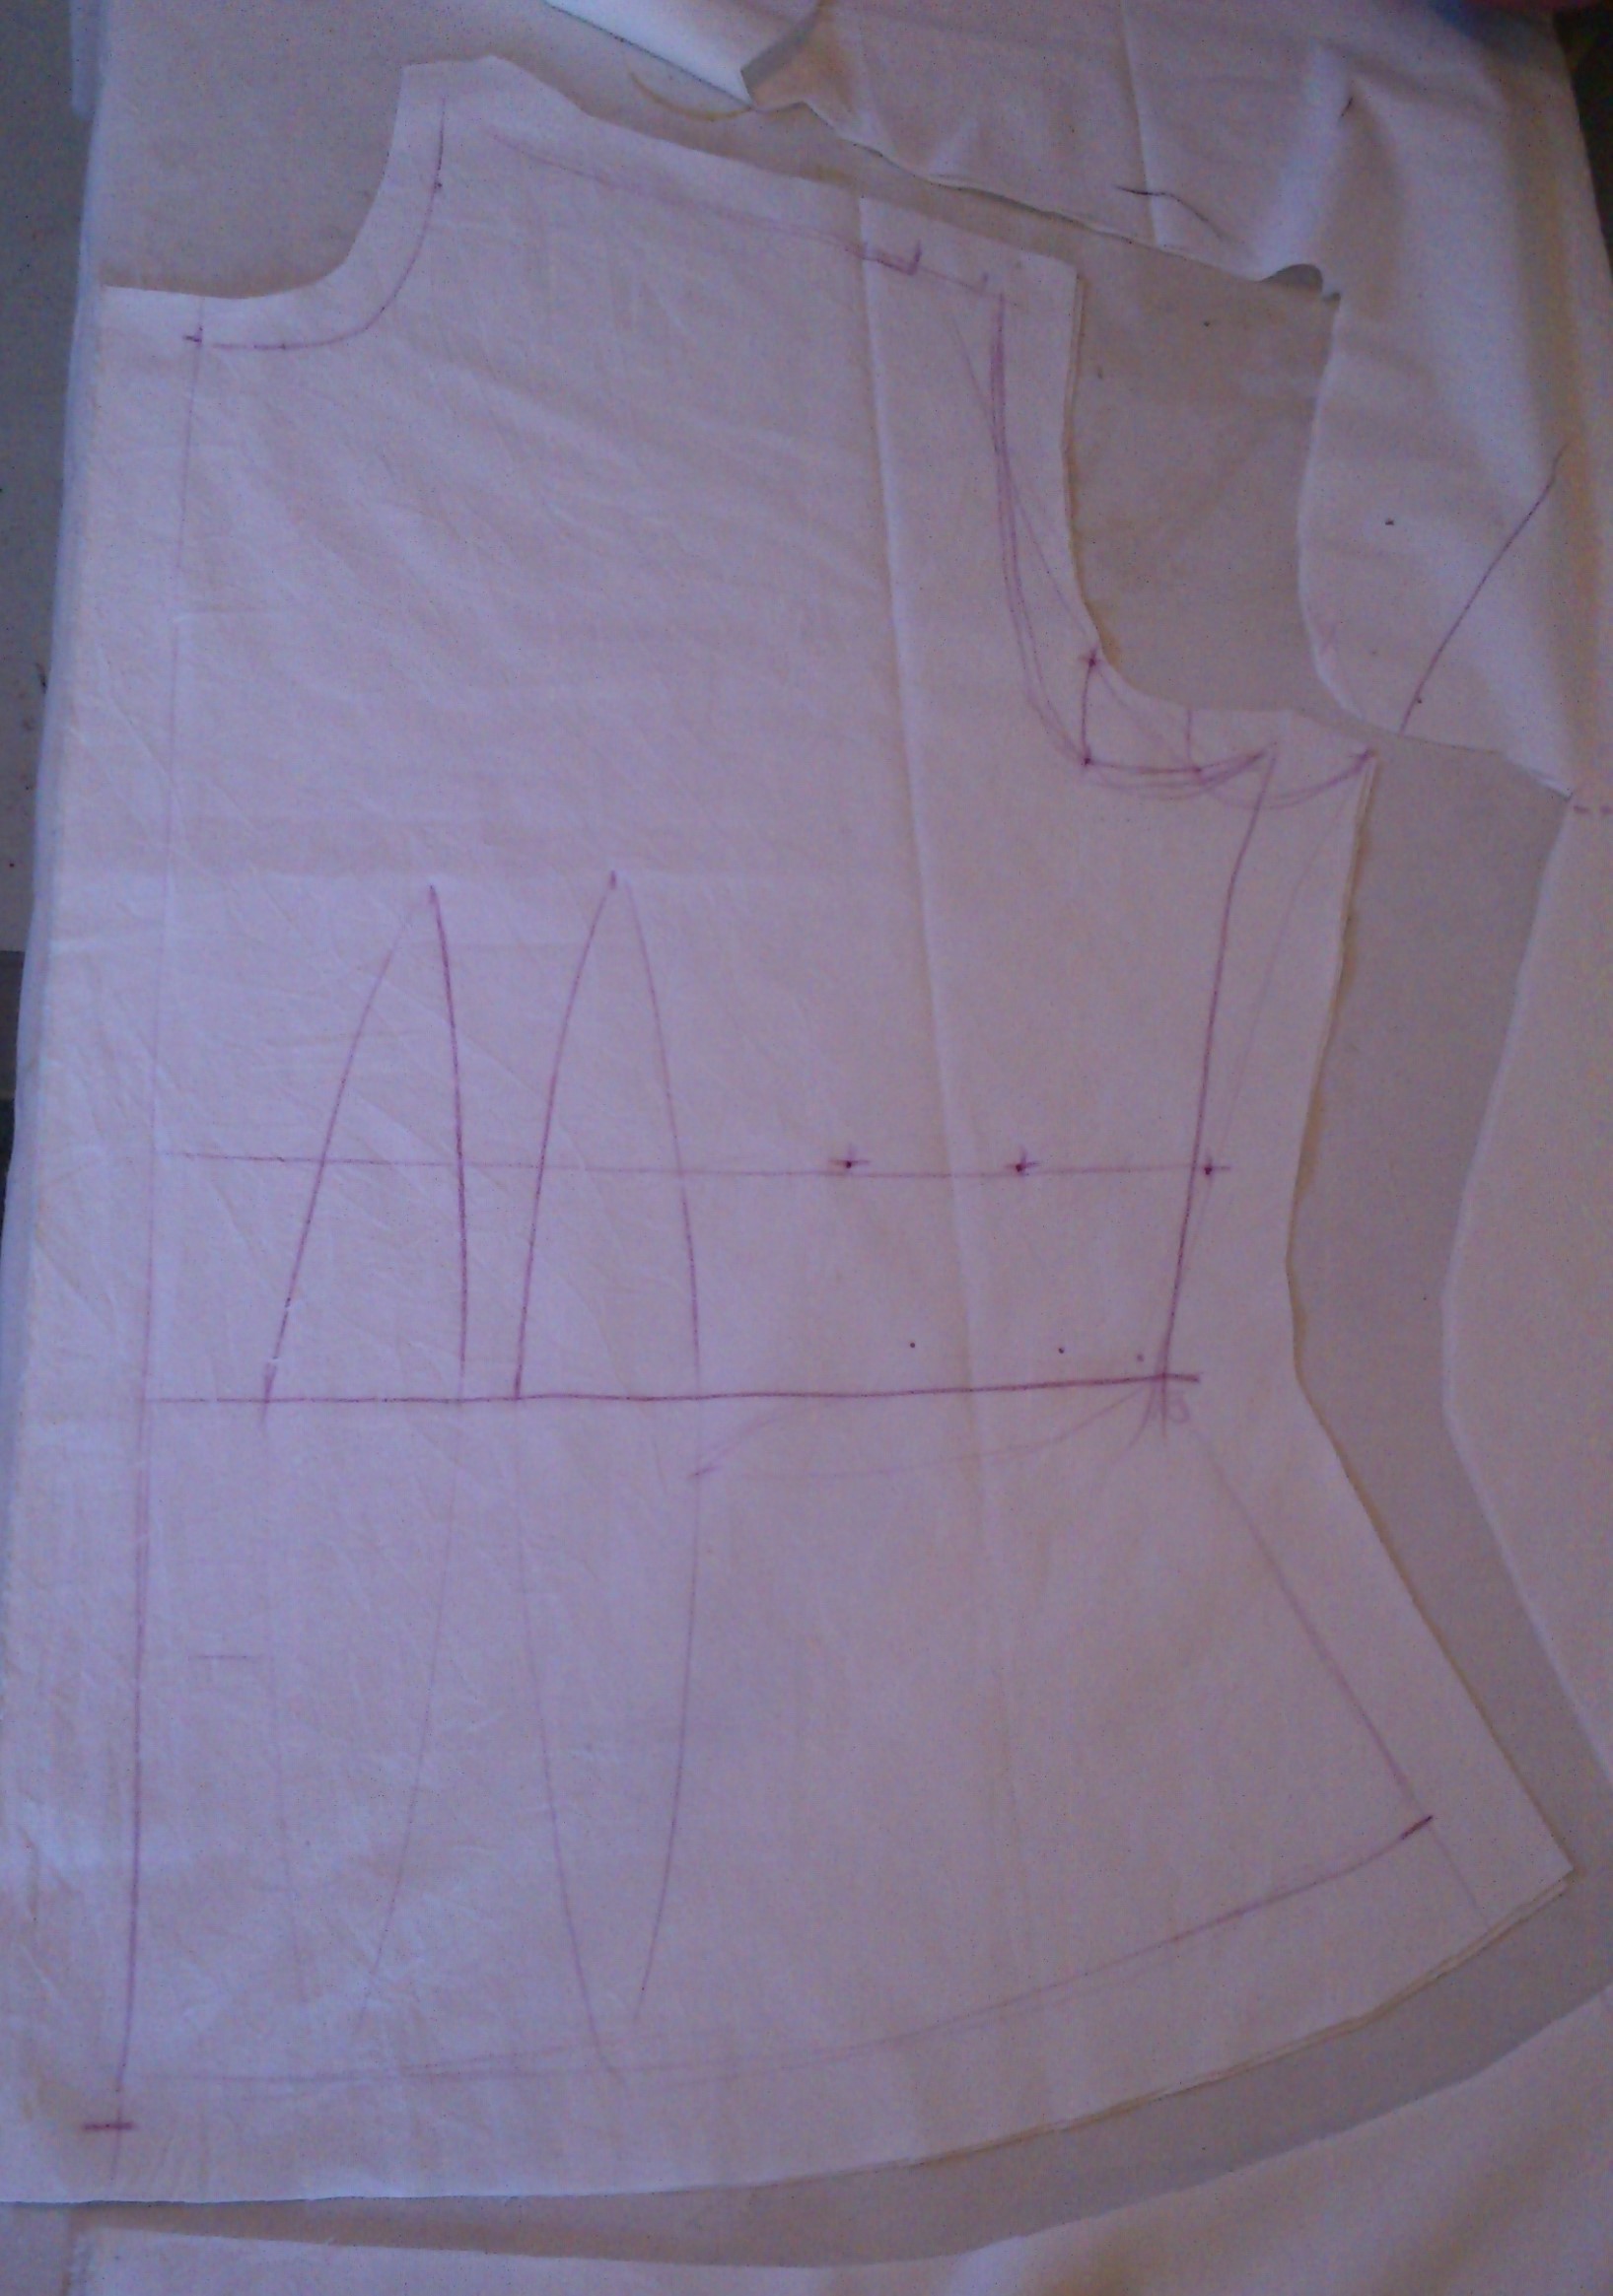
(Photos above: three stages of a pattern alteration, description in following text.)
I transferred all patterns to brown paper. I traces each pattern a short distance from the edge of the paper to allow the paper to be folded straight whereas in the original pattern the dress panels all tapered in to the waist and out to the hem.
For the front dress panel I first drew and then cut a semi princess shape from the front. This left a much narrower side front than I wanted, but the front needed no more work.
I then used double sided tape to stick the outer side of the new side piece to a length of narrow brown paper. I then flared that side seam out about 20cm at the hem and tapered it to the waist.
I repeated on the inside of the side panel.
Now the patter for the dress front has a side seam and a much fuller hem.
I repeated this for the back panels and the sleeves.

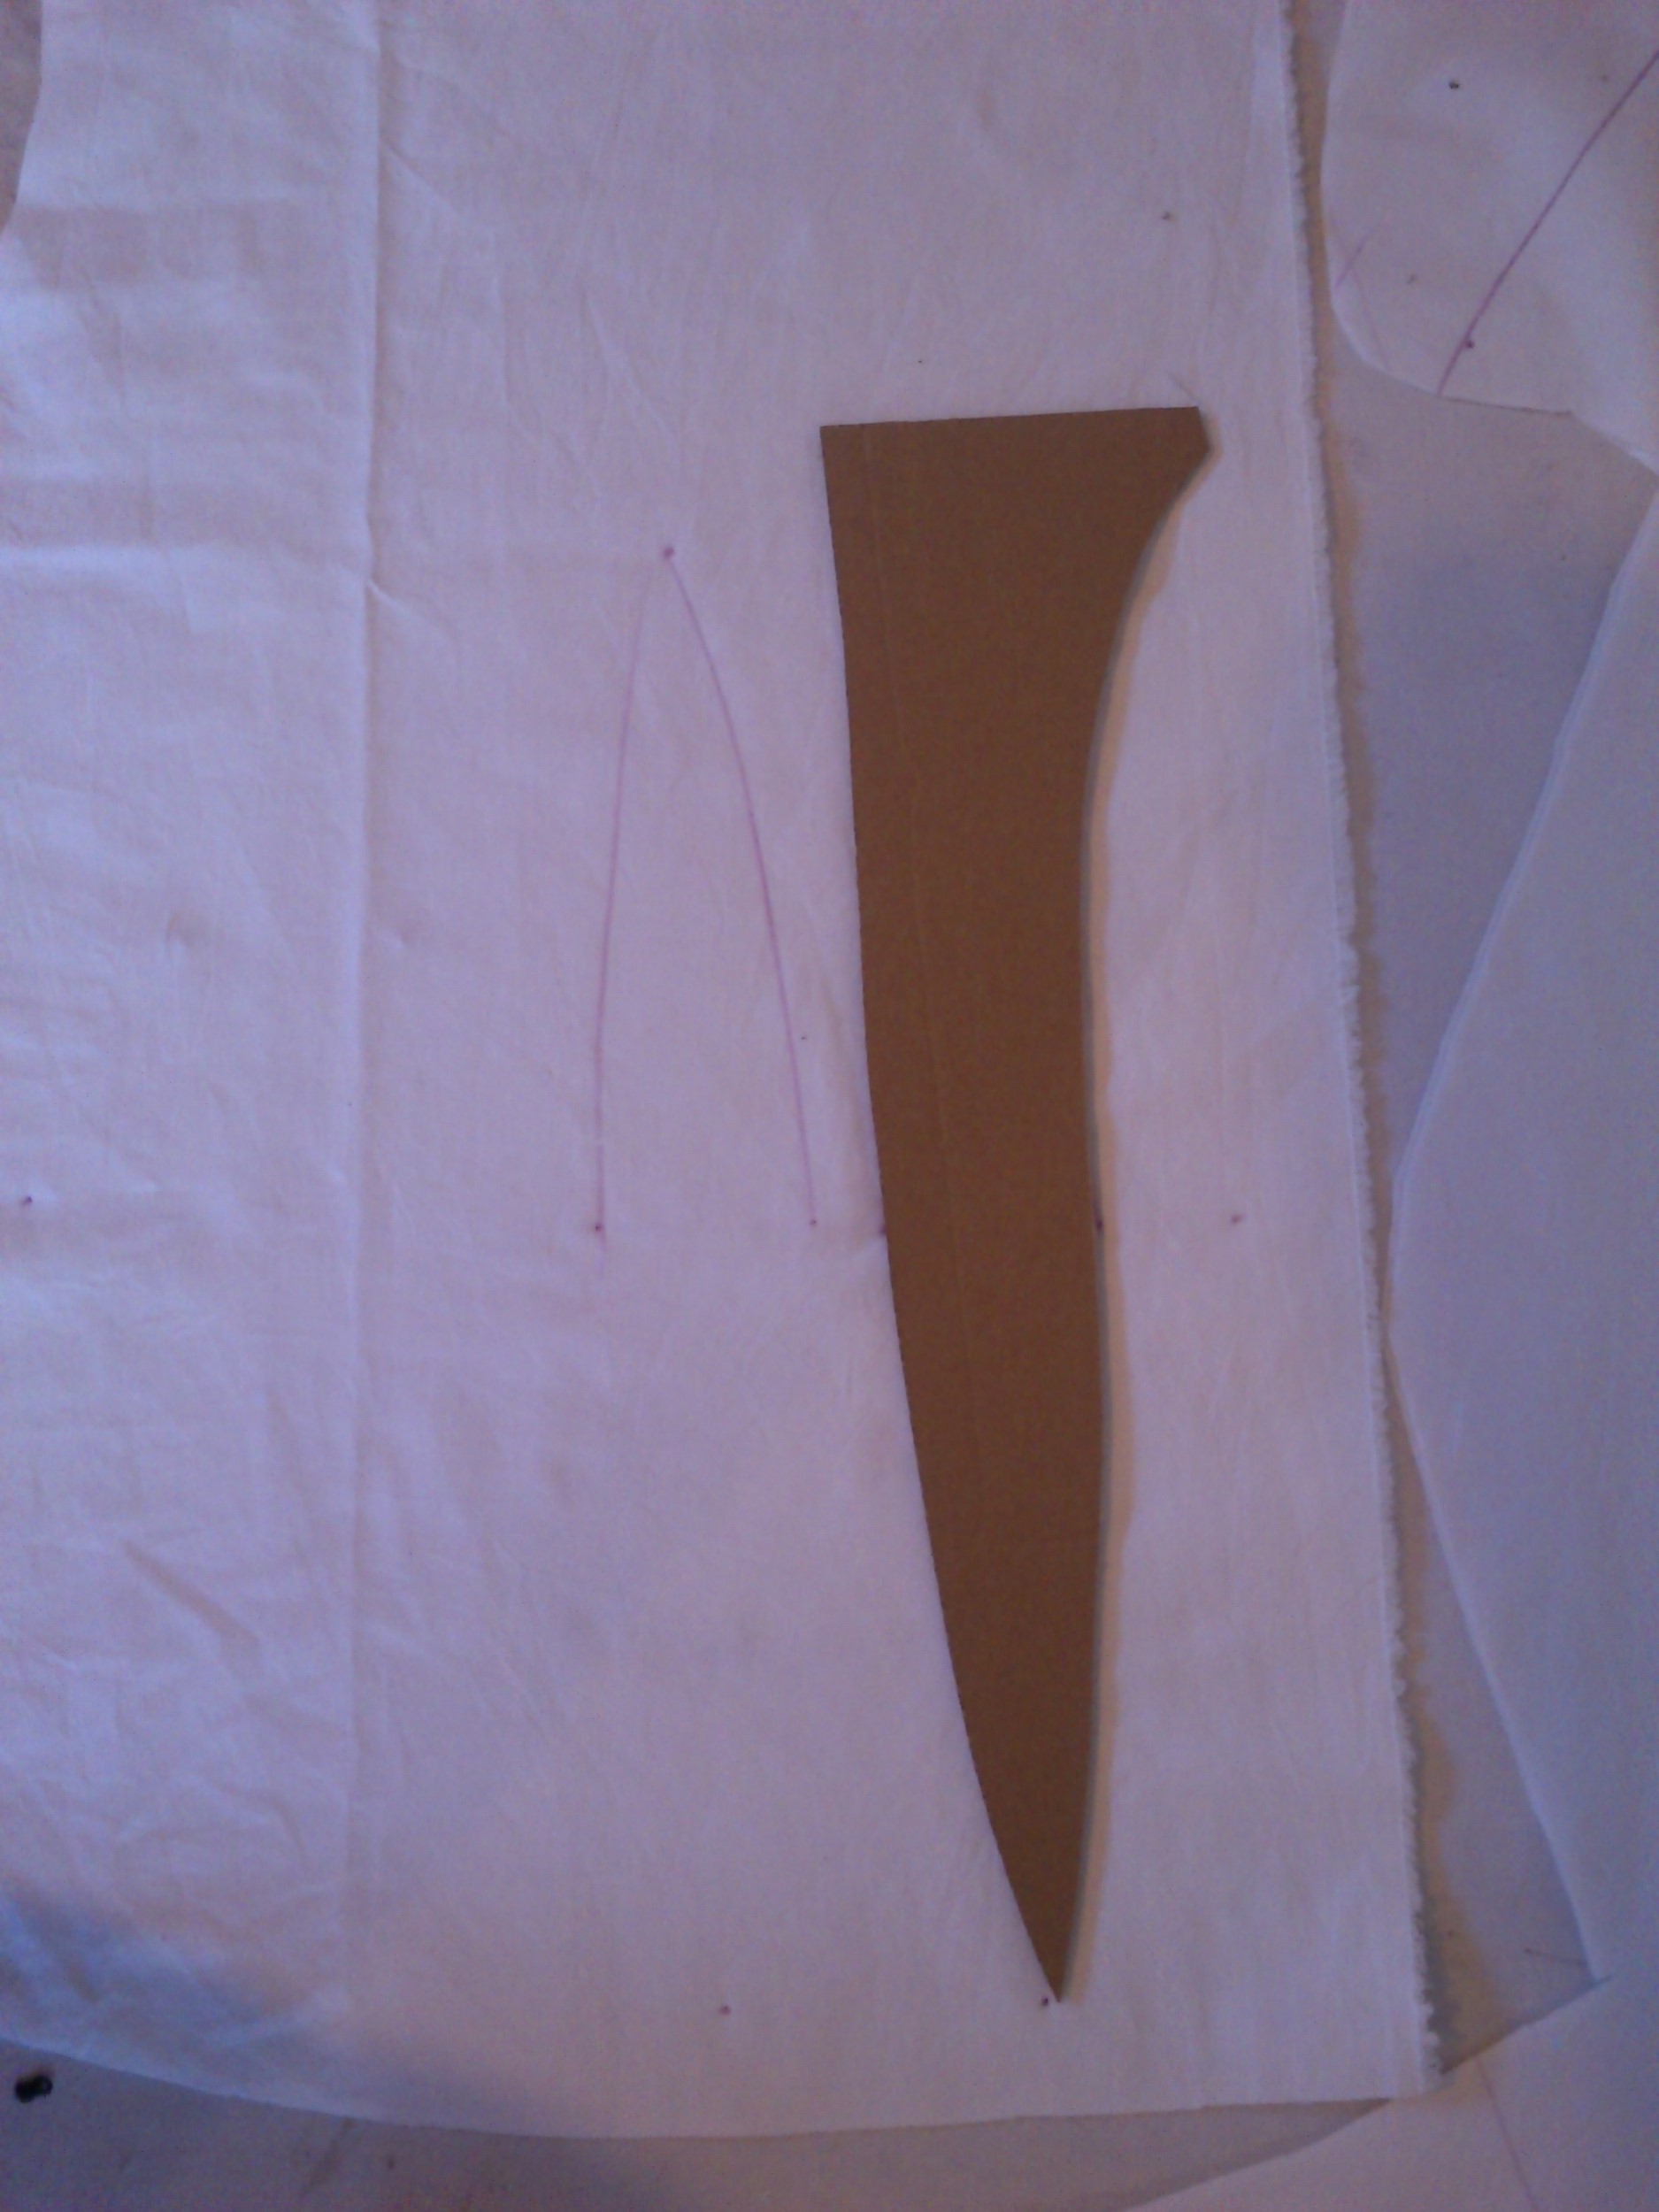
(Photo above: traced sleeve pattern on brown paper, parallel lines to divide the pattern into four.)
Since then I have cut the shell fabric and a stabilising lining. The lining is a loosely woven fabric to allow airflow when worn.
I overestimated my seam allowances. The next step will be to assemble this on the form that is going to most easily allow for a semi loose fit but also allow for shoulder shaping. So I shall use the non adjustable mannequin as it has curved upper shoulders at least.
instagram update
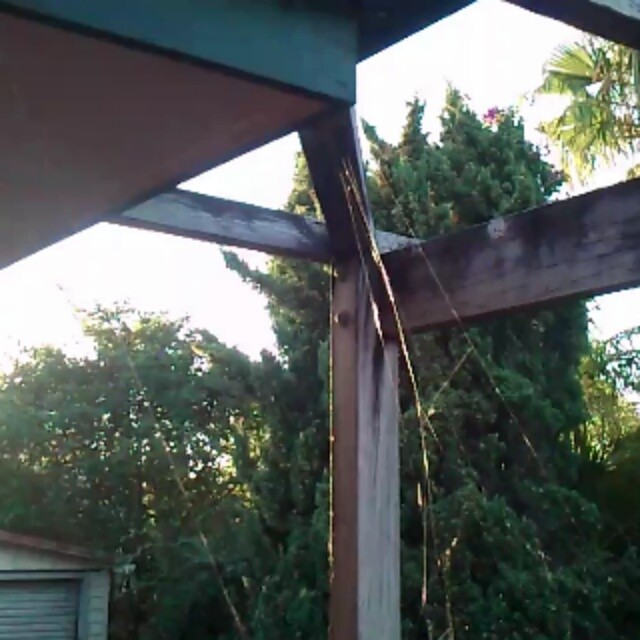
Not an optical illusion. But, Michaela, why do you let a two metre high cobweb exist? Well, Michaela, it’s because the spider will just move indoors. How do I know? I’ve had a sheetweb spider live indoors and it was aggressive and clever and freaking huge. I could not kill it but evicted it several spider territories over4 about 400 meters away. Let it live outside like I did Shelob and we are all happy. Except the cicadas.
All my post history is back!
The year of most progress, 2014 is now back! So tags and categories actually work and I am now able to actually search the blog and find posts to share information/
Such a relief! There are though a bunch of drafts I thought were from this time, but they seem to just be posts I never posted Some should be, some may get put into the pending file 🙂
but it’s back and complete!
http://www.arrayedindreams.com/?s=maleficent 12 pages!!! 110-120 posts 🙂
http://www.arrayedindreams.com/?s=elsa 13 pages, 120-130 posts!!
yes! post history actually working :)
So far all of May, June, and most of July 2014 are back. These were my most popular posts and they are still all over pinterest. So this is a huge deal 🙂 After spending all day yesterday and Saturday getting images re-registered I wasn’t going to spend all day today editing, but well it’s been a long day so why not just keep going.
So nearly all posts up to December 2014 are backed up as drafts, so I’ve turned off auto posting for the next few days (well deactivated plugins because they still posted (only flaw in them so hey, not going to actually complain!)
Anyway. Just letting the odd one through- these are not saved here on lj/dreamwidth as this was the year of Tweet posts being the only crossposting option to lj 🙂
So most are not being crossposted (there are 182 drafts not counting the posts from May-June already put back in place 🙂
It’s a really good project right now, so time to back up!
reposting older content
Oh boy. Well currently having a few files not cooperate, and media uploader isn’t recognising images the media library does so… but so far most images have been re-registered in my database and the ones that have slipped by hopefully are getting recognised now by another plugin… I hope!
But it’s taken hours more to do than it really should.
The posts from 2014 really were rich in content and it has been the loss of those that has affected my site usefulness.
I wish backing up was actually easy. instead it is like backing up to an HDD rather than an SSD. Which has also been happening 😉
what a day at least I have a skirt
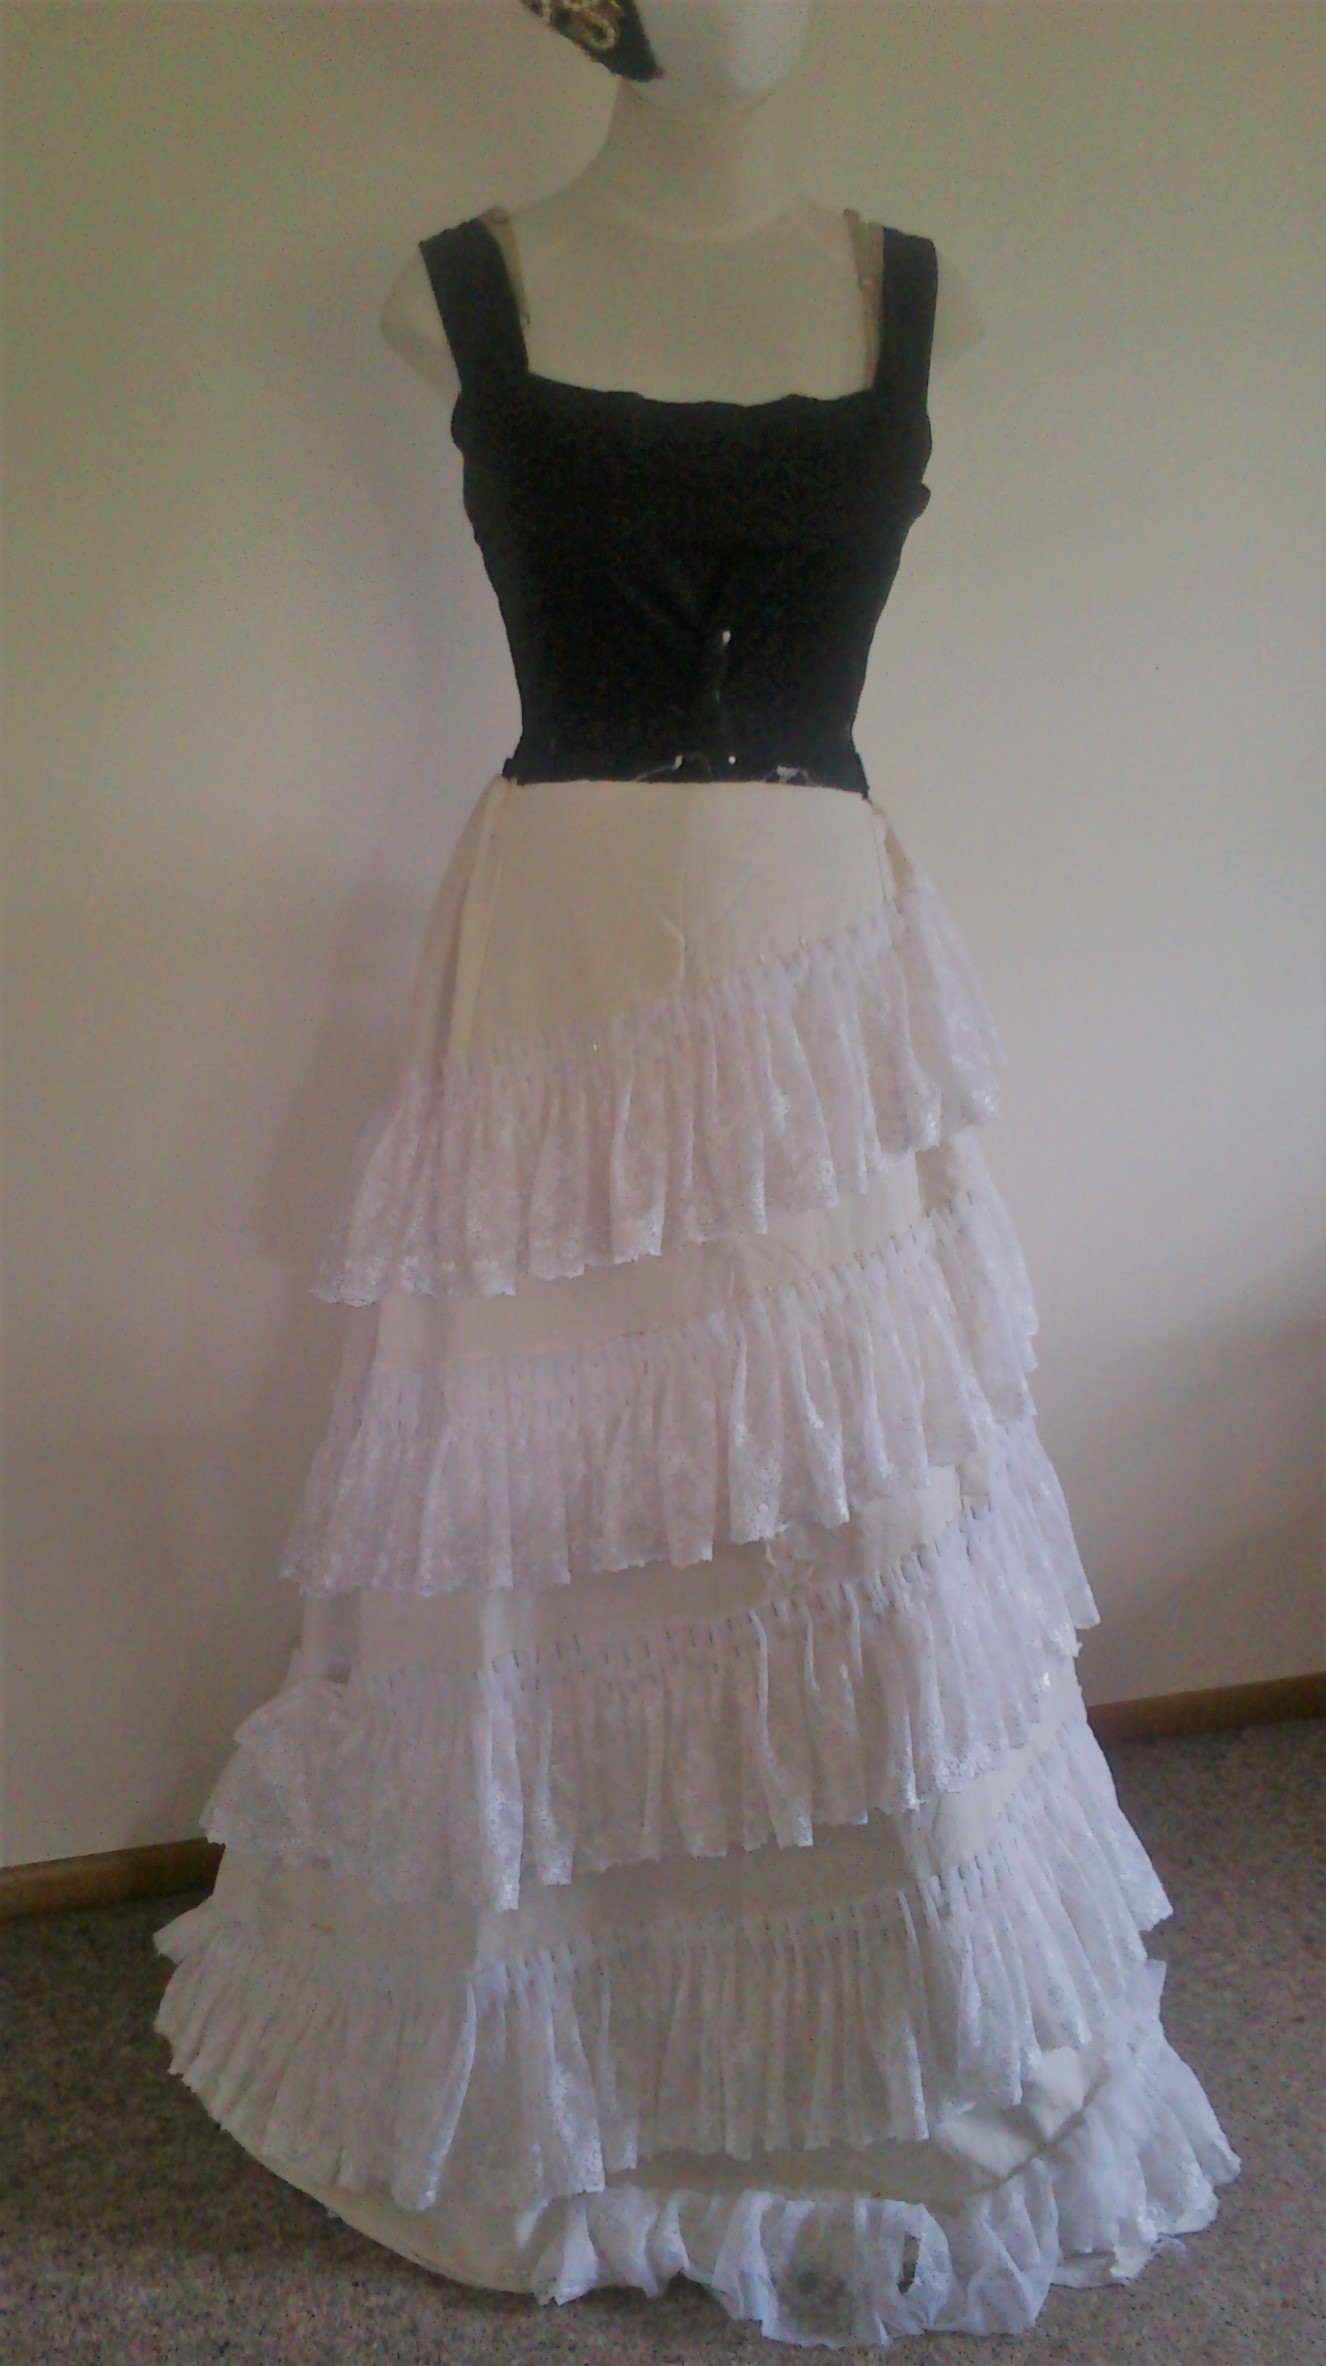
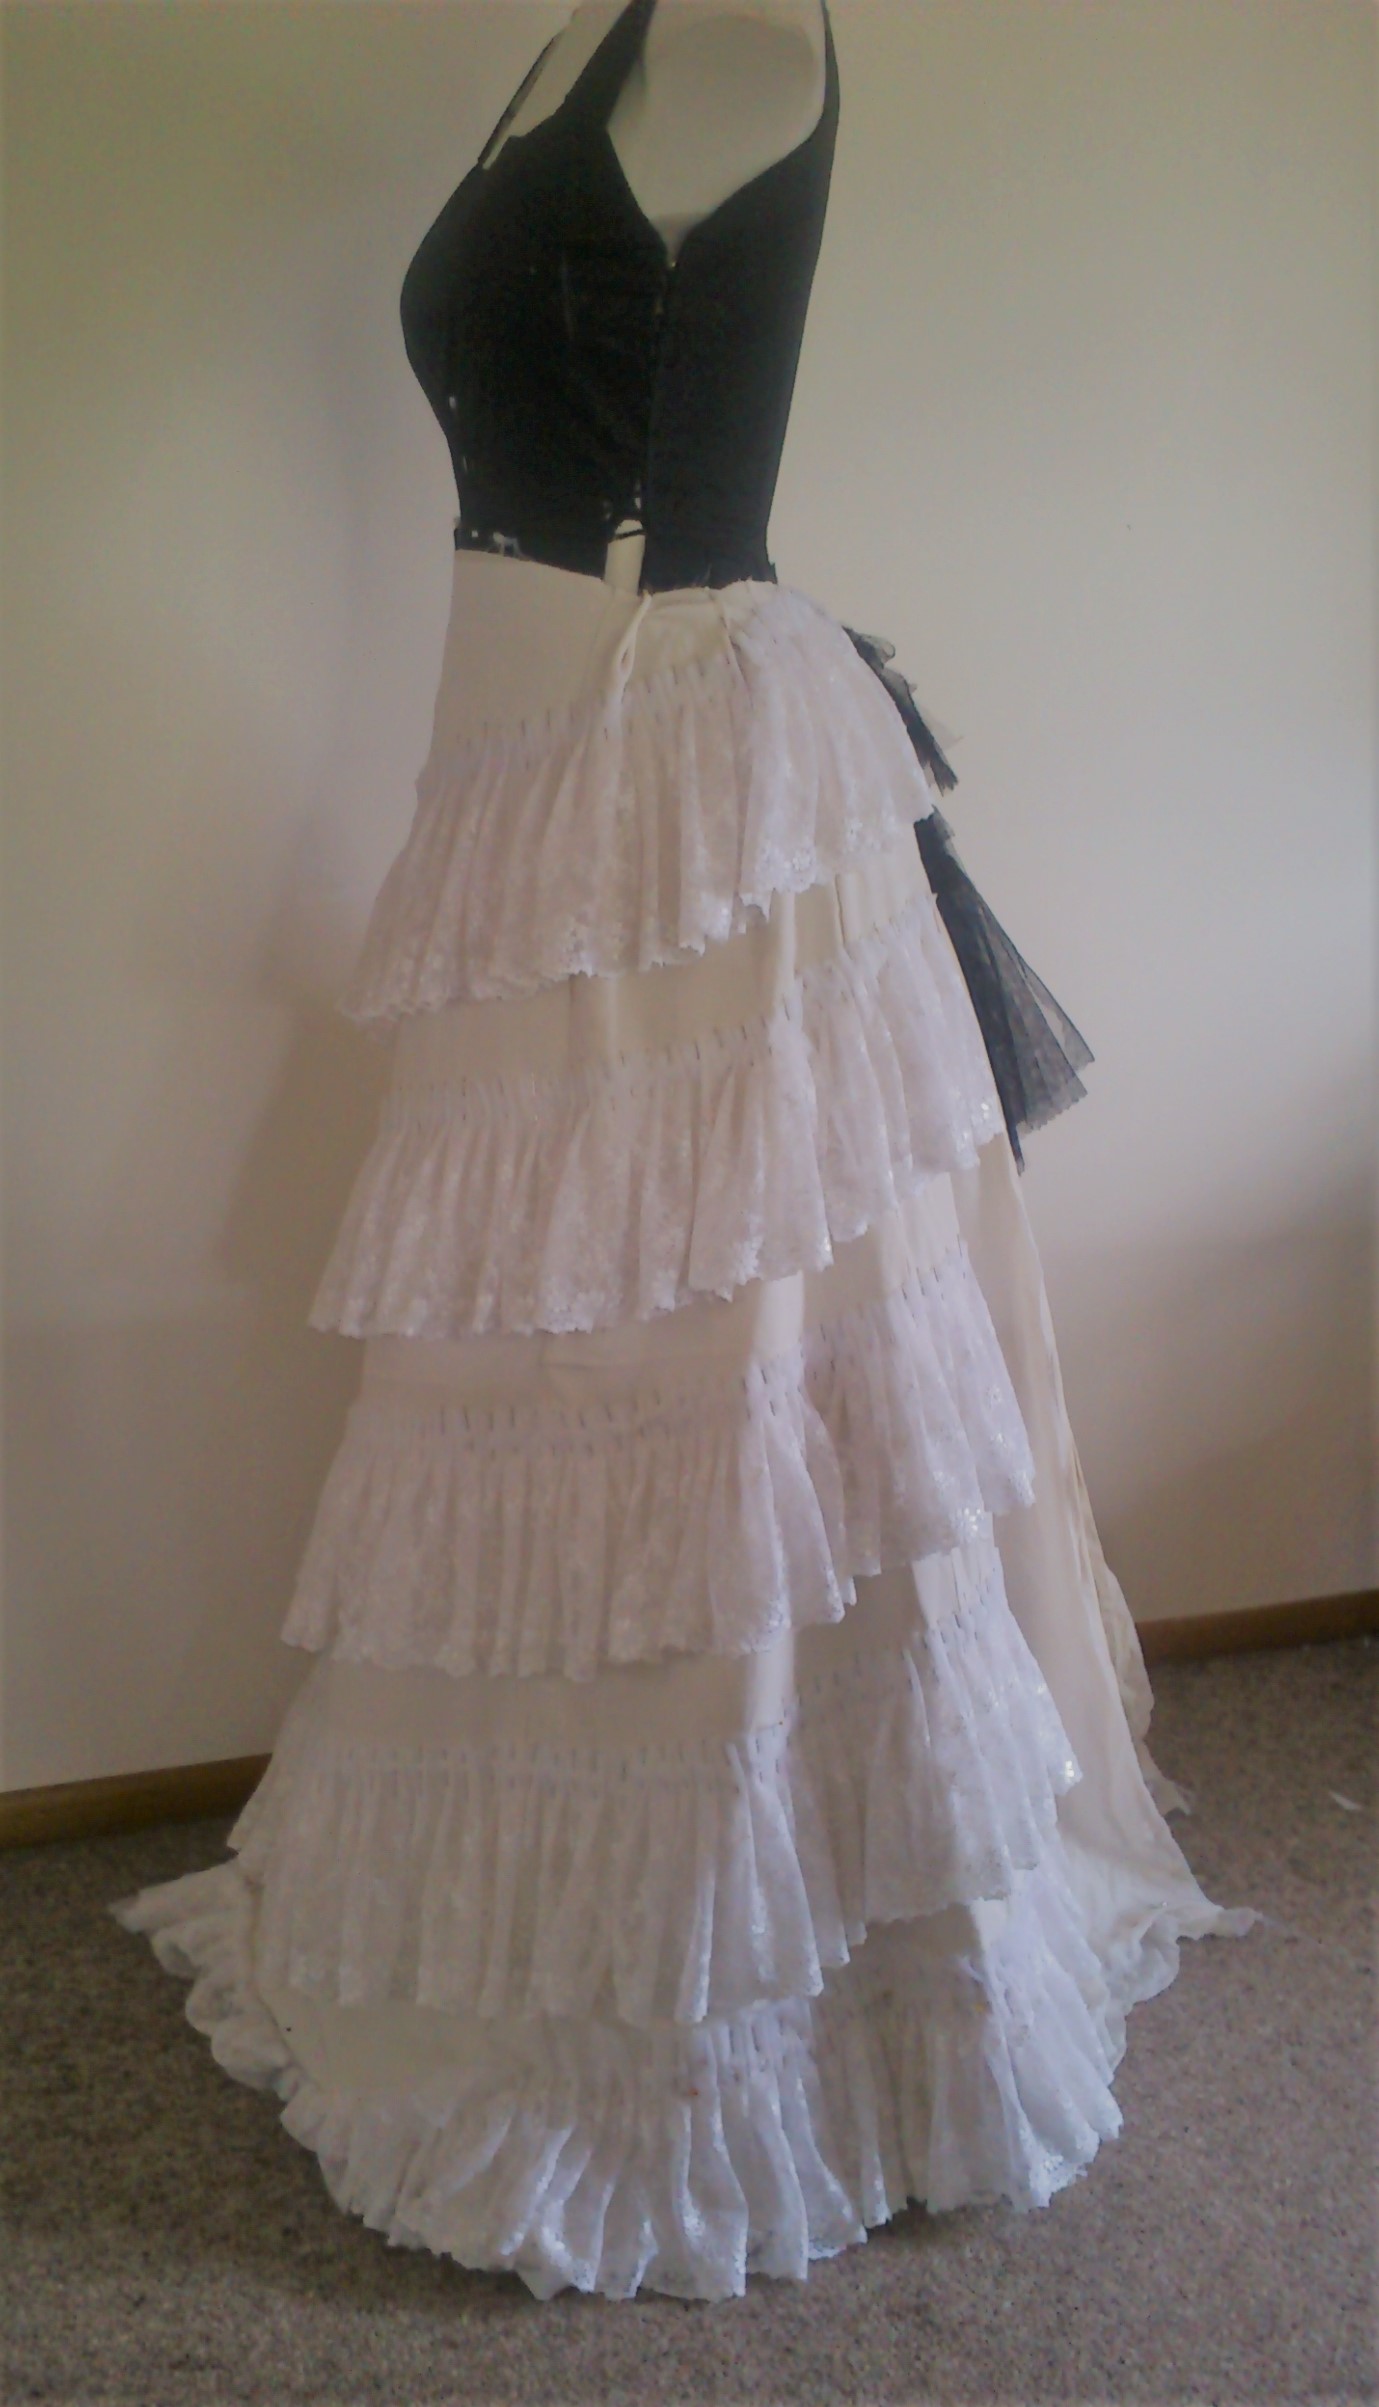
That would be a new row added at the hem and all the rows tilted slightly. (the black net is because my Elissa support is perfect for this too- it is being made to be separate and able to swap out between frocks.)
But after this my life got a bit complicated.
I decided to clean my cooler in my PC. And when i fired her back up no screen and an A0 q-code. Which I should have recognisewd as AllOkay.. but freaked, reset and then got an A2 error, still no screen.. So after a bit of pulling everything out I realised I put the hdmi cable in the hdmi slot. Nope. Should have popped it directly into my graphics card.
So that A2 error was one of fans being slightly slow every so often- by less than 10 RPM which is ridic to beep at me and you know..
Anyway, so then I put my SSD and HDD back in and whoops, hope.
Took SSD and HDD out and still nope.
It was a SATA cable. JUst one. So I now how a power cable and SATA cable group set aside to put them all back in but not right now.
Also I was supposed to close up my PC and let the fans do their work properly but no my site was down. For an hour.
Why?
My theme. The theme broke. My first thought was the CF thing, but no. Just really incredibly bad timing of the theme breaking!
But I had a cleanout of themes and plugins so that’s something….
Also before I goofed I managed to transfer most of my media files to different arddrives so pretty soon will have the ability to be nice and portable.
But really it’s been about 10 hours from cleaning my cooler to.. now.
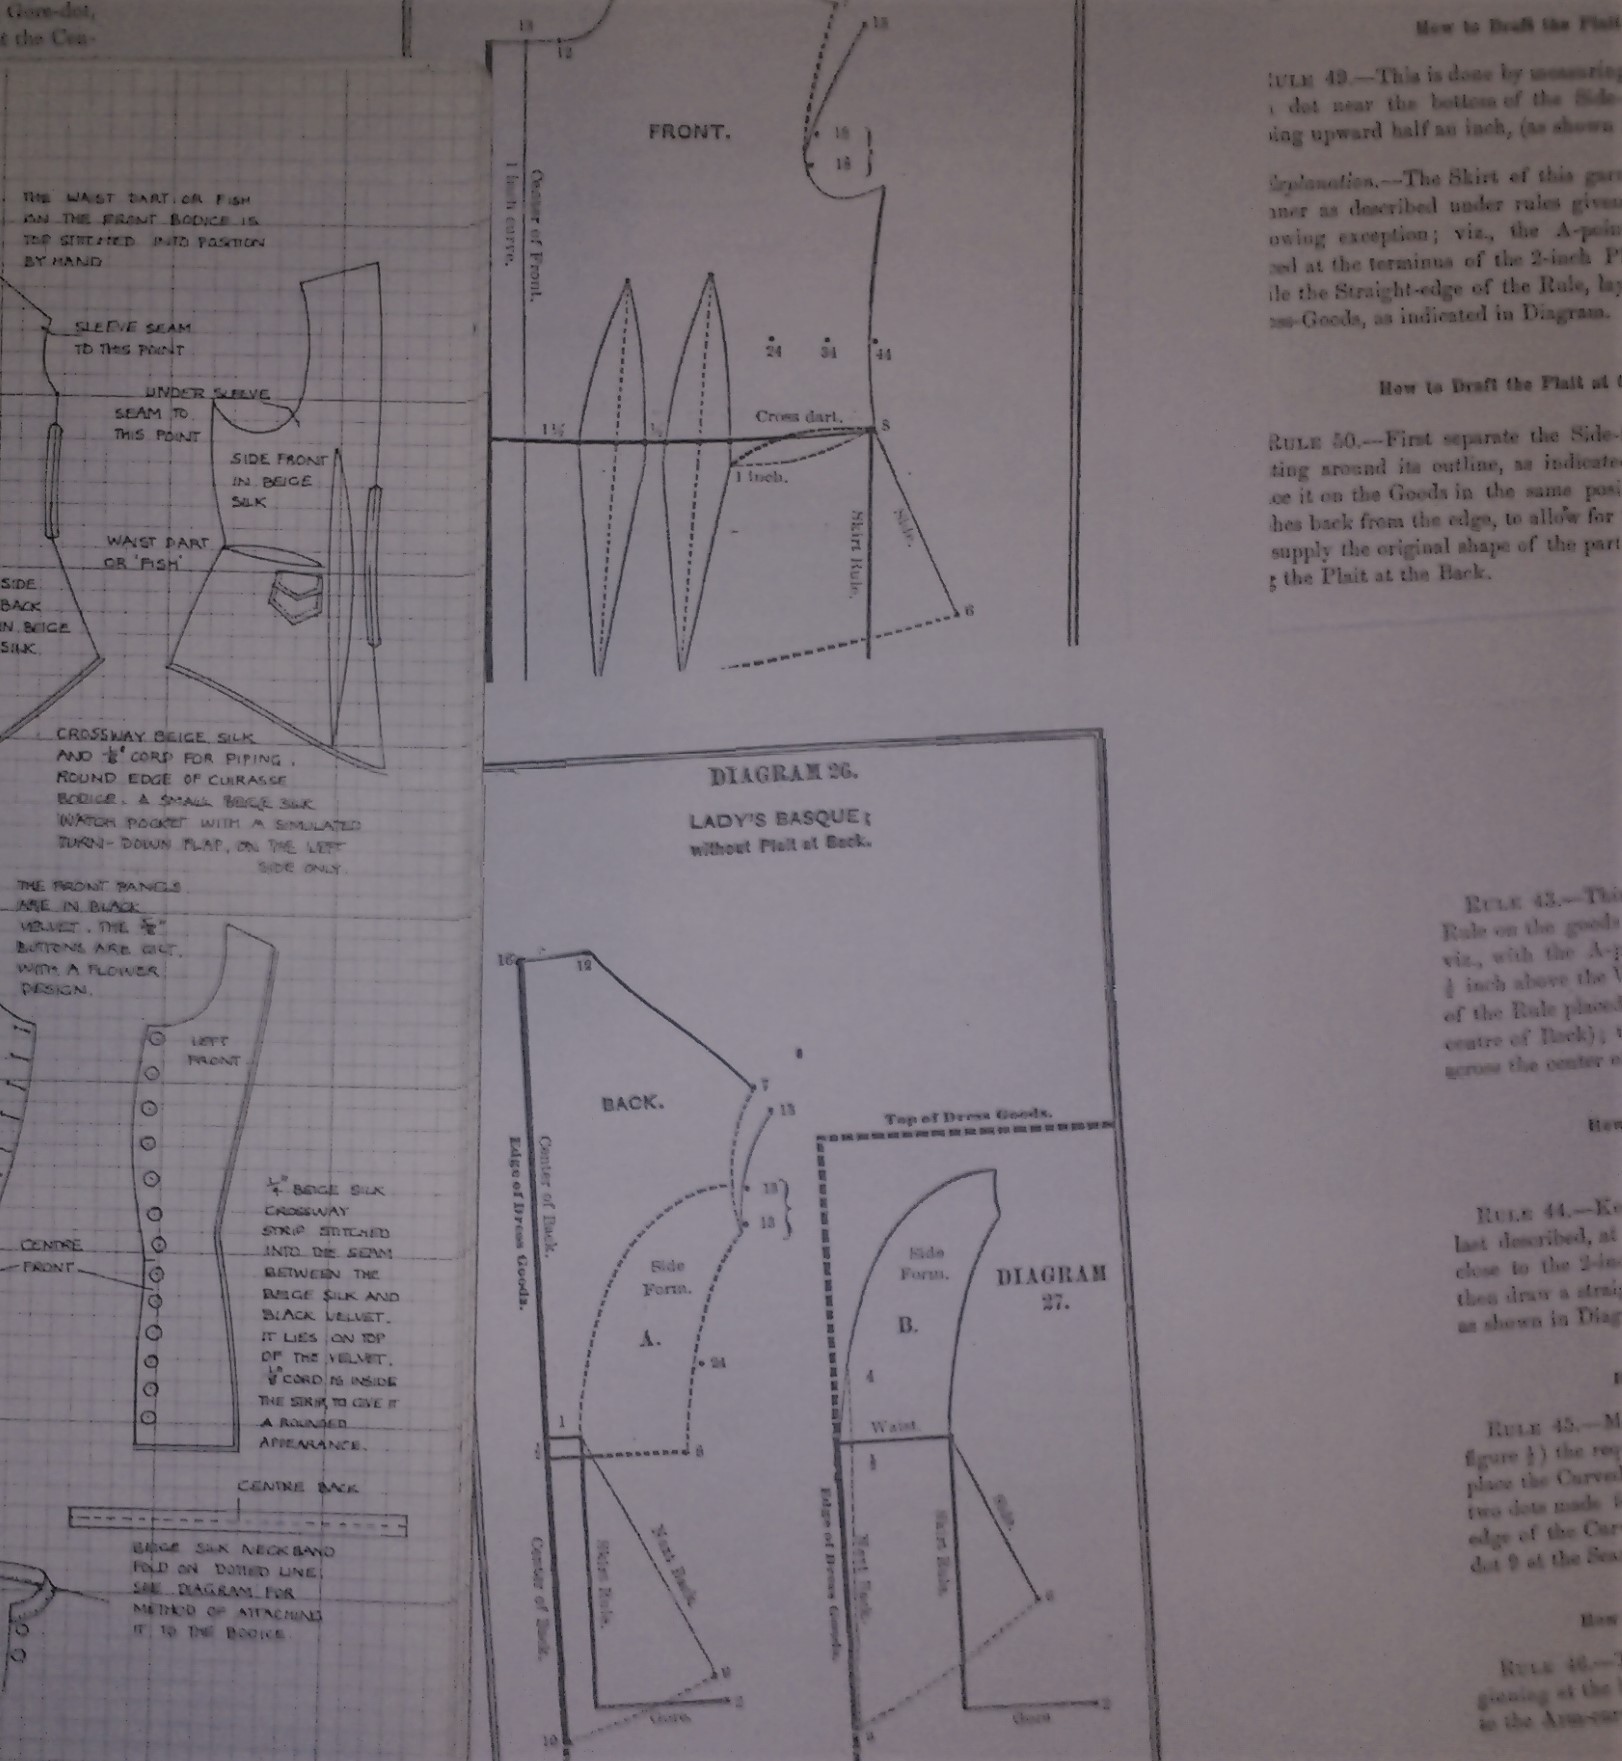
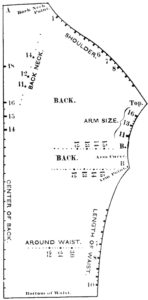
1876 basque
The science and geometry of dress
by Jackson, Louisa L., Mrs. [from old catalog]
Published 1876
So, the trouble with the system is the “bust” measure is a sort of not really measurable distance where the armhole (arm size) and the side seam end. And then you take the back measure separately. Not a full measure all the way around. I used my padded form but still estimated where the side seams would sit. I think I need to tweak it a bit more. But other than my near universal shoulder/side of bust fitting issues I think the scale works.
If I look at the patterns taken from existing garments the arm hole is most definitely not as per the first pass of the tool. I need to get a bit courageous about trimming here! Also to adjust the super rigorous dart placement- the drafting tool is quite old fashioned in that it feels like it’s from the 1860s-very early 1870s. This is about the time there should be two side back seams that slope a little more gently. So I think the tool will work, it just won’t look like the diagrams but will look like the extant items.
The additional steps to make a basque though are brilliant. And it does show exactly why the cross dart sits where it does. This is where fabric naturally folds in at the waist with the basque (called skirts in this book.)

You can see how the fabric is super full in the armscye and above the bust. I’ll smooth the fabric over the stand and then compare to the tool to see what I would recommend in terms of using modern equipment.
The book is very unyielding in the sens that the distance from CF and CB to first dart is specified. And the distance between darts also specified. The tops of the darts are also very much decided by the tool (while the height is adjustable the distance from centre front is not.
I do love the basque and how the darts are formed! If nothing else I am keeping the dart tool!

 ‘
‘
I compared the diagrams to extant patterns and yes, I will need to do what these do: rotate the armscye towards the centre front.
These are all from Patterns of Fashion.
1876 tool update
Okay, so the body templates are very wrong! My scale isn’t too far off but the markings on it are not perfect. I will do an annotated run through. One problem is the book says to lay the front waist tool 1″ from the edge of the material. but the tool already has a 1″ mark (A). That is not the 1″ that it needs to be set from the edge. Not if the bust measures are to work.
Having tried this tool I know now that the miniature is really not a perfect scale of the full tool as it will appear. The dart and side seam rules are good so I have now made a single file of all the miniature tools.
Some of the markings are wrong. The vertical measures should all be identical distances ditto the perfectly horizontal. So I scaled to the dart rule and made sure the distance between the edge and the lower bust mark as 9″ and this now makes all the “standard” measures line up.
The science and geometry of dress
by Jackson, Louisa L., Mrs. [from old catalog]
Published 1876
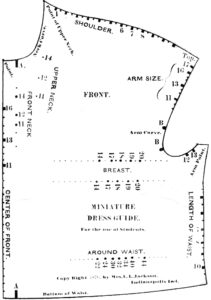


So these all match, I started with all the mini tools on one file and scaled. everything that I know to be inches seem to match up.
I’ll update my earlier post with the new files 🙂
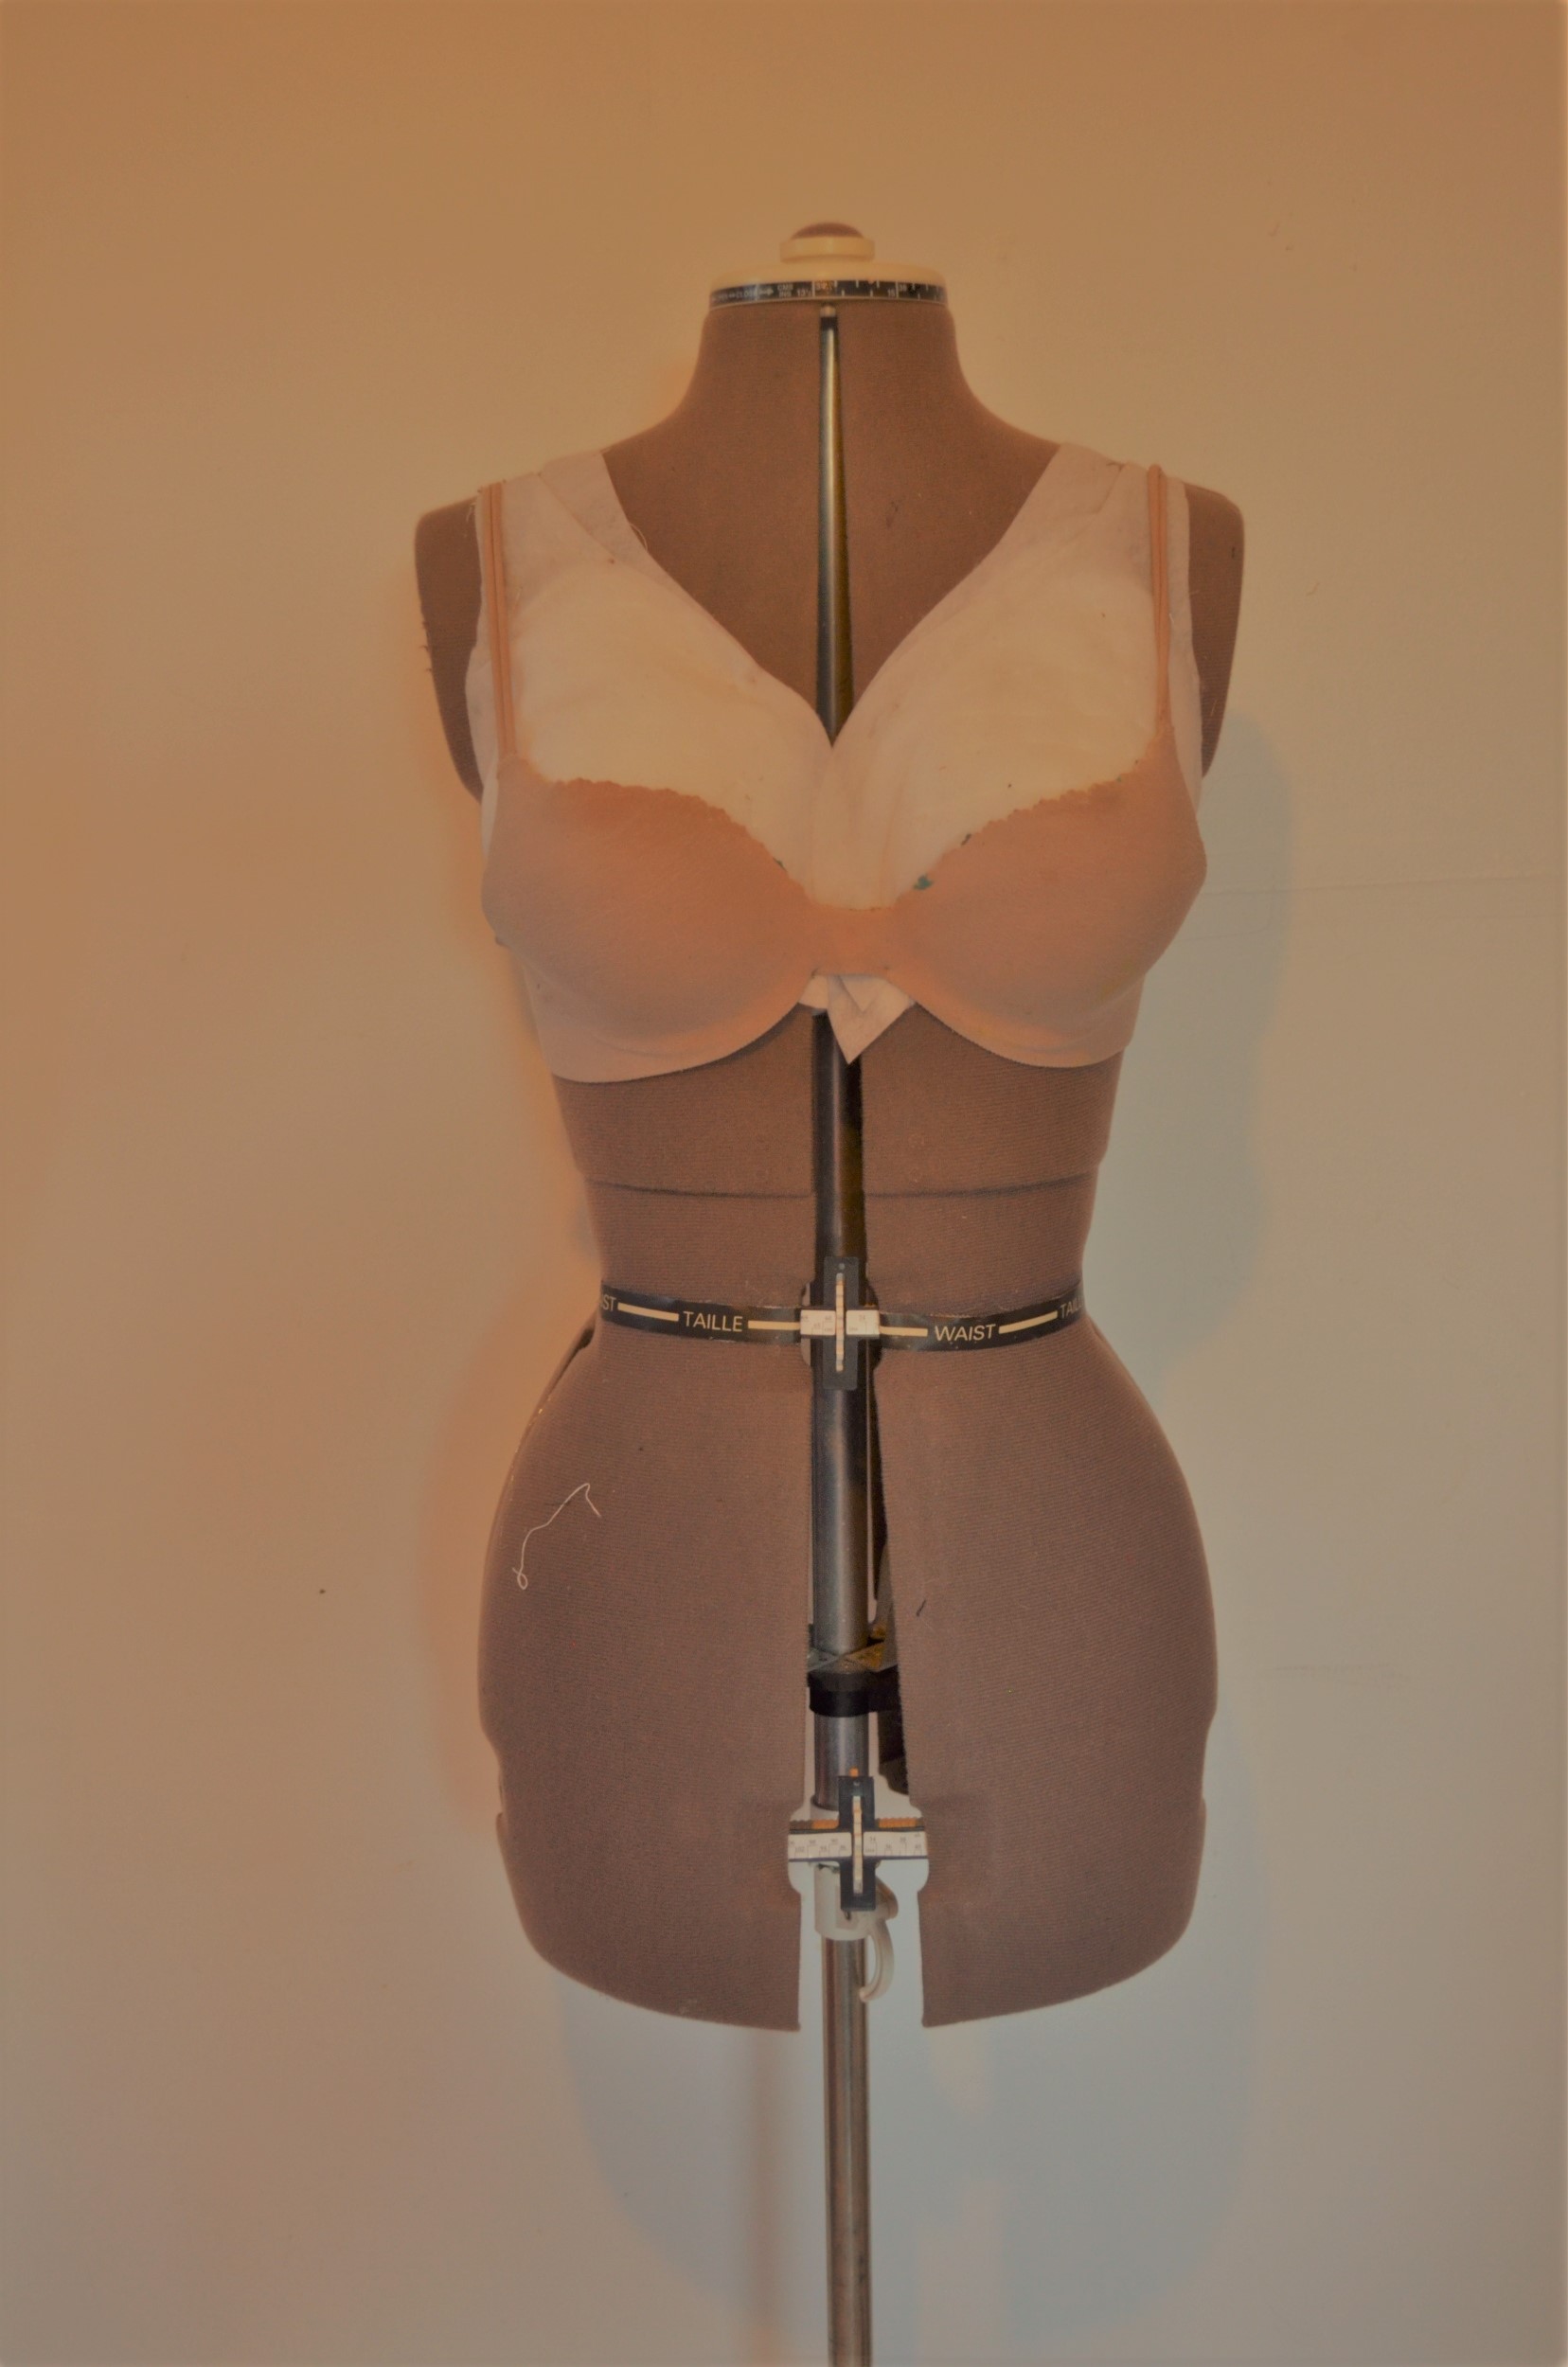
dress form extreme make over
This particular form has a few features I have, a pronounced upper ribcage curve, high bust, round ribs. Her hips are a bit too round in cross section but that is easy to adjust by dialing the front and back dials a size larger and the side dials a size lower.
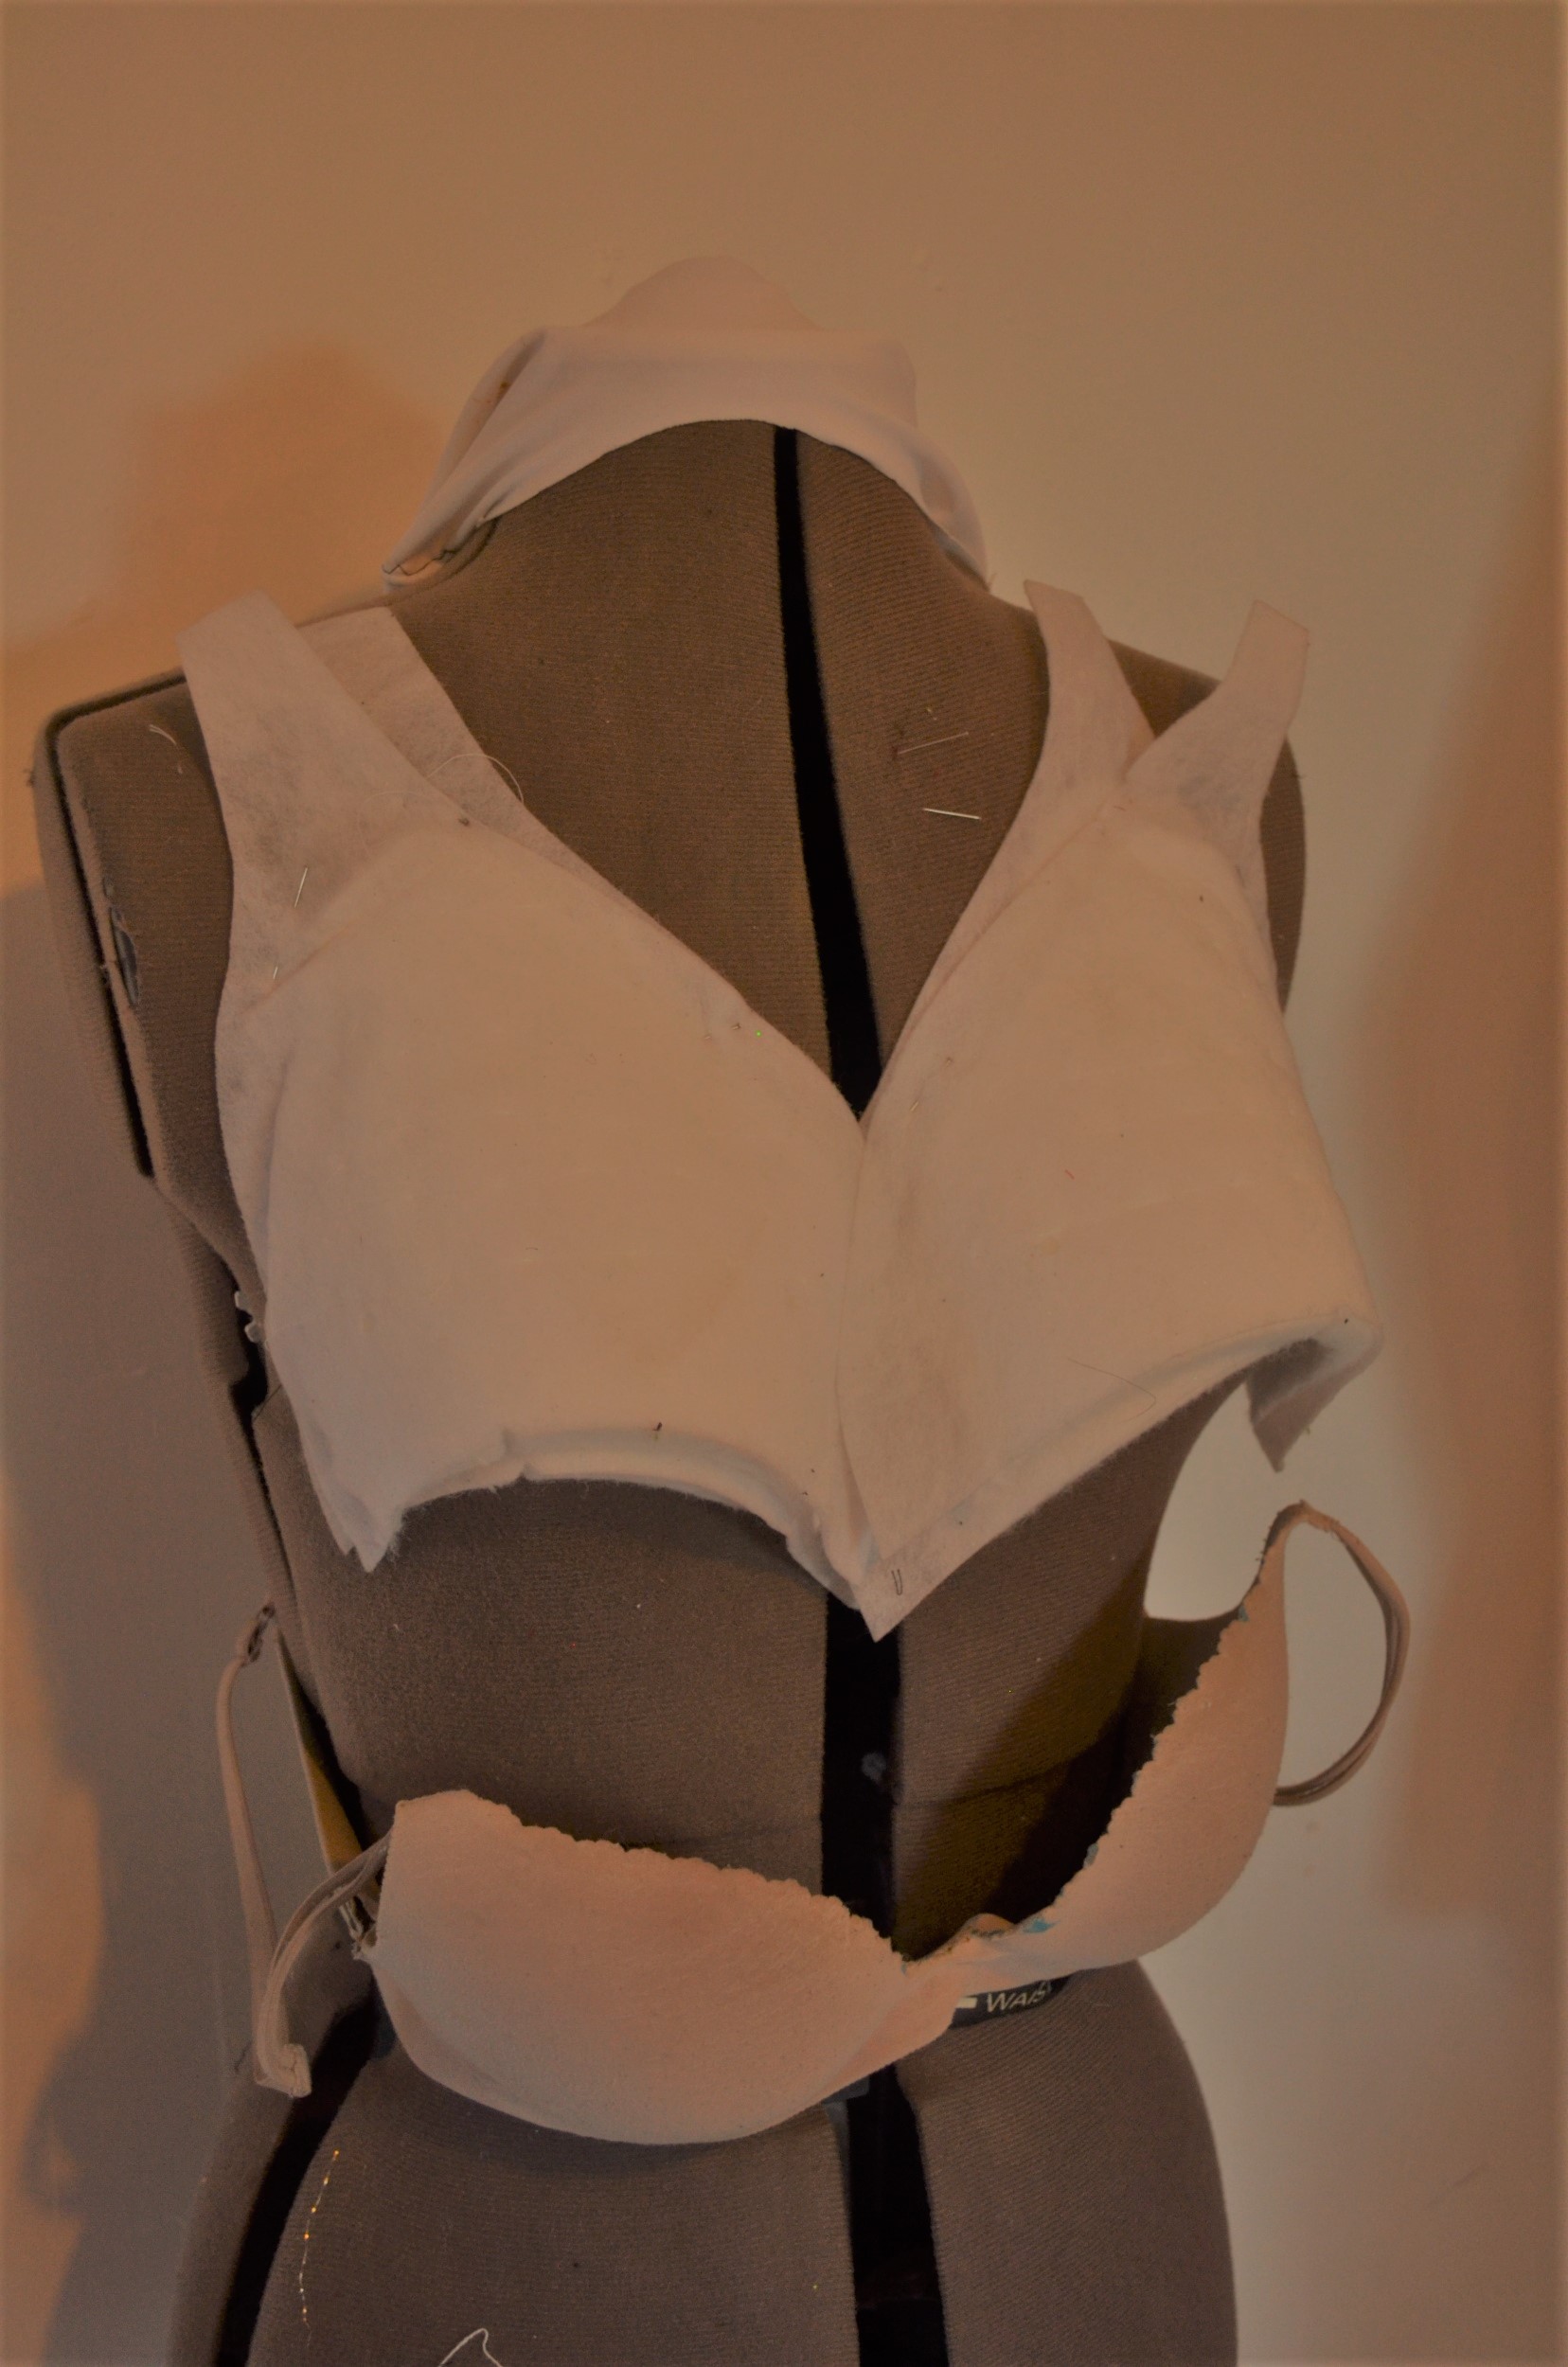
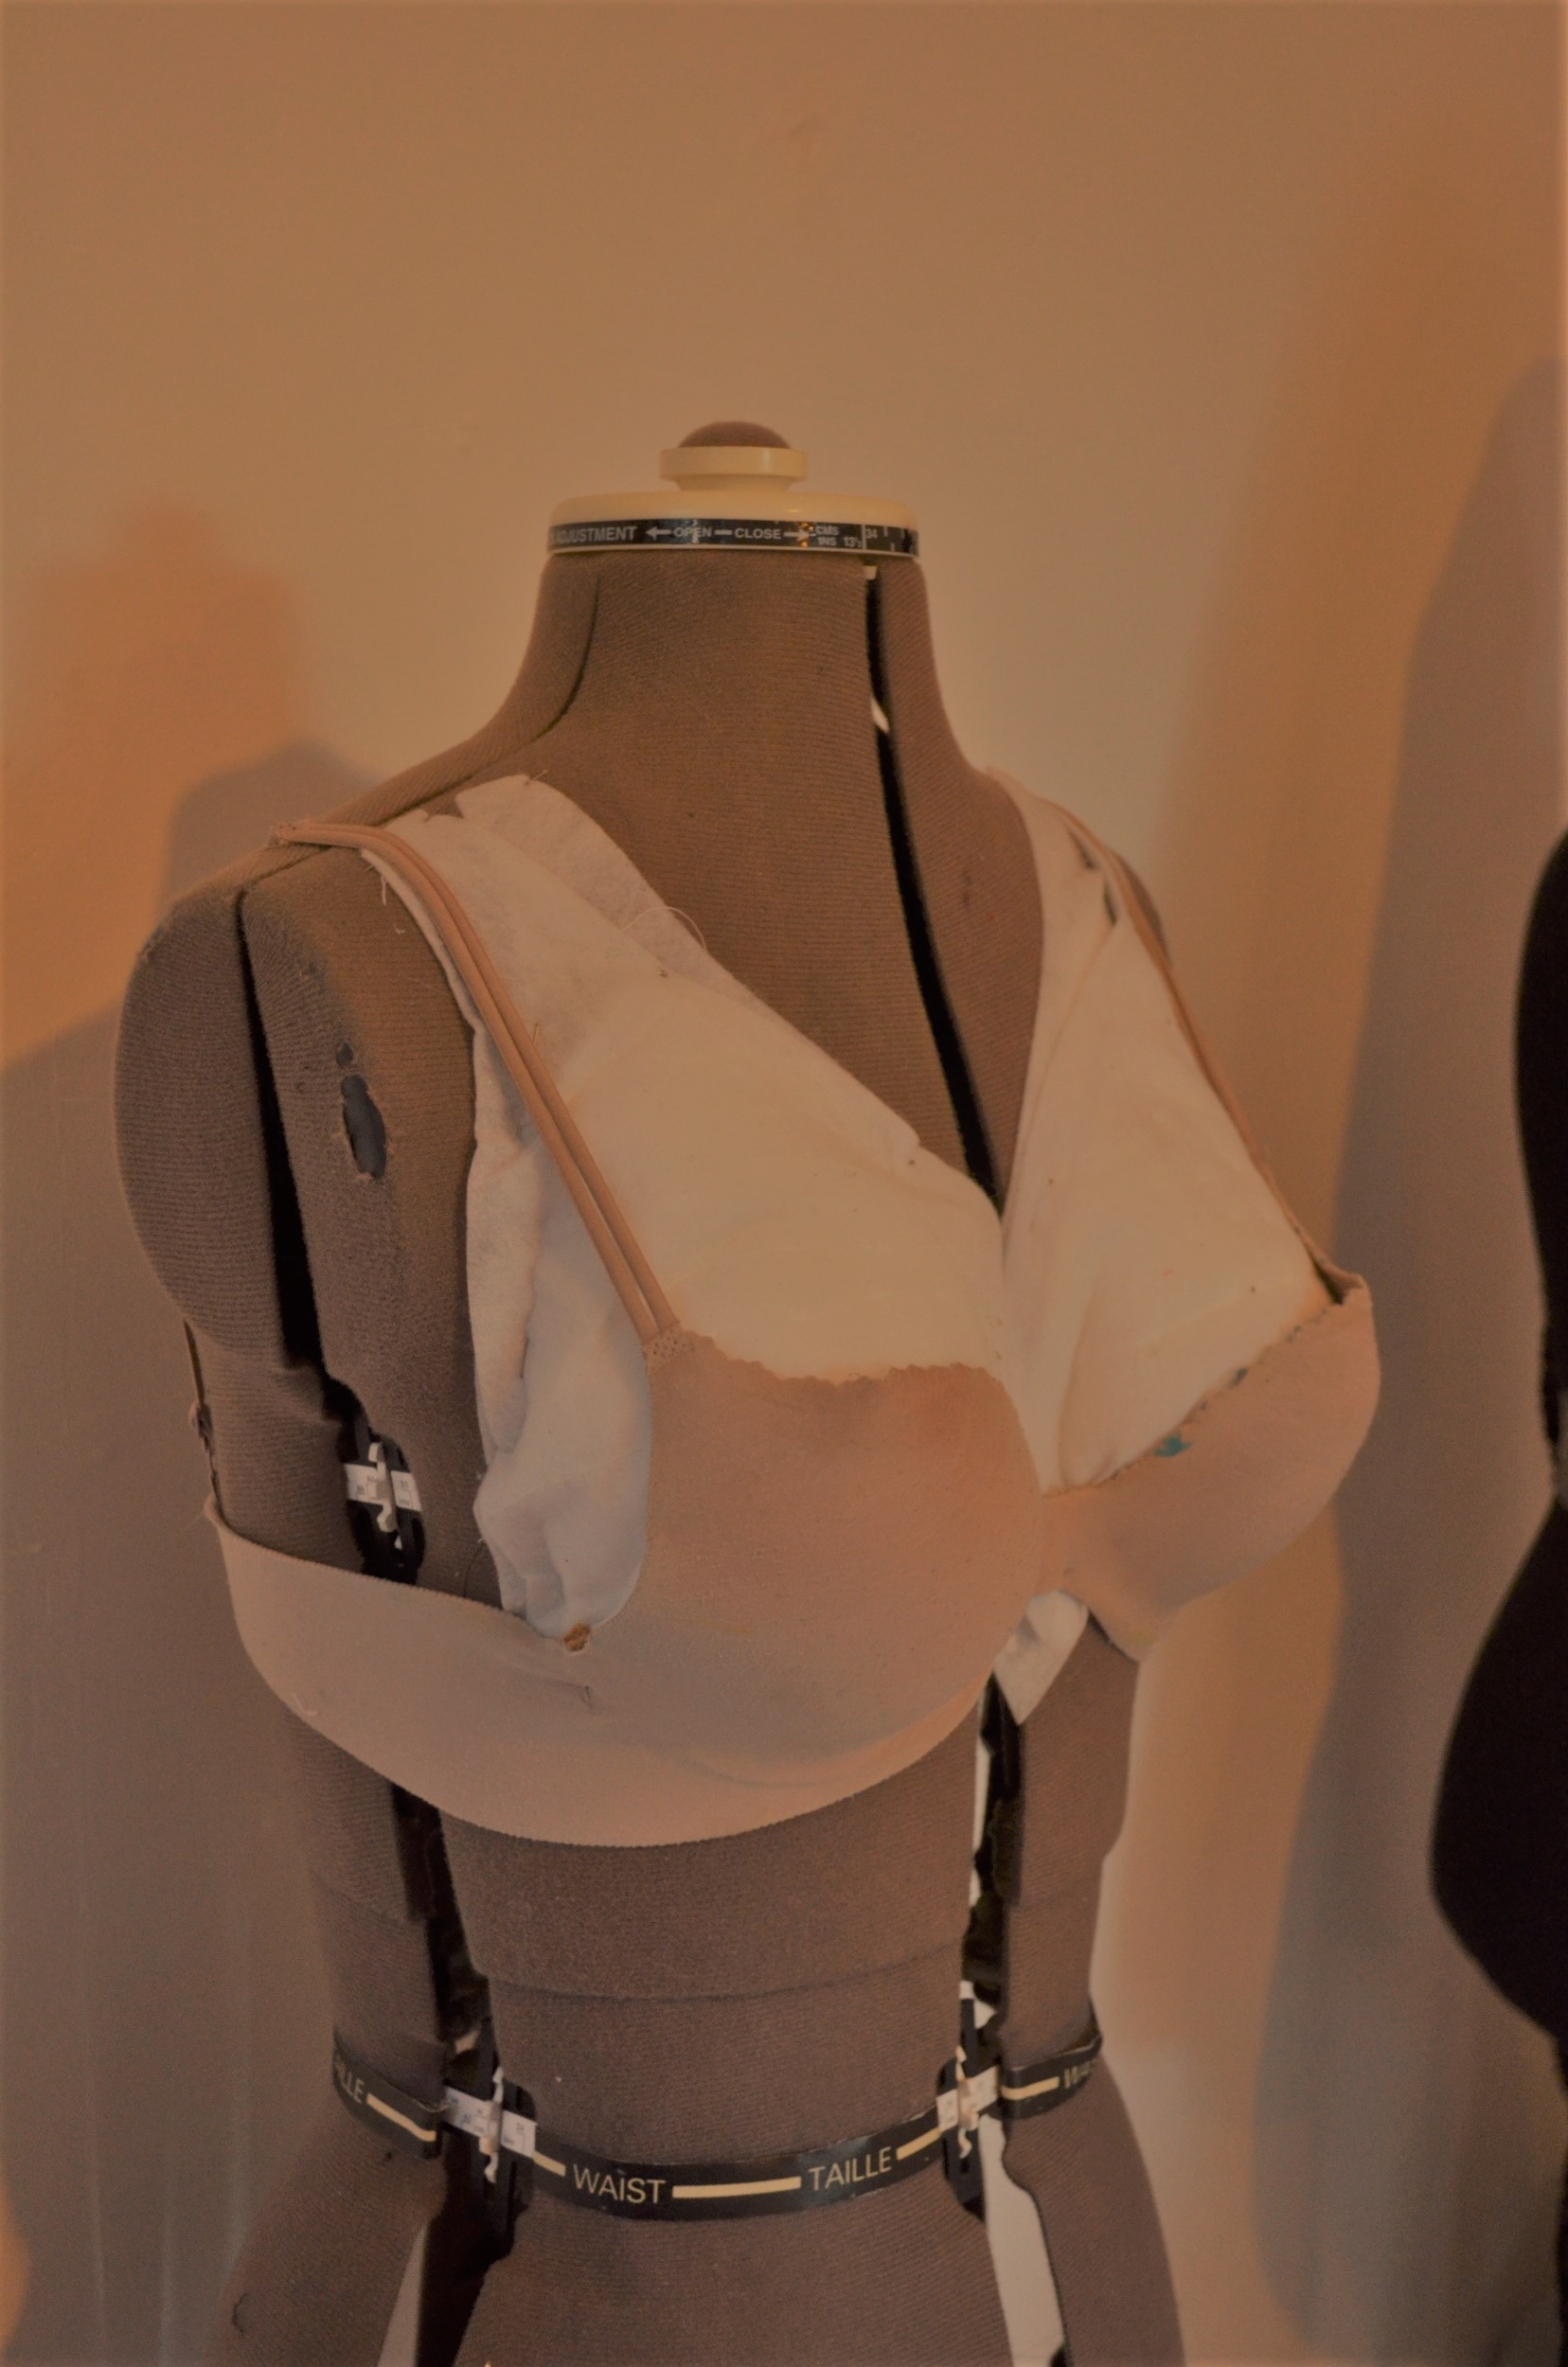
I used very taper shoulder pads to fill in the upper side of the bust, a corset is meant to lift and support so I want this in the same position as I want to achieve.
The padded bra is foam bonded to lycra based fabric so is very soft. I also filled in the gap between bust point and edge of should pads with a bit of foam.

And then a lycra shell was stretched over and basted at neck before I started basting through all layers including the velour form cover.
I darted to the armscye and took a dart out of the back panel on each side.
And voila, a form that is me but exaggerated (also at a height for wearing heels, I should have dropped her down for the photo but hey.
The form has a slight belly which is good for spoon busk corset types, but not so exaggerated as to not appeal modernly..