Ahsoka lekku patterning

I’ve done this before, so thought I’d capture it for posterity πŸ˜‰

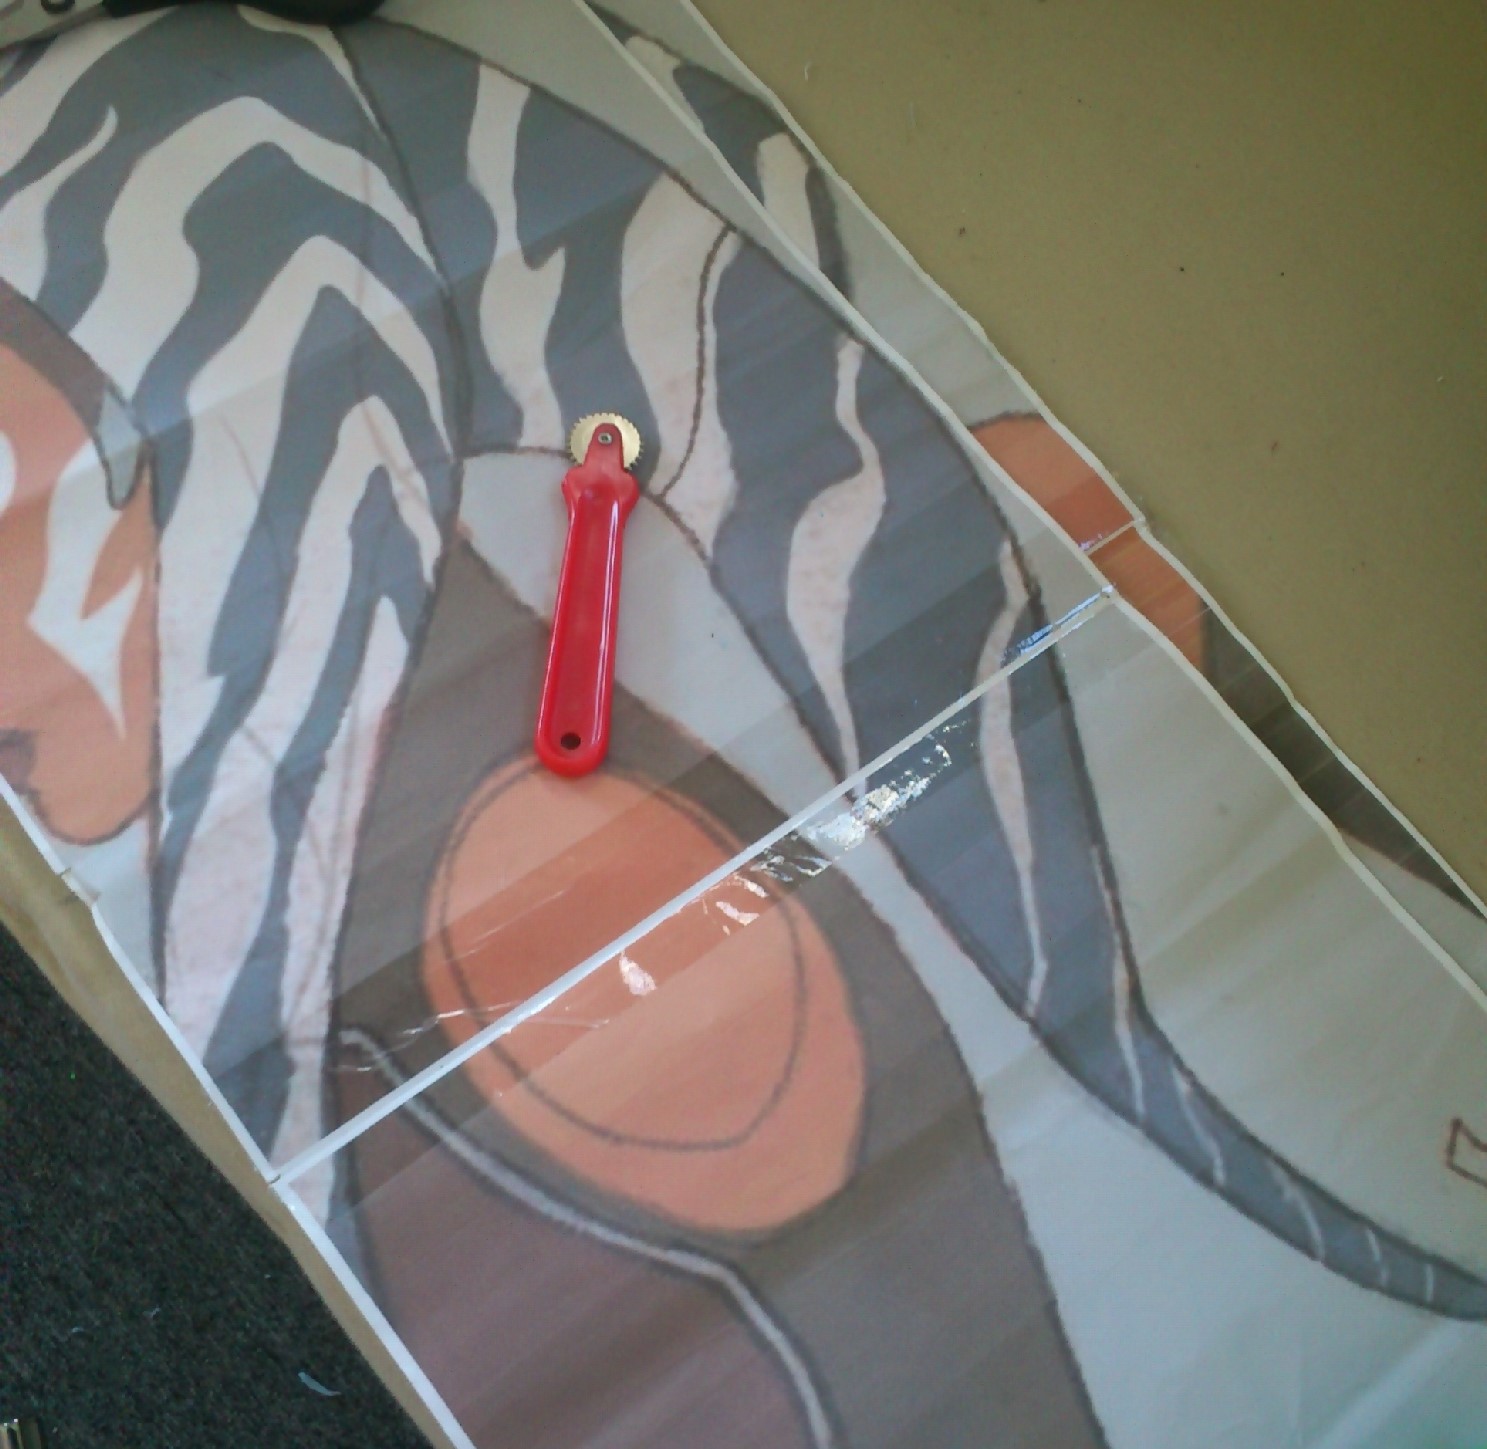
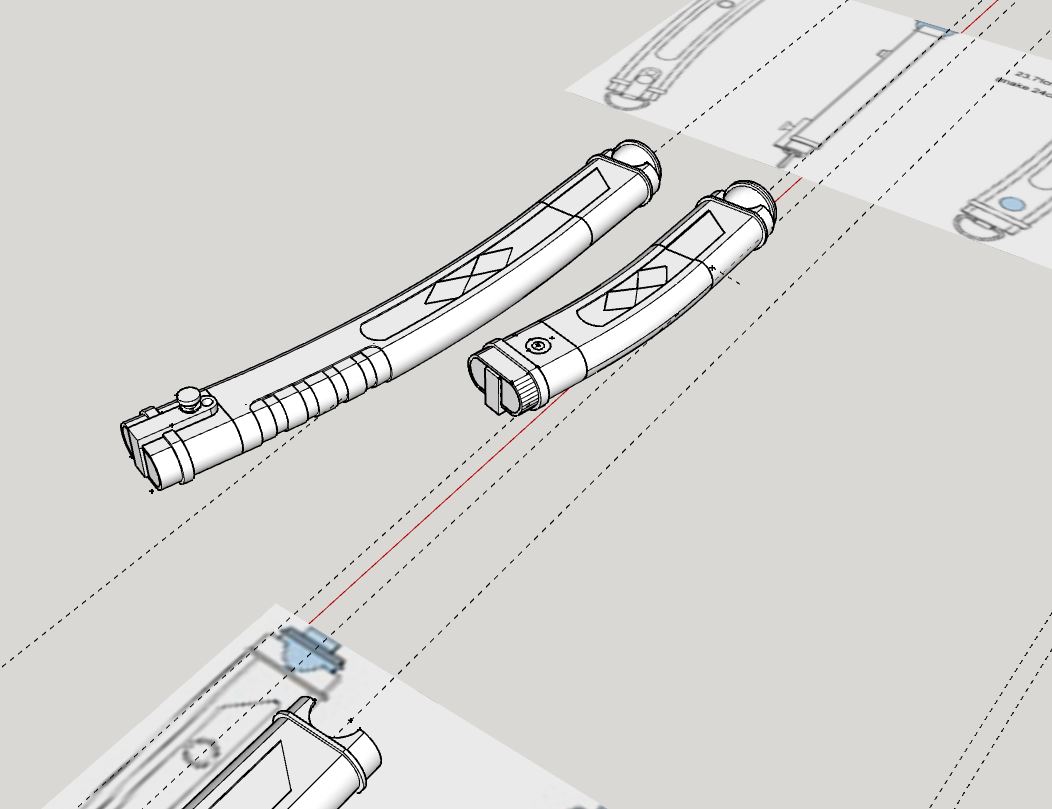
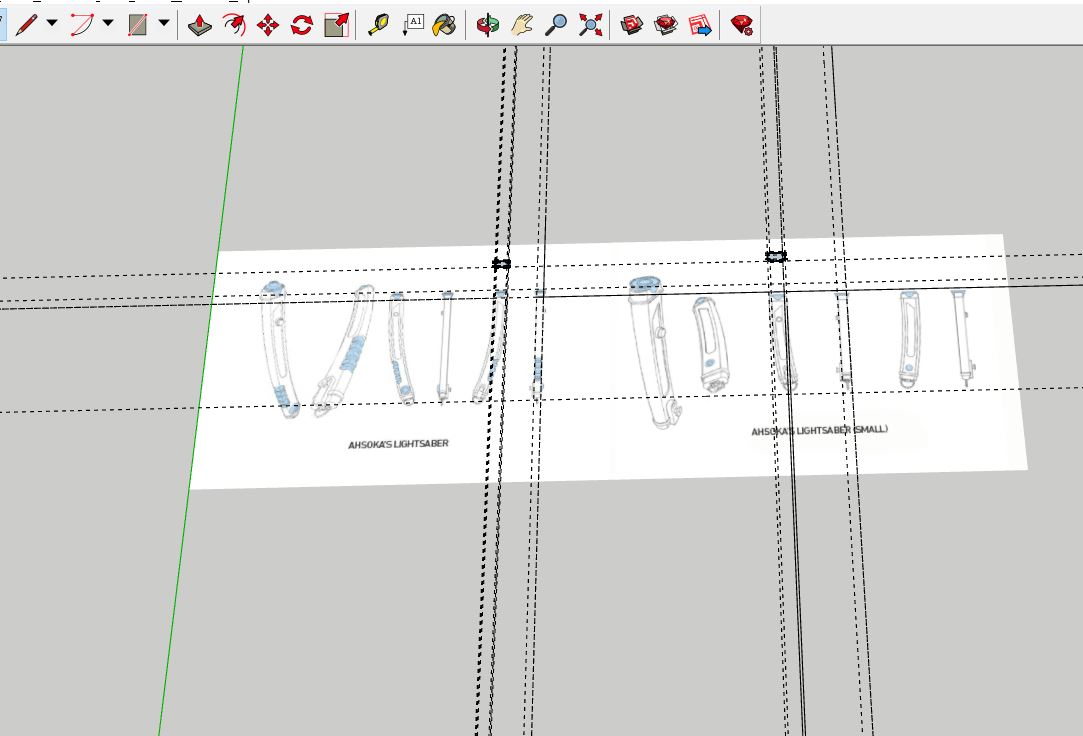
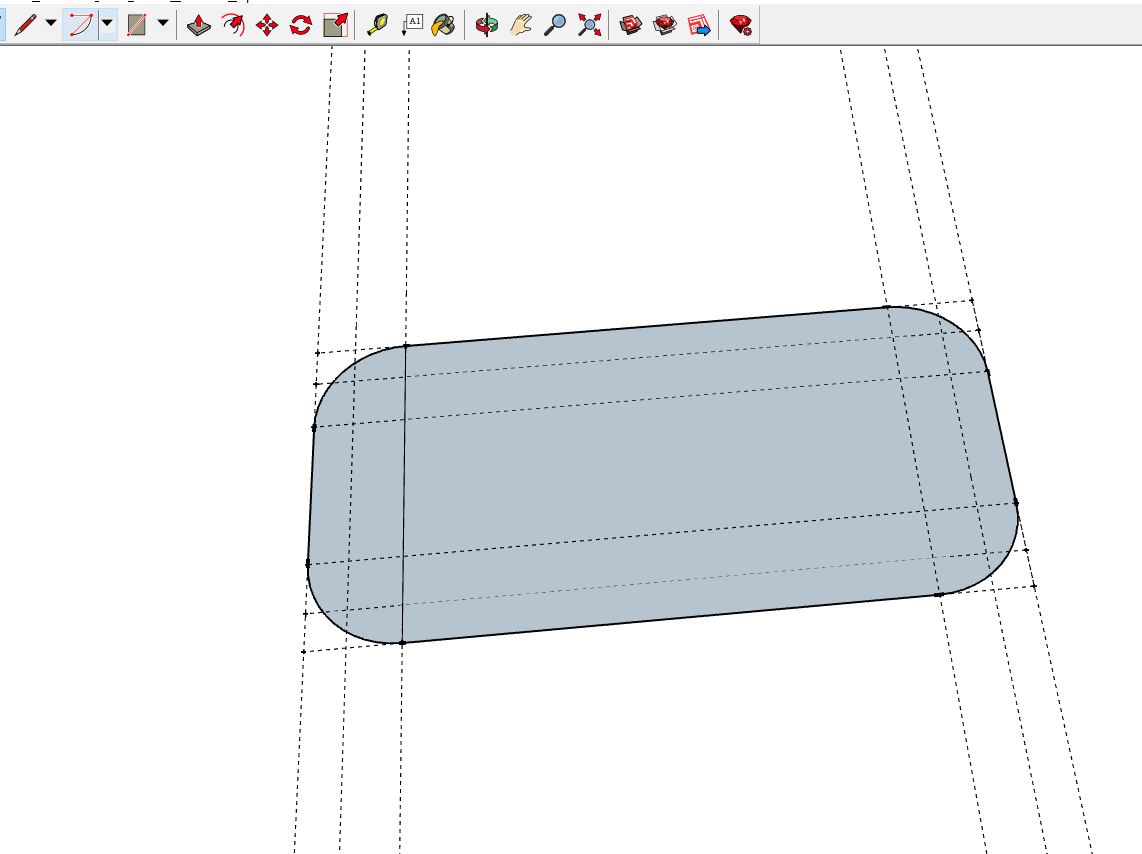
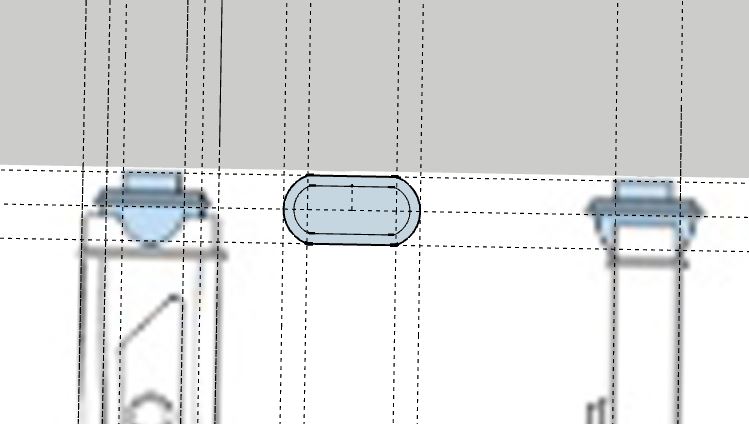
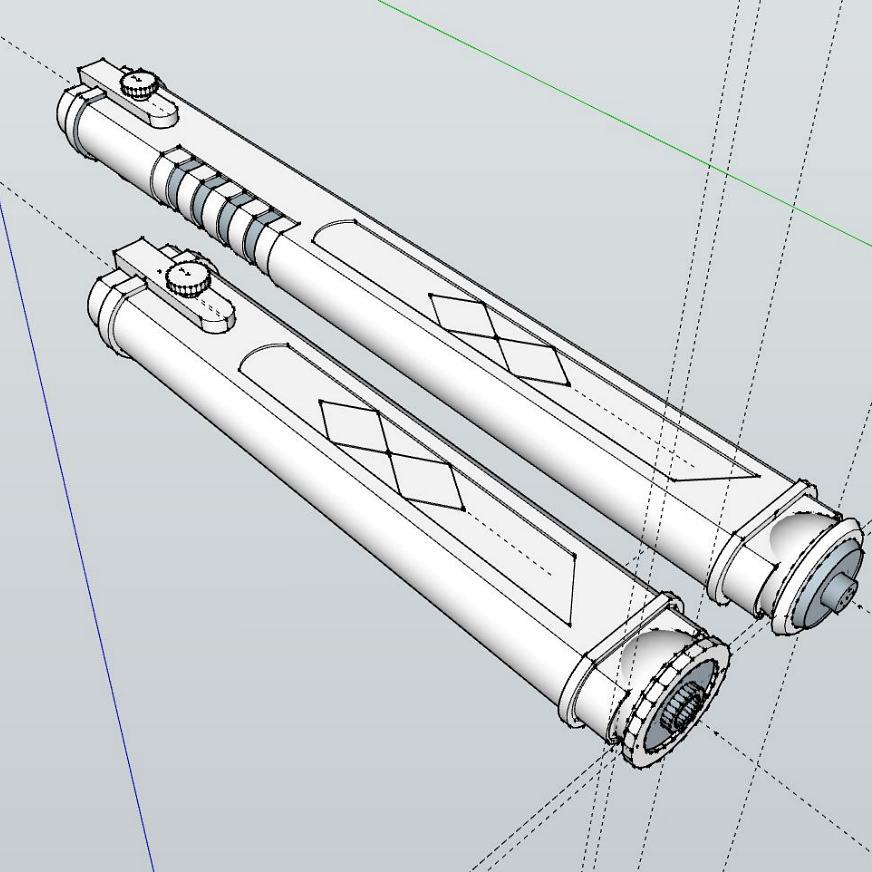
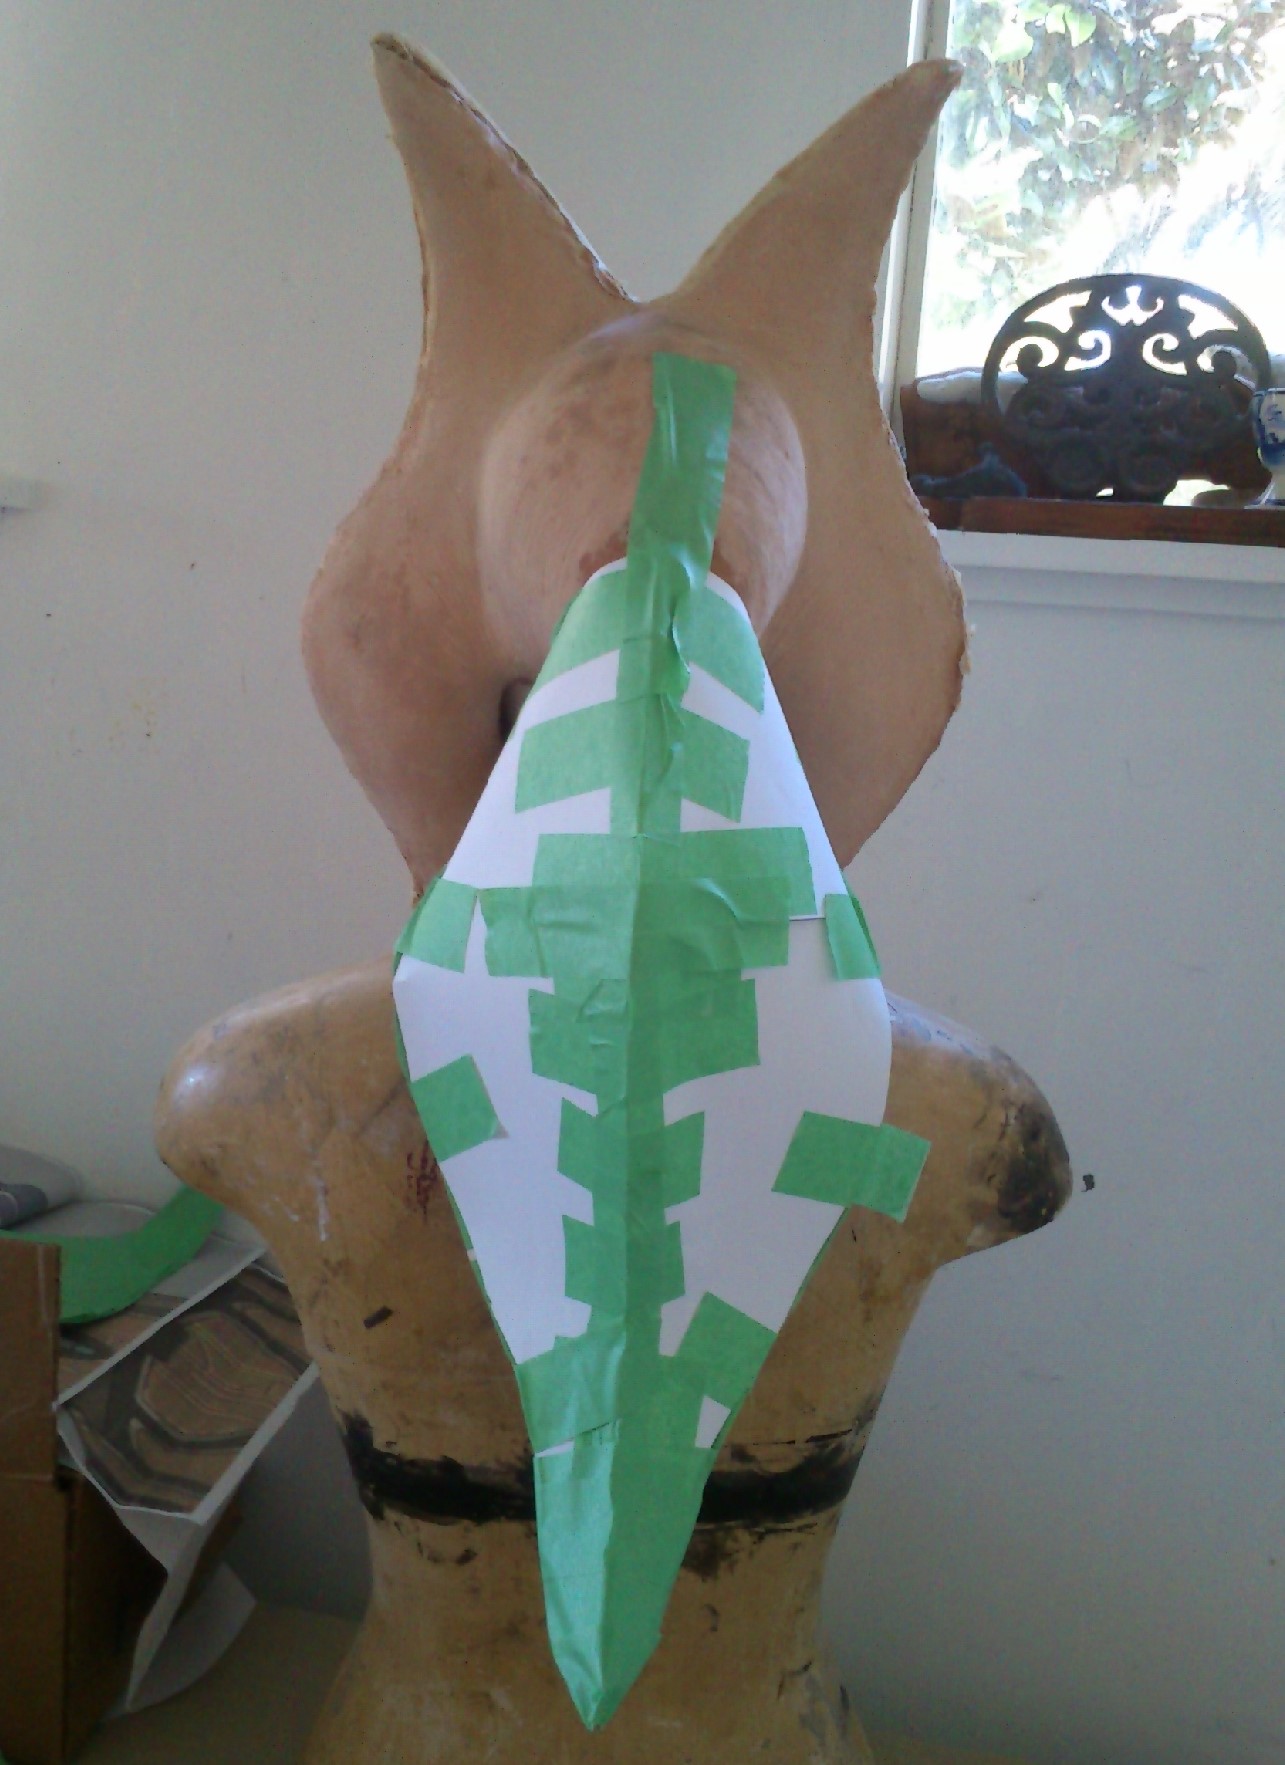
I printed the concept art at full scale. What is helpful with these is the flat back. SO we can use the profile as the very first piece to cut.

Β 

This is then taped perpendicularly to card that will form the back. Once the frame is taped then it’s time to try for shaping the back. This is done by eye which can be a bit off.

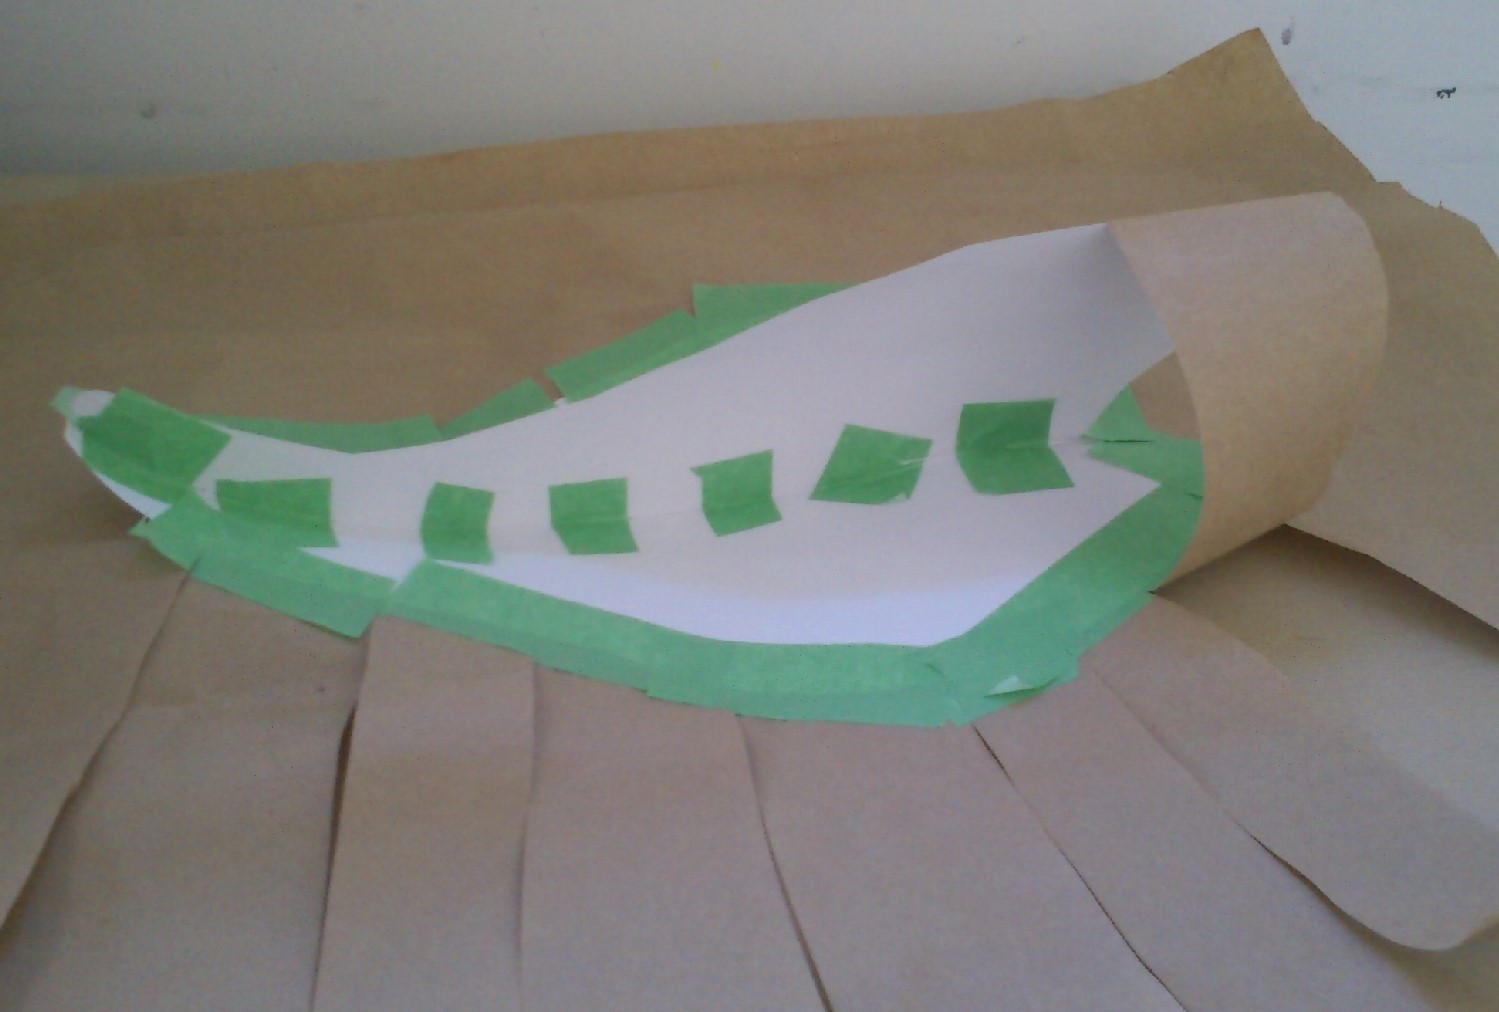
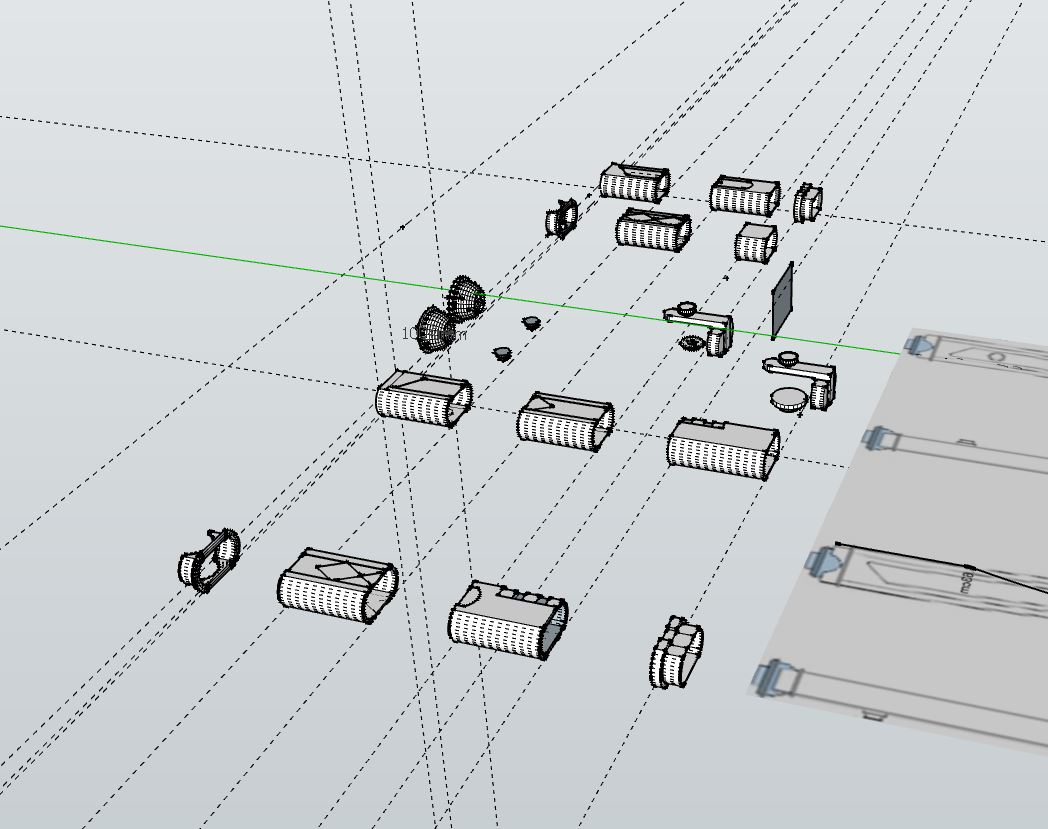
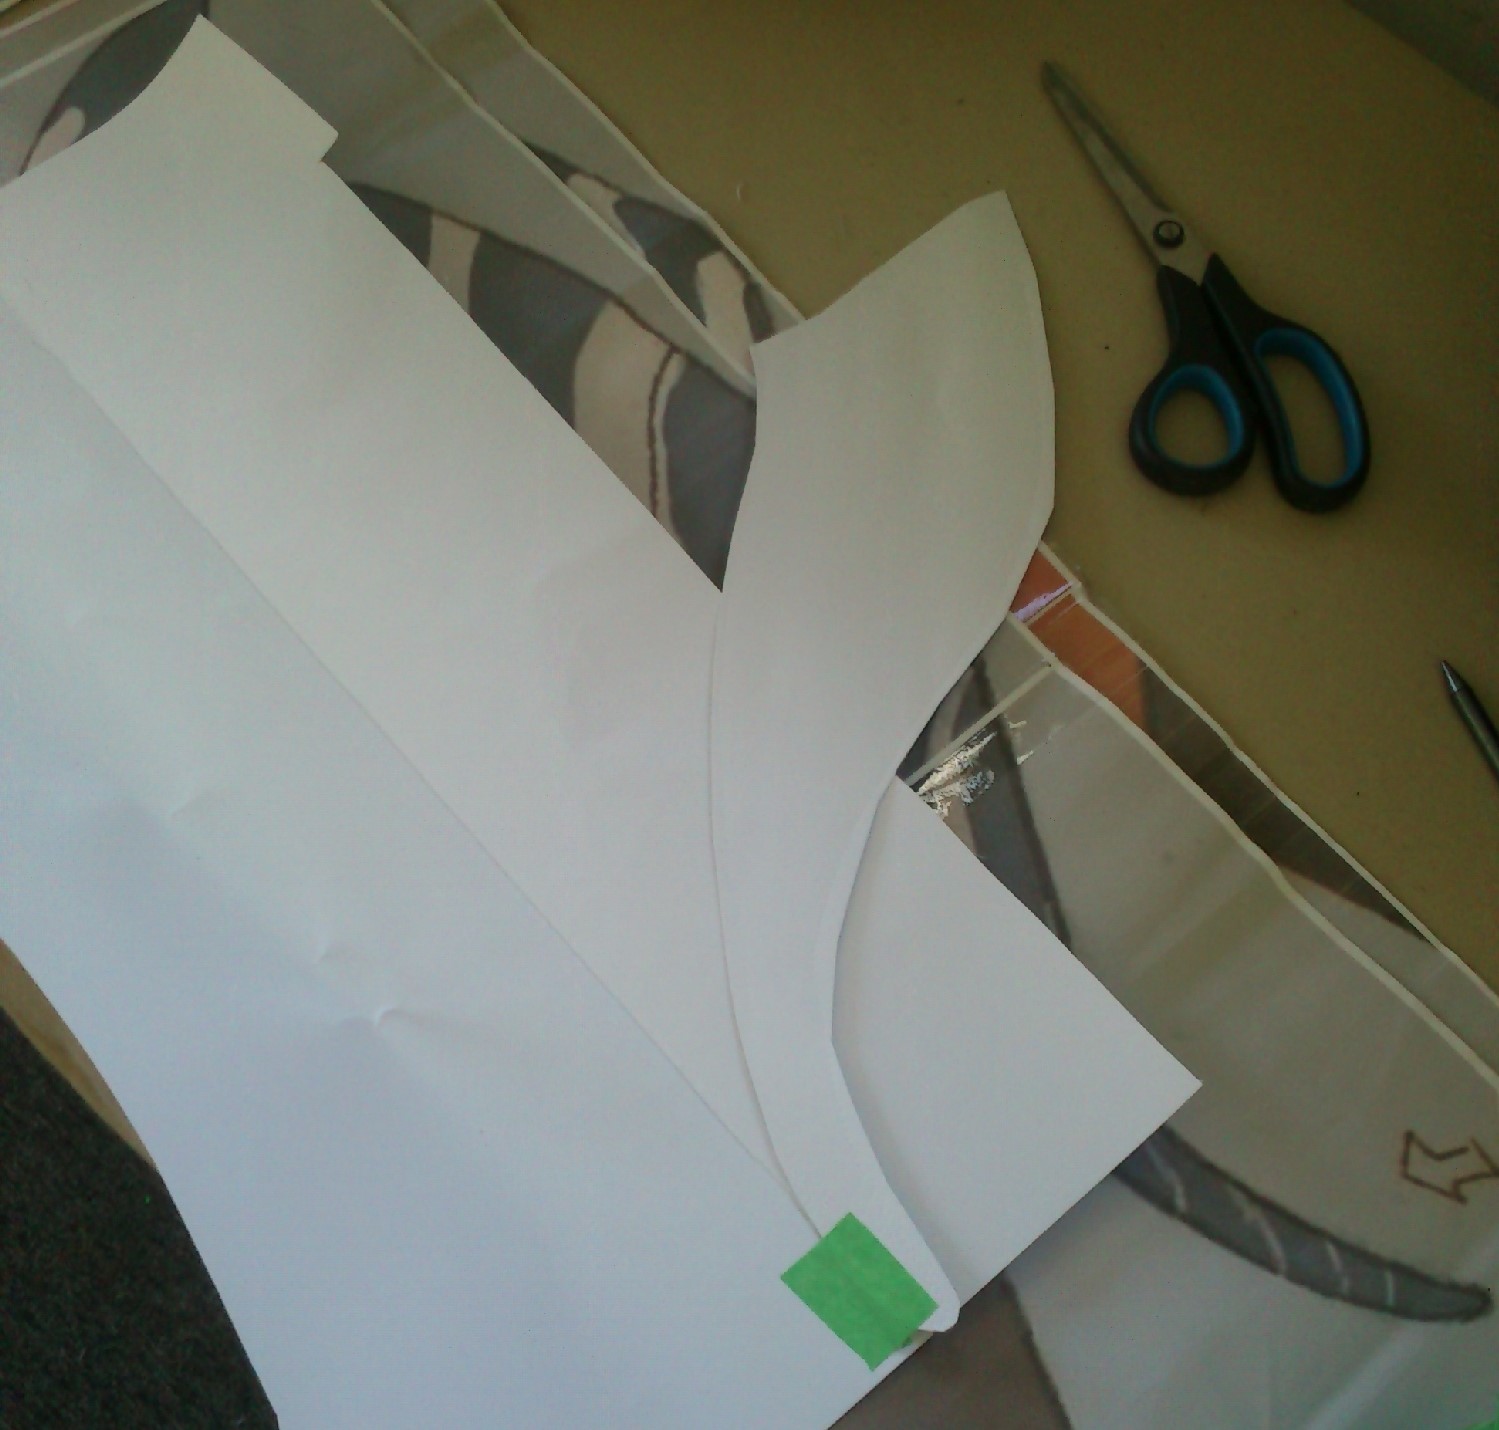
To create the sides tape the frame to paper and cut radiating strips out. These offer something for tape to adhere to.

Β 

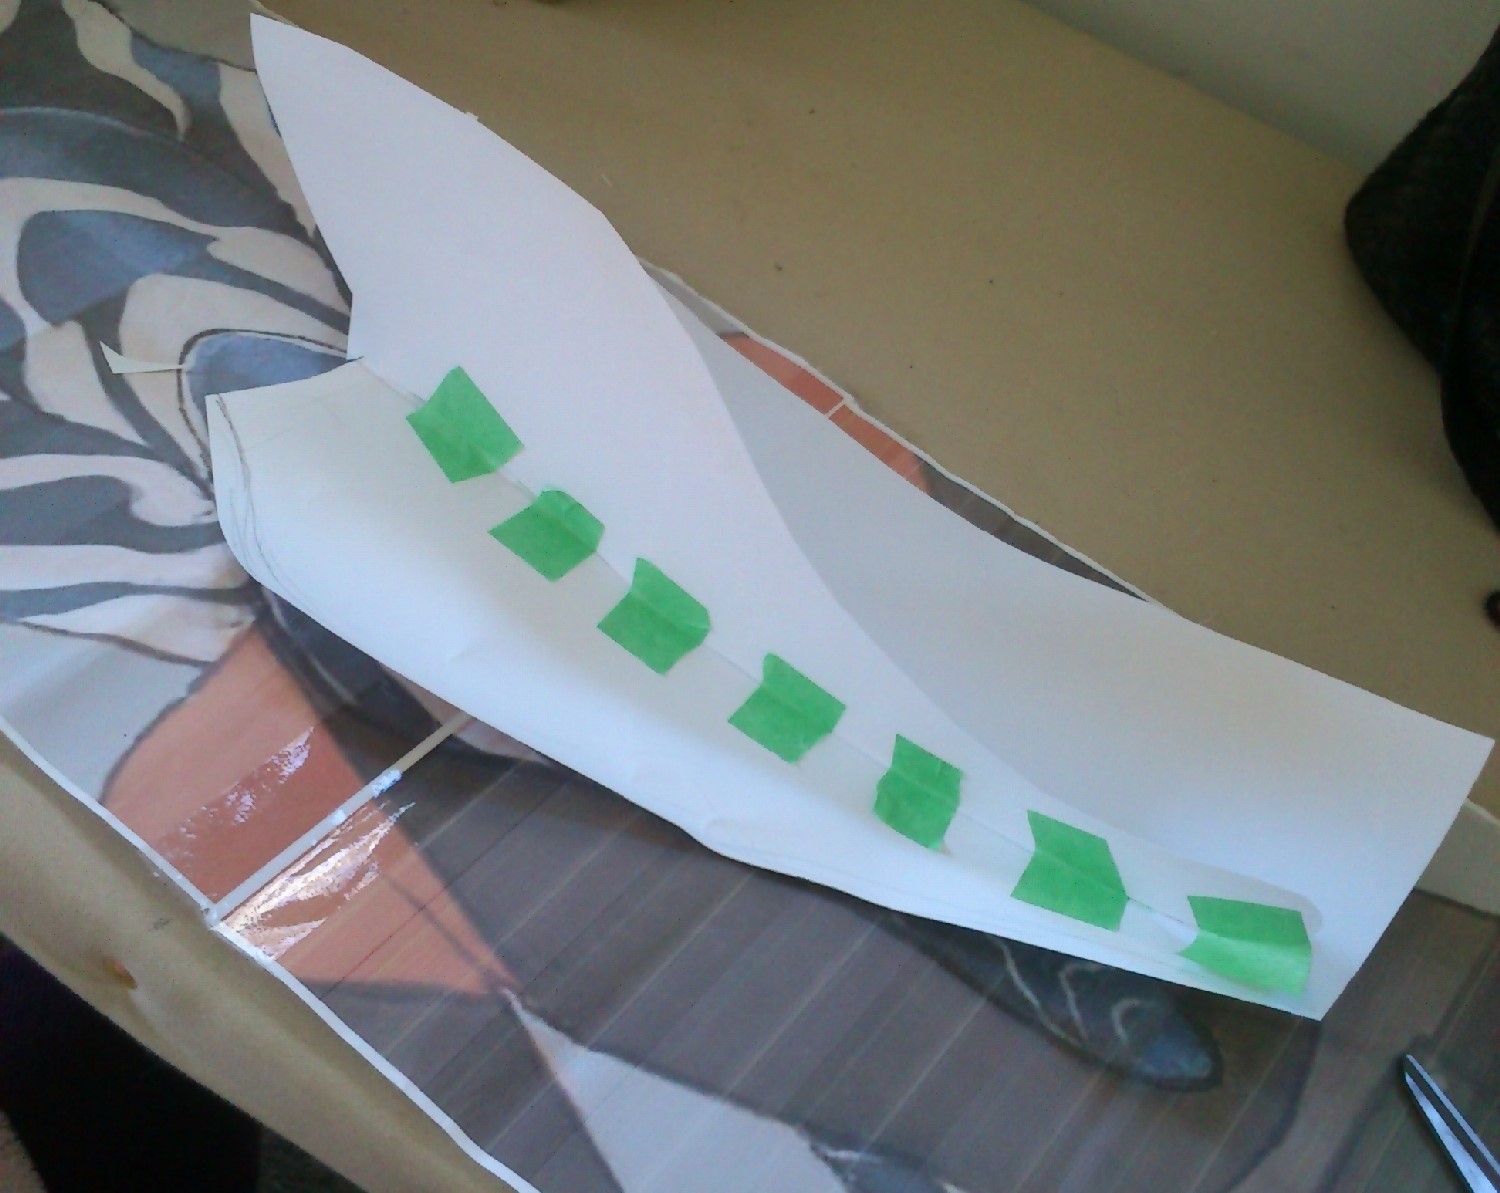
Then these are cut apart and transfered to card for more careful shaping. Keeping the profile shape helps keep this stable as well.

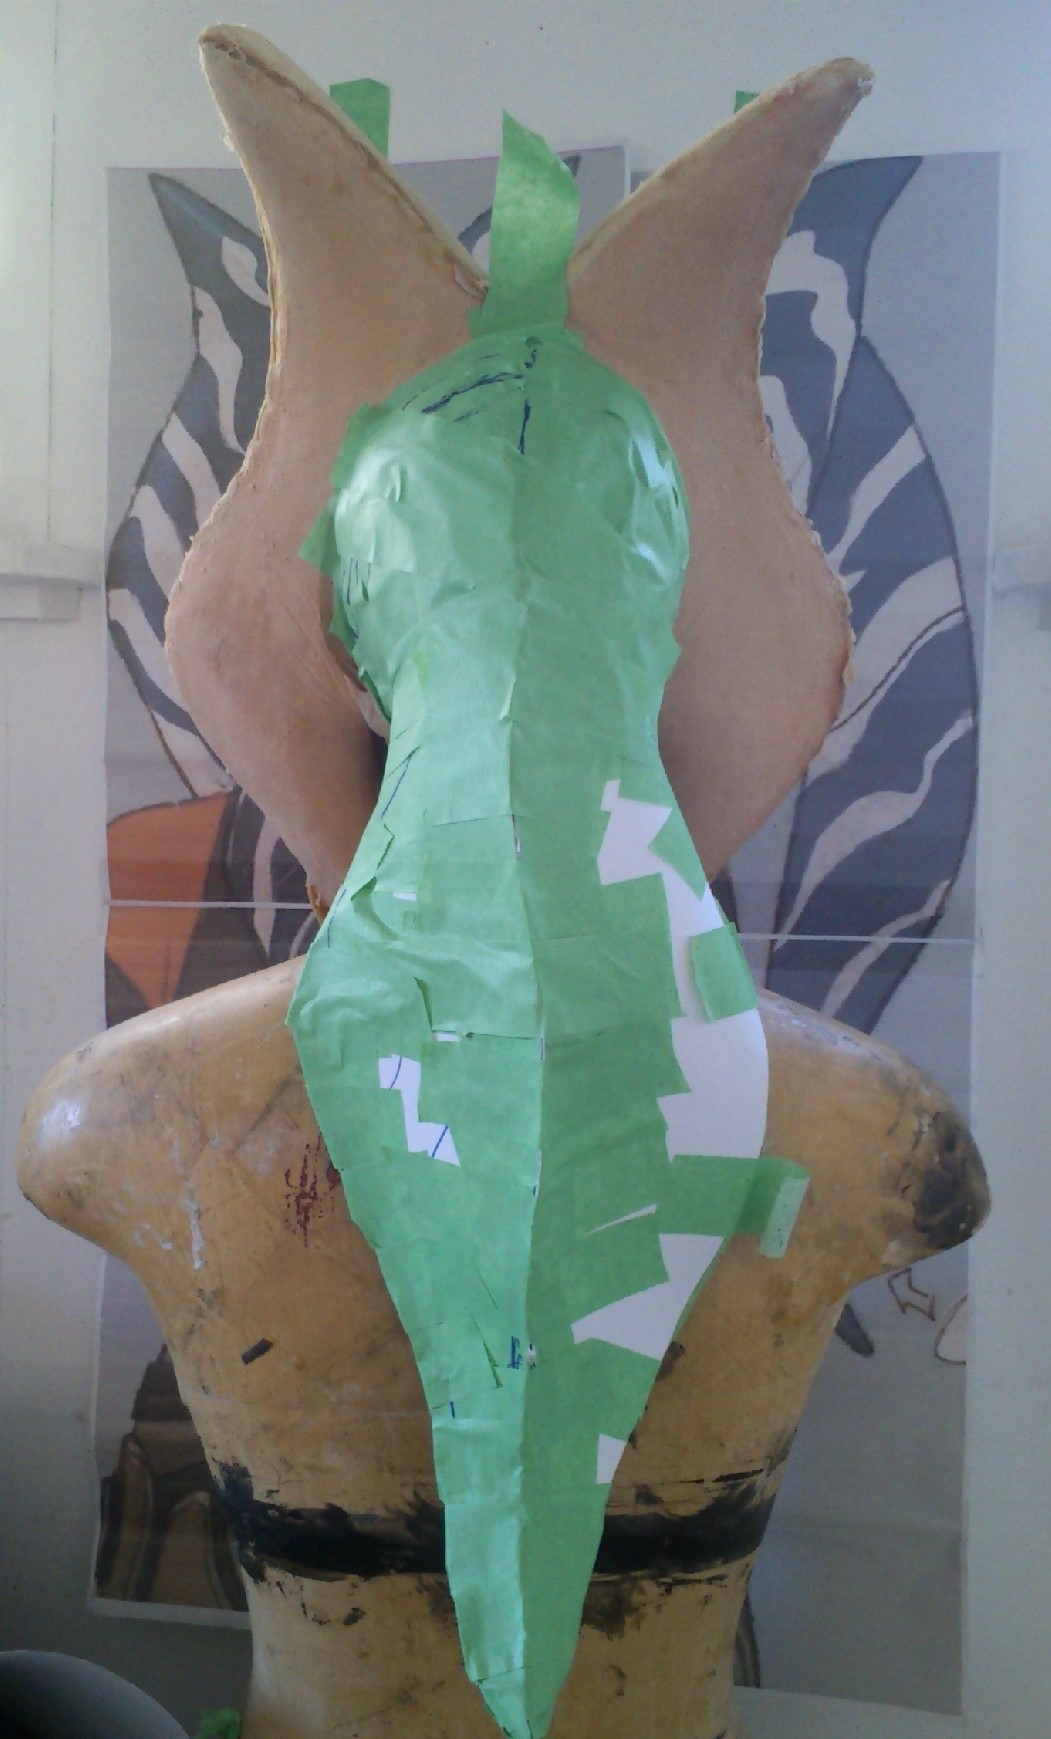
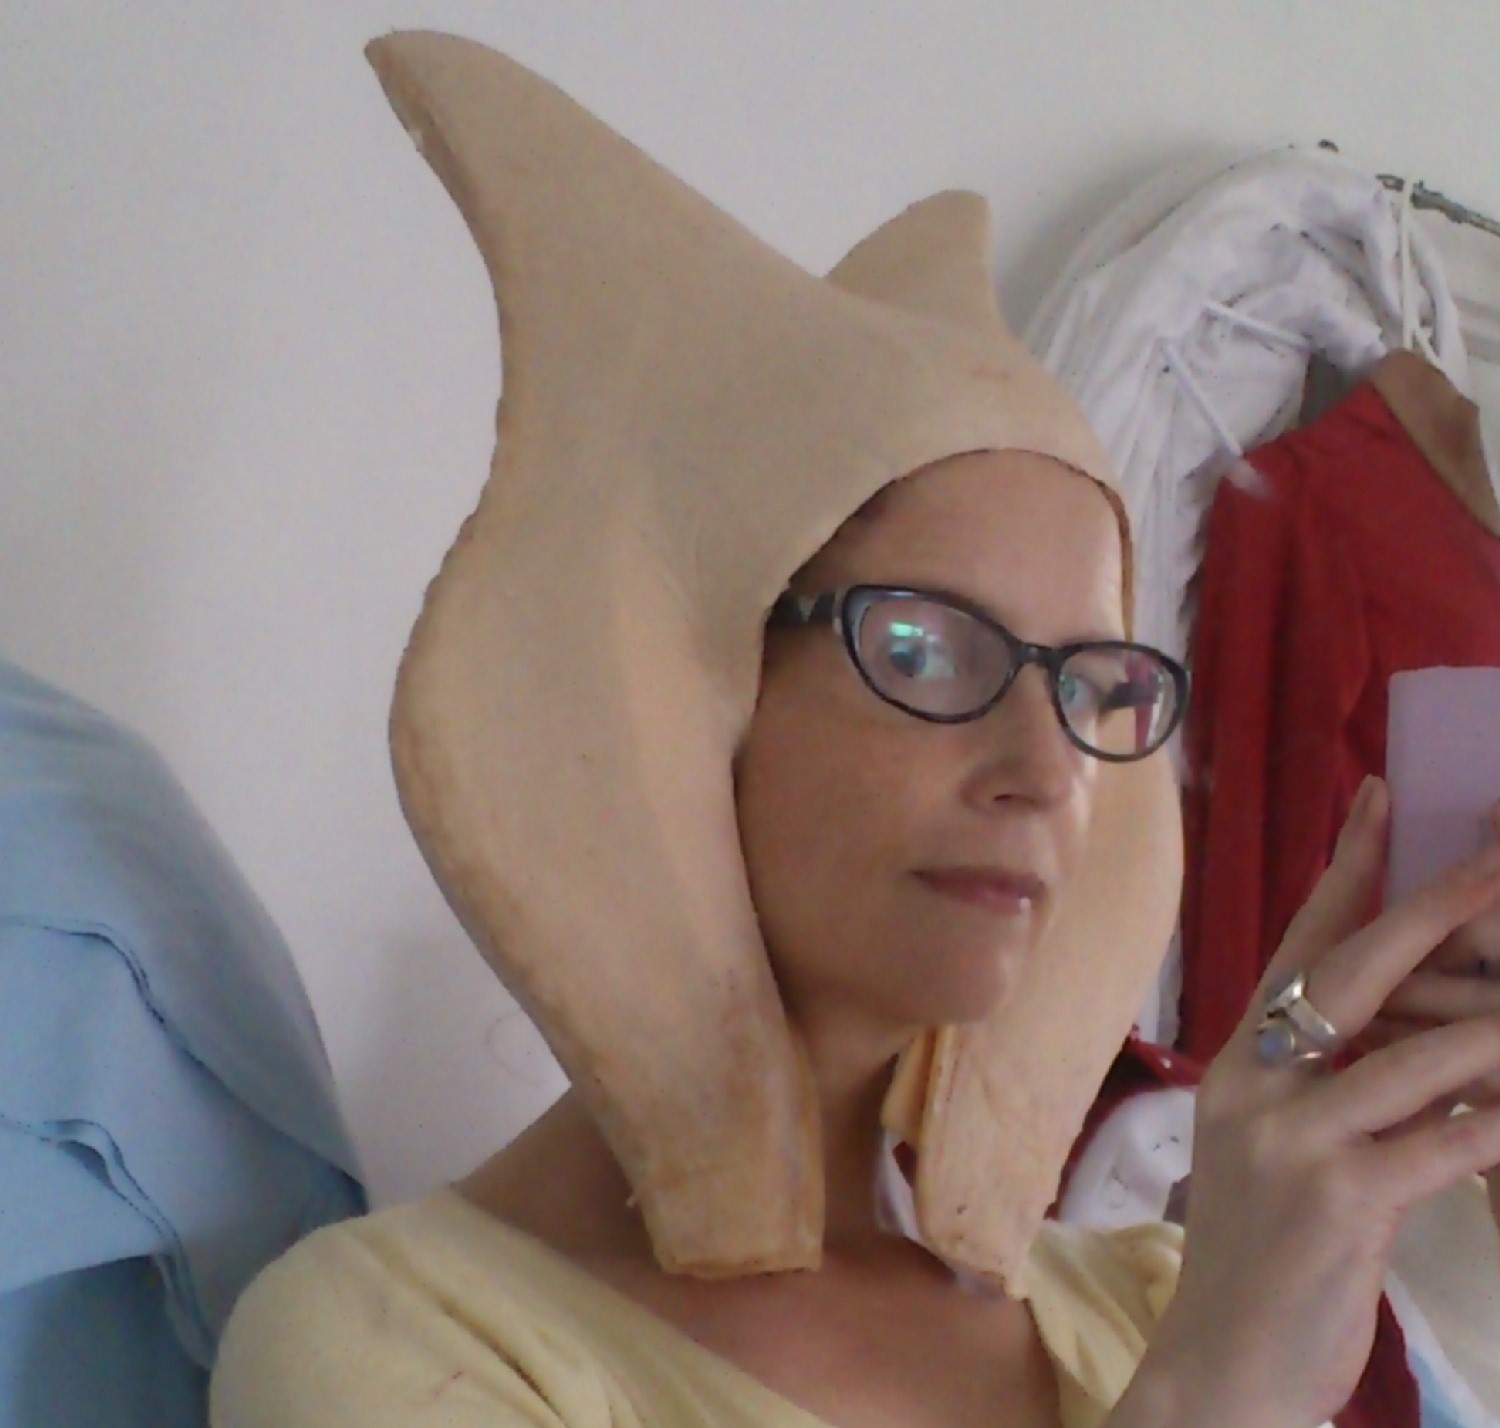
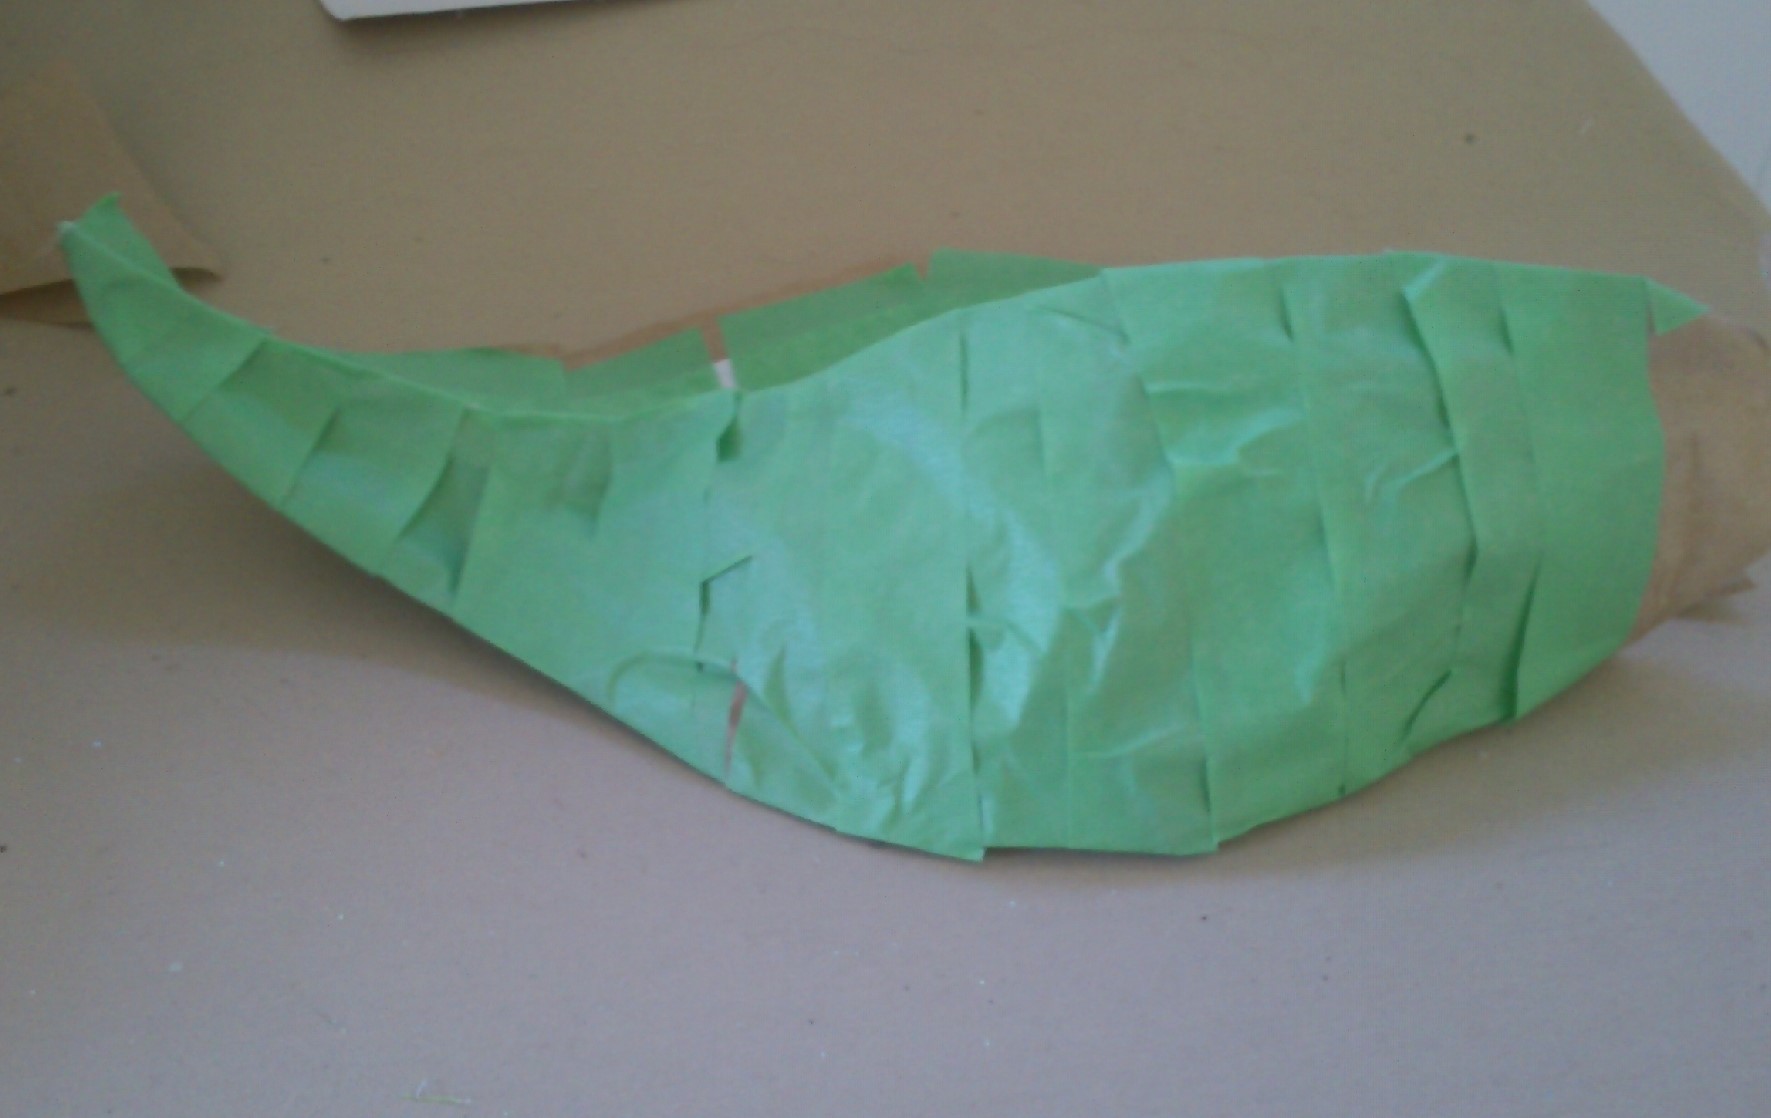
Once taped to the form it is possible to see where shaping needs to happed. As this is a template it’s possible to only alter one side.

Here only the left has been altered.

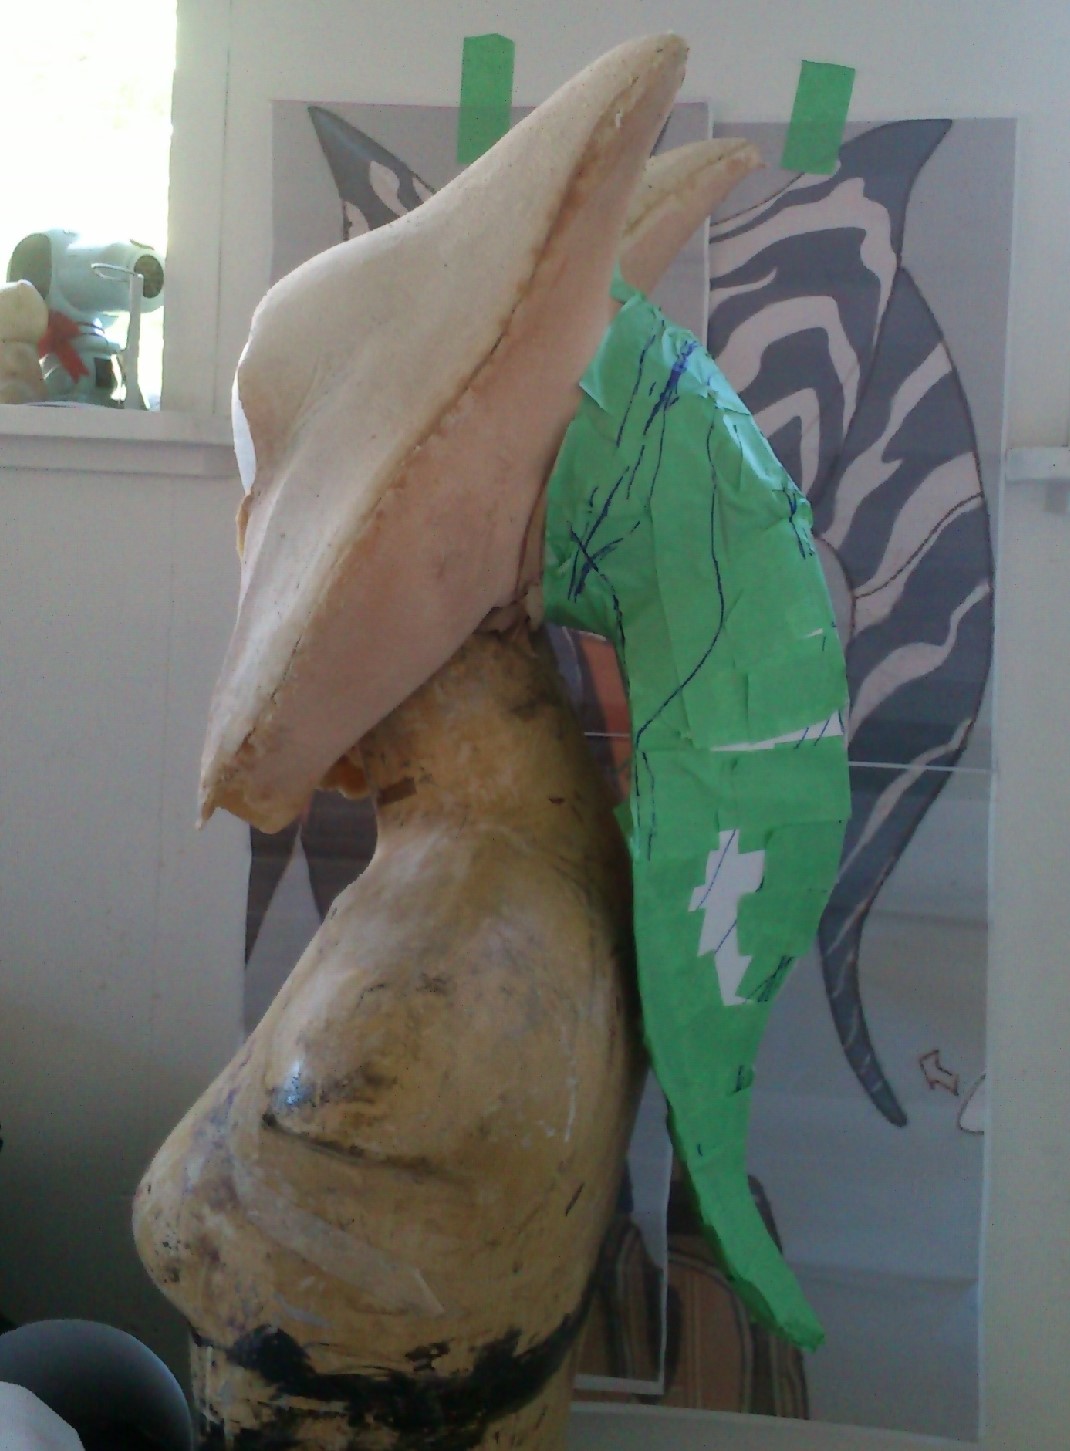
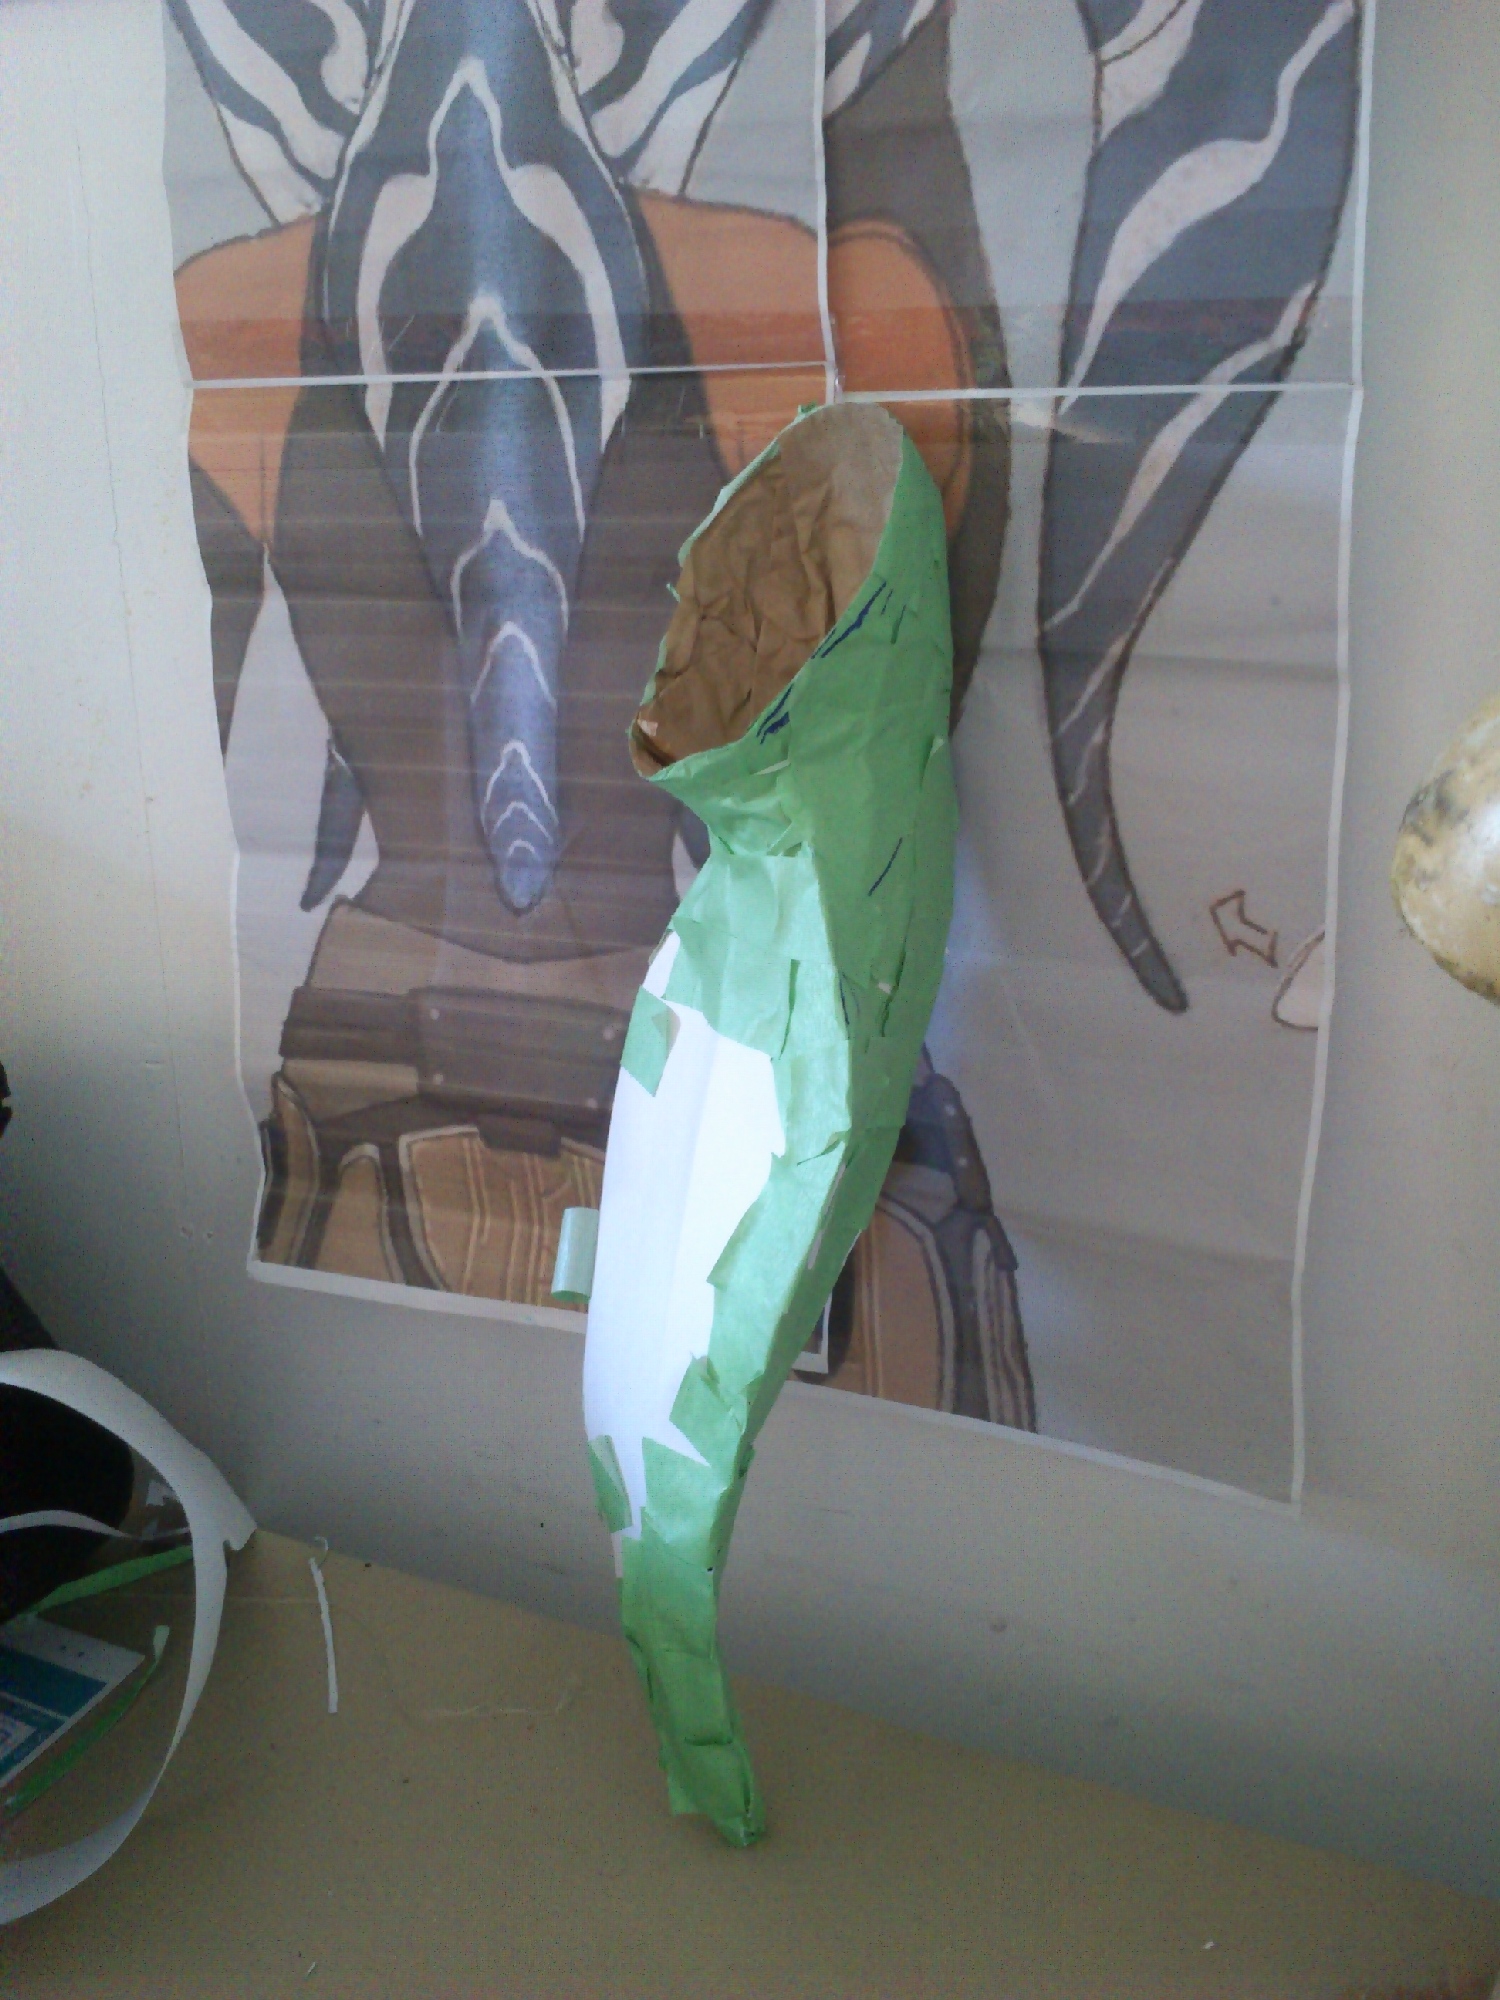
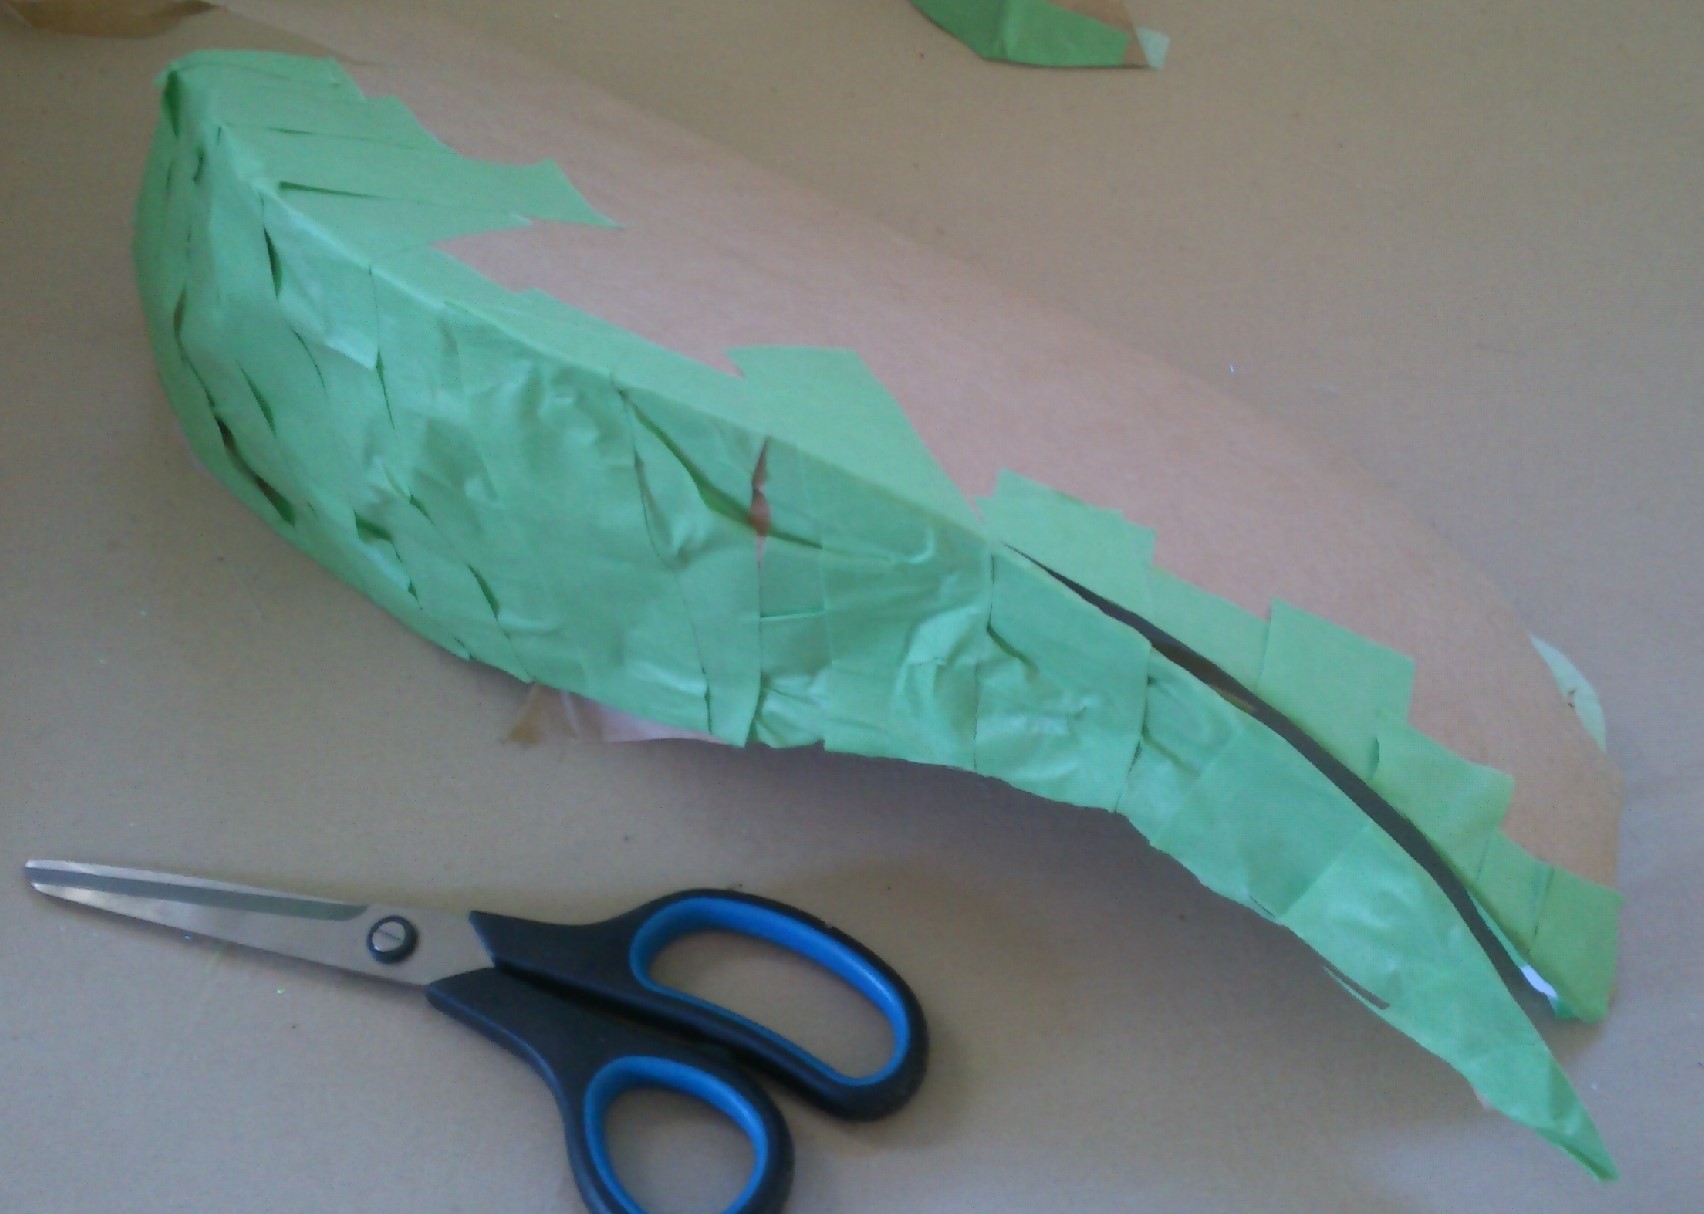
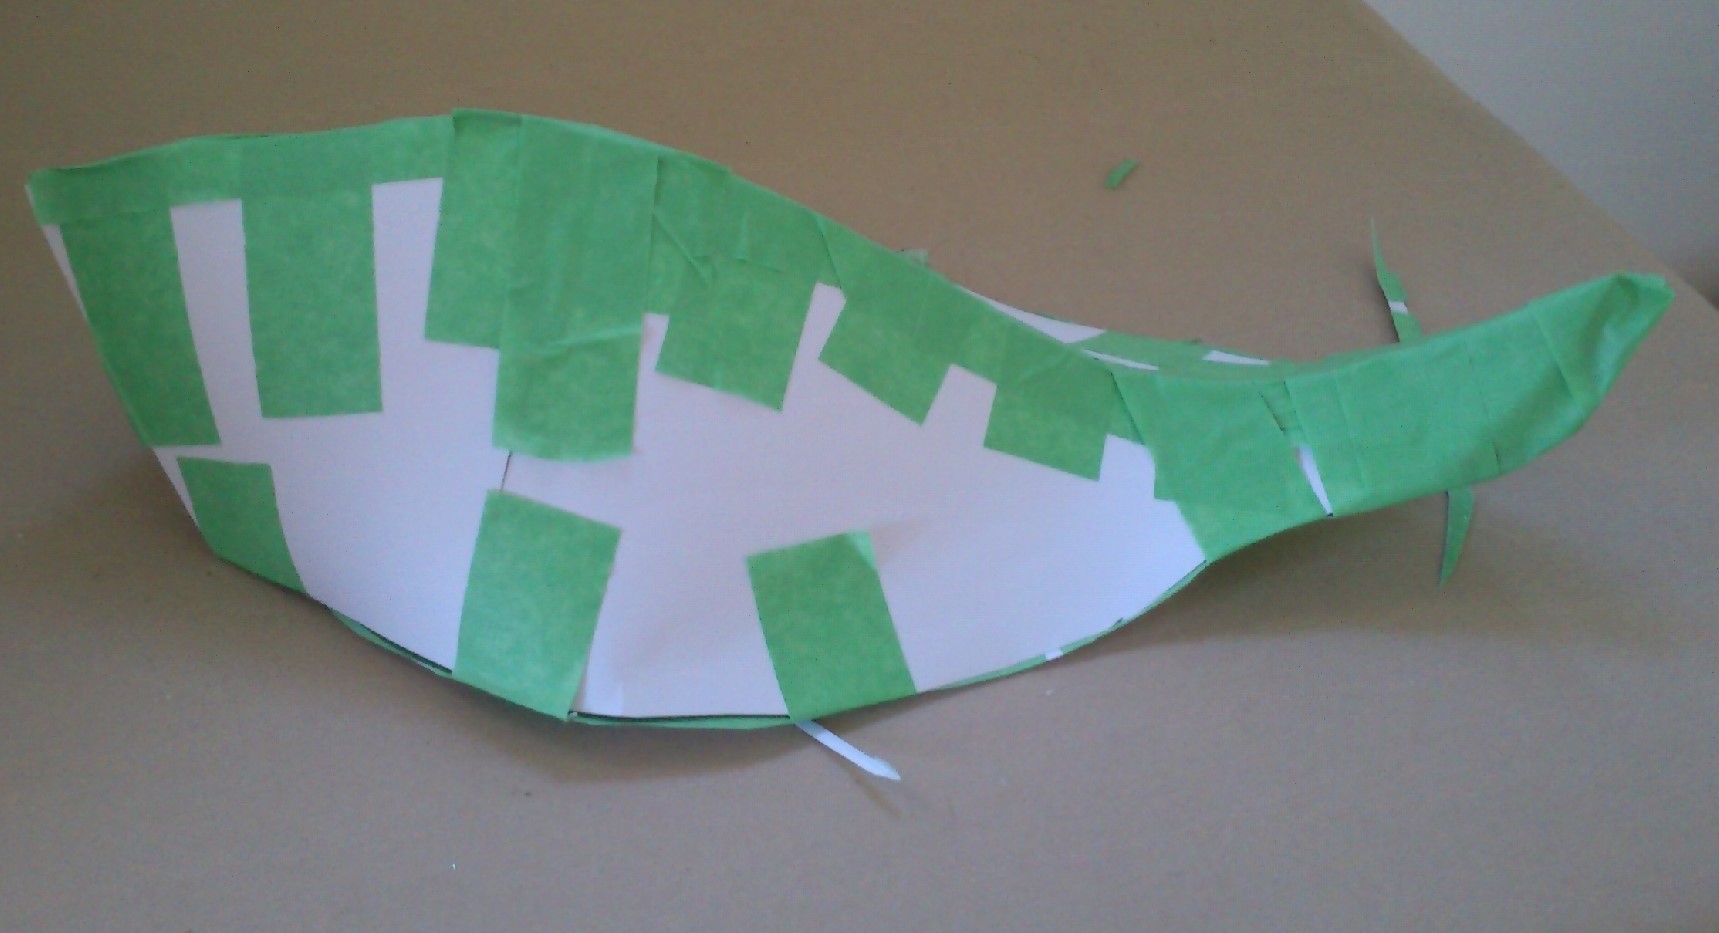
The top seam also can be adjusted. And the entire pice taken off the form.

I have used a similar method previously for my Ahsara Zavros ensemble:

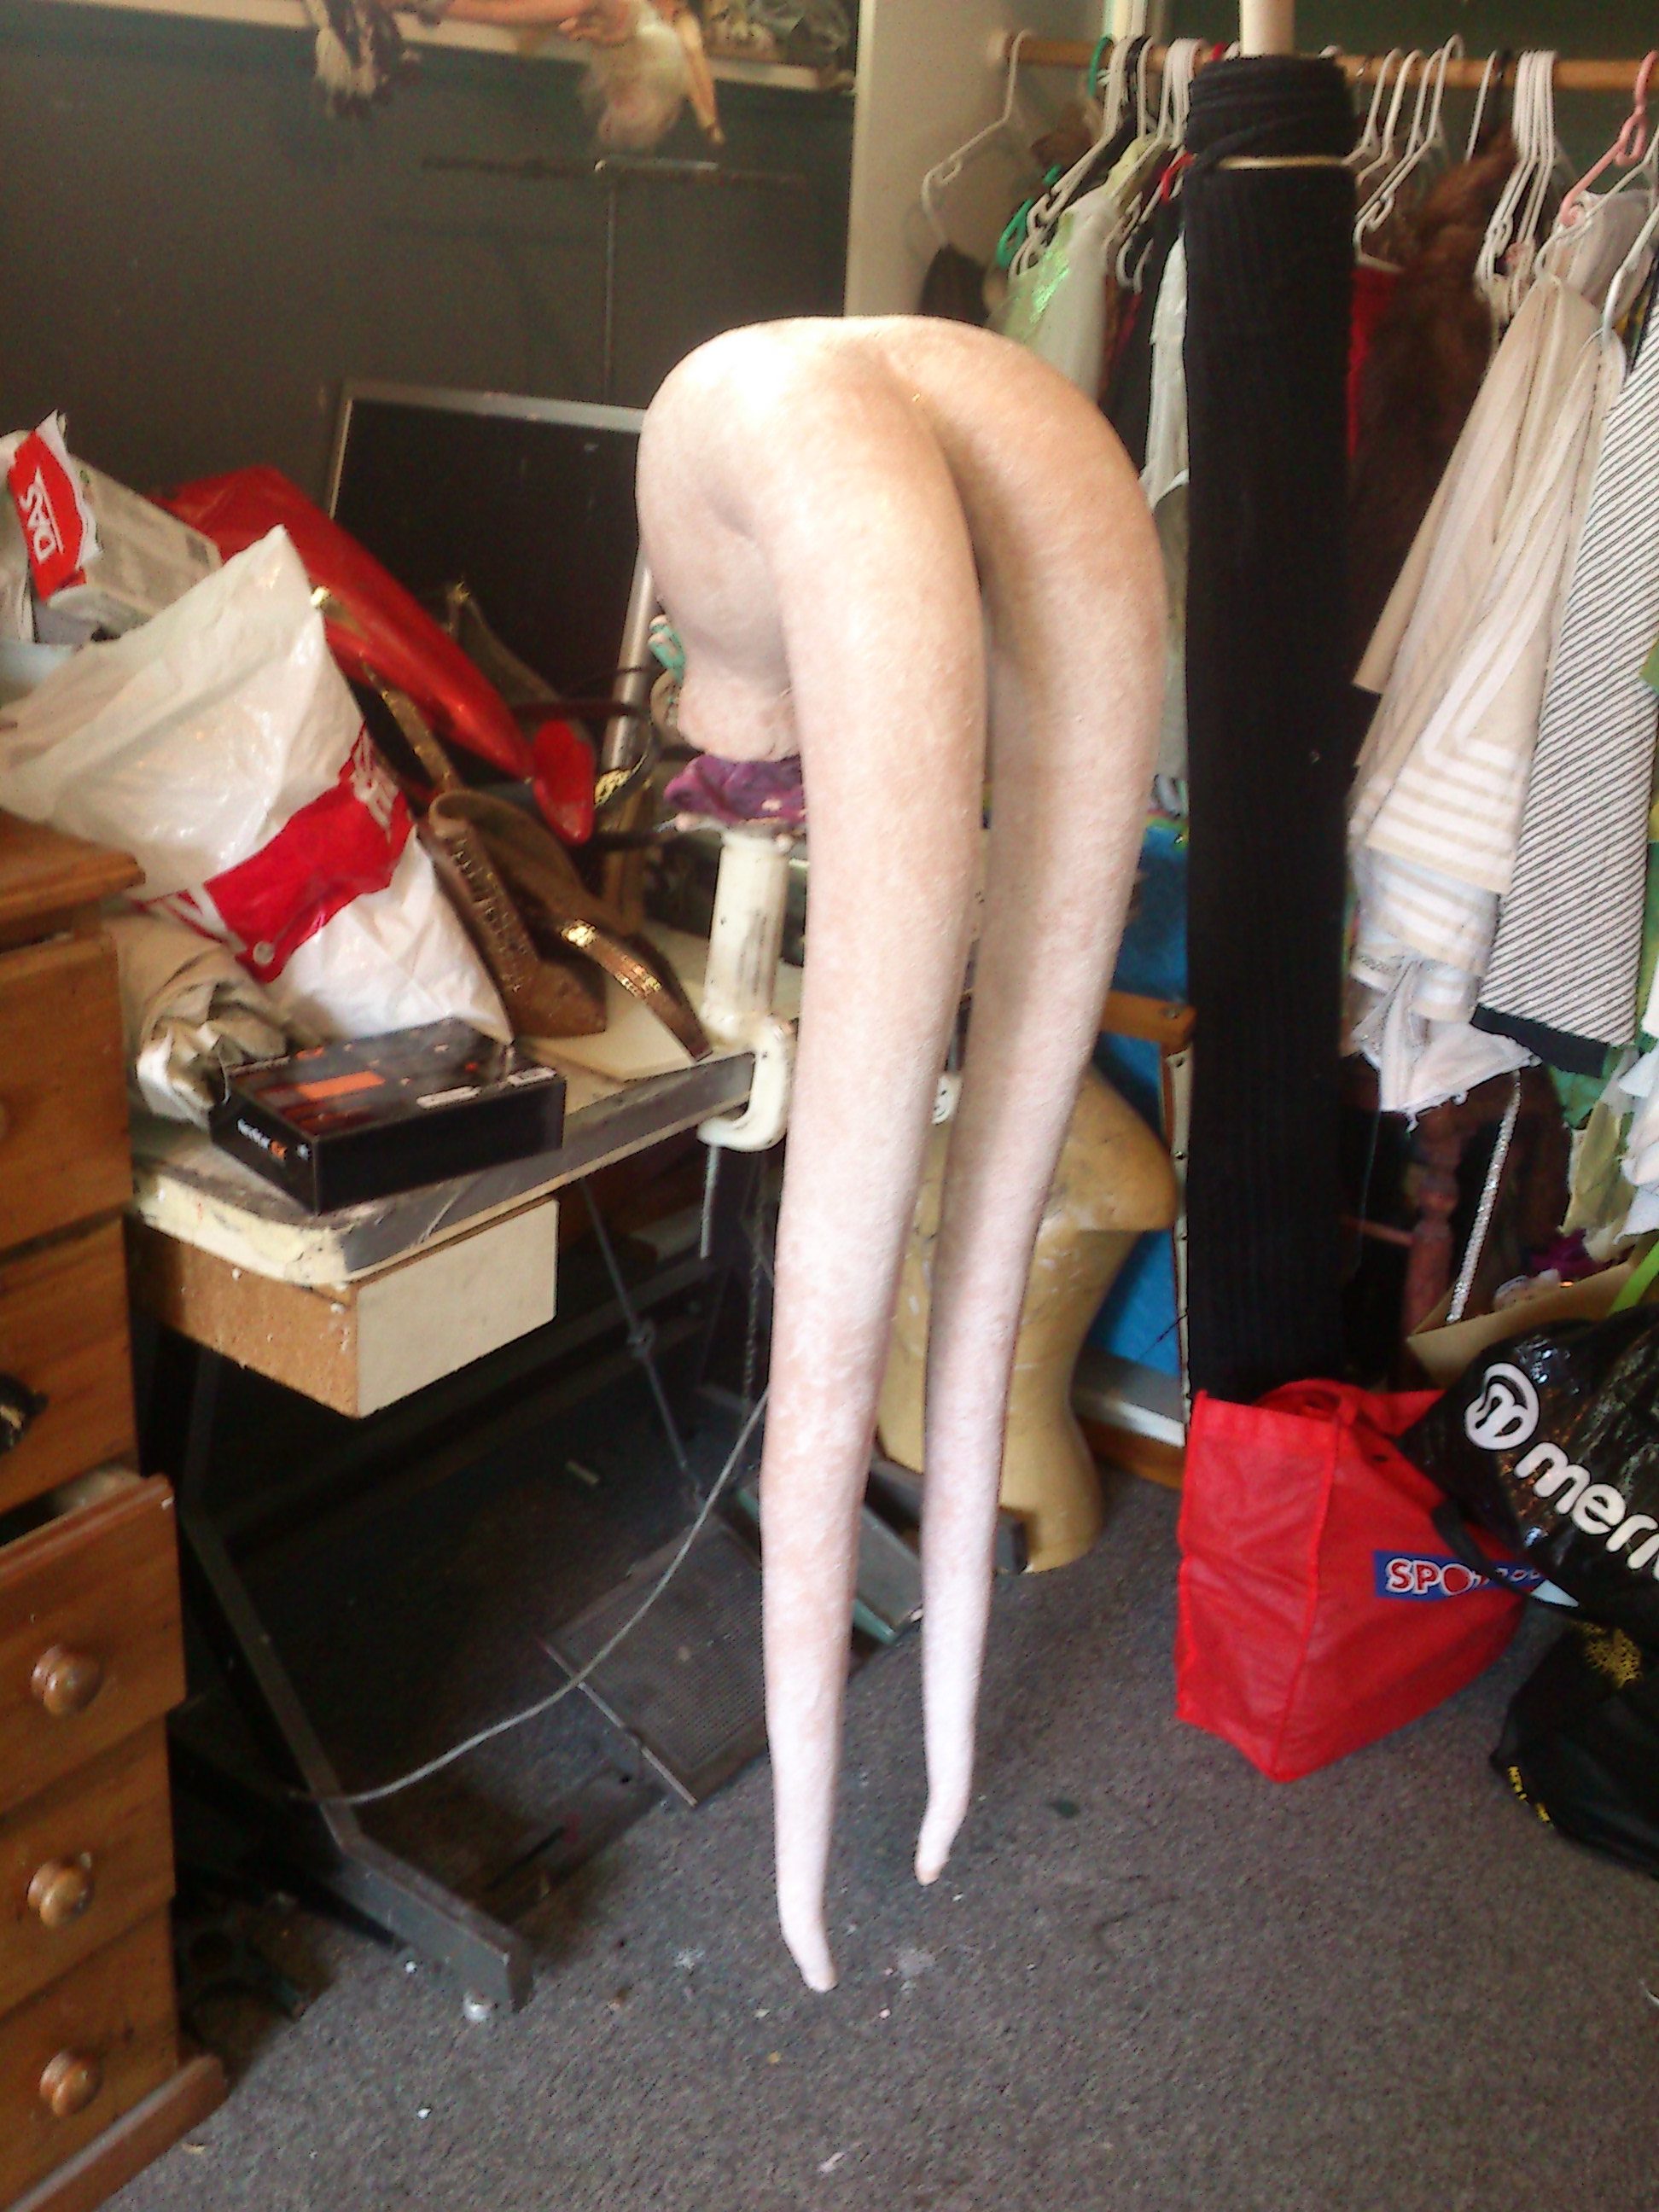
I used sheer pantihose to smooth the foam. Urethane foam is lovely and squishy but is fragile. The material also allows minimal seepage of latex into the foam to help keep them fairly soft.

Latex shrinks as it cures to the thinner the layer the better.

This is also how I make all my Twi’lek lekku- skinned foam Β πŸ™‚ It takes patience. latex cures very fast in thin layers.

Ahsoka plans

This is where I left her Montral. The lekku are the next on the agenda.

Β 

I have a cunning plan, but I have managed to move and misplace or actually corretly store so many costume elements this year that I am not sure where all my lekku making materials are.

Sadly probably no pictures while I actually do the work. Latex all over the place and latex cures super fast when in thin layers so it’s easy to lift finger prints or grab fibres from anything if I am not careful πŸ™‚ But it’ll be much the same way I worked on all my lekku.

So that is the plan for tomorrow- work out the lekku proportions and start marking the montral for seamlines with the lekku- I hope to hide the seam in the paint.

Ahsoka progress and plans

It takes 10,000 hours to master something? Maybe an exaggeration but it is many many hours of making good progress and then bad and then good, and then even worse…

But I have hilts actually curved and tidied fairly reasonably.

I have so many in progress images but none of this particular set. Anyway. Tadah!

ahsoka hilts genuinely ready for curving!

There’s an extension for that.Β A reminder of all the pieces I had made.

And now totally new model with 16 pieces (well will be when I make the blace support for the smaller hilt.

So pretty. And to show they are indeed separate pieces!

Next I am going to use the Bender extenion as that’s what I used for vetress. I’ll have to make sure the ends are definitely straight so they do not affect the greeblies.


I am so happy with these I can’t say how much πŸ™‚ I wish I’d rememered all the extensions I’d used as there are a few very handy one. I hope the threading ext. works. It is going to help me hold the saber in place.

See those long pieces at the end? They are l shaped braces to hold the end cap in place. The screw has been made to go all the way through the model into the corresponding button and counter sunk button respectively in the long and shot sabers.

I think i have a light source sorted. It’s a but spendy but actually within budget so I may hit the “buy now” button on the torch and batteries and charger.


I just need to figure out how to rewire a torch intended to be used with an aluminium body that acts as part of the circuit. I think.

But I wired up my mini hilt last time so…. Also- I can print a battery holder- I have seen some on thingy verse so I think I can use then to help make one that will fit in this. I’ve also figures a way to help strenthen a few weak points in my hilt πŸ™‚


Very next things to do:

Add a tiny stop to the screws. mothers to the button and counter sunk piece.

Get my curves! Get them to full length including straight ends. These are done as lines outside of a group- so I will need to group my components, then make a curve then fingers crossed!

then slice (and I have a tool for that now πŸ™‚


Ahsoka hilts

I have actually had to redo alllllllllllll of this. Luckily it’s going much faster now. Note: use right click to reverse faces. Trust me you’ll need it a lot.

But this is why I have been so quiet online lately. Relearning the skills I used for Ventress after not using this for a year or so? Tough! Especially when some of the guides are a bit incomplete.

For example for cale? you click the tool click the diagonal and start typing. No right click, no typing into a text. It’s a bit counter intuitive but I think it’s a bit more accessible this way too? Anyway. Saved me at least a little work- by allowing me to copy components from this file into my at true scale new hilts. And then using them as a guide because I change so much!


Determined today is the last for my hilts

#ahsokalives hilts are looking lovely. But there is an entity that skews when I try to slice through to make the hilts in short sections. I have a feeling it actually is SKU trying to tidy. So I’ll have to move the body of the hilts, erase one entity look inside and then close it all up before putting the cutting entity through.

So I am preparing for a day of swears. Yes. I do. I try to turn them into not obvious swears but sometimes it sort of slips through.

Right. Prep.

Also i’m allowed the glass topped TV table to use for my 3D printer! Woo. That means I can print with ABS as you need a well ventilated area. My workroom is, but I do not have any stable surface. Aside from my overlocker. I coooouuld use that. Actually. we’ll see. I want to replace the current heavy frame tv table out there with shelve for my molds anyway. The Togruta molds will be difficult but I also have a cunning plan (Trademark Baldrick) to help. Also the new position would be ideal.

Okay.

Now to prep for the day as this is all very exciting.

Ahsoka hilt madness

As in the so called definition of madness. Yes I spent a lot of time yesterday trying to do something expecting it to work. In part because the tutortial I used did not really make full use of SKUs component and group features.

I want to make my hilt fool proof for printing and so I’m dividing them up into shorter sections to print only so high- they are hollow so too tall and there is the risk they will skew. This has to do with Z axis (though my machine has a steel frame- less of an issue unless there is a flaw) and cooling/heating issues. I have a heated plate so that is good.

Anyway. to make a slice. Make a square on the green axis make it a component. And then you can merrily place it through your model and it won’t move anything. Then select everything, explode curves, and intersect selection. Then you have the slices in place.

But keep them all as separate pieces before then.

On the right is me using the guide and this shape stretched some interior planes. No idea why. But I didn’t notice until I have all my hilts divided and ready for adding internal support for snapping the pieces together.

So….. I know now. I have had practice now and it means I should., should, be able to do the last tidying of proportions today.

I have been working to the limits of the resolution my printer can manage (apparently 100microns, 0.1mm) but I need to test my machine. PLA at 0.2mm is a bit chunky. I have seen how fine 0.1mm looks on the standard owl model but I don’t know it if was PLA or ABS.

I now have 1.75mm ABS so can test the machine again. And at 0.1mm

I want to make it easier so I’m trying to round all my measurements to full mm so that’s what I’m doing today. Except for anything to do with the emitter. Though I guess I do now know how to cut through a little more easily…

Oh man. What took a couple of days to get “mostly done” for a solid print is taking ages because I want a fancy one that can hold a blade.

Ahsoka progress

I sometimes think I should try and capture the fun times of working with SKU on screen record. And with mic on so you can hear the sears. They get a creative. Though the f’bomb is usually muttered. and the s’bomb gets stretched out to sheee-er-gerrr.

I saw my PC space with other so it means trying for levity in the stress.

So lots of what the foo, whyyyyyyy? *push keyboard away* Β but whhh-hy-hhy-hy-hy-hy???

Never the less she persisted! Yes I went there. It’s basically the mantra of my life. And there will be a post!

I started with the original images, Note, this is a screenshot, it really is that blurry to work with. I wanted to do a line art originally but used a photocopy in hand and on screen just scaled to hight.

I actually then started a new model with the hilts cropped to height to make it muuuuch easier. And yes, when you import images you need to scale them once in as well. Unless there is a keyboard trick… there probably is.


then I made a series of guides and then drew curves and loved it. Until I realised yes, the sides are totally rounded, I did say the images are fuzzy!

So, Viola! (that was a pun.) New guides new scaled image and new face made the same way. From here I extruded a series of tubes leaving the inside empty. It worked really well for Asajj. But I am making mie a touch simple in the joins this time.

Guides guides everywhere!!!!! This was to create the inset grip of the longer hilt. Basically pecil and extrude and some maths!

And yep the decorations are in place. But I wound up having to move them on my longer hilt. That was just a bit frustrating.

Then came the other pieces; inset switches, what i think are peg/screws to hold the end caps in place, the long end cap holder, and the large button. Finally the emitter caps!

The large button. I goofed and wound up with the circle not centred so yesterday was a day of fixing issues like this. I placed everything together (they are all separate components so they will print separately and in whatever orientation works best. I also adjusted length and made the end cap holders fit smoothly to let them pass so we can gain acccess to the insides to put electronics inside.

Here you can see I had yet to place the end caps. But the are there not. I also got the emitters to their final shapes and sizes. One emitter needs some smoothing but aside from that I think I’m happy.

So today with the emitters lined up correctly it’s time to get the pencil out and start cutting.! Had a few practices but it’s not really been perfectly even as I didn’t have then perfectly on my guides.

ahsoka greeblies!

#ahsokalives hilts with nearly all the little buttons. I also cleaned out the inside of each piece, tidying up guidelines or removing interior lines and planes.

So to make the D ring holder actually fit I have to be very careful about the curves. I see they sort of curve there in the line art but it is a bit much to try to do right now. Also I need to make the emmitter and make sure that fits in the end of the sabers. They are different to each other too.

I need to rest my ribs again. It’s also quite cold so a bit of warmth from the blanket will be good too πŸ™‚

That’ll do

It would be so nice if there was a super easy way to scale in SKU! It really should be as simple as selecting all, choosing scale and typing in the measurement- but there is a trick to clicking and unclicking and holding the mouse while typing(?) and so I am amazed I managed it. But scaling up by 1000% means I can do half mm in my print.

It is essentially an architectural tool so I get why it is much more sensible to have started at this size. Anyway.

Not bad for a single day where I had a big rest in the middle! My ribs are still sore, and my muscles in my forearms are sore (the shortened bones in my hand mean the tendons and muscles are overworked all the way to my elbows.)

So there are little greeblie details to add but I genuinely have to stop typing in 3,2,….