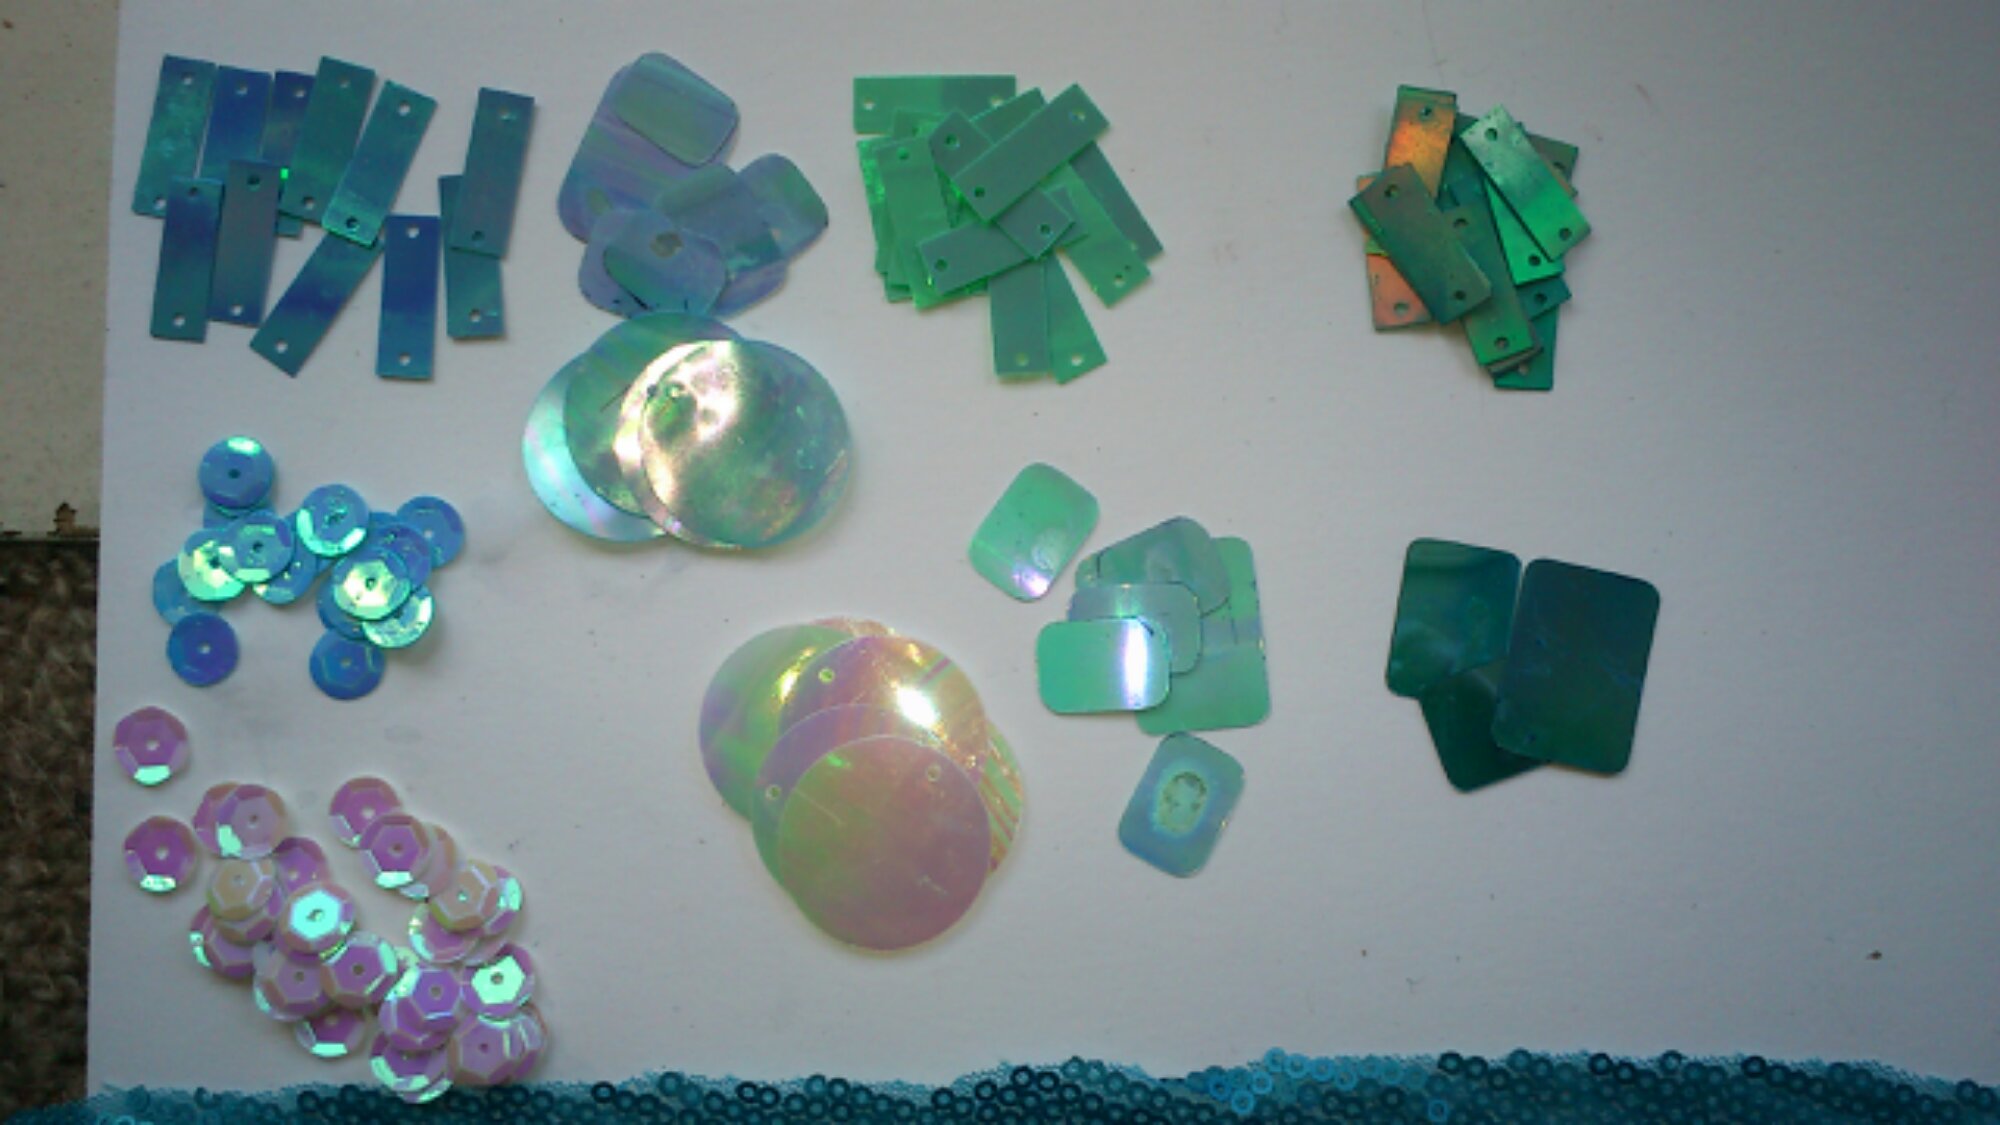
(Hello people coming here from tumblr! Just as an update- I am waiting on an order of similar width sequin film to test for durability and ease of use. I keep having on and off issues with being able to scratch the Shimmer Sheetz however the colour is so perfect.. So I’m also going to attempt to tone the sequin film. )
I also have an updated list of all sequins I tested:
http://www.arrayedindreams.com/costume-portfolio/fantasy/frozen-elsa/frozen-elsa-sequins/
The methods will be the same though I need a new paper trimmer as the blade has escaped and I am short sighted enough to not be able to find the inch wide bright orange piece of plastic it is attached to! I hope that the heavier density of the sequin film will allow me to sand the corners smooth as well.Elsa is semi on hold while I work out my Maleficent
DragonsDemonsDaydreams but I’ll update methods here regularly, including any new glues.http://www.arrayedindreams.com/2014/03/28/my-josyrose_tweet-sequin-film-arrived/
So very similar but a little more durable.
No, not hard core stamped metal but I finally got cutting of my Shimmer Sheetz:
Shimmer Sheetz are produced by Elizabeth Crafts.
I have just ordered Turquoise as well because I think the two together will give a good gradient to the bodice. Here they are in action:
I was really worried the blue iris was too flat in colour but I also suspected that once cut the effect would be greater. And it was. These tests didn’t even use all of the three strips I made from one sheet. Each strip is 1cm wide then cut to about 1.5-2cm with a few irregulars. I have five packets of three sheets so I should have more than enough 🙂
I’m gluing to net as I can increase sticky from underneath if need be.
The process to make them is as follows:
I scuffed the Sheetz on the reverse, this is to ensure the glue adheres. Not only is the iridescent layer laminated and so prone to pulling away but the surface is shiny. This means even the best glue it not going to grip unless it welds through- and that will lead to warping.
Then I cut the sheet in to 1cm wide strips with a handy line cutter. I am going to invest in a better one, but this was enough to get a feel for how it will cut.
Then each strip was cut into shorter pieces. Preferred length is 2cm so this gives 180 larger sequins per sheet. So 540 per pack.
At this stage I will sand the edges into rounded shapes. Not only because the artwork shows this but also to eliminate any potential extra snagging.
In the below with flash is on the left, without on the right.
I glued the pieces to two different kinds of net (the net of the sequin fabric and the old net for the cape). I tried irregular overlapping and I tried an open pattern. I prefer the open pattern, the shine really kicks through and the outlines of the background show up.
To glue I picked up each piece with angled tweezers and swept the underside over the end of an open tube of Shoe Goo (Same for E6000 or Goop) then laid and pressed the back in to the net. I used a sheet of styrene inderneath (would prefer waxed paper or sheet silicon to prevent sticking but also to allow the piece to lay flat during curing. I’d also like a roller to press the glue evenly.
So I tried from other angles and with and without flash to capture the effect.
Below are samples of the Sheetz with clear AB pale blue sequins and the base sequinned fabric.
Lined up vertical and horizontal to see which way works best.
All the fabrics before any alterations.
And finally just the intersection of cape, shirt and bodice and why I wanted power net and rounded edged sequins! There is a lot of friction there!


