

Status: Wearable
Year finished: 2009
To Do: ongoing repairs as always.
Updates since last photo: n/a
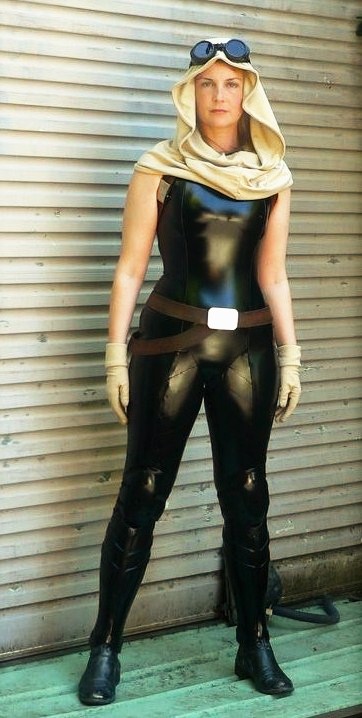
Inspiration: Mara jade as portrayed in the comics.
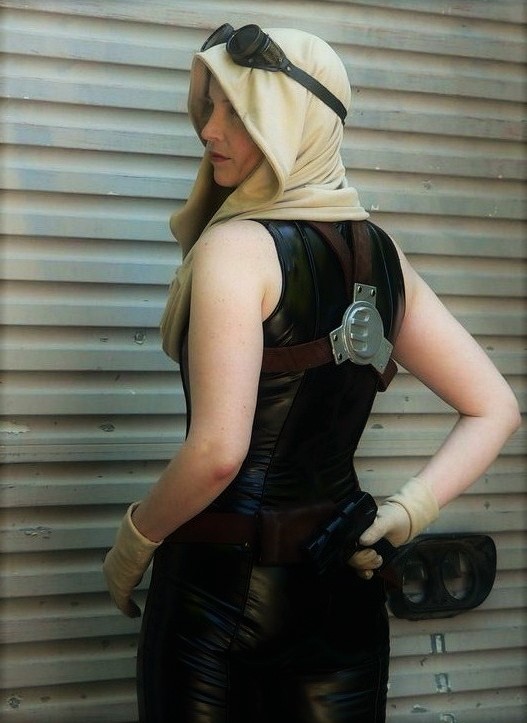
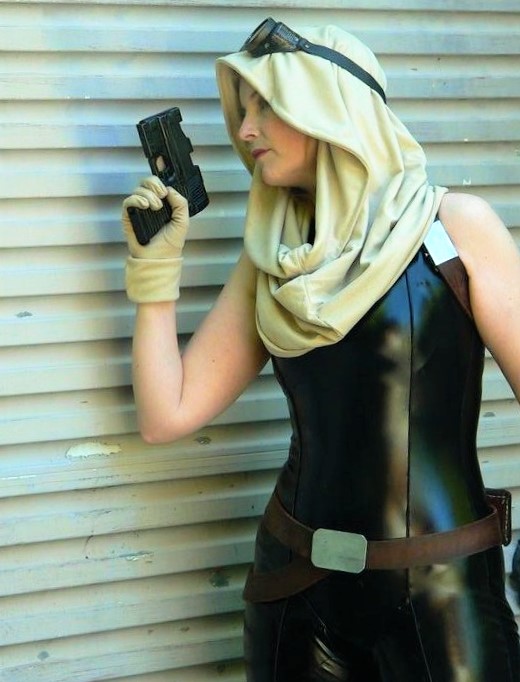
Four way stretch PVC jumpsuit, with piping on several body seams, leather holster, harness and belts. Faux suede hood and gloves.
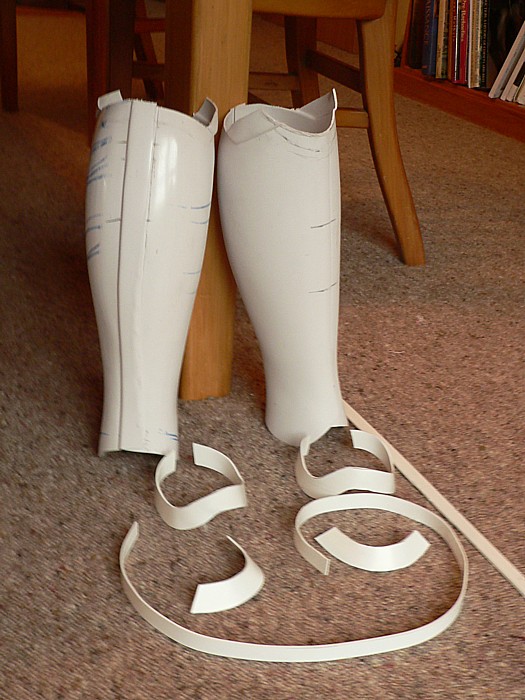
The shin guards were my major sticking point with this costume. I had no leg forms to sculpt over and had not practiced with fibreglass or other rigid armour making material. Luckily some friends had a spare set of male shin armour that was vacformed. I was able to cut them down, reshape and trim them with shims of styrene to create the distinctive look of Mara’s armour.
The goggles were WWII welding goggles and I simply restored them and added smoked lenses rather than alter them too much.
Harness pieces:
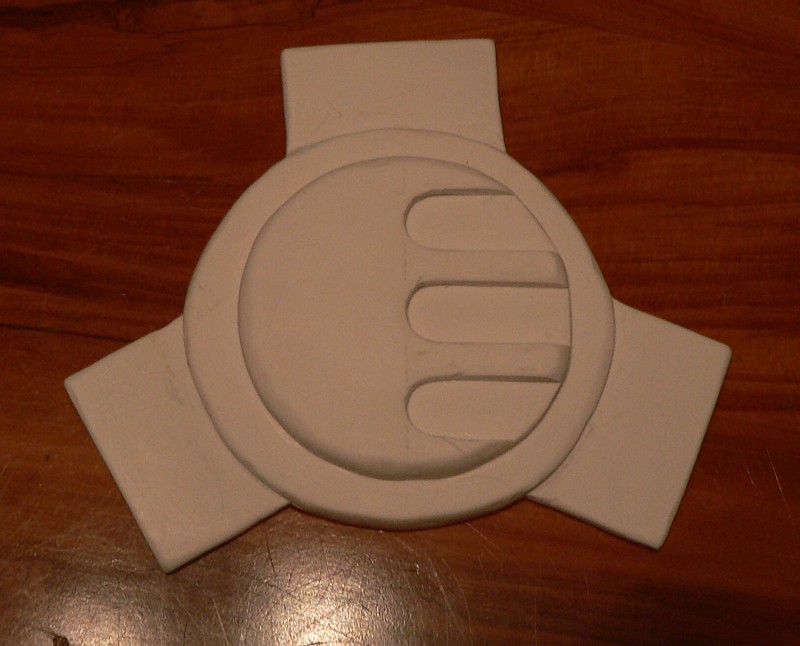

The central back piece was cut from several layers of expanded PVC (Forex, Sintra, etc. ask for expanded PVC at a sign shop rather than a brand name.)
These were shaped by hand with sandpaper.
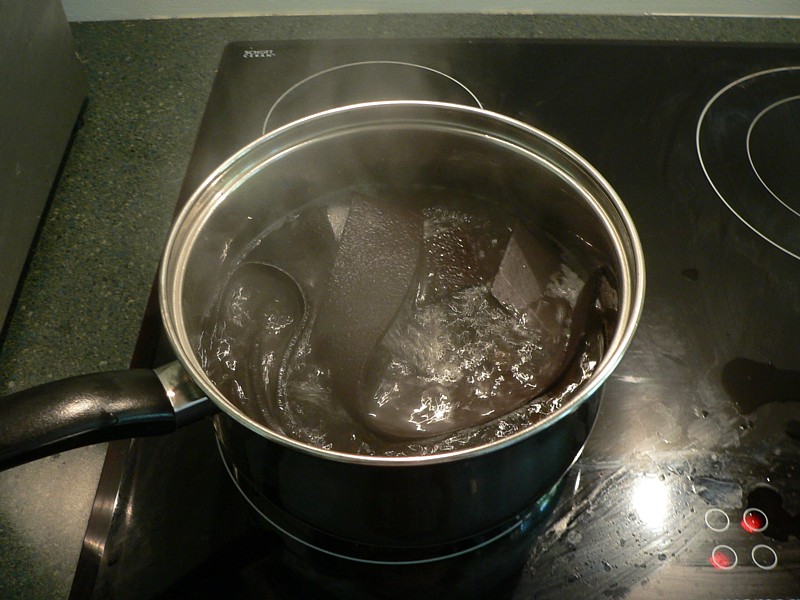

The leather straps of the harness were made from a pretanned leather that I boiled and formed to shape on a shop mannequin. This helps prevent the leather from sitting away from the body.


The belt pieces were put together with rivets that were then hidden by the belt buckle at the front and the holster at the back.

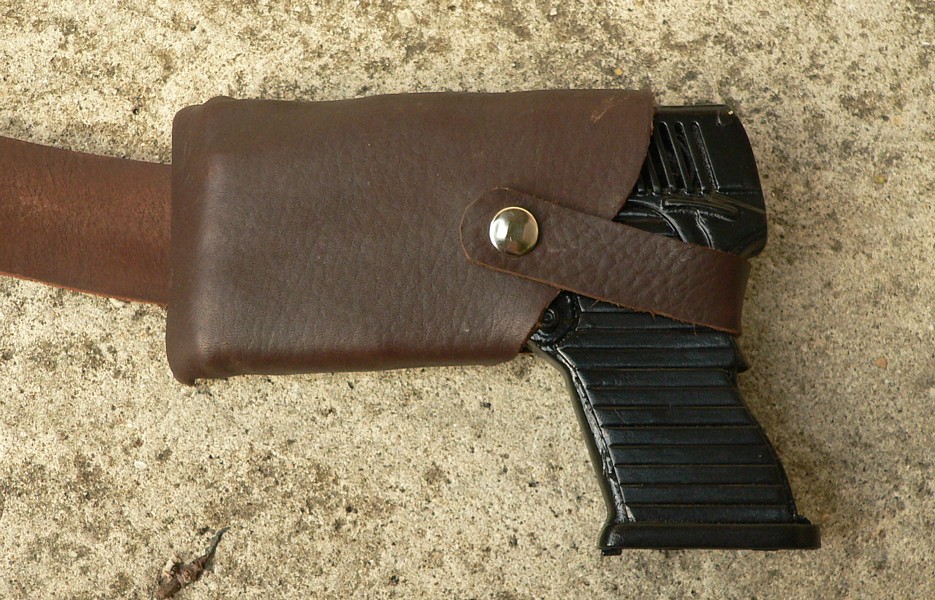
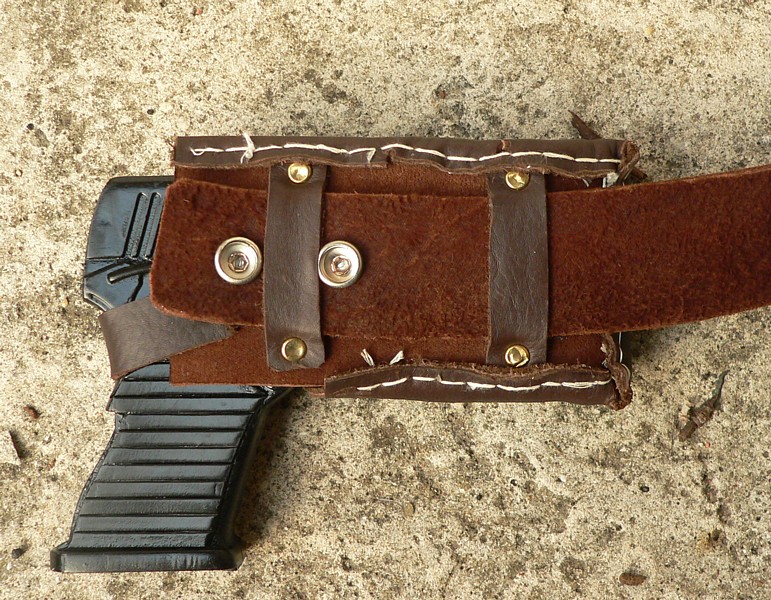
This was one of my earlier forays in to leather work, and I tidied each piece by using a fine grit sandpaper to tidy the edges and to weather the flat sides of the leather.
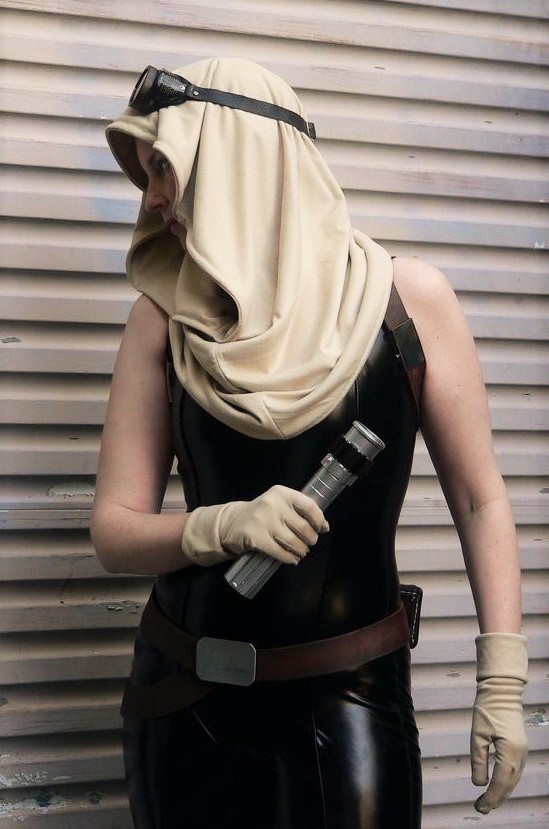
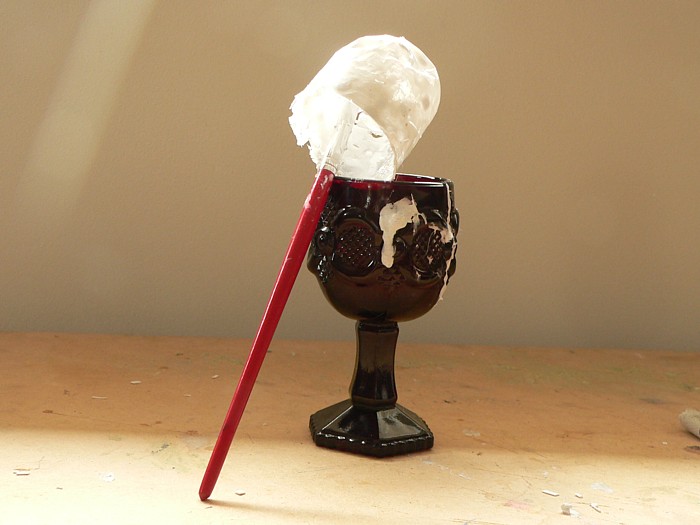
Blaster:
I used a cheap toy as a base as I still was not confident in my use of sheet plastic nor my ability to make a prop that would look like it existed in world for the intended use.

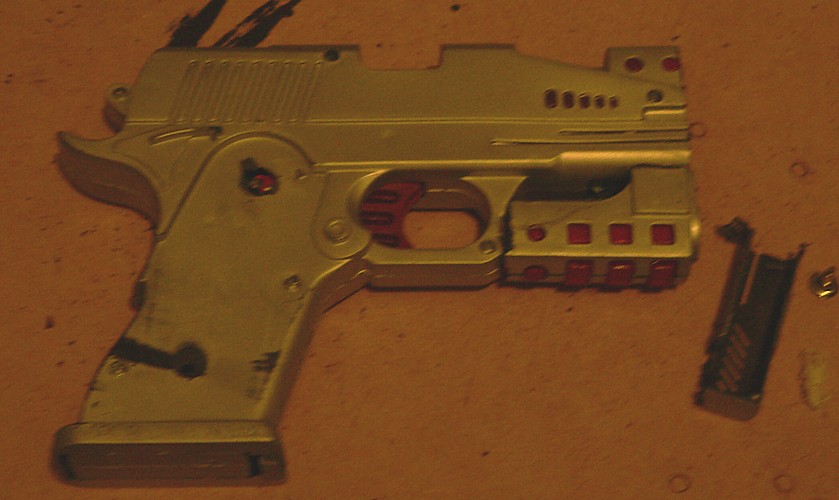
I started by cutting muzzle pieces and rotated the larger piece to sit underneath.


I then used Knead it, an epoxy based cement/filler. And then sanded everything smooth
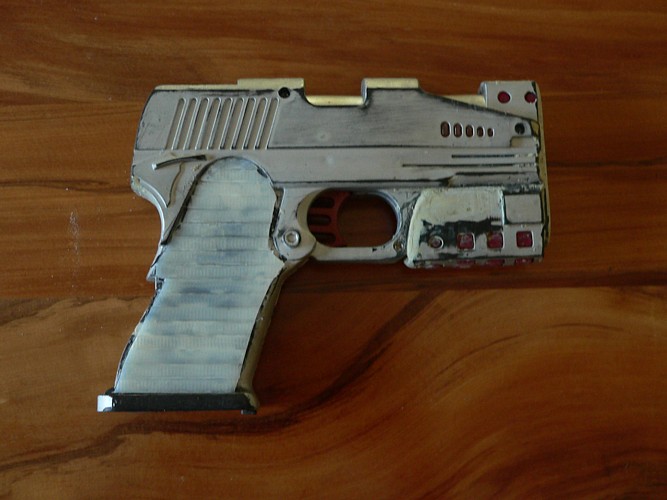
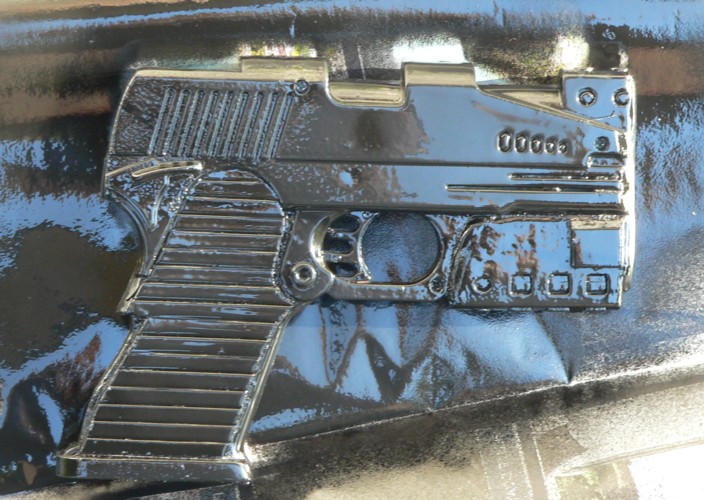
Once smooth I added strips of cable ties to the grip to create the iconic raised lines. After more sanding and prep I then used a high gloss acrylic spray paint over the entire prop.
Hood and Gloves:

The hood is double layered, the back on the fold and the seam at the front. The gloves were cut with the suede side out on the hand with a cuff of folded suede. This keeps the appearance of a rolled cuff while not risking the exposure of the non suede effect.
Bodysuit:
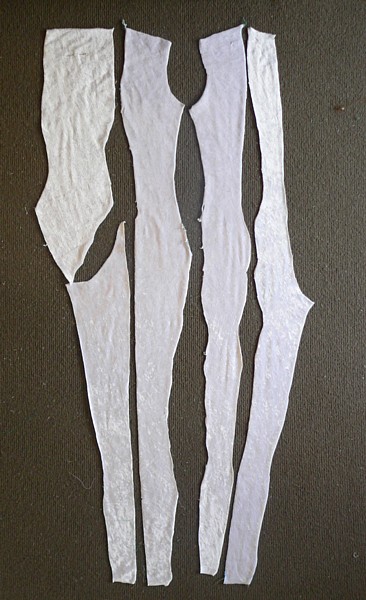
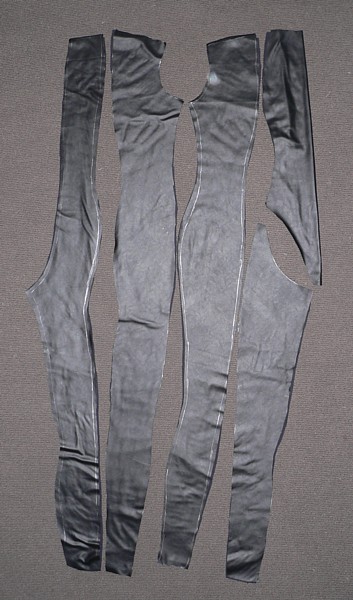
I used the piping seams as actual piping seams. Piping is used to not only decorate a seam but to strengthen it. If you simply for a tuck there is the risk of stitches either tearing through the fabric or of popping due to the stretch of the fabric vs the seam. By adding in another strip of fabric there is less risk of either happening- the stretch of the fabric is reduced.
This does make for what seems like a complicated pattern but it also allows for a really good fit as you can shape the fabric and not have to rely on the stretch, Over time the stretch will deform the suit and having supportive seams in key areas prevents this.
I tested my pattern in a 1 way stretch velour- I cut it on the bias to try and mimic the stretch of the final fabric. Shown to the right is my test vinyl fabric. Sadly the surface degraded very quickly.
The actual bodysuit I have is made from MJ Trends stretch PVC. And it is still very durable and strong as of July 2016.
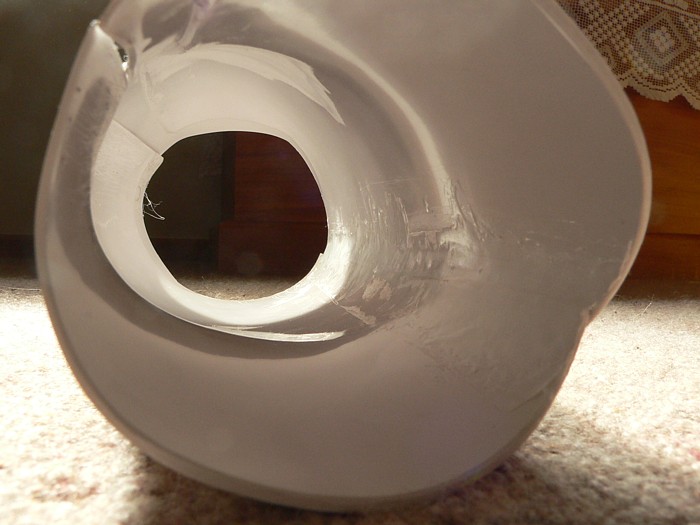
Armour, knees:


Once again I was not familiar enough with working with sheet plastic and so used some toy helmets for their handy curved surface. I used two layers for each knee.

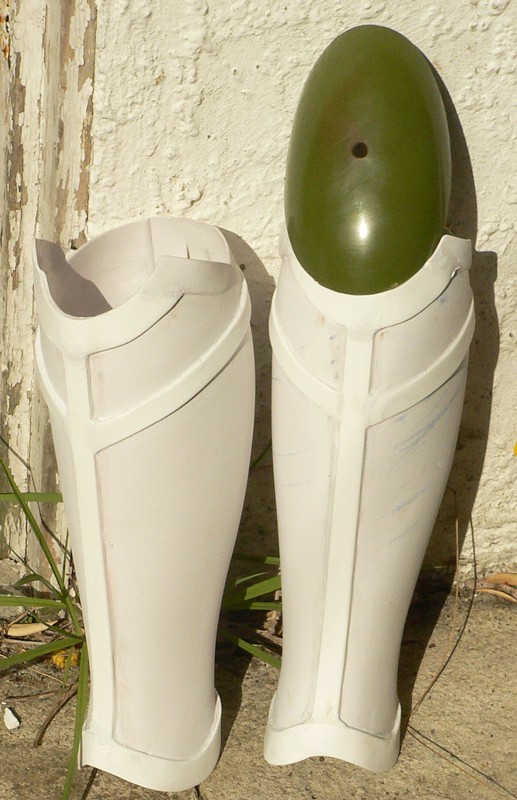
I heat shaped them to be slightly more oval and then tested the fit with the shin guards I was also working on.

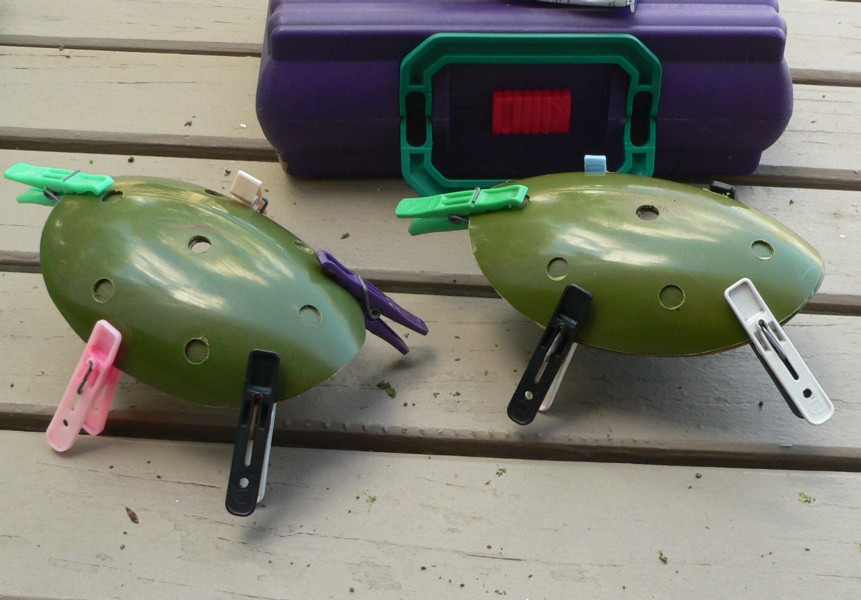
Once in shape I used a rotary too to cut holes as per the artwork in to the outer layers then glued them together.
I then cut slits in the side to loop flat elastic through to hold them in place. I also made padded knee protection from antifatigue foam and covered them in the same material as my bodysuit. These have an extension to mid calf to sit in place.
Armour, greaves:

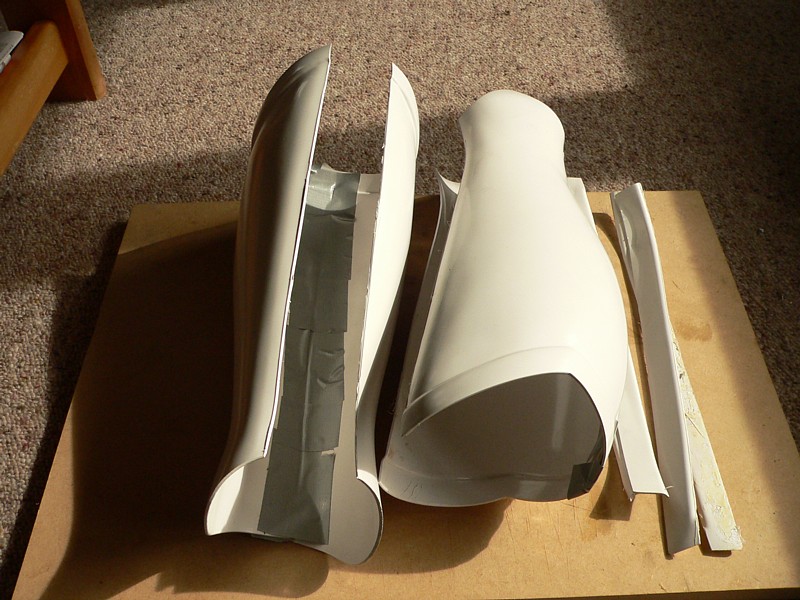
I was given a set of TK greaves as a base to help me get this project finished. I had tried existing sporting guards with no luck.
After gluing them together I used a mix of shaving (styrene) and acetone to make a weld to tidy the join.
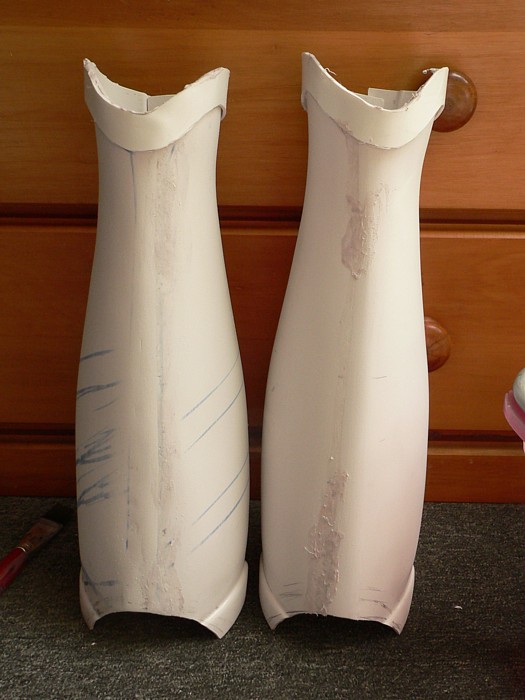

I used extra strips of styrene to make the details on the greaves. I was using a very specific piece of art that showed very detailed raised designs that tapered towards the shin.
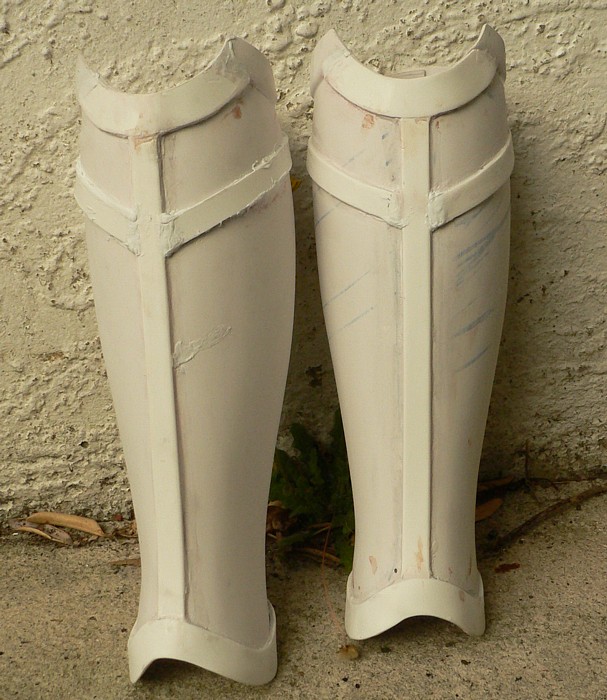


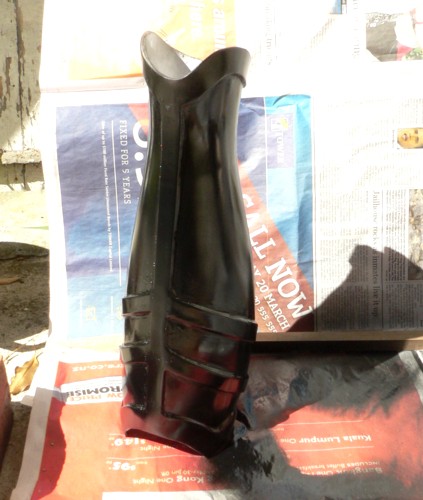
Once cured I then sanded and painted the outside in gloss black.
Caution: welding with styrene makes for a very solid but rigid join.The extra details also prevent the greaves from opening up as easily as regular TK shins. This has made wearing these difficult. I do however now have a dremel and I have leather to make a hidden hinge in the front.