Tag Archives: maleficent

Phone camera deleted oy…

All my photos, sadly including the baby pukeko (luckily I sent one via email!) and luckily I haven’t really done mouch in the way of costuming since I uploaded photos earlier..

But I did manage to record myself using my texture brush so that has gone… Luckily I have heaps to do anyway, and it looks really good, will soften the texture once it is actually all done but yay 🙂 And boo for finally getting camera, clay and me all in one place only to lose the recording.

Also getting rid of a heap of fabric bits and jewelery and everything. I gave friends a chance to snaffle them up but now they are going to charity. Still got a few costume pieces to tidy and pass on as well. But about 200L worth of stuff is going byebye. And it’ll be a relief 🙂

I’m an obsessive maker. I don’t buy much for costuming except for shoe bases, wigs to cut and/or style or very rarely a licenced piece that I know I could make but it wouldn’t look like the original injected item. So I have a couple of sonic screwdrivers, a TRON disc, Trek communicator and tricorder and an E11 (white!) all to modify.

But I am at a point where I am pretty satisfied with my catalogue of skills. Not complacent but I am not quite so driven to try new stuff because I need to know now. Also I’m getting older so I really want costume pieces that will work with me.

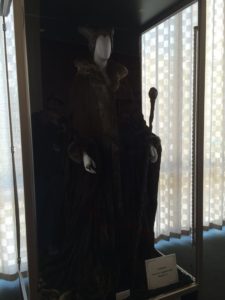
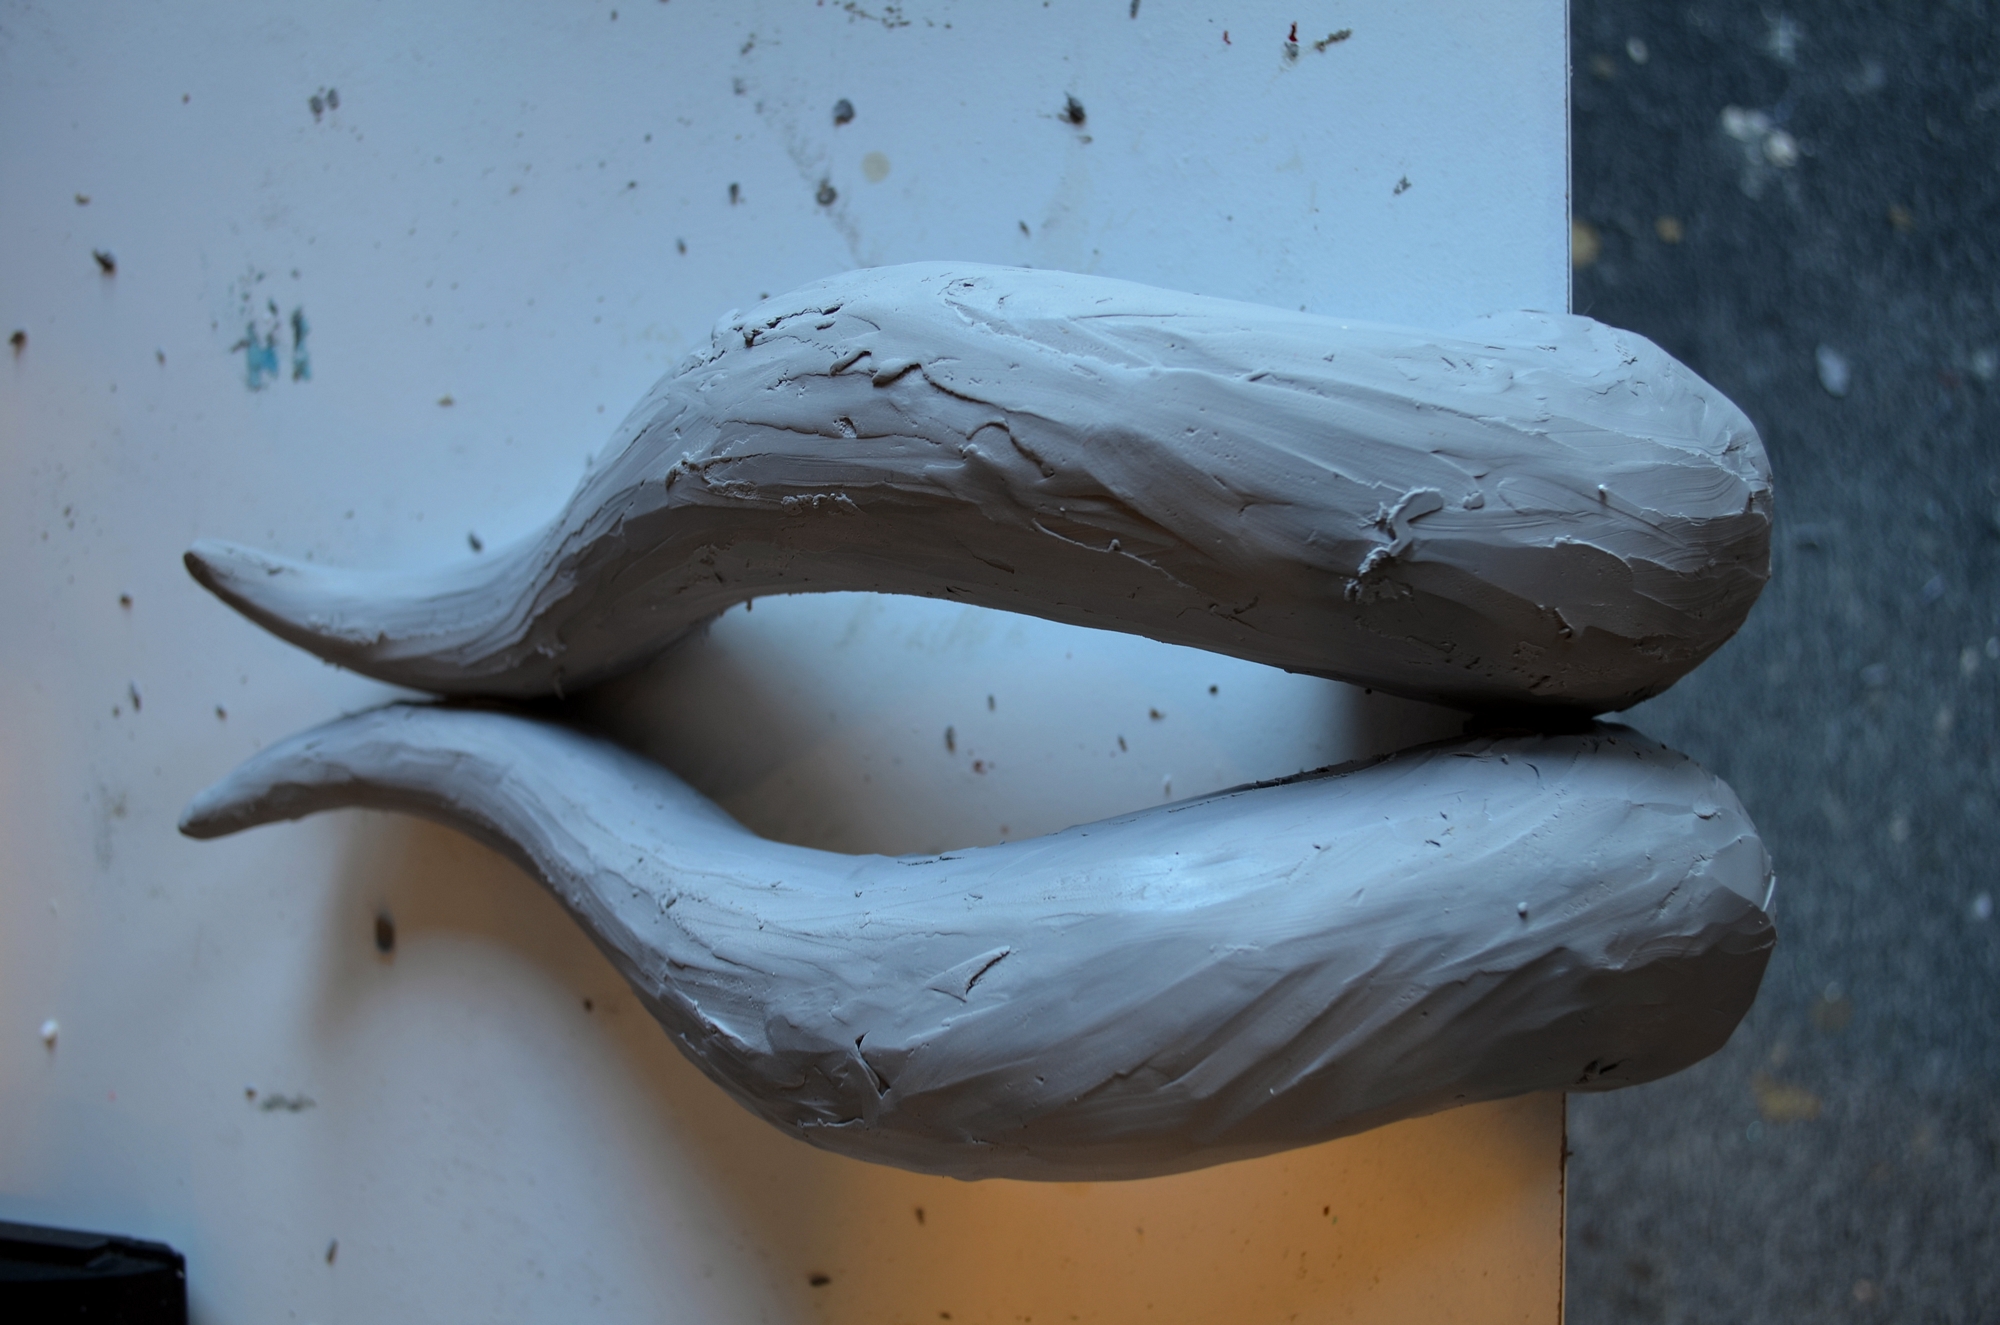
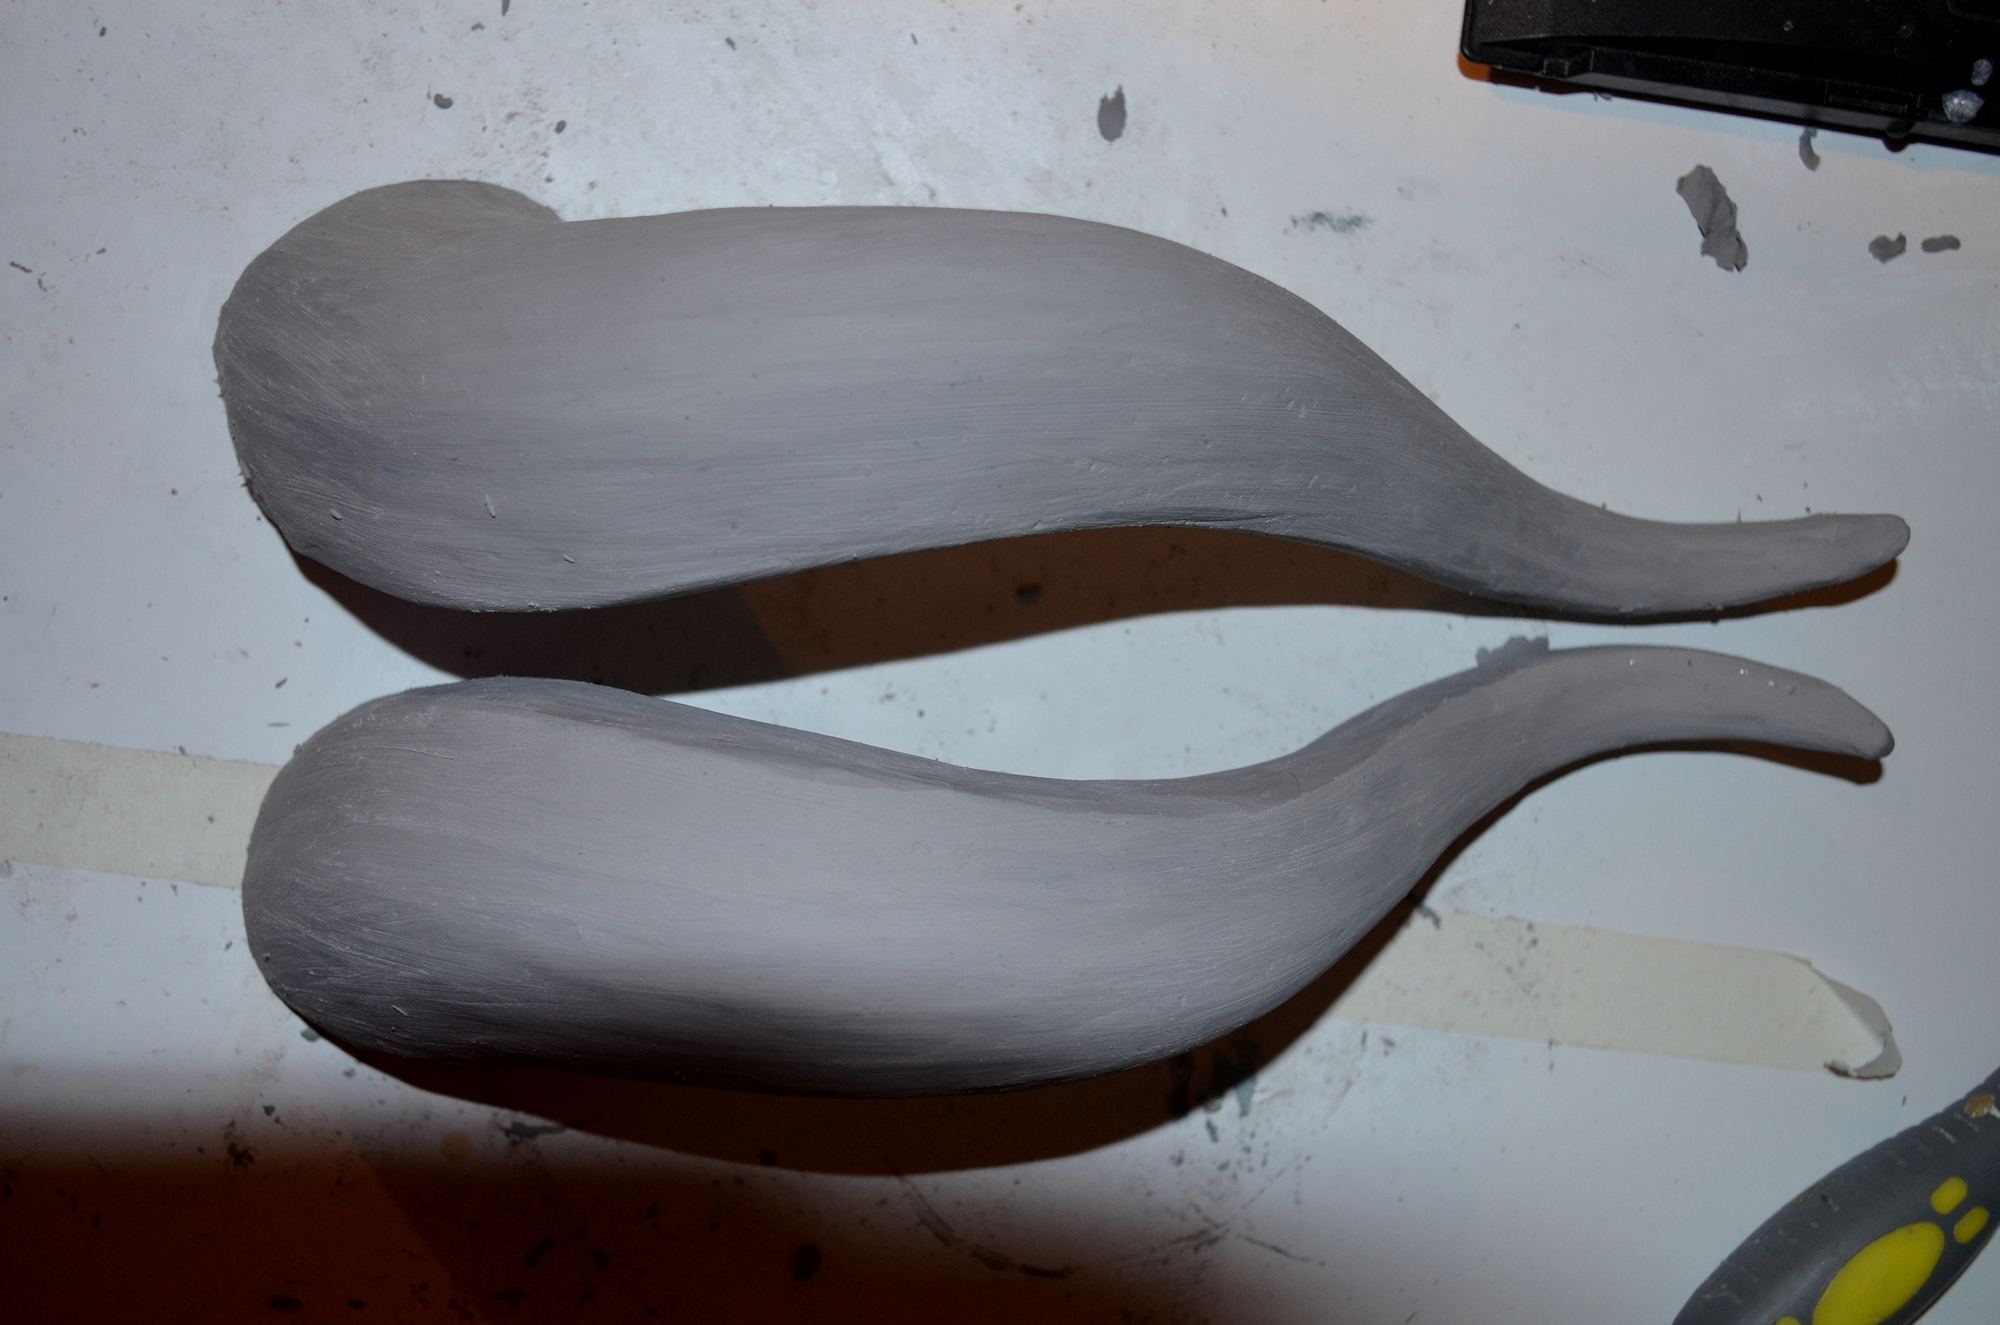
Hooray for badass older characters like McGonagall, Flemmeth, Granny Weatherwax and co. But Maleficent and my custom costume will work for a long time, ditto all my historic gear. And frankly my Shae Vizla will work really well too. Though I really am so tempted to make the RD16A gear. I really am. Aside from the mystery kidney belt thing. May just interpret it as exactly that because it is very unbalanced (goes up to bust but sits at the upper edge of a belt- yay for female gear defaulting to hip level belts!) Which means you’ve got solid edges knocking and sitting and trying to be in the same place at the same time.

The point is, as I’m zoning out, that I don’t mind letting go of a lot of what I have stashed. And I also don’t need to dispose of it right now, right now, go away! So I can take my time.

I also realised I have been actively avoiding sewing. I mean full on avoidance. Do anything to not use my machines. And I’m not sure why. Even hand sewing. I seem super reluctant to wok on my Hannibal skirt for instance. Maybe it’s that. Maybe it’s the task of putting the skirt on the netting and also fitting the bodice which is basically a corset. It might well be. I have several sets of stays also out back not finished.

Leave a Comment

Filed under Uncategorized

New texture tool for Malerficent :)

I have a full set of silicon brushes and figured I’d get another to be able to get a different texture brush by using a double curve brush and slicing out shallow v cuts the lenght of the top surfaces.

image

image

And like my Asari texture brush I will have this for future use 🙂

Leave a Comment

Filed under Uncategorized

Maleficent References

There are a few costumes in this movie and they all seem to reflect Maleficent’s change from child of nature, to a monstrous (though wrapped very much in humanity) and possibly back again.

My assumed chronology:

Full references:

https://d23.com/maleficent-casts-spell-d23-member-event/ (Furred gown on display)

http://healthydisneyfamily.com/2014/03/20/d23-unlocks-disneys-maleficent-event-recap/ (furred gown on display)

http://angelinajolieoficial.wordpress.com/2012/08/25/ (behind the scenes)

http://themovieblog.com/2012/first-look-at-jolie-on-set-of-maleficent/ (behind the scenes)

http://disneyconceptsandstuff.tumblr.com/post/44393756840/ (concept art)

http://www.stitchkingdom.com/disney-maleficent-high-res-stills-69891/ (promo images)

https://www.youtube.com/watch?v=w-XO4XiRop0 (US trailer 3)

http://youtu.be/DhgTpcykNcA (Japanese 2.02 trailer)

http://youtu.be/q37YJca4ePk (Disney RU trailer)

My screen caps go to my own site, thumbnails of other media go to the source. 

mal29

mal3 mal4mal27 mal28

(there is a costume that is only seen in behind the scenes, but it appears to be her above gown an a heavy lined and well worn robe that she wears with her hair loose but the gown harks forward to her possible next costume.

Angelina+Jolie+Angelina+Jolie+Horns+F1wWmo8Q9p7x2 angelina-jolie-maleficent-costume-03

However her very next appearance is a one off where she is deliberately trying to strike fear, and that is the very familiar robes from when she appears to return after being forgotten.

mal2 mal1

mal24 mal23

mal22 mal21

mal20 mal34   mal35

MALEFICENT MALEFICENT

I get the feeling there is some reference to the original Maleficent designs 🙂

tumblr_mj1v78l8J91s5ptf3o1_1280

She does find baby Aurora and this is potentially one of my favourite of her ensembles. There are more images in publicity stills. But it’s clear she wears this when Aurora is a baby and then to create the wall of thorns.

MALEFICENT

mal33 mal26 

She watches over Aurora as she grows so these next two outfits show her conversing if not easily at least in the open with her.

Love the velvet tabbard style robe:

mal32 mal25 

MALEFICENT

Here is a bronze silk gown that harks back to her first colour palette.


mal31 mal30

And finally.. this gown confuses me in terms of time line. This is potentitally the gown Aurora asks is she really is Maleficent but she also appears to meet her fort he first time. But there is a scene where she put Aurora to sleep.

mal19 mal18 mal17 mal16
BjCd9rOCcAAuOFd BjCkuQdCYAAOYF6


maleficent52e6a656f407e


Leave a Comment

Filed under Uncategorized

Maleficent horn further sculpting

 sm_DSC_0230 sm_DSC_0229sm_DSC_0231sm_DSC_0232sm_DSC_0233


Really good example of how much extra clay goes on:

On the left is the horn with the added clay on the right has it shaved back again.

sm_DSC_0239


Due to the angle of these photos there is more uneveness than there really is! However I have reshaped the horns from being cones into more sabre edged.

sm_DSC_0240 sm_DSC_0241The photos also show some matting work to make it easier to see real shadows. This is basically using two layers of tulle to sweep over the surface. If the clay is too soft (as it was) this friction will lift up any top layers. So have left this for further work later.

I know exactly what silicon brush I need to cut and how to cut it.

But I have a few more videos of the other aspects of sulpting to go- however here is one of me in the way but putting clay on the armature.


The amount of clay in the pot made the base shape of the horns and then I added about that much more and removed it for the current amount 😉

Next series of videos will show how to clean used clay easily. The videos weren’t easy but I should be able to put them together.

Leave a Comment

Filed under Uncategorized

My @JosyRose_Tweet sequin film arrived :)

The colour is gorgeous! Super pale! Super pale, I was worried it would be quite dark but it’s only just warmer than my Shimmer Sheetz, not darker. To the recharged camera!

DSC_0227 sm_DSC_0213

sm_DSC_0212  sm_DSC_0215 sm_DSC_0216

It’s a very similar thickness and the film is still a bit fragile however when you see the state the post bag it was in by the time it got to me it’s not that surprising. I have two rolls and I think that is over kill.

I played with looking at the film in different directions and yes, you can control just how much pink or blue you get by using the film vertically one way or the other.

Really surprised by how pale this is. It’s great! Very tempted to get samples from all over the place to compare them to. But this is about as close to the colour of her dress at the end of Let it Go when she is in bright brilliant light that makes her dress look like pale mid tone blue.

I also found my basic slap some clay on a wire frame video for Maleficent. It’s taking 200 odd mintues for 7 minutes of video, but if I knock back the quality it winds up being very low quality by the time youtube has finished processing.

Leave a Comment

Filed under Uncategorized

Maleficent horns, I goofed- camera this time

Not sure how but I checked and my camera was rolling so…

Anyway here are photos of the process up to that point:

sm_DSC_0203 sm_DSC_0204

sm_DSC_0205 sm_DSC_0211


And the video:


Leave a Comment

Filed under Uncategorized

Aiee!!

Given how badly everything is going right now in terms of costuming I think it may be a case of being too tired to actually do all this stuff. So I think I’m going to start printing and drawing and will actually sculpt the horns because yes. It is all total pants right now.

If anyone wants a set of horns please let me know as I will have enough resin and powder to make a few sets and make the mold worthwhile.

The other option is to make the putty like I have by accident before and use it as clay because it’s so light you can bounce it. Much antihistamines and careful mixing…hmmm very tempting.

Soooo clay and mold and cast or mix resin and filler and direct model. Either way tonight I get dimensions for horn shapes.

Leave a Comment

Filed under Uncategorized

Maleficent horn base

Just a few photos of the mesh armature. I may use the current pulp to full the inside and only wrap the outside in the paper soaked in the double glue mix.

image

image

image

image

Leave a Comment

Filed under Uncategorized

Paper mache tests, part I

So I have had this site linked for a while. I’m old school and I also like to know how and why methods are used. I was always perplexed why we just tore strips of paper for our paper mash projects. There was nothing machy or pulpy about it. At all.

Turns out like with everything what we were taught in school was “lies to children” as in we were not taught the full method. What I know I was taught was basically the support stuff not how to detail.

http://home.eol.ca/~props/recipes.html#rec1

These are all for modelling types of mash. I have adapted recipe 2 for my Maleficent horns. So to this end:

Mash mixes:

1 roll kitchen paper towels- recycled paper &

3L of boiling water

3 heaped dessert spoons flour &

2/3 cup cold water &

2 cups boiling water

250ml outdoor pva

extra roll of paper towels, extra PVA glue


Paper pulp:

Boil 1L hot water in a very large pot. CAUTION- SAFETY BREAK! Make sure to use a pot that is at least twice the volume of the water. Paper is solid and when water boils the bubbles will build up underneath until they are big enough to move solid wet paper several inches deep! This will usually mean a significant force and so potentially will boil over or splash and burn you. I used a large stock pot.

Start tearing paper in to strips. CAUTION- this will take some time! I boiled water in a separate jug to add to the boiling water as I added paper.

First start pulling paper from the roll and fold along the perforated lines. I do about five sheets. Then tear with the grain- in this case it is with the length of the roll- along all five layers of sheet. Strips can be up to an inch wide. Then tear across. CAUTION- this is difficult and you will tear diagnonally as the paper wants to tear with the grain all the time.

Add paper to the water aiming for a balance between wetness, safety and maximum paper:water ratio. One roll will take a lot of water.

Once finished simmer for 2 hours. Am currently 30mins in to this.. sigh!


Paste:

Boil the larger amount of water in a medium pot. Mix flour and cold water to a slurry. Once water is boiling quickly pour and beat the slurry in to the pot.

Stir and immediately set to simmer. Strain while hot but not boiling and set aside to cool. Currently waiting for the mix to cool.

Next post will be about making the support frame! While waiting for the mixes to cool before mixing them together!

Leave a Comment

Filed under Uncategorized