Tag Archives: elsa cosplay

Elsa graphics

Net dyed: slightly greener than aqua. Power net dyed: slightly too dark. All okay, I can get more net 🙂 And more dye to deeper the net and barely tint the power net.

And now I have seven snowflakes as line art on my computer. Close enough that I can use them to print and use as stencils, not good enough to share. Once I’ve got the proportions sorted I’ll make them available- and learn illustration while I’m at it…. Hopefully none are bigger than a letter or A4 sheet of paper, but I don’t know yet as I haven’t put them on my template!

snowflakewip
Okay so I have brute made 5 and two are duplicates, shhhh

Ahhhh! Splicing placeholders over my actual pattern shows how much fuller we are making aour capes. But I do think it makes for better flow. Pattern and actual cape. The cape is about 2.4m long from shoulder blades to hem in the artwork (for my height) and I had about 2.58 and I have even more of the new net .

Untitled-Captured-08

Leave a Comment

Filed under Uncategorized

Elsa painting!! ZOMGZOMGZOMG!!!

I get chased by a bee at nearly 2mins. Just saying if you want to hear me get very squealy, that’s your cue.


I have to share I don’t care if anyone uses these techniques and “pips” me to the post, this is too too too fun! And I’ll be using this on the cape and shoes. Read on for more info 🙂

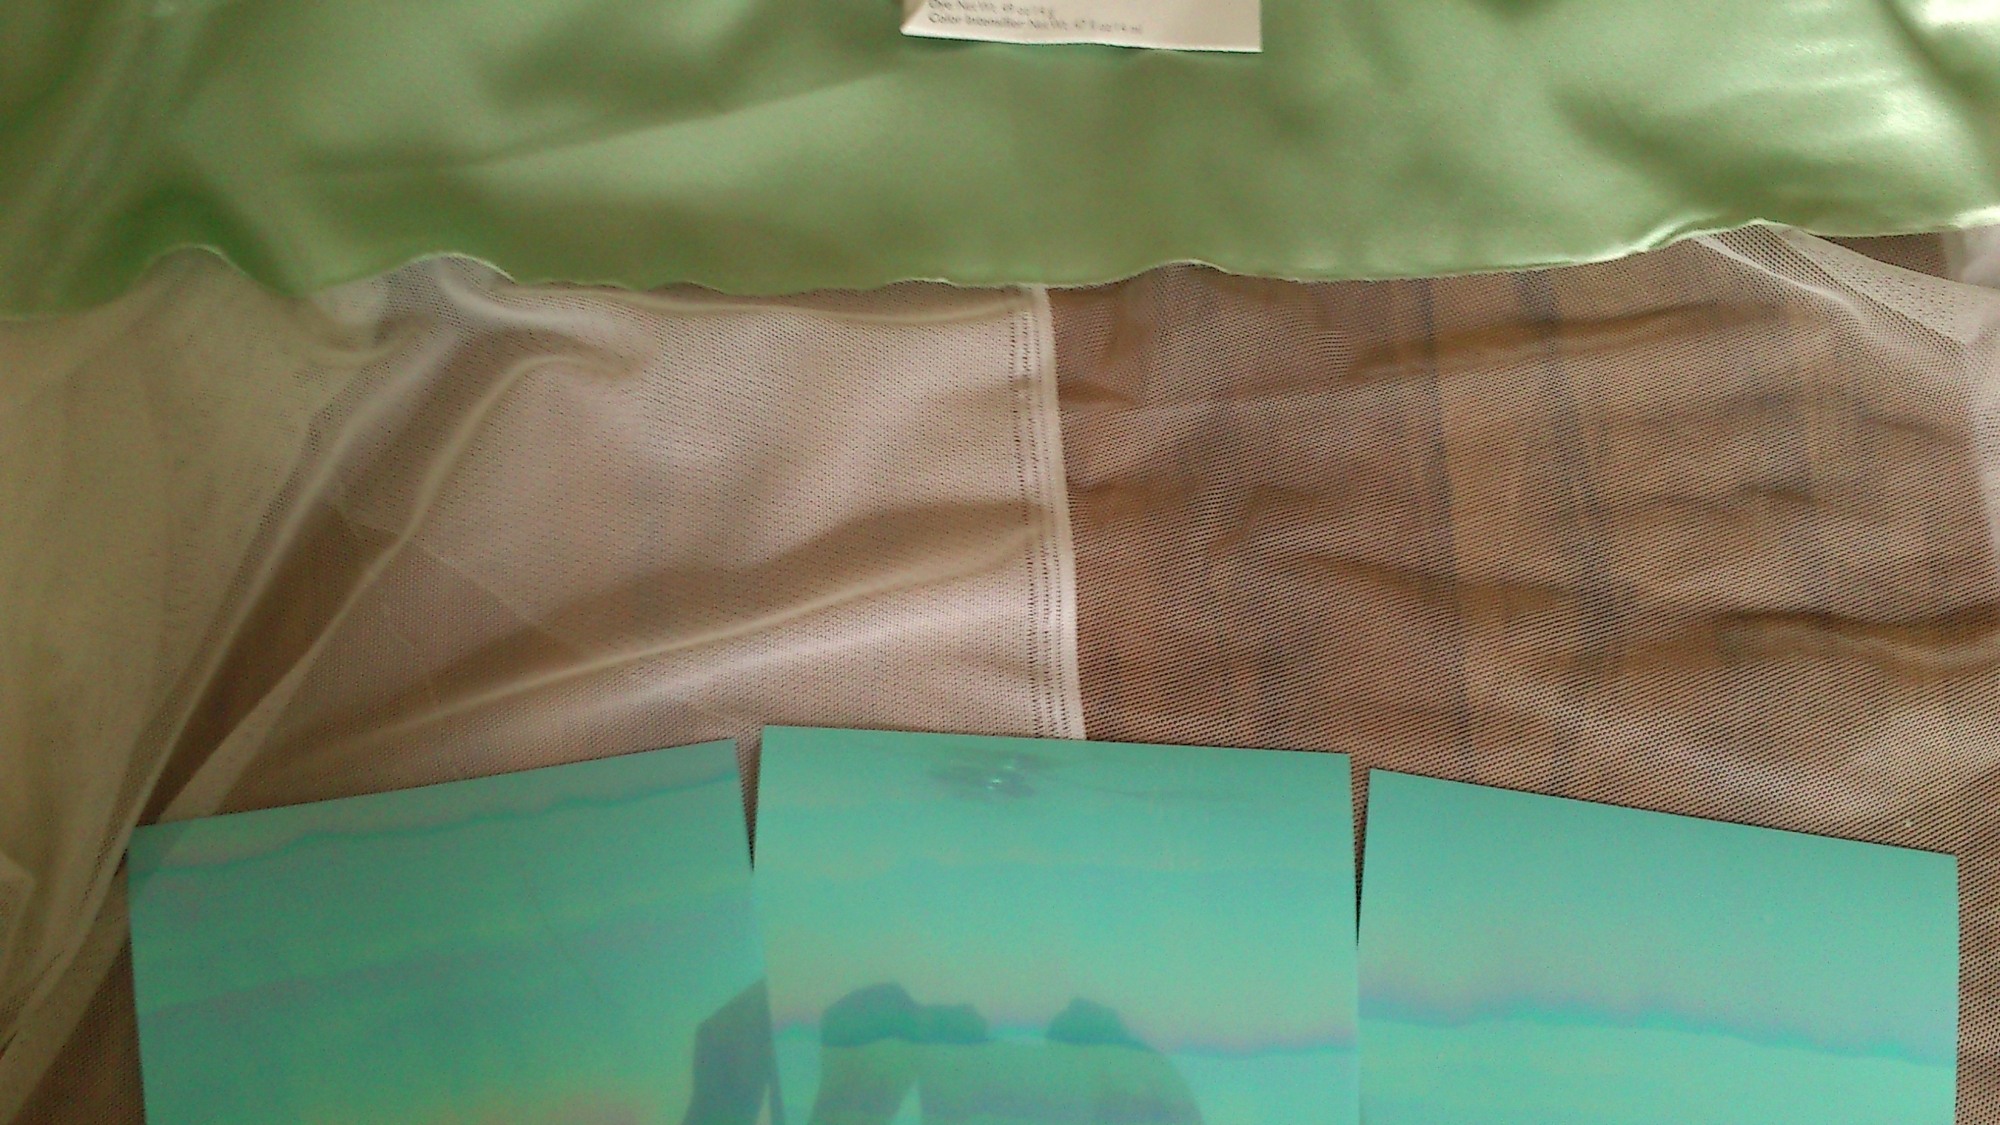
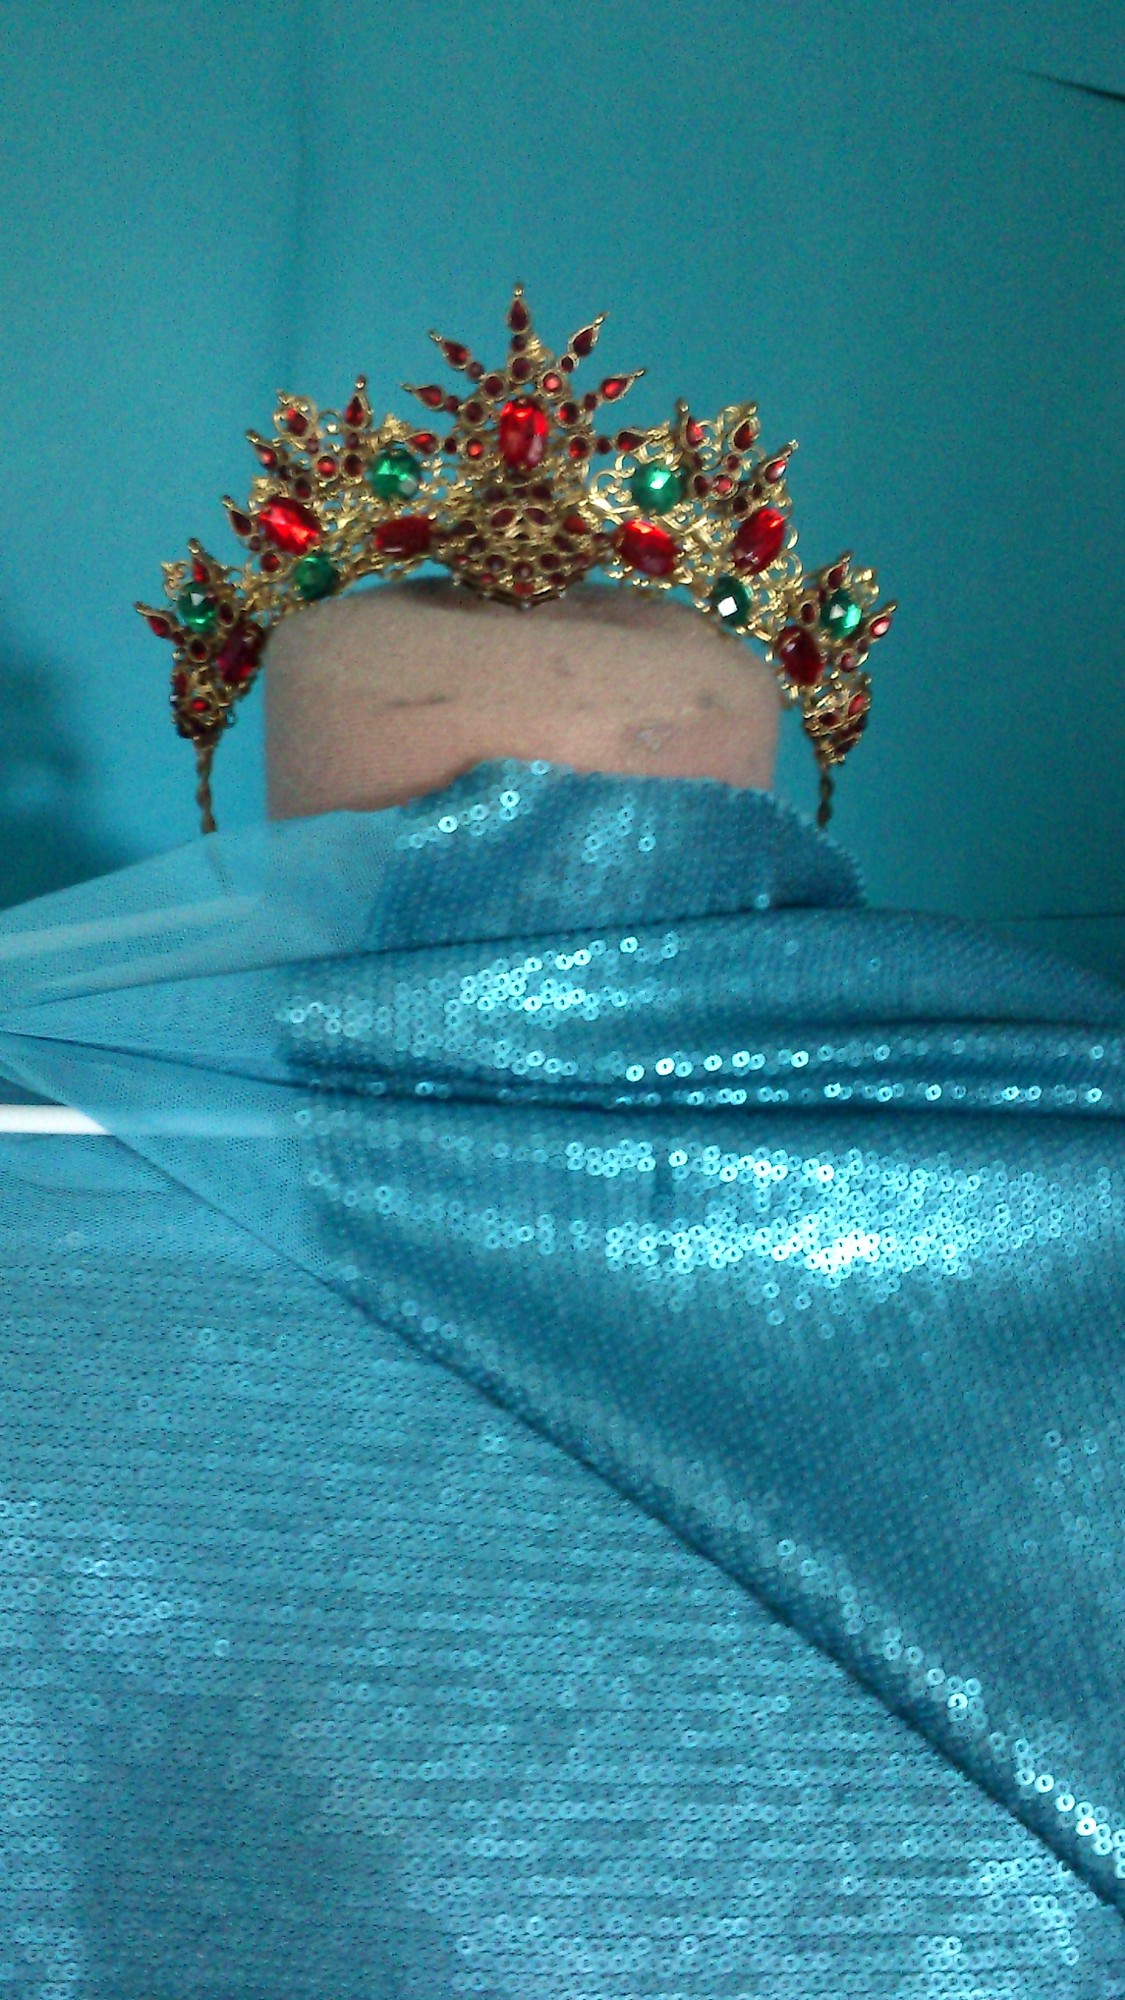
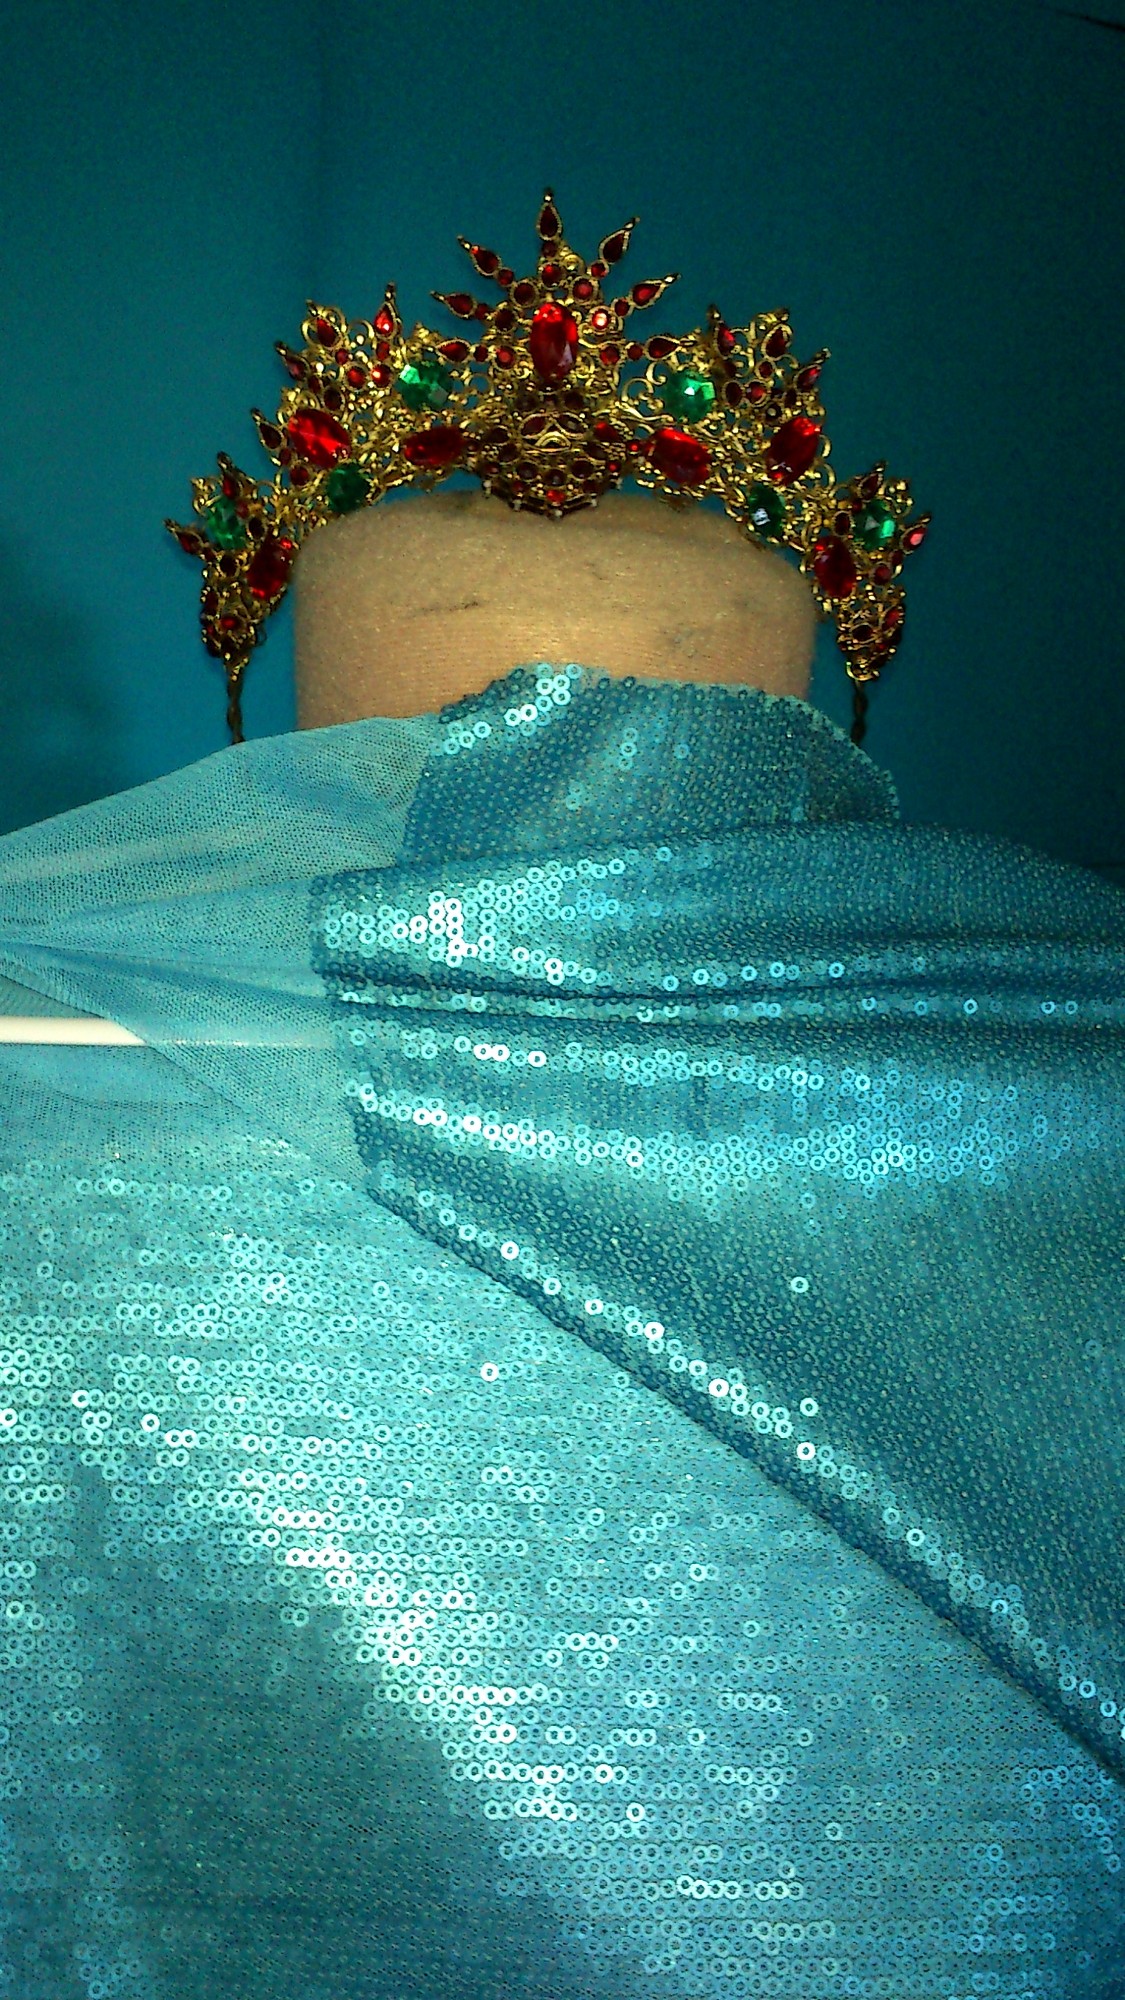
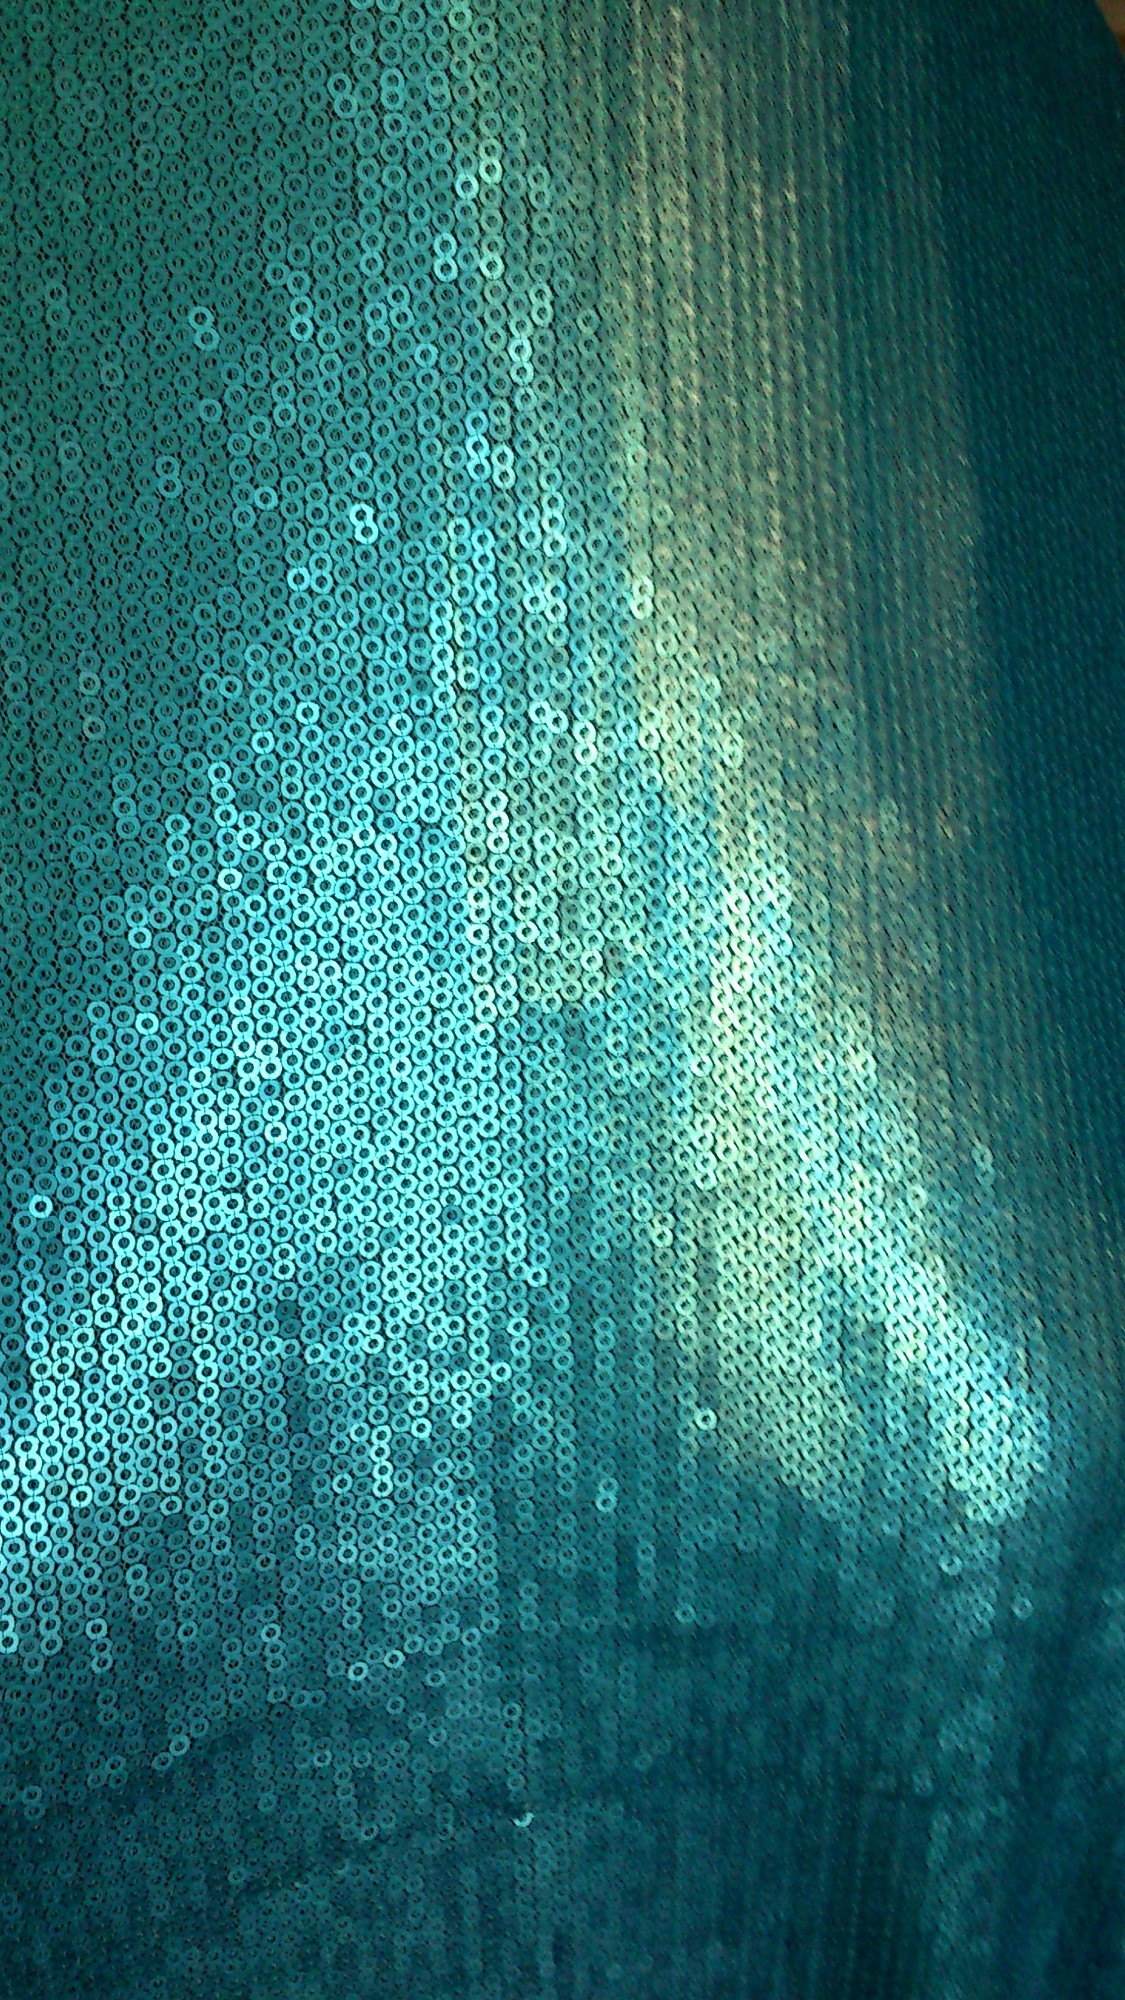
So Resolene is the most amazing awesome finisher ever. The fact that it will bind to leather even under a wax polish? That makes it a bit special. But I wasn’t sure if it would work on sequins as they are plastic with a plastic coating. Leather is porous. Sequins are not.

Materials:

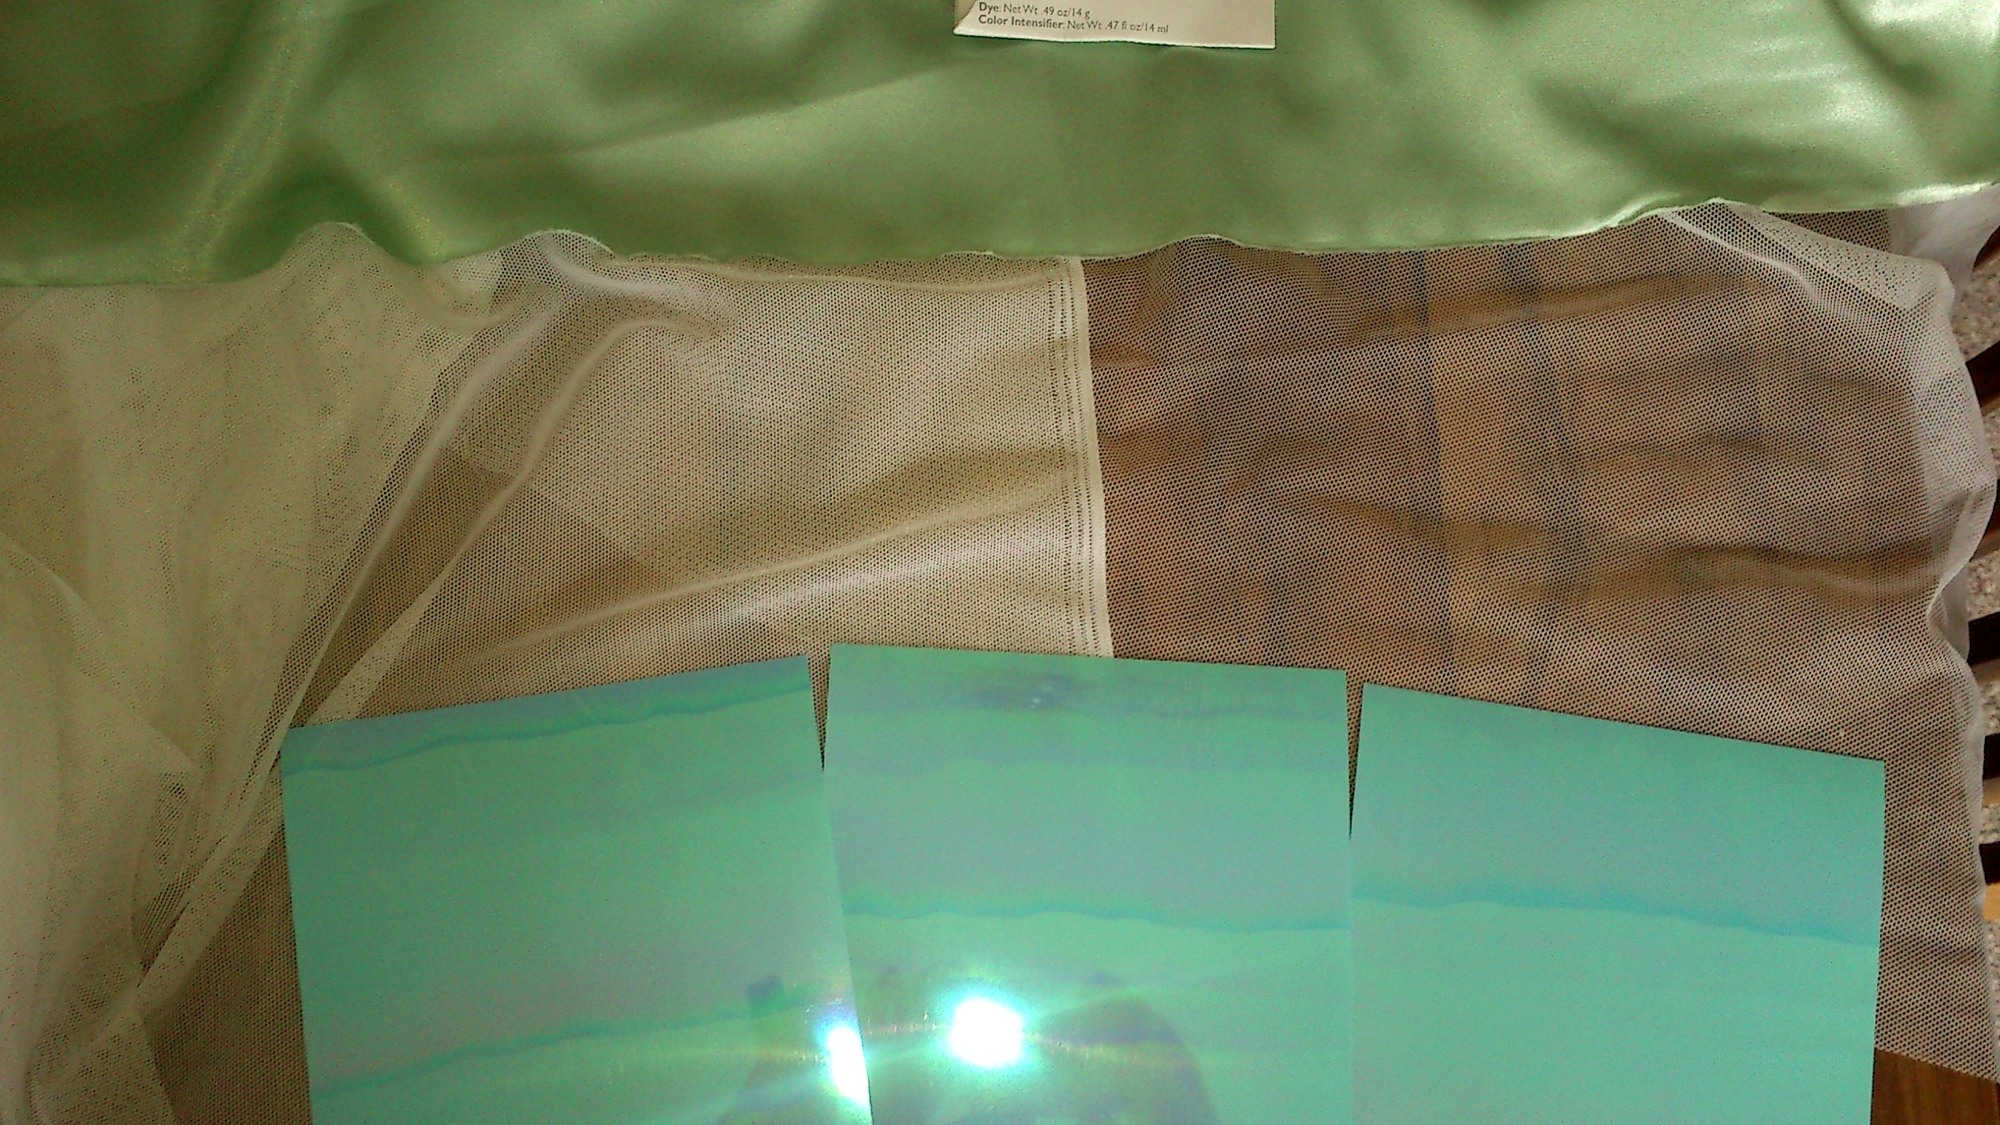
Pearl Ex (interference green and duo tone blue/green)

Resolene, matte.

Technique:

You just mix the pigments straight in to the Resolene and that is it.


Okay, you’ll want to work out what the best mix ratio is.

Resolene is very runny- it’s like skim milk/no fat milk in colour and viscositys. It also isn’t sticky until it starts to dry. It does however smell of ammonia so you will need to work in a ventilated area. But this is true of spray paint 😉 And if you have used acrylic paint from a tube it’s pretty much that… but more so. Not sure why some acrylics smell like ammonia and others don’t. Liquiset and PA don’t after all.

I patted the brush on the sequins after sweeping-brushing caused more pigment to build up under the sequins (which acted as mini scrapers). So I think airbrushing will be the best option. I need a new brush and a compressor. I have two cans of air but they may or may not last so will be set aside for make up.

I wouldn’t recommend a sponge as the Resolene will be sucked in to that too much as it is so liquid.


So for her shoes I’ll use my left over Russet (vege tanned, unfinished leather for craftwork) and dye them.. hmmm.. possibly a mix of the black and yellow dyes I have. But Feibing also does a white acrylic “dye” (it’s opaque but should work well) so I’ll go over with that as well.

And then use the Resolene/Pearl Ex mix over that with a brush to shade.


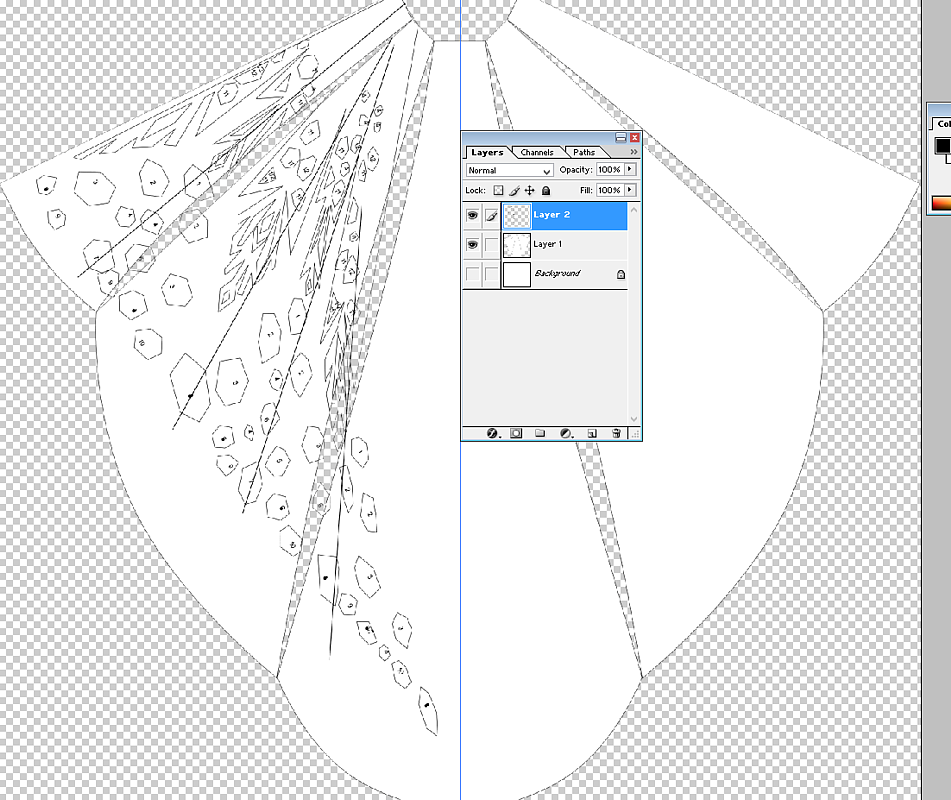
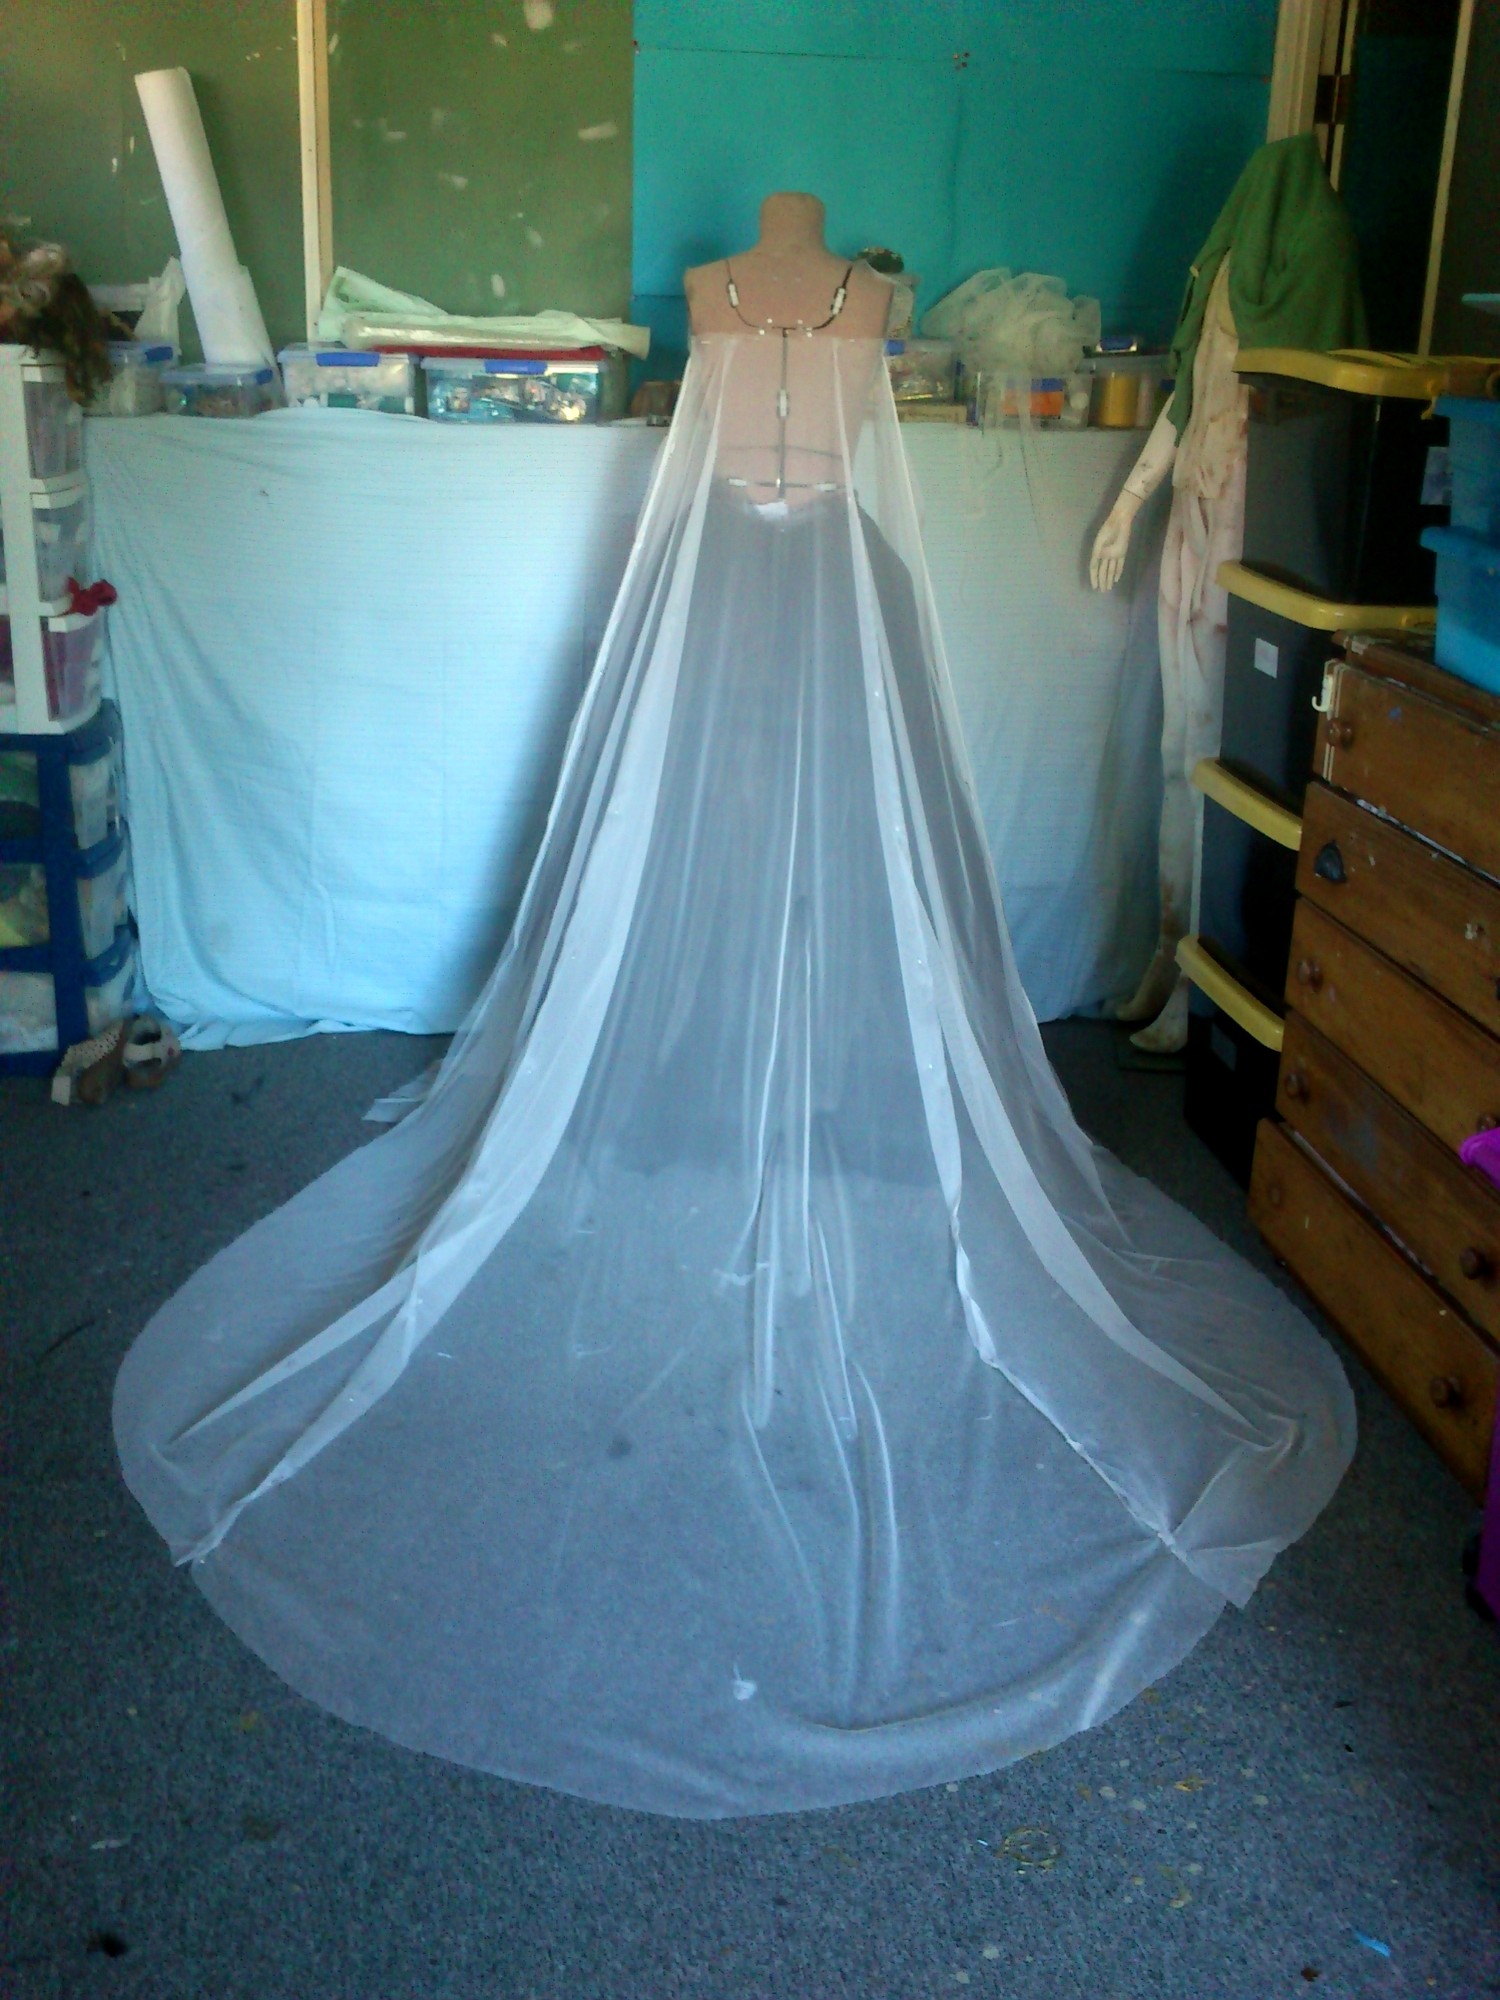
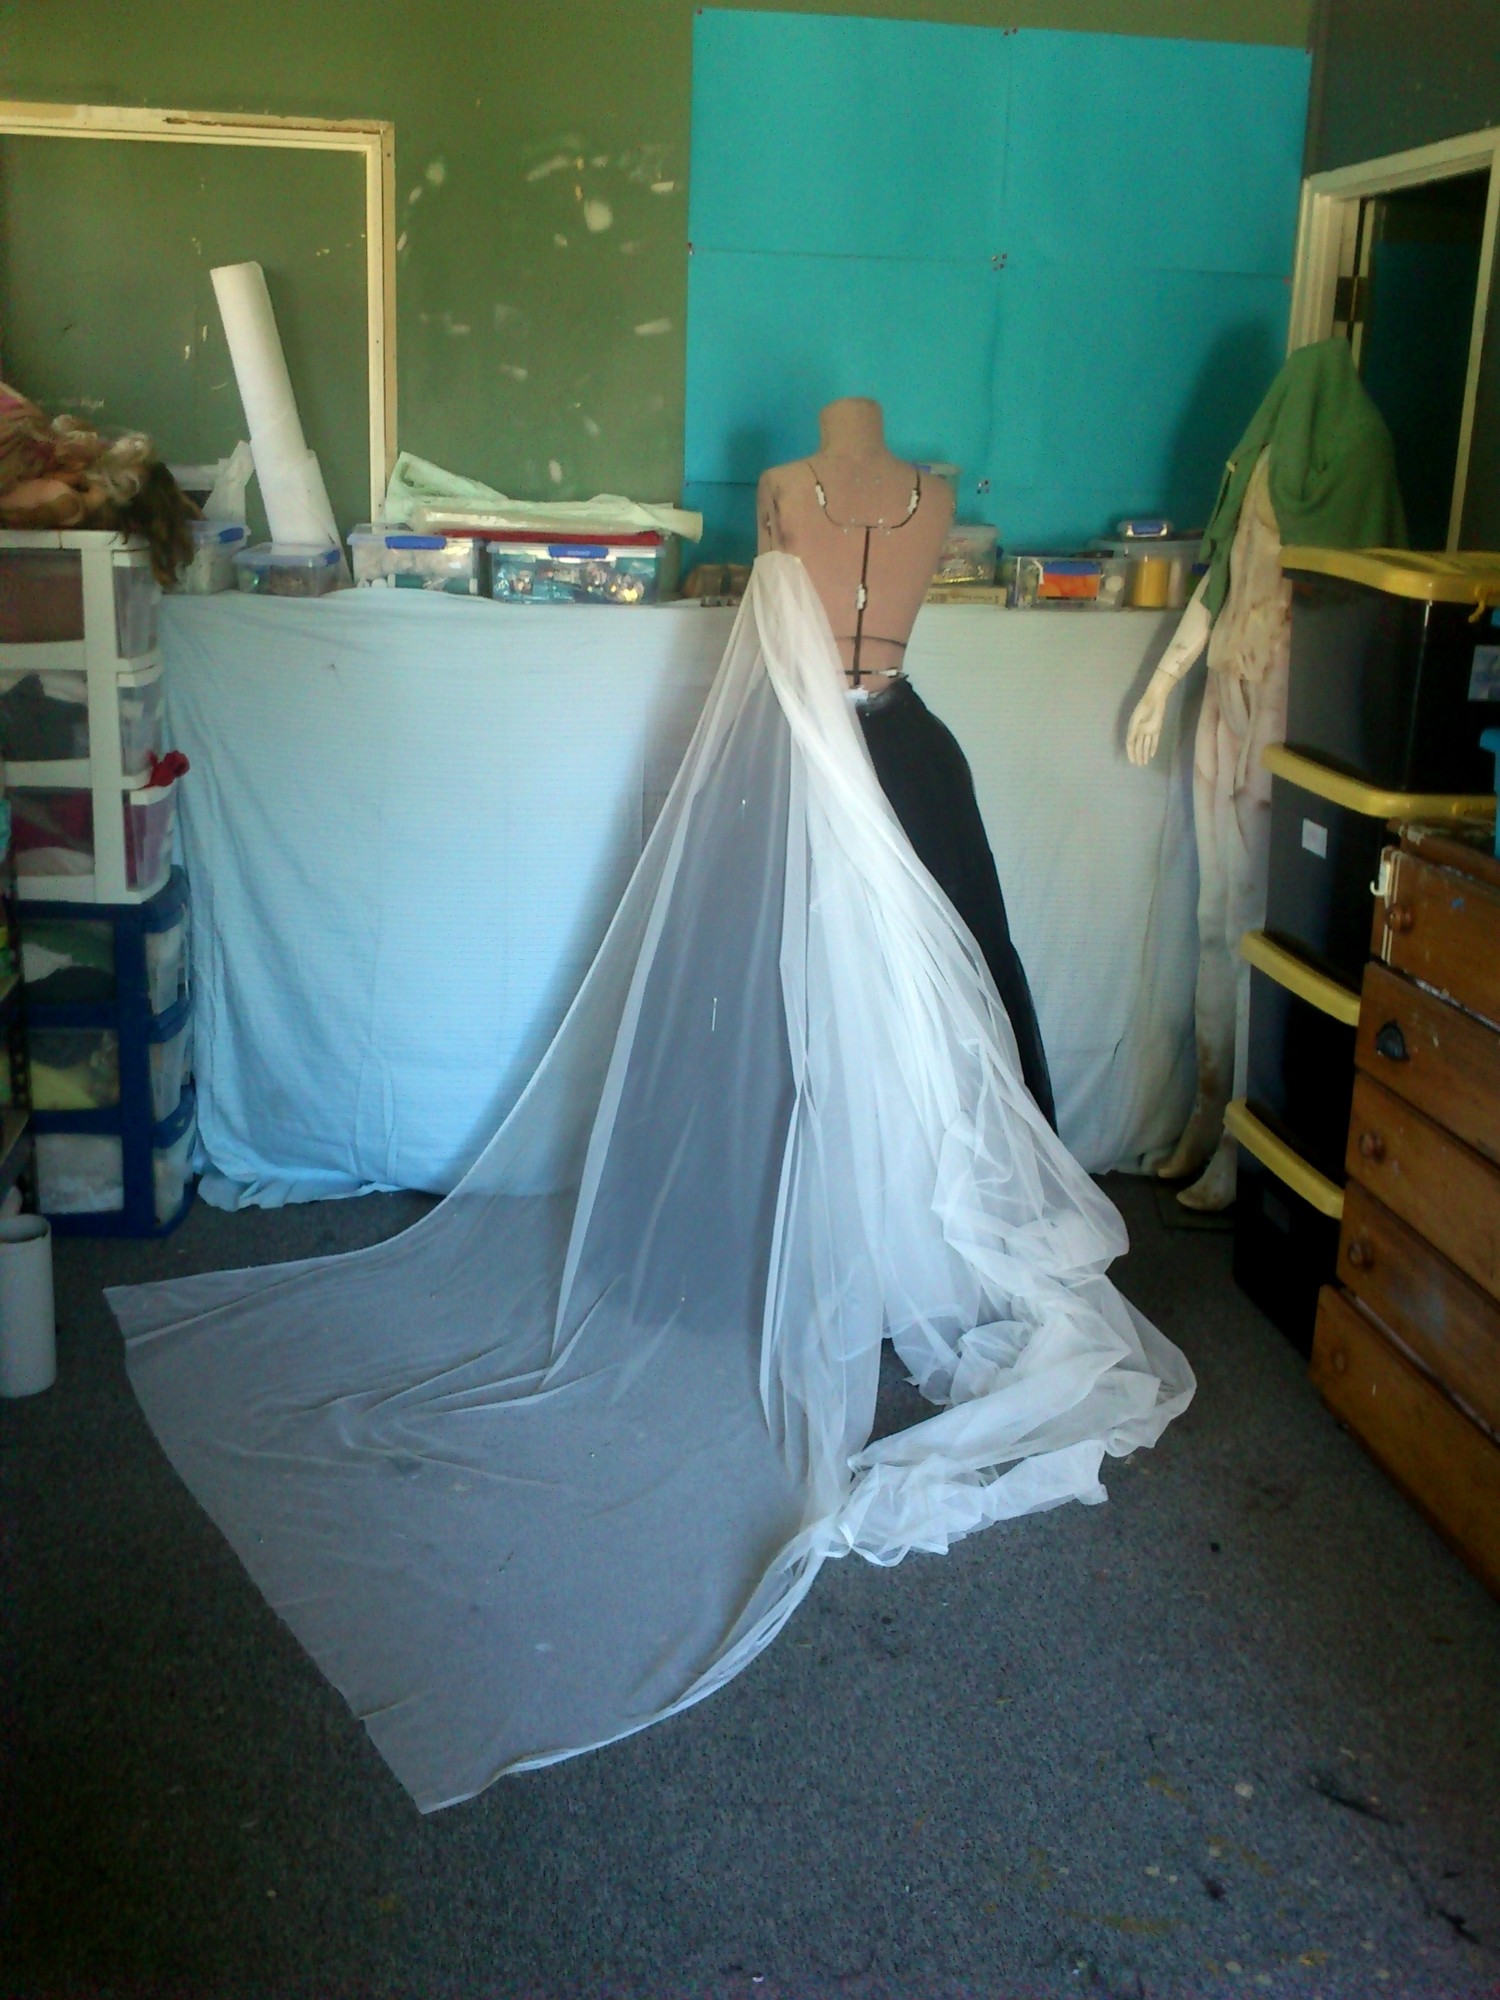
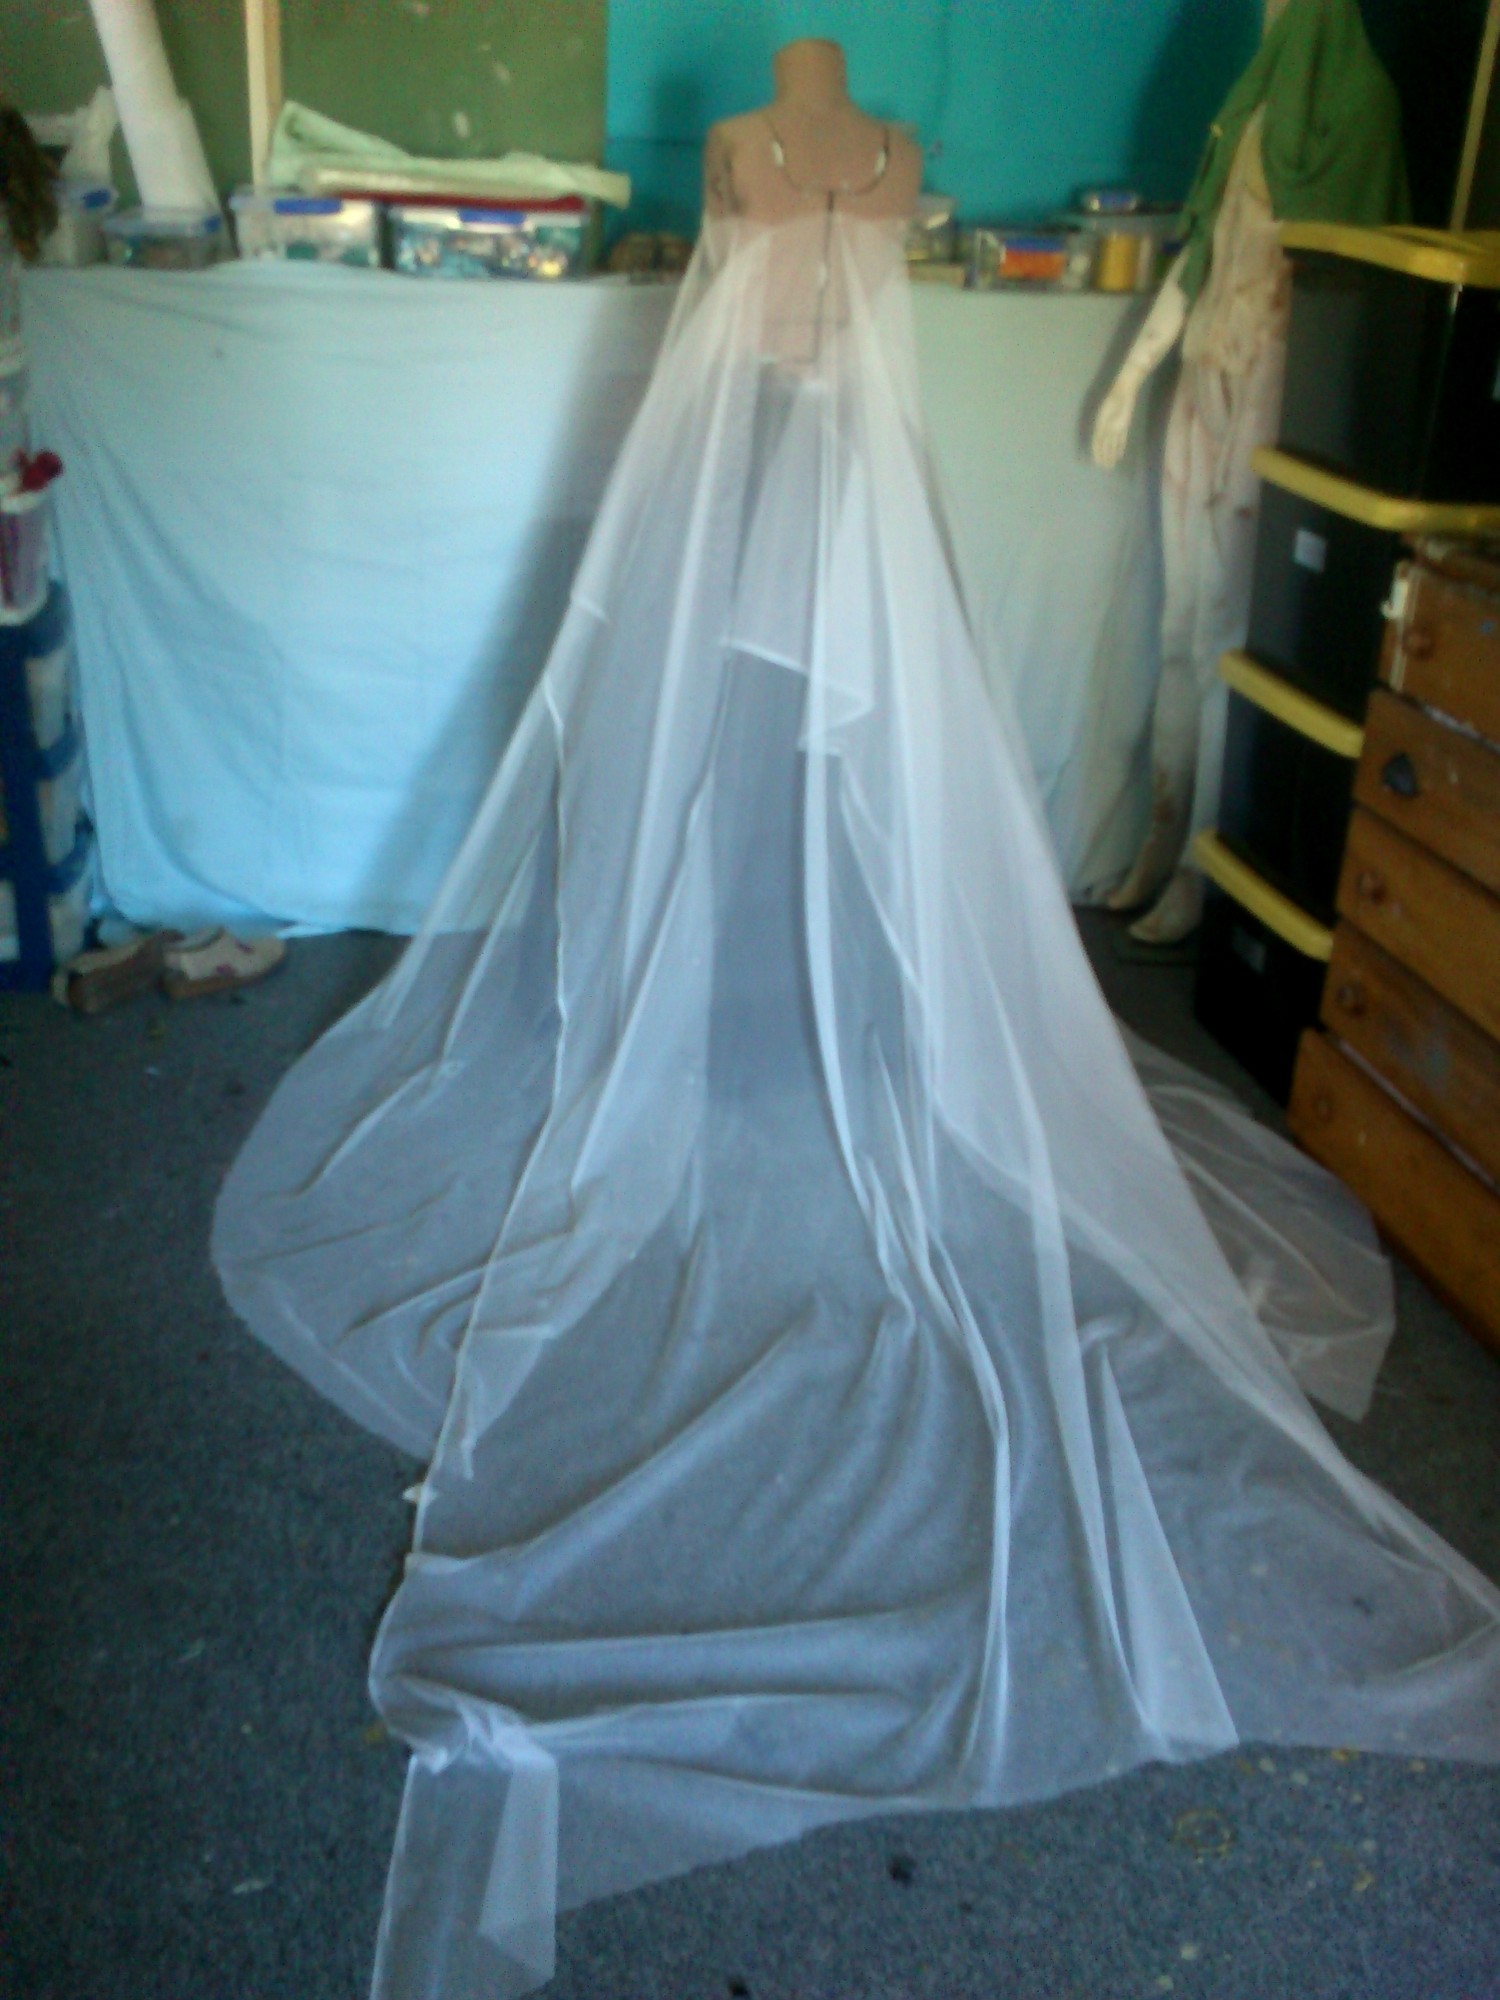
For her cape I’ll airbrush with stencils as well as use heat set crystals to make the designs pop. I may be airbrushing first and then deciding how many crystals I’ll need. But I won’t be setting them butting each other rather with regular spaces between.


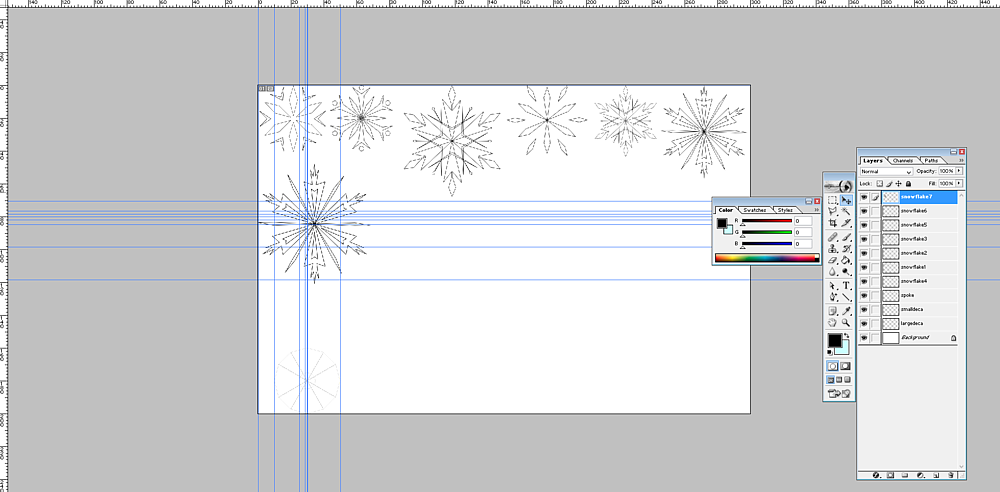
So I’m back to photoshop to make the dozen special snowflakes and layout. Kinda liking working with paths again but it was frustrating trying to get my cape pattern to properly scale. I tweaked it a bit.

Leave a Comment

Filed under Uncategorized

Elsa new fabrics

Charmeuse at the top (closer to the colour in the flash) new softer but strong net on the right, power net on the left and three Shimmer Sheetz on the bottom:sm_DSC_2678 sm_DSC_2679

Forgot the link: http://www.ecraftdesigns.com/collections/shimmer-sheetz/products/blue-iris-3-pack

In large sheets like this it’s a bit floppy but easy to cut. I’ve tested a small rectangle. It’s pretty pliable so I’d definitely recommend these for those who want to glue not sew- it will form to body curves pretty well. In the large sheets they can be sanded easily which will give the glue something to stick to.

I’m also now okay with the iridescence in person. It’s not too much, There are those kind of flame lines but I have Plans(tm) on using that as a guide to cut.

Leave a Comment

Filed under Uncategorized

New Elsa fabric :)

Grabbed some photos (ELissa tiara on the top there) without flash and with flash. Without is much closer to the real colour than with:

sm_DSC_2671 sm_DSC_2670

I mean I’d prefer it like it is with the flash… but hey, interference green pigment? I have and here it is tested on the top of the sequins (on the right):

sm_DSC_2651


As the sequins are matte this is more likely to work than had I got shiny sequins as I doubt I’d find exactly what I want in terms of colour. Also the low sheen is subtle, it makes the fabric look like 1930s real metal lame.

Leave a Comment

Filed under Uncategorized

Elsa actual progress sort of!

So my corset mock up is ugly. I said it was anyway, so here it is! Institutional mint and badly drawn lines everywhere! But look, a cape! And from just barely over 4m of fabric!

sm_DSC_2601 sm_DSC_2605

She has boobs! Yes they are OTT but you can see the places I am taking in and will also balance those puppies out 😉 This is also for an over bust which means it does look ridiculous! This is my base pattern to fit me and work with my idiosyncratic shape. There was a lot of experimentation in the 19thC for corsets so mine is a blend of genuinely conceivable pieces. I do only have four panels but may wind up cutting through the bust and angling to CF hem.

So, now the Elsa cape:

Super sturdy but fine tulle (photos show how transparent it is.) I cut the pattern over my Elissa underskirt to make sure I got the train as long as possible and forgot to account for it going over a pair of legs and a skirt.

sm_DSC_2603 sm_DSC_2600 sm_DSC_2594 sm_DSC_2593


1) I started by pinning the tulle to the form, selvage for the side/front seam and to see how long the gore would be on the diagonal, ending at the point which winds up side back of the train.

sm_DSC_2585

2) so this created a gore that I could top and tail (yay for reversible fabrics!) And so I smoothed it out by folding the fabric along the line and then cutting the first gore. sm_DSC_2586

3) I then laid that over the other side and cut and trimmed to match (if this was not reversible this would not work and I’d have two of the same sides)

sm_DSC_2587

4) So this creates the sides. I had measured to make sure there was enough length left that the back could be cut. This meant at least as long as the diagonal line plus any extra.

sm_DSC_2588

5) Success! Enough with a little left over. So I then pinned the remaining fabric to the back (cB on the fold and pinned at the hem as far to the selvage as possible) and pinned to best shape with the already cut pieces:

sm_DSC_2589

6) I laid the fabric on the fold and then used the same folding on the diagonal to smooth the line as before, matching the length to the side gore:

sm_DSC_2590

7) this left a narrow gore on either side. So rather than waste it I added it to the fonts and then reshaped all seams (smaller at the top tapering as wide as possible to the bottom).

I’m pretty sure there are five panels I just am not sure if I got them exactly where they are in the film (you see one straight to diagonal seam in the last scene on the fjord at least and the way it folds suggests seams) but i’m not too worried if not. This tulle is $14/m and I still have to dye it 😉 So I wanted best bang for buck!


Leave a Comment

Filed under Uncategorized