
I sometimes think I should try and capture the fun times of working with SKU on screen record. And with mic on so you can hear the sears. They get a creative. Though the f’bomb is usually muttered. and the s’bomb gets stretched out to sheee-er-gerrr.
I saw my PC space with other so it means trying for levity in the stress.
So lots of what the foo, whyyyyyyy? *push keyboard away* but whhh-hy-hhy-hy-hy-hy???
Never the less she persisted! Yes I went there. It’s basically the mantra of my life. And there will be a post!
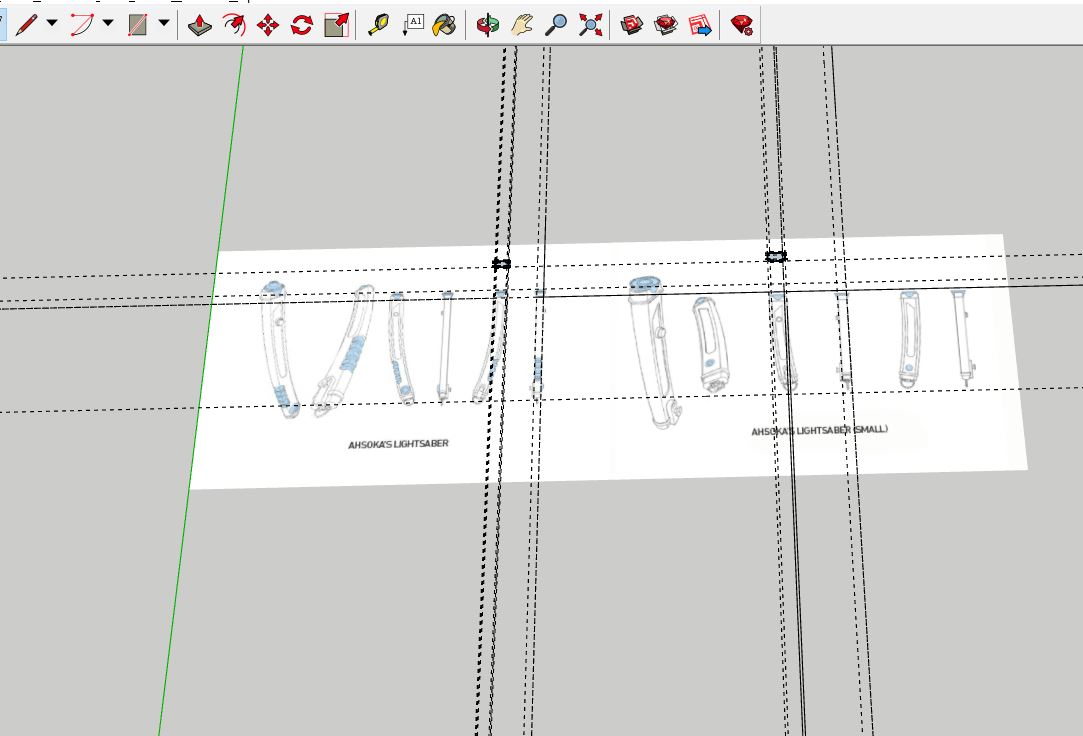
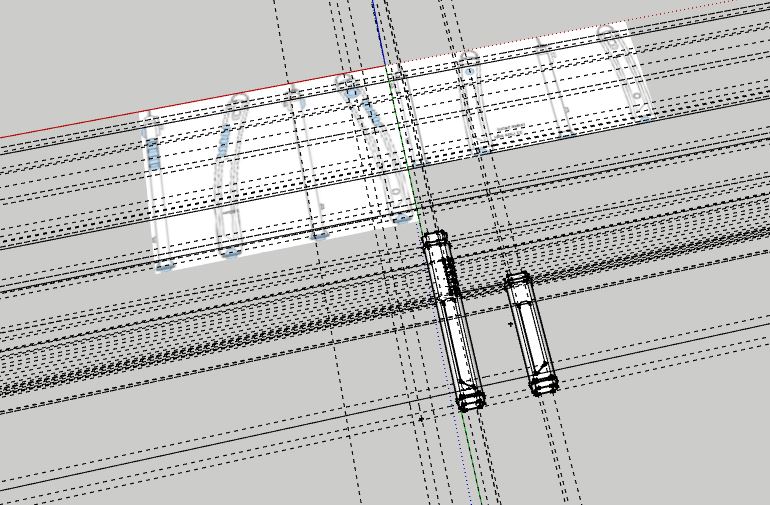
I started with the original images, Note, this is a screenshot, it really is that blurry to work with. I wanted to do a line art originally but used a photocopy in hand and on screen just scaled to hight.
I actually then started a new model with the hilts cropped to height to make it muuuuch easier. And yes, when you import images you need to scale them once in as well. Unless there is a keyboard trick… there probably is.
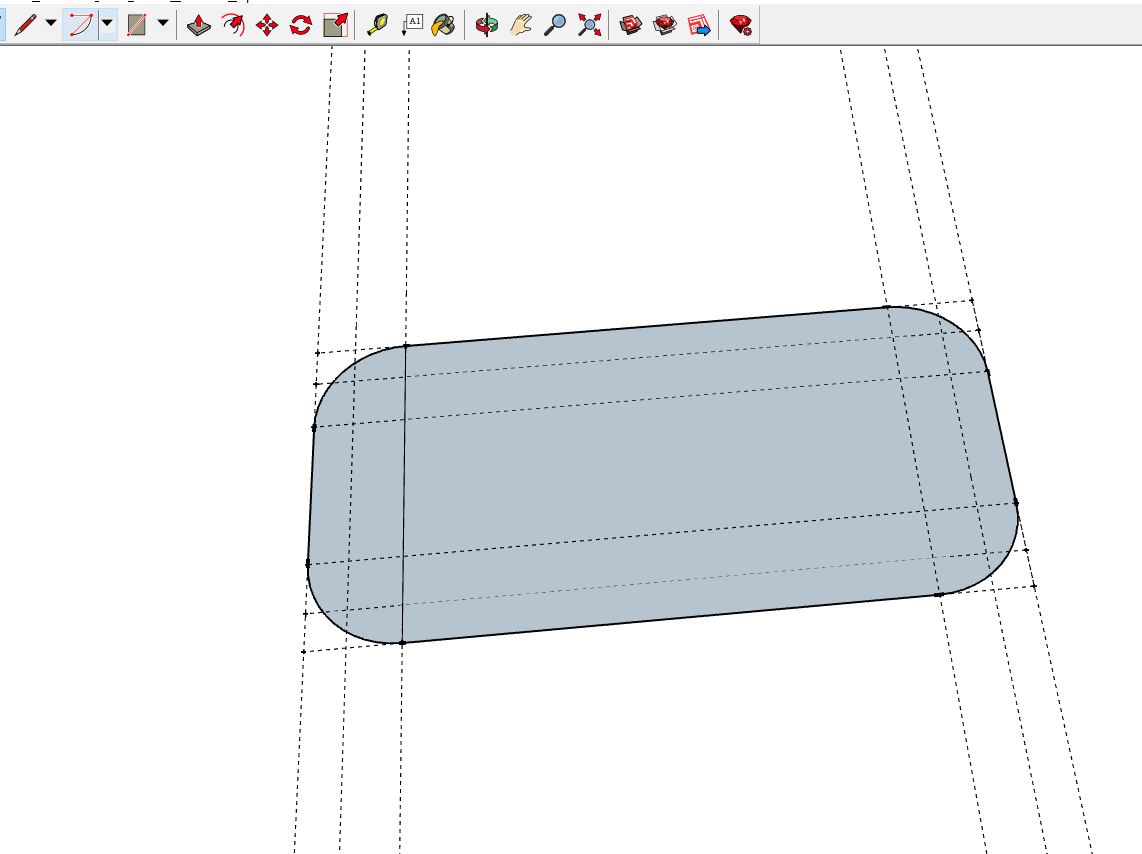
then I made a series of guides and then drew curves and loved it. Until I realised yes, the sides are totally rounded, I did say the images are fuzzy!
So, Viola! (that was a pun.) New guides new scaled image and new face made the same way. From here I extruded a series of tubes leaving the inside empty. It worked really well for Asajj. But I am making mie a touch simple in the joins this time.
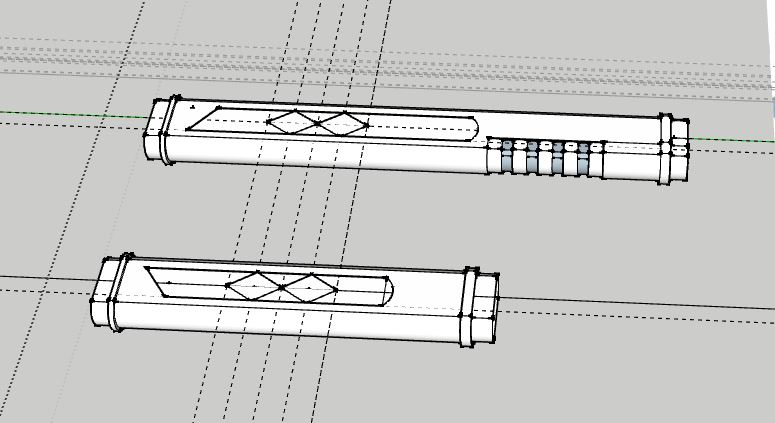
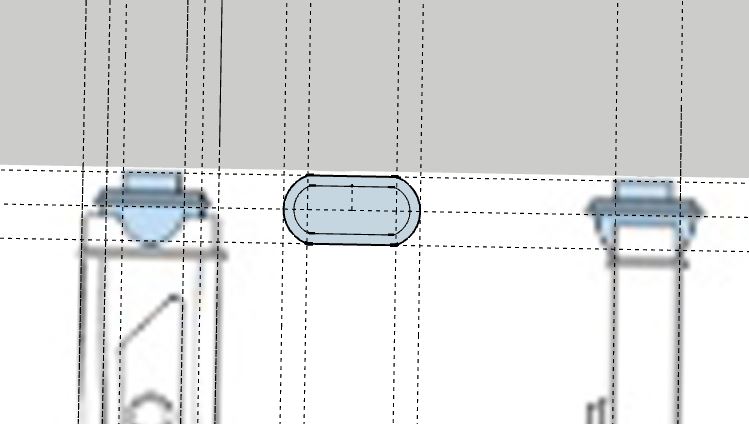
Guides guides everywhere!!!!! This was to create the inset grip of the longer hilt. Basically pecil and extrude and some maths!
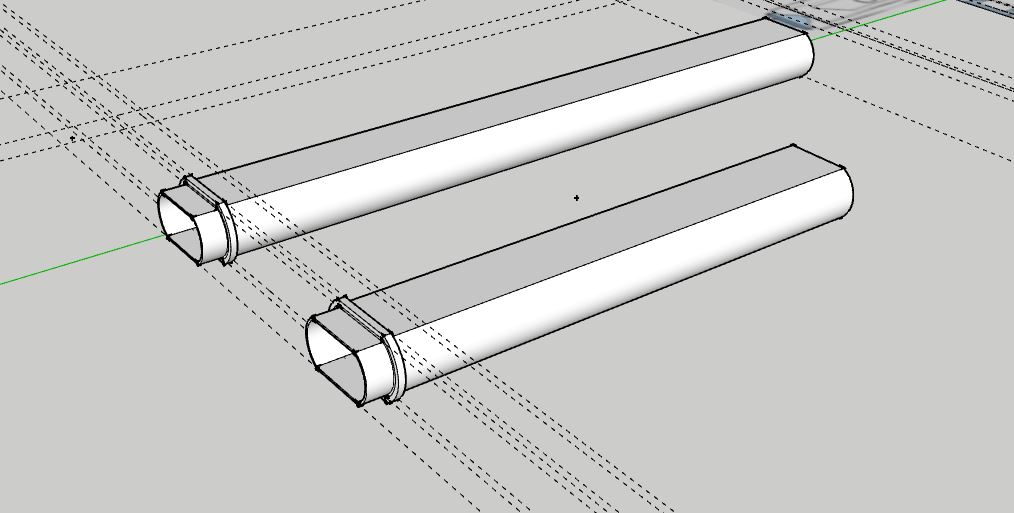
And yep the decorations are in place. But I wound up having to move them on my longer hilt. That was just a bit frustrating.
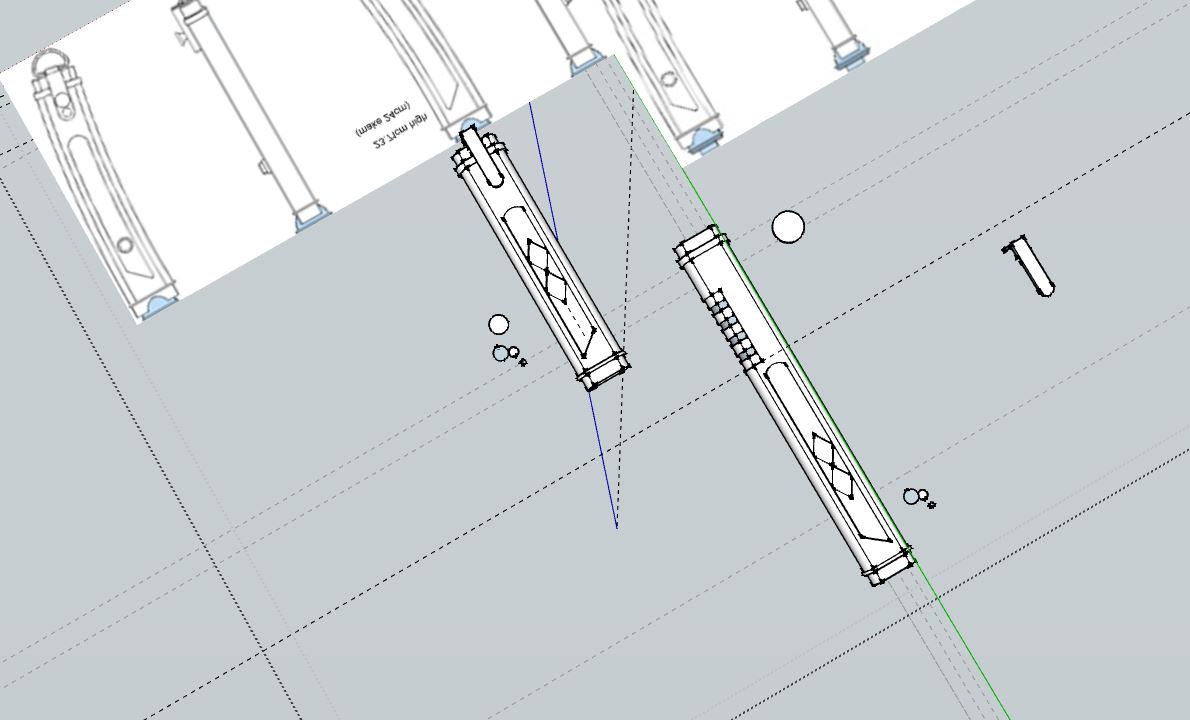

Then came the other pieces; inset switches, what i think are peg/screws to hold the end caps in place, the long end cap holder, and the large button. Finally the emitter caps!
The large button. I goofed and wound up with the circle not centred so yesterday was a day of fixing issues like this. I placed everything together (they are all separate components so they will print separately and in whatever orientation works best. I also adjusted length and made the end cap holders fit smoothly to let them pass so we can gain acccess to the insides to put electronics inside.
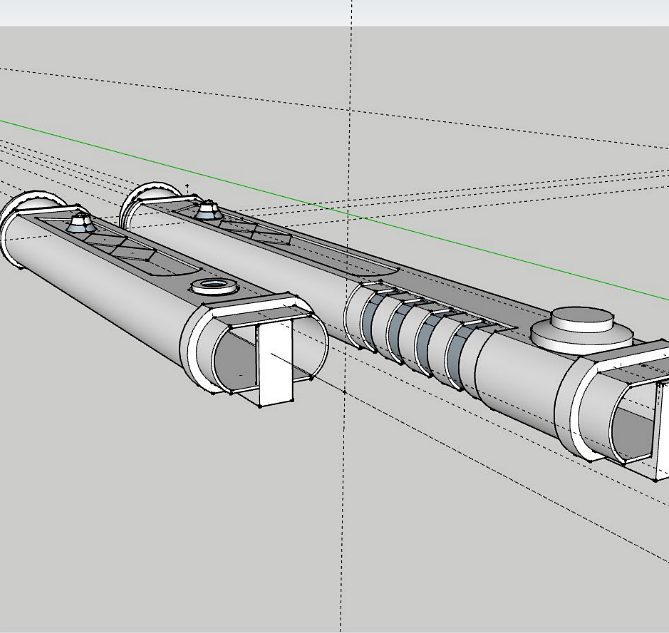
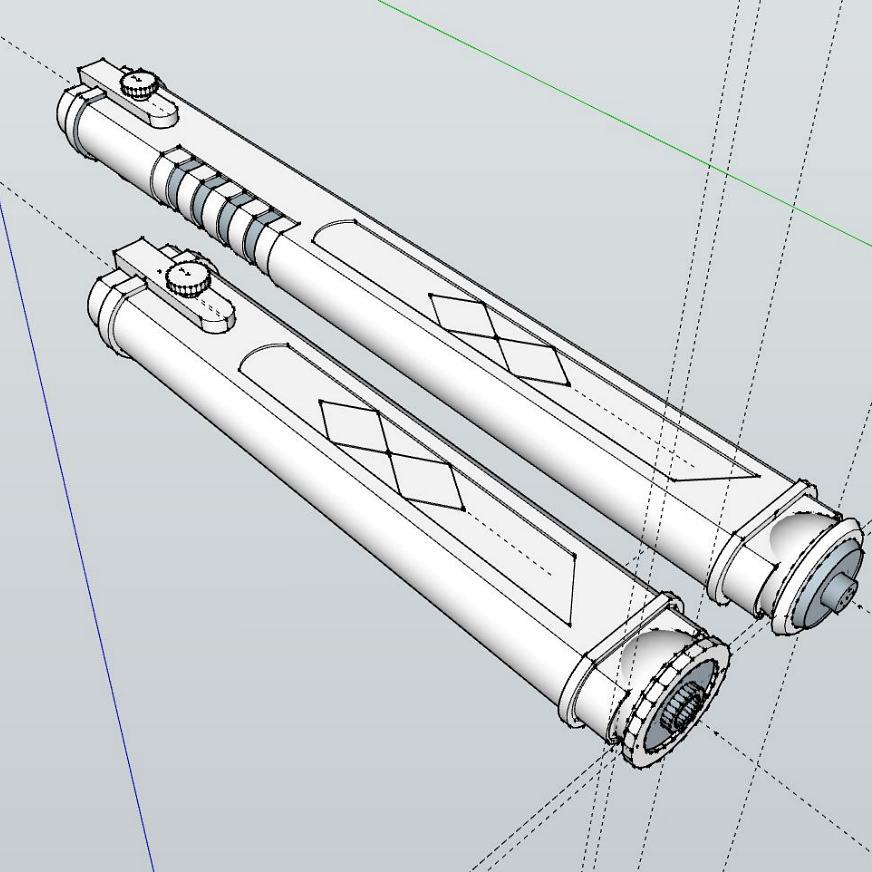
Here you can see I had yet to place the end caps. But the are there not. I also got the emitters to their final shapes and sizes. One emitter needs some smoothing but aside from that I think I’m happy.
So today with the emitters lined up correctly it’s time to get the pencil out and start cutting.! Had a few practices but it’s not really been perfectly even as I didn’t have then perfectly on my guides.