
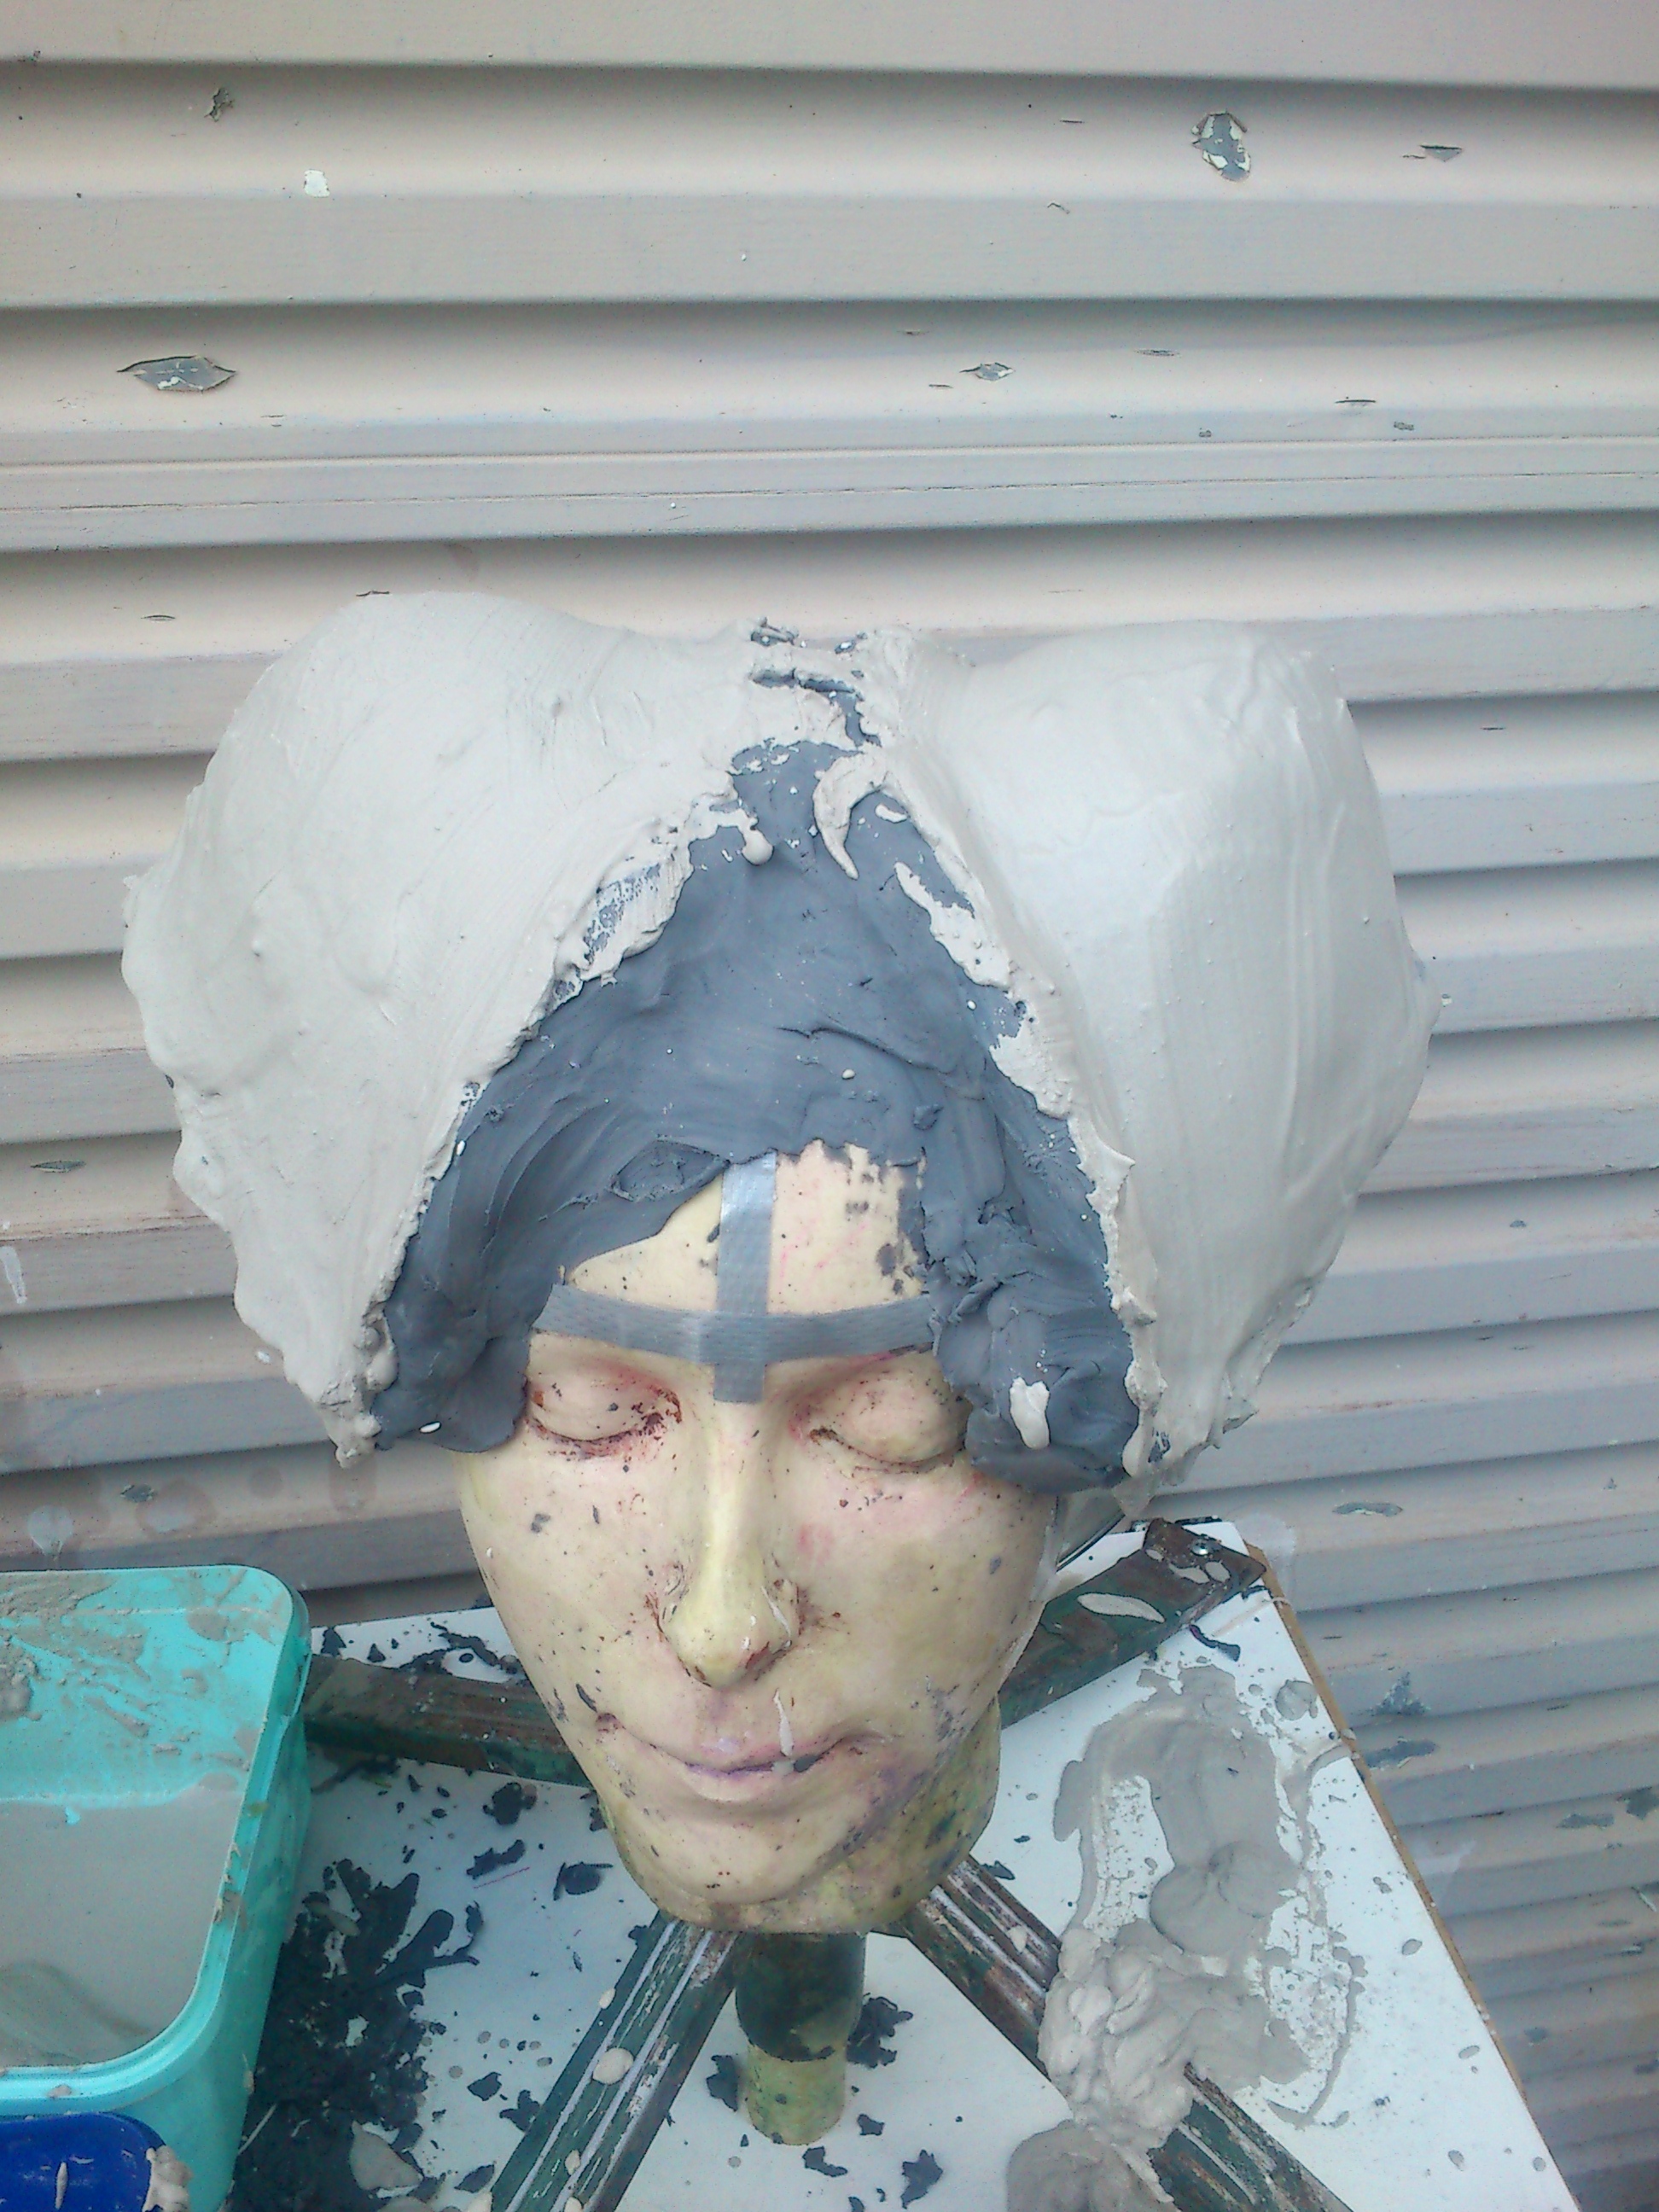
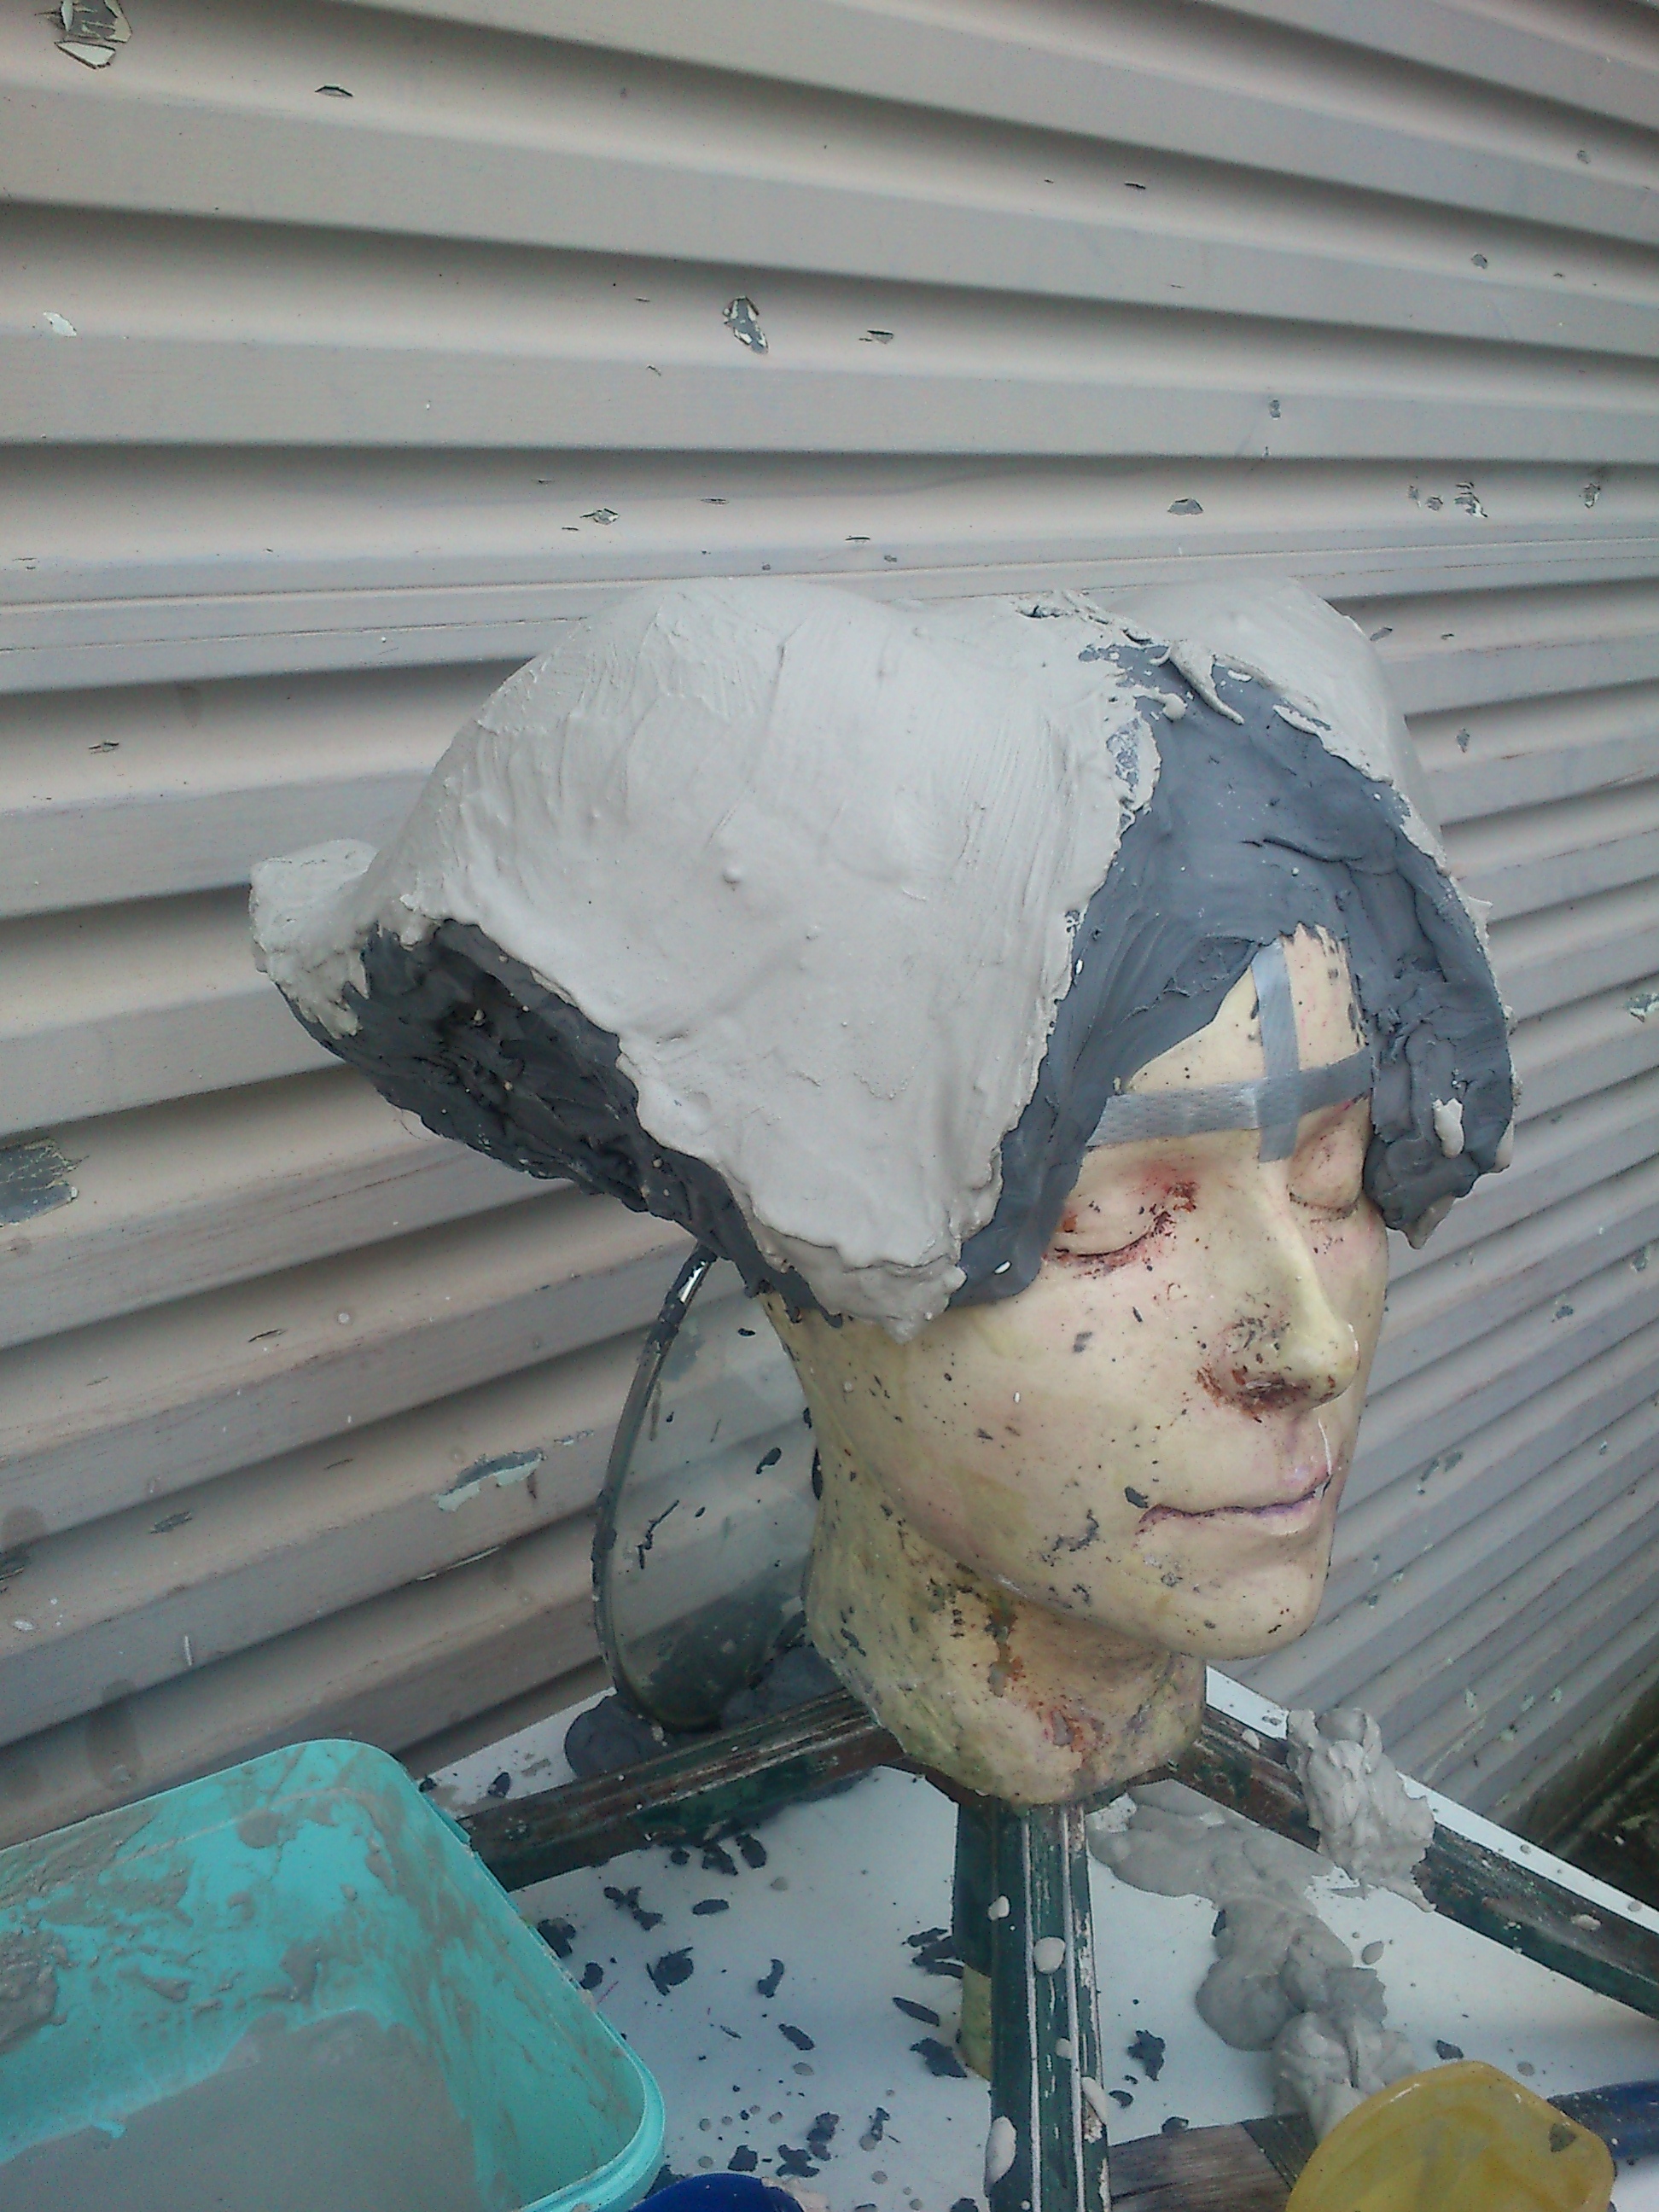
Yesterday I built up clay walls and supports for the horns. I made sure to really support them as the ultracal winds up very heavy during the molding process.

Here you can see the shallow keys cut into the clay walls.
I used a brush to apply the product and so totally was unable to get in progress photos! Anyway, I mix and apply with the same 2″ brush so that the molds are nicely raised and evenly applied. And yes, there is a vertical lay up element. This is possible because ultrcacal forms a gel like structure as it cures. So while there is a lot of slumping you can brush upwards and get it to stay vertical.
I usually use warm water to speed the curing process and so avoid slumping as much as possible however today I did not.
This process is messy and I did splash over the clay walls so I transferred the entire piece on to a wool blanket.

Here you can see how much clay I used to support the weight of the molds. I could only do this because it is winter and the clay is extremely solid when cold!
After this I used a small craft saw and a metal paint scraper to remove excess plaster. I normally do this earlier but it’s been a while!
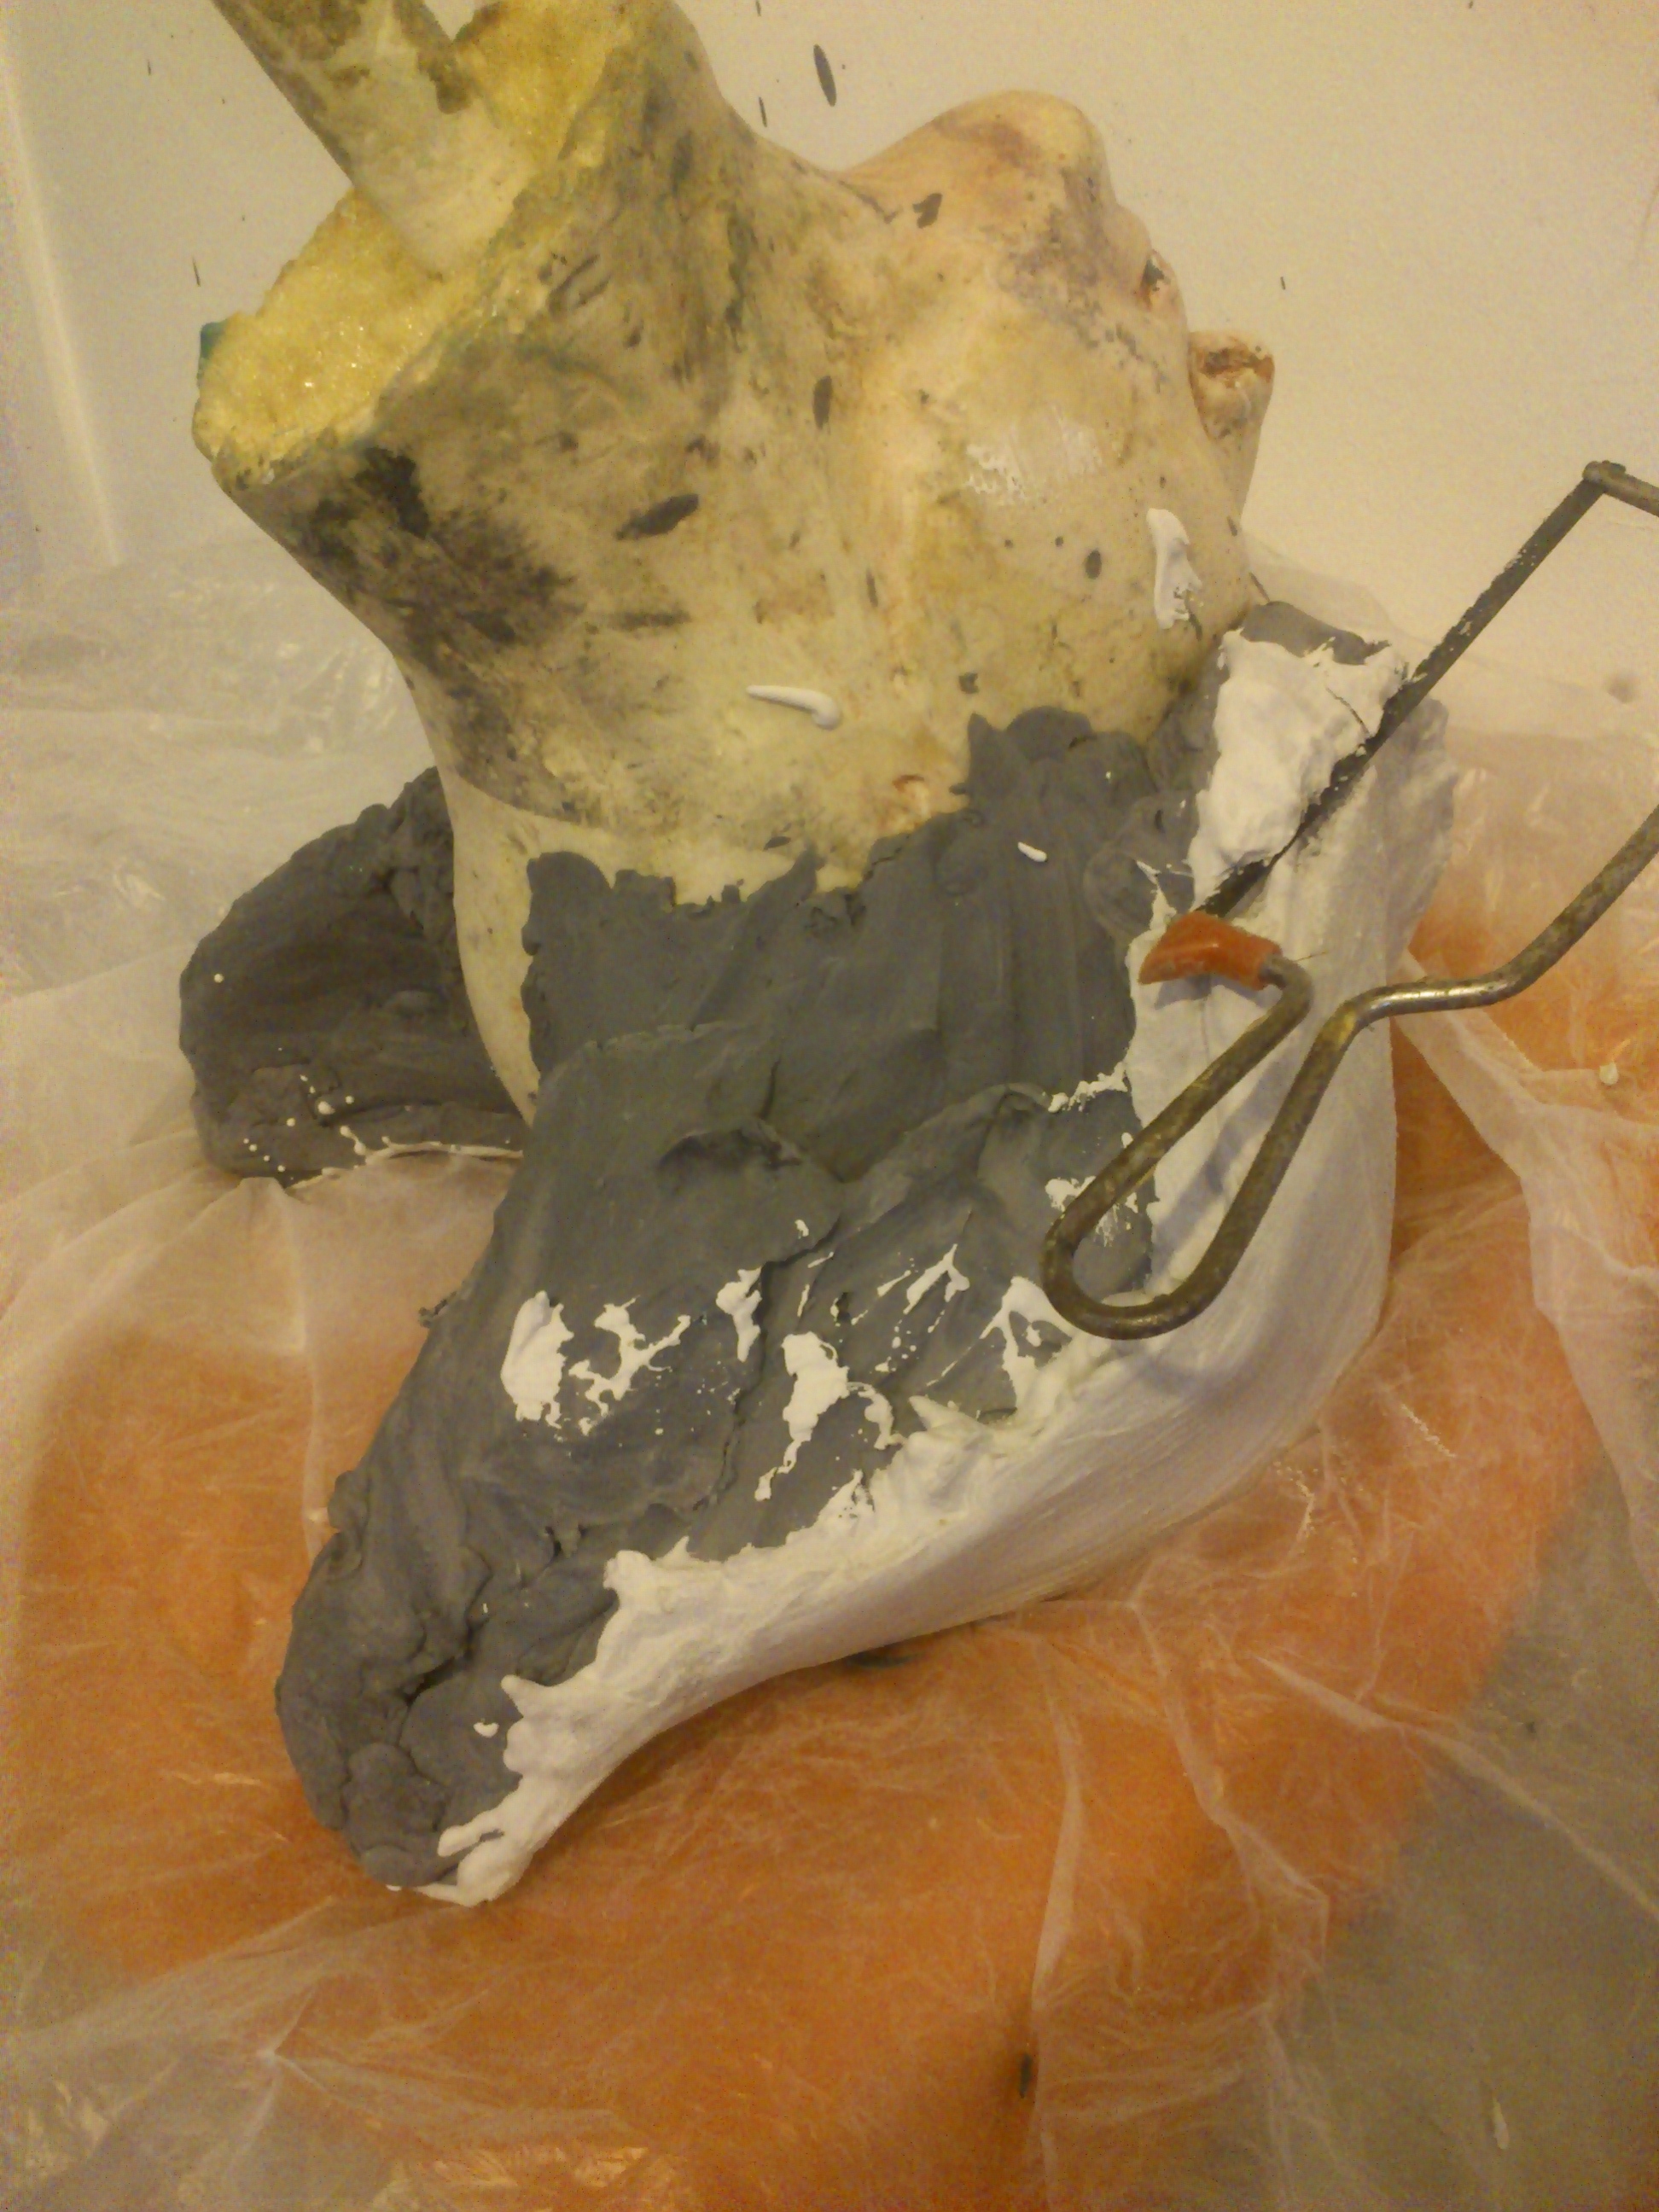

I had to be careful as the plaster is still damp and so not at full strength. This made breaking off the very narrow pieces easy but I could also have potentially cracked any part of the mold that was fragile.