
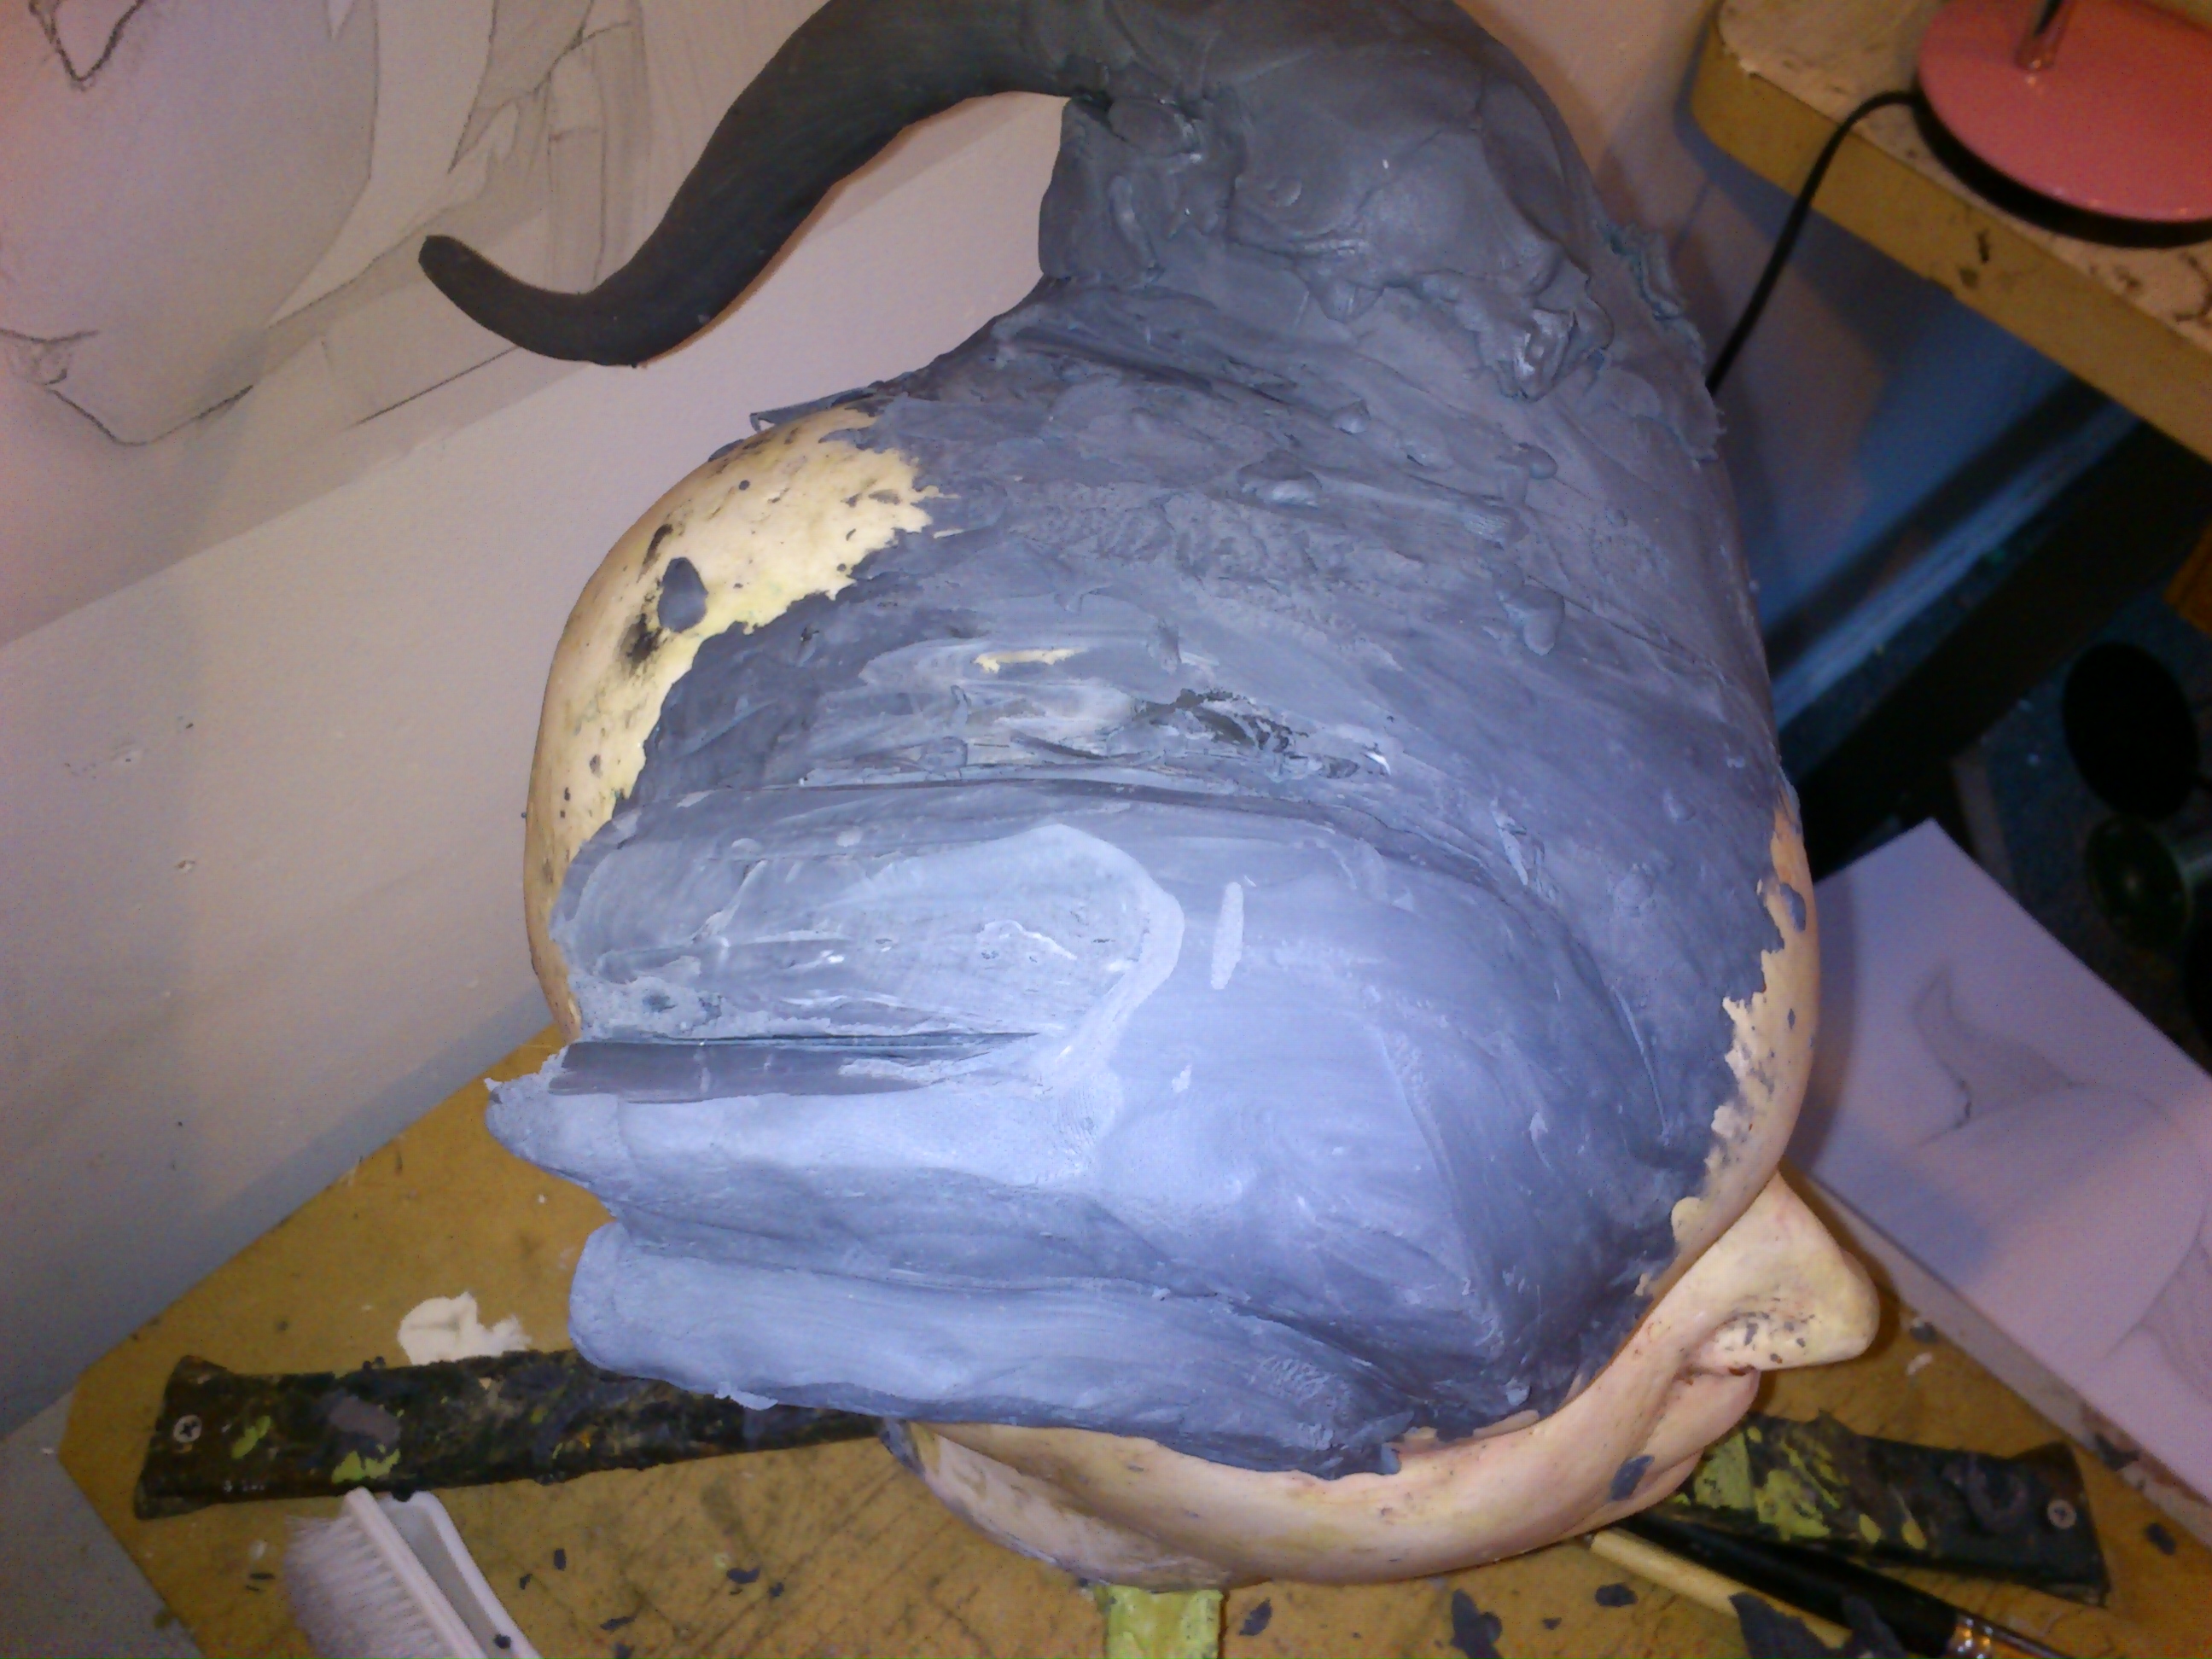
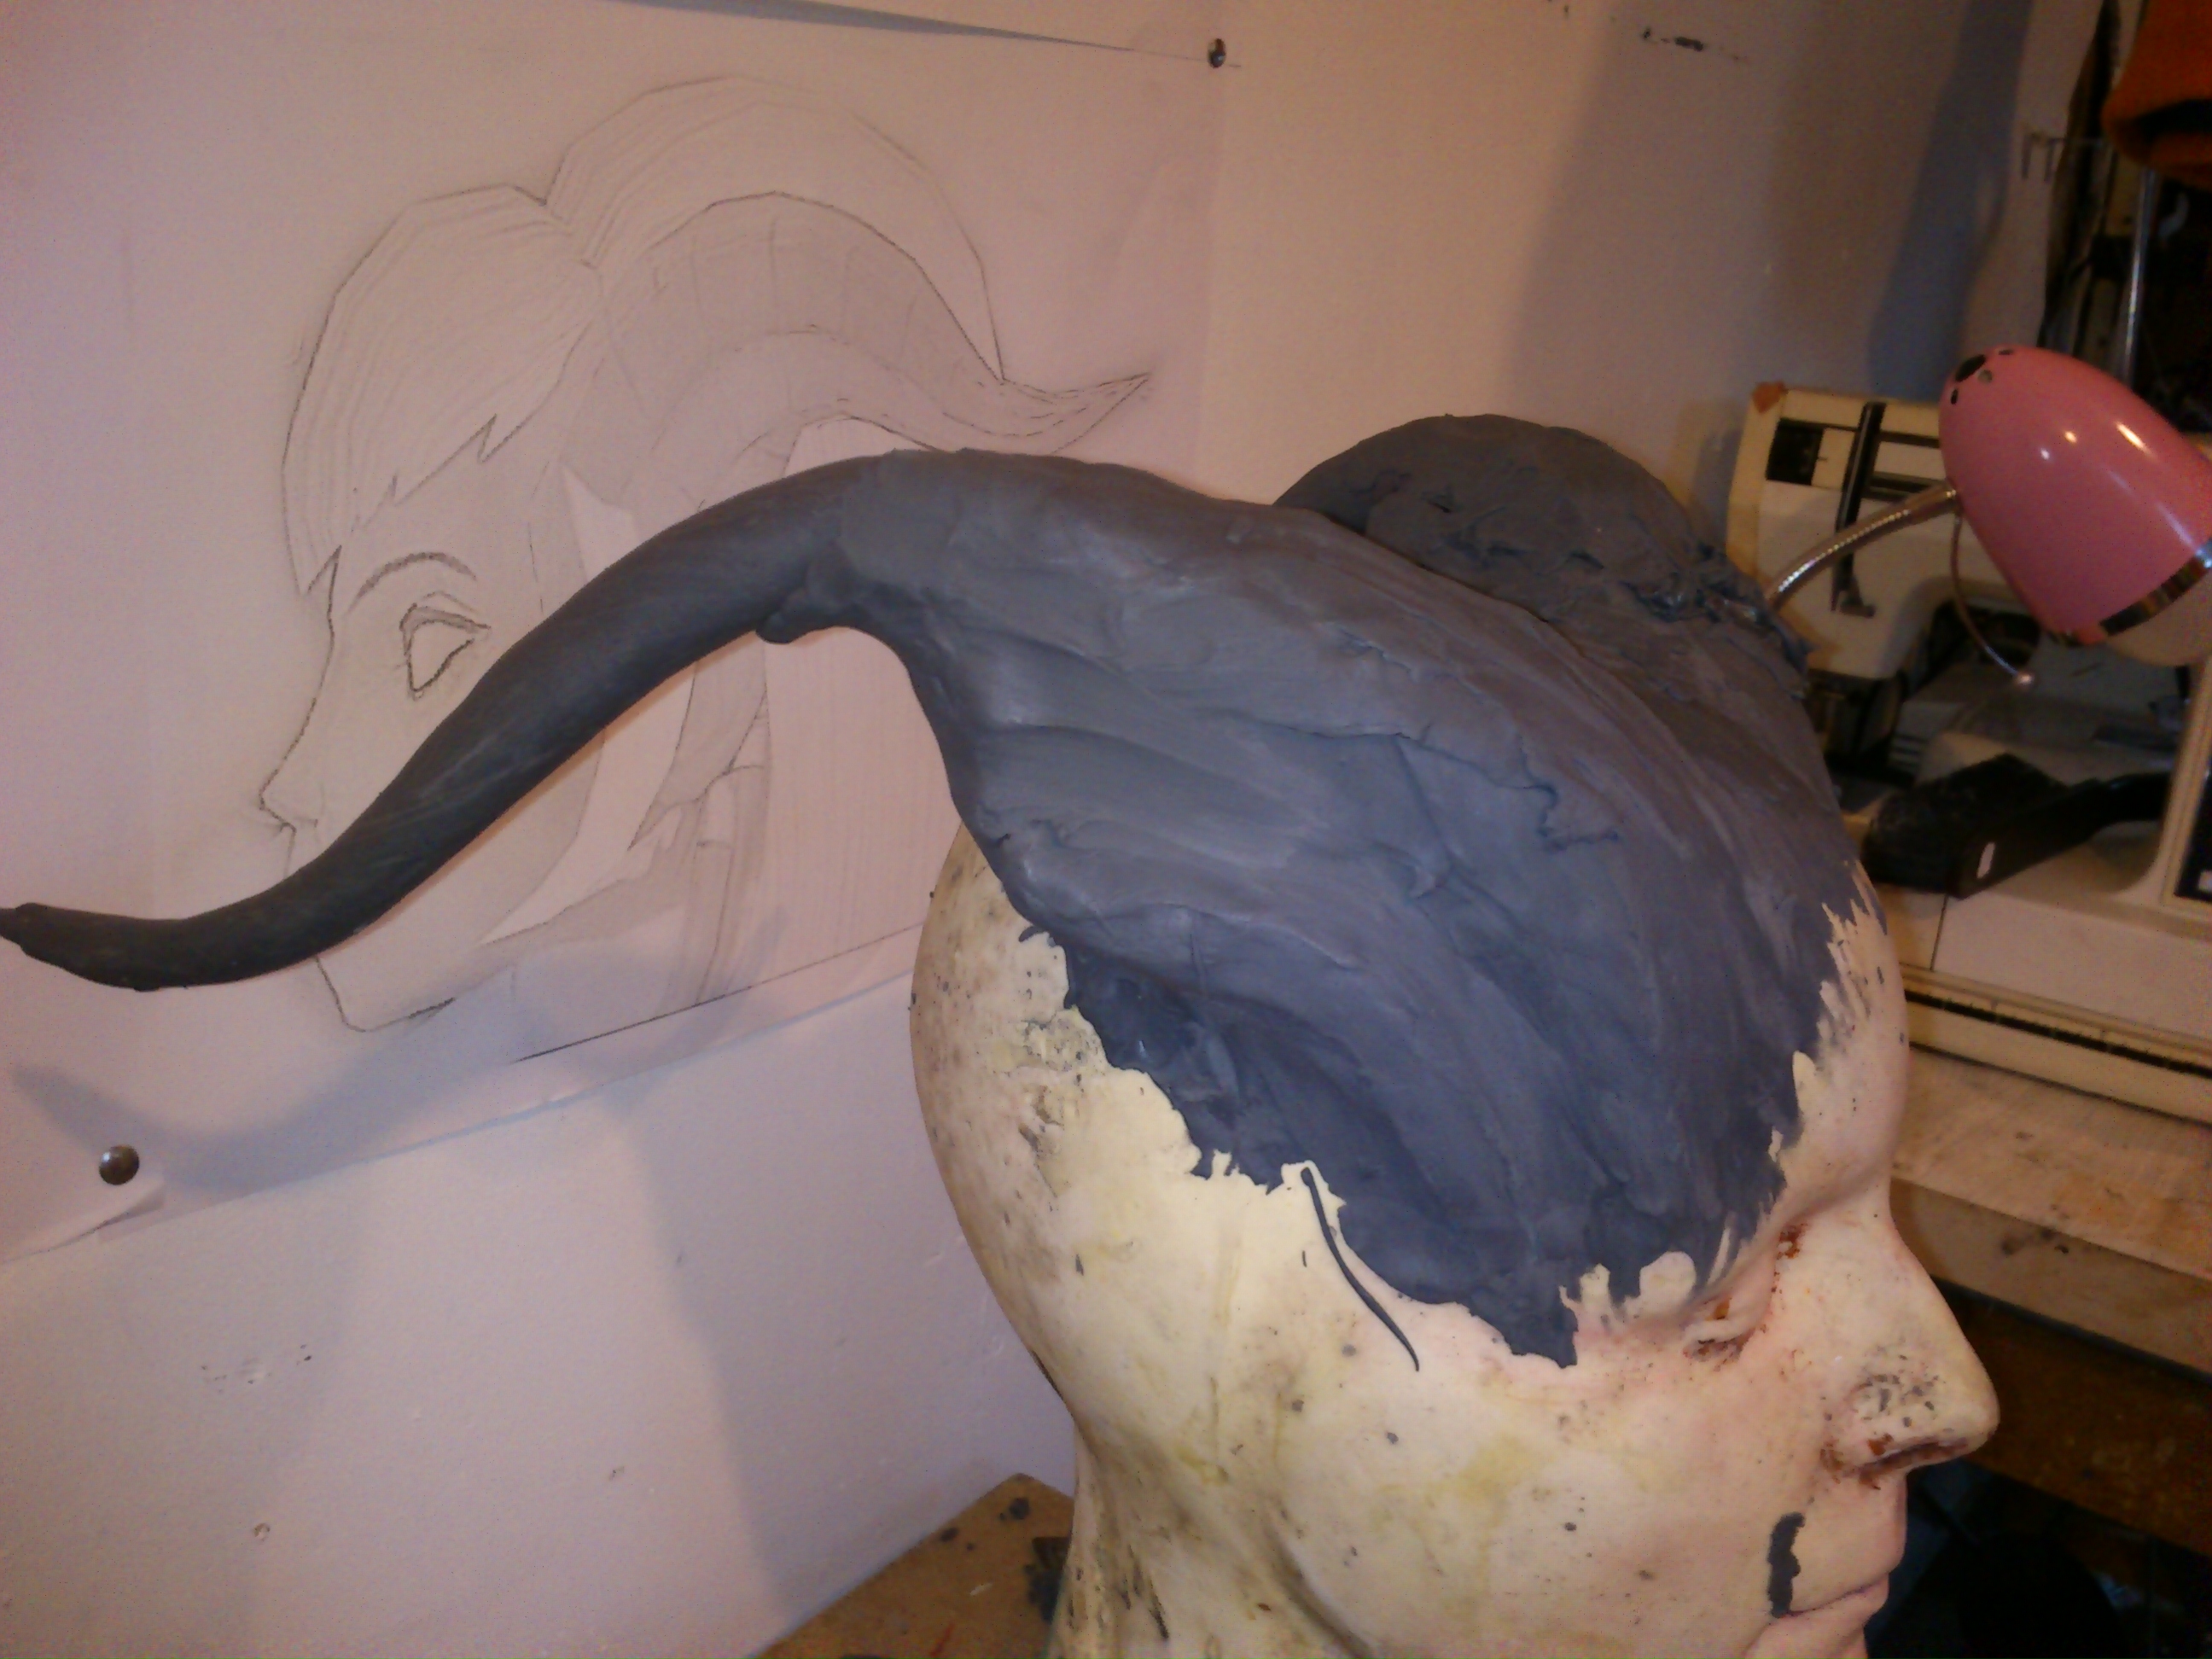
I had to reshape the horns, They were far too out of shape to work. I also know the weather is cool enough to be able to have clay self support somewhat more easily than in summer so decided to risk it!
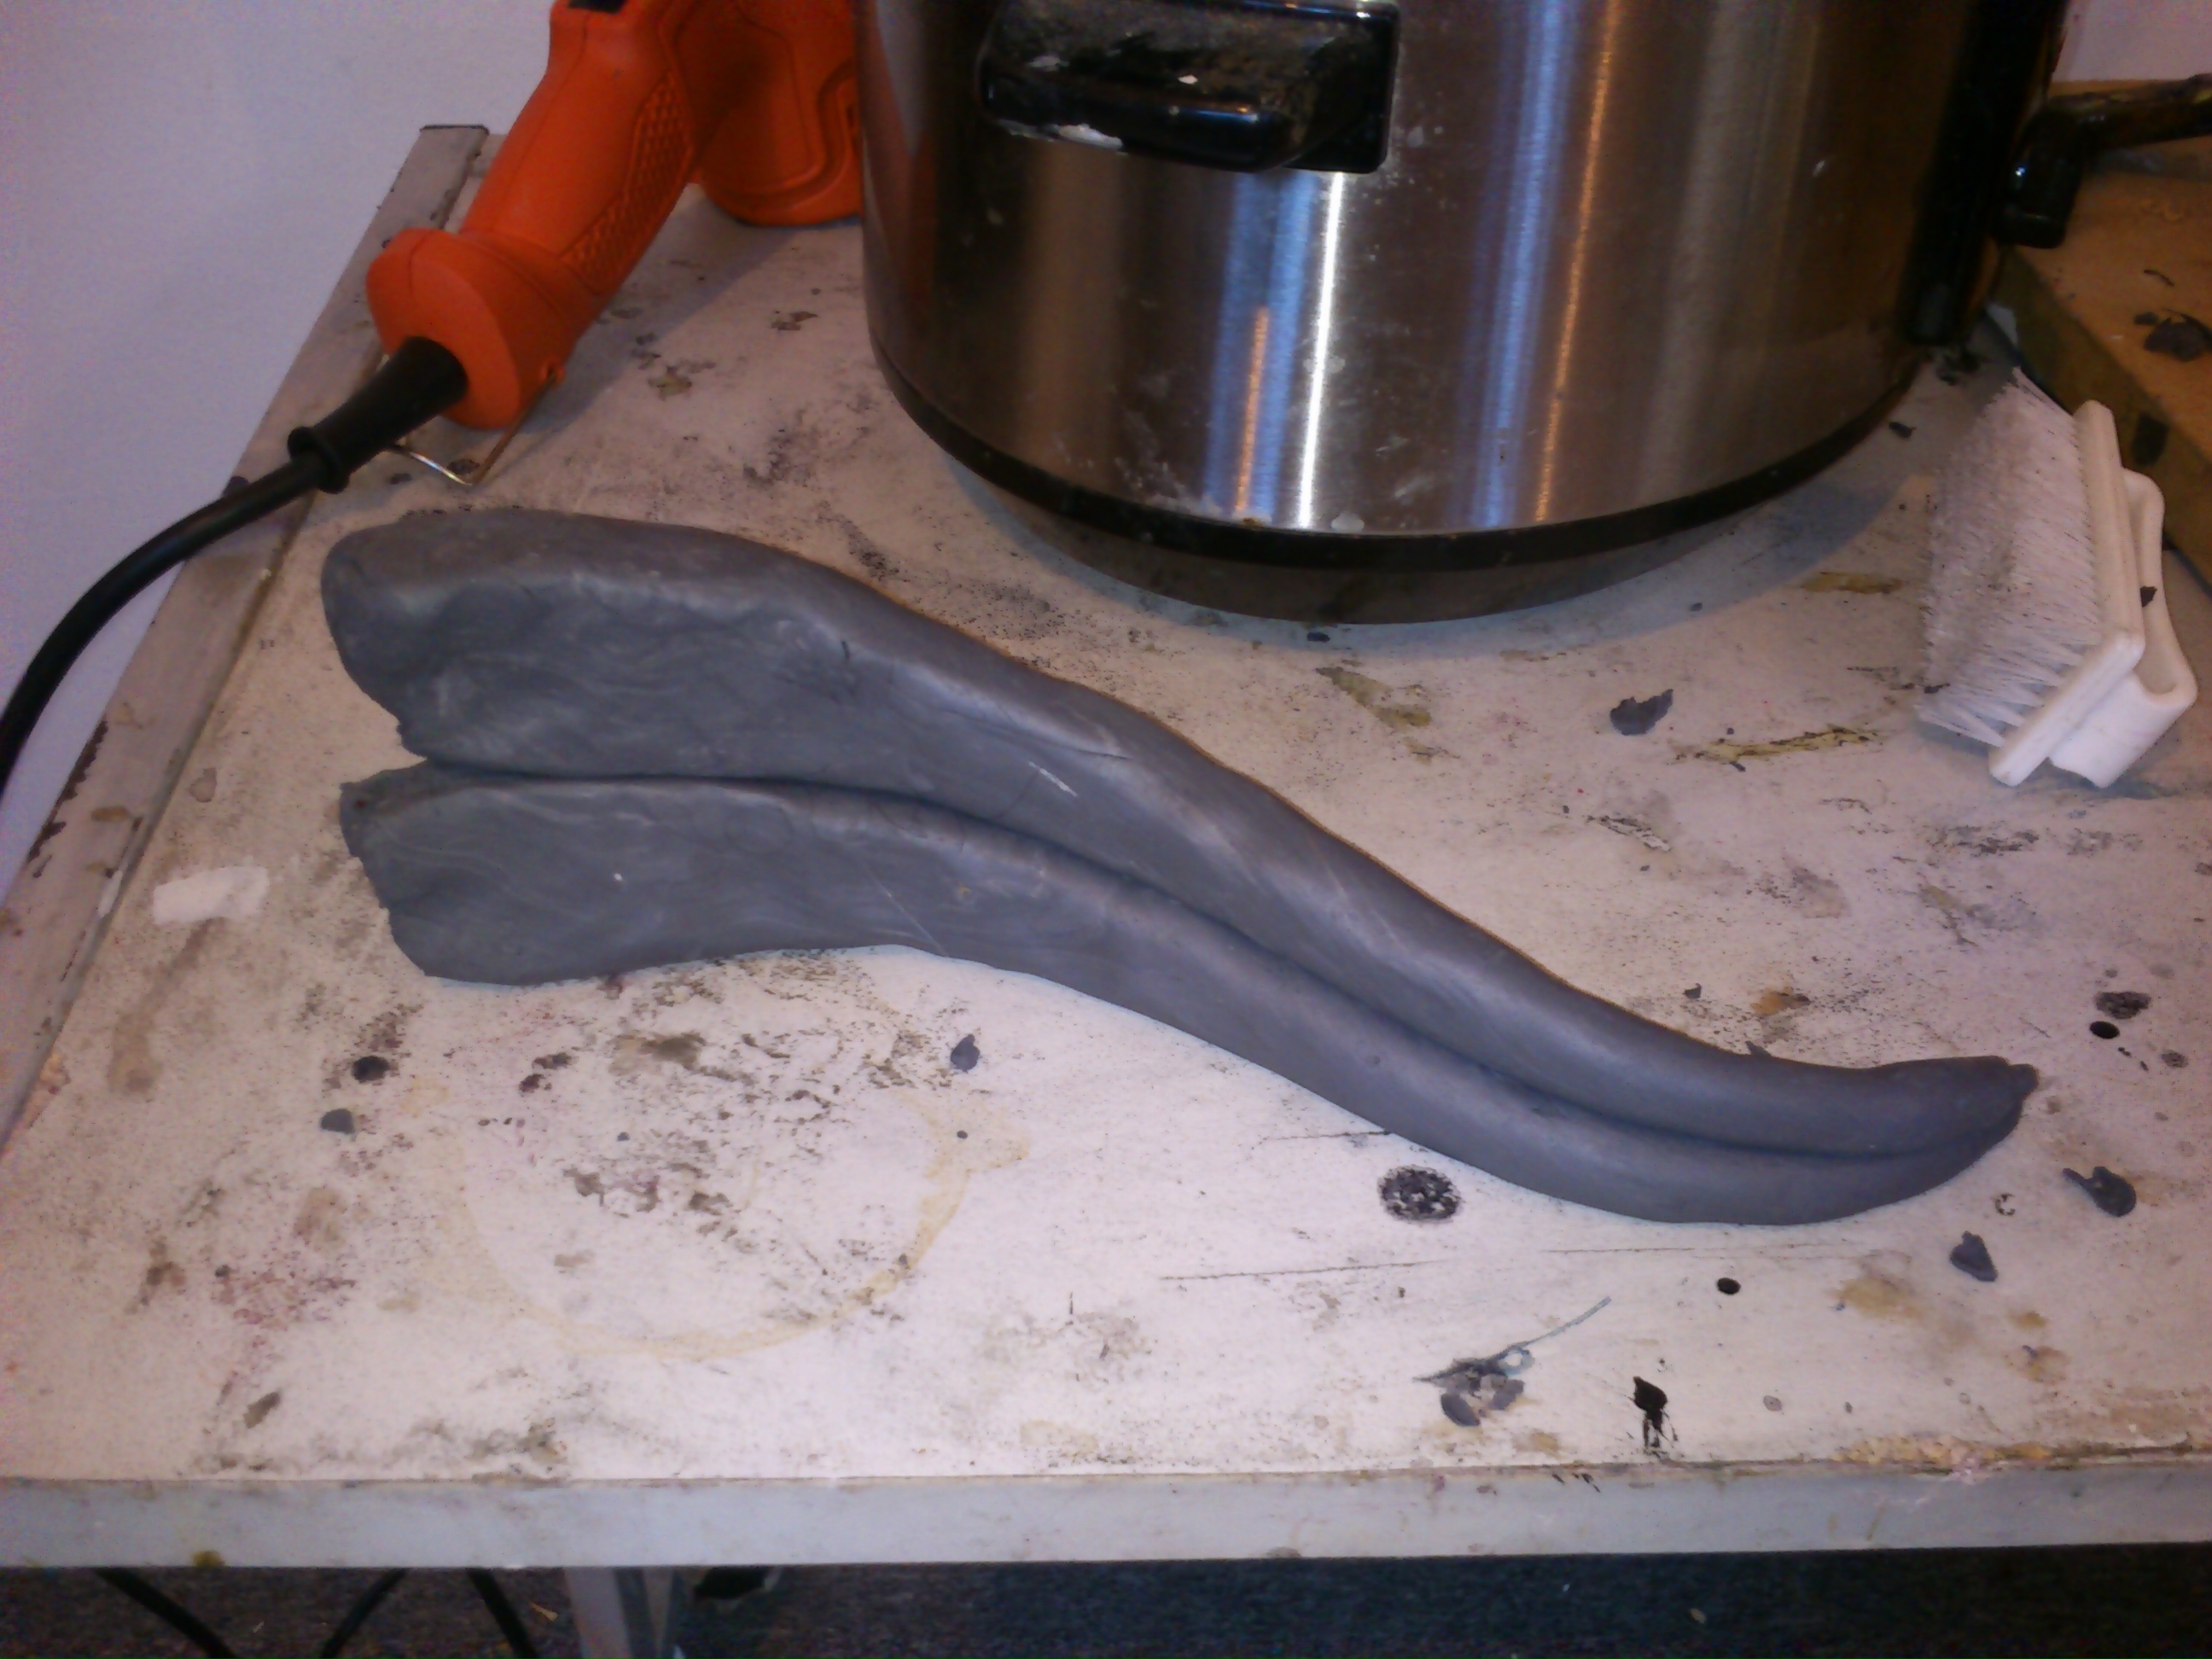
What is this? Why a pair of clay armatures! Basically I wanted some continuous clay of the same density and temperature to be able to build on and carve out. These are very skinny so they were formed while hot but then cooled to shape quickly. This cool clay will also cool the smaller pieces of clay I was going to add.
I started by cutting divots in to the main horn foundations- these were reshaped while I was melting the clay cut off!
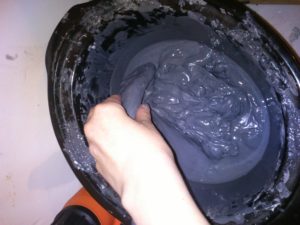
Then I dipped the ends of the armatures in to the molten clay- this was so nice on my hands! Heard of wax therapy? same deal 🙂
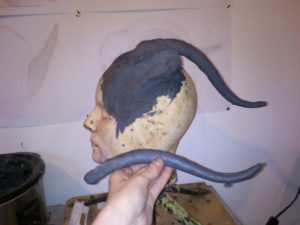
And then pressed the end in to the divot. This worked not just through the molten clay adhering but by the end of the armature warming up enough to soften but not deform, and then the clay of the horn base also temporarily heated up to hold then reset to shape.
And then I started building up from underneath. This was a better option than adding clay on top. The weight of the clay would have pressed the shape out, and the warmth of the new clay would have also made the armature too malleable.

Even with the care taken to make the armatures even and follow the correct curve it still wound up needing a lot of reshaping.
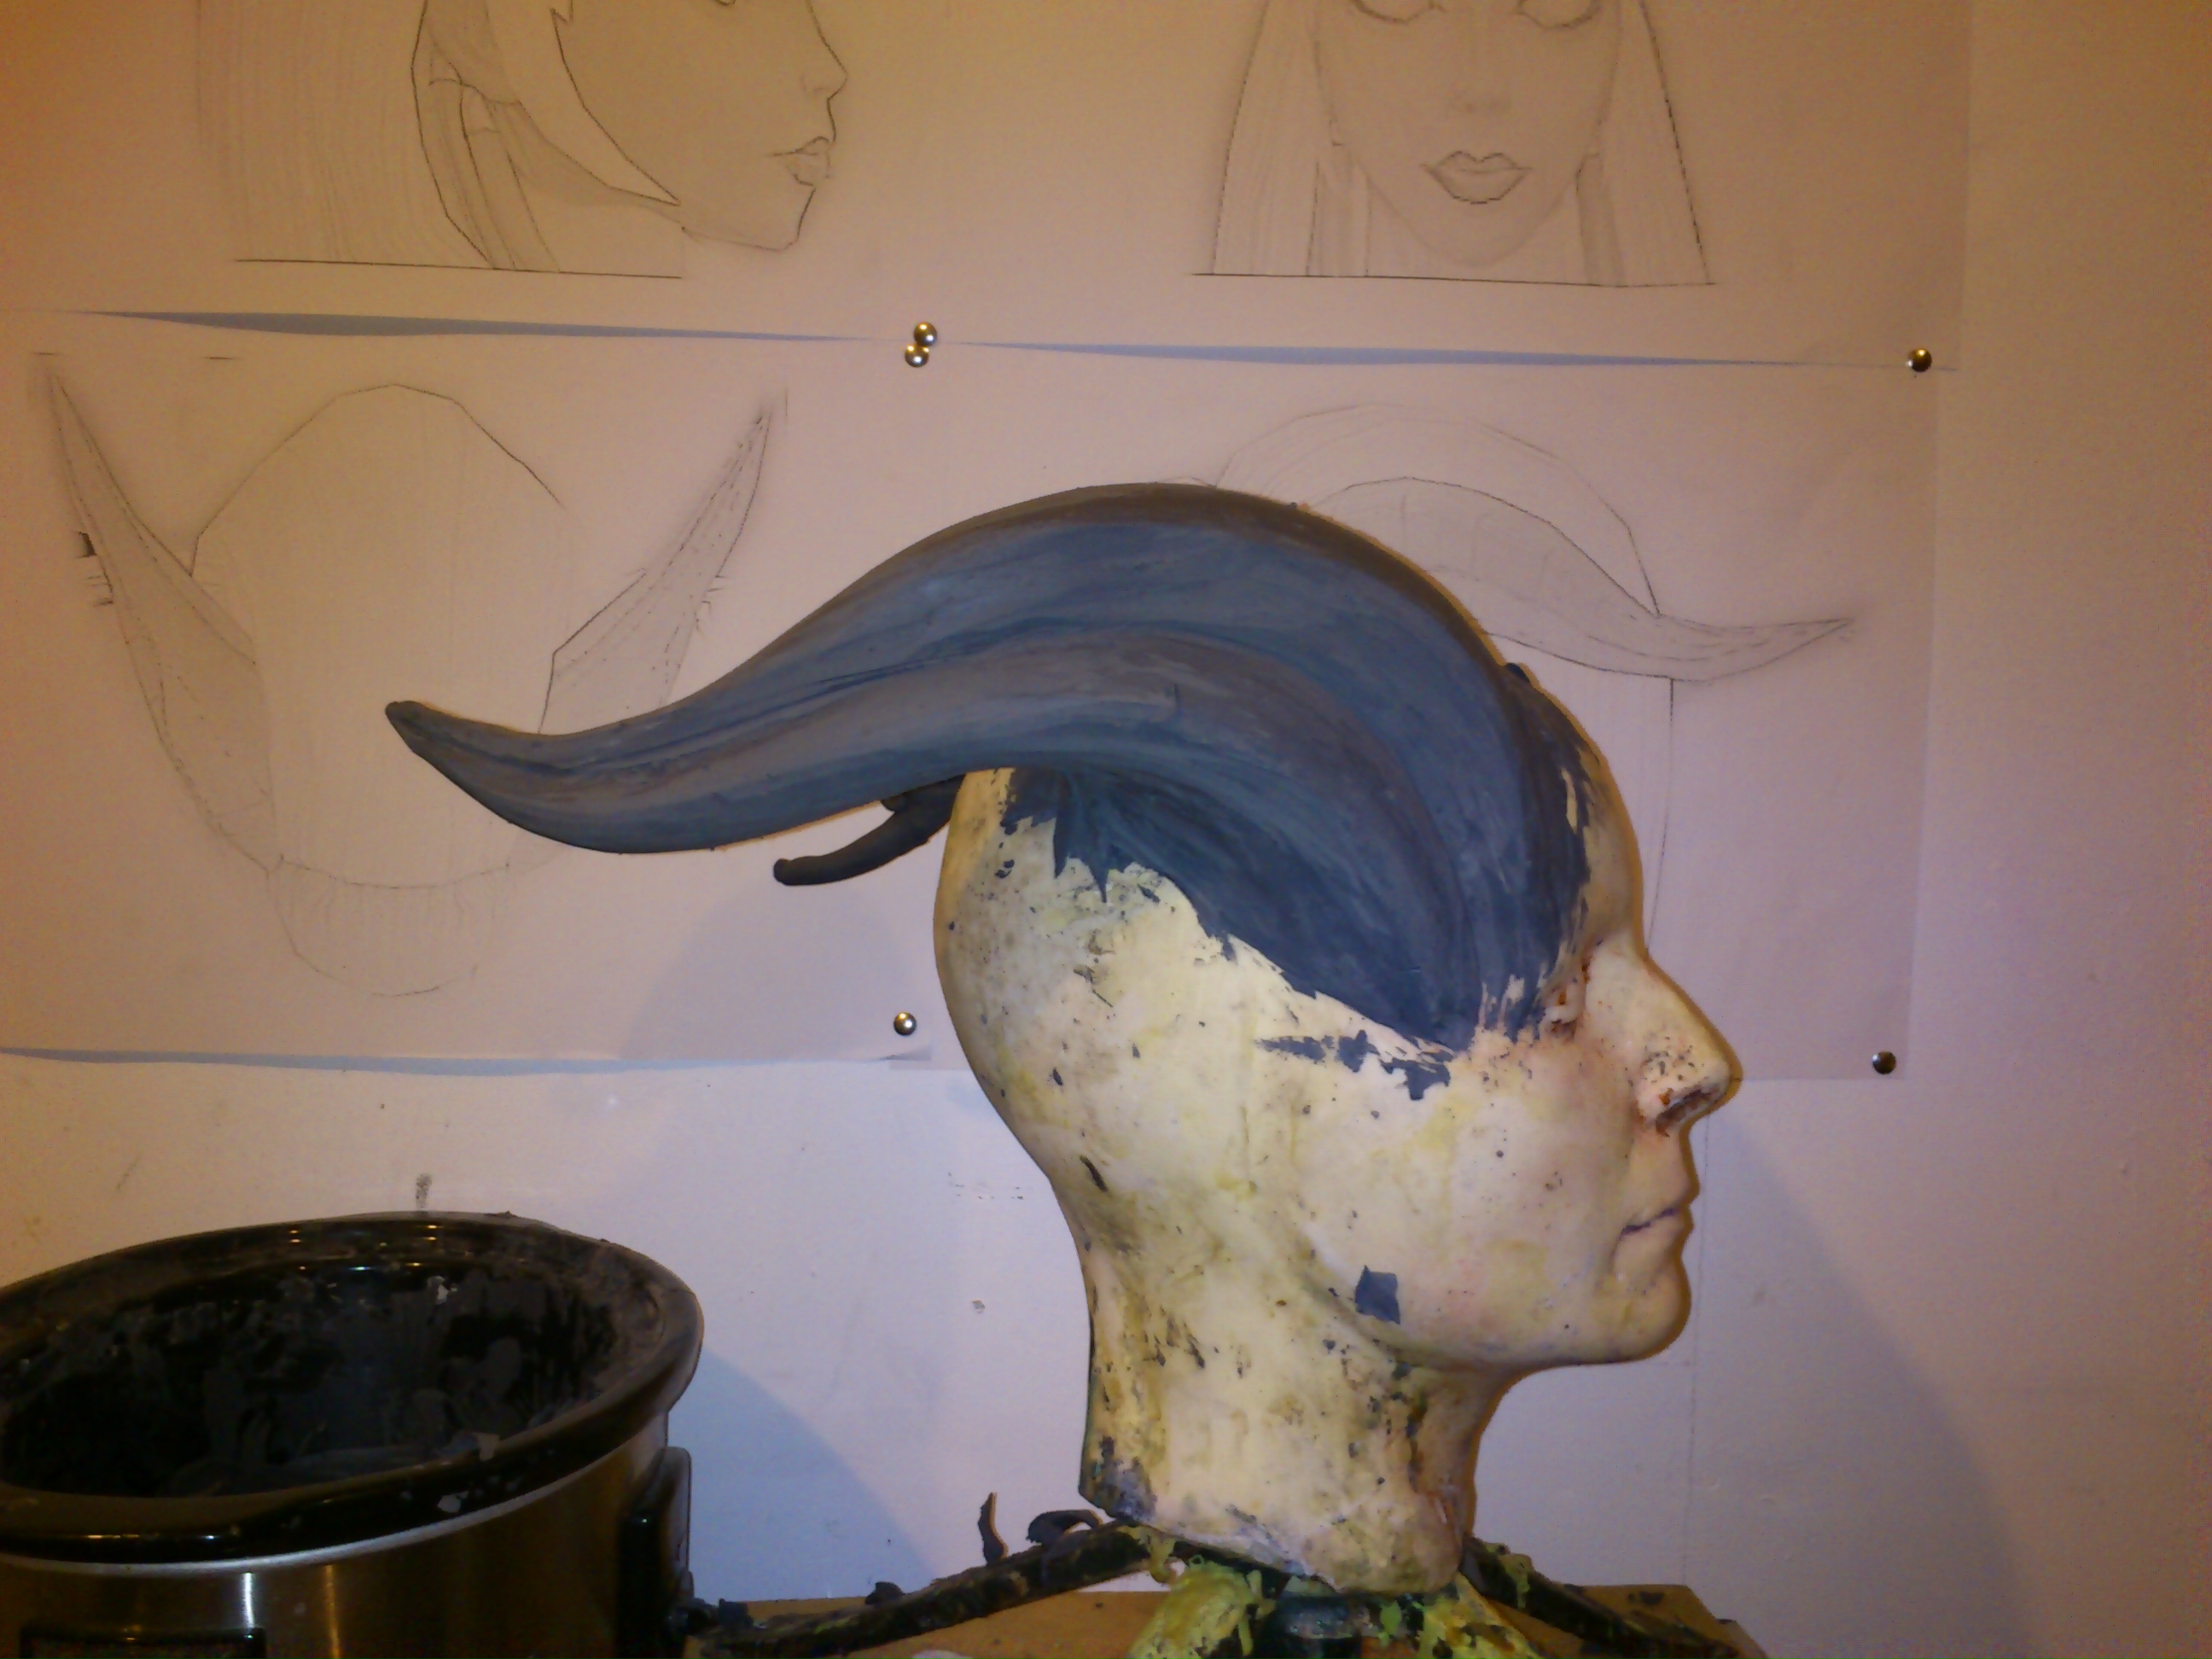
And I left the horn here tonight. Oil based clay is wonderful, but it is temperature dependent. When warm it is good for additive work (taking small lumps and pressing them to shape) when cool it is best for subtractive (using tools to shave or carve the clay.
A lot of the time it is somewhere in there middle and then you need to use a mix of both.
A handy hint is to warm your tools when subtracting anyway. This helps the tool cut through rather than drag the clay.