Tag Archives: frozen cosplay

Elsa new fabrics

Charmeuse at the top (closer to the colour in the flash) new softer but strong net on the right, power net on the left and three Shimmer Sheetz on the bottom:sm_DSC_2678 sm_DSC_2679

Forgot the link: http://www.ecraftdesigns.com/collections/shimmer-sheetz/products/blue-iris-3-pack

In large sheets like this it’s a bit floppy but easy to cut. I’ve tested a small rectangle. It’s pretty pliable so I’d definitely recommend these for those who want to glue not sew- it will form to body curves pretty well. In the large sheets they can be sanded easily which will give the glue something to stick to.

I’m also now okay with the iridescence in person. It’s not too much, There are those kind of flame lines but I have Plans(tm) on using that as a guide to cut.

Leave a Comment

Filed under Uncategorized

New Elsa fabric :)

Grabbed some photos (ELissa tiara on the top there) without flash and with flash. Without is much closer to the real colour than with:

sm_DSC_2671 sm_DSC_2670

I mean I’d prefer it like it is with the flash… but hey, interference green pigment? I have and here it is tested on the top of the sequins (on the right):

sm_DSC_2651


As the sequins are matte this is more likely to work than had I got shiny sequins as I doubt I’d find exactly what I want in terms of colour. Also the low sheen is subtle, it makes the fabric look like 1930s real metal lame.

Leave a Comment

Filed under Uncategorized

Elsa on the stand :)

I haven’t snarfled photos from A. or N. yet so dress on the stand is the best 😉

The full gown:

sm_DSC_2656  sm_DSC_2654

The front half of the gown:

sm_DSC_2653 sm_DSC_2655

Fabric used, with flash and without. Lovely stretch (crosswise) charmeuse from Moreland and some fairy organza that was yellow/iridescent but went nude/iridescent after a wash in cold water dye that was supposed to be navy blue. But was very purple.

sm_DSC_2668 sm_DSC_2667

Inside of bodice showing hand sewing of dress shell to the interior corset.

sm_DSC_2666 sm_DSC_2665 sm_DSC_2664 sm_DSC_2663 sm_DSC_2662 sm_DSC_2661

Close up of the lacing on the right side. I turned the shell back and folded it under, and tacked it as close to the eyelets as possible. Not ideal for a gown that is exposed at the back but fine under the cape 😉

sm_DSC_2660


Leave a Comment

Filed under Uncategorized

Elsa actual progress sort of!

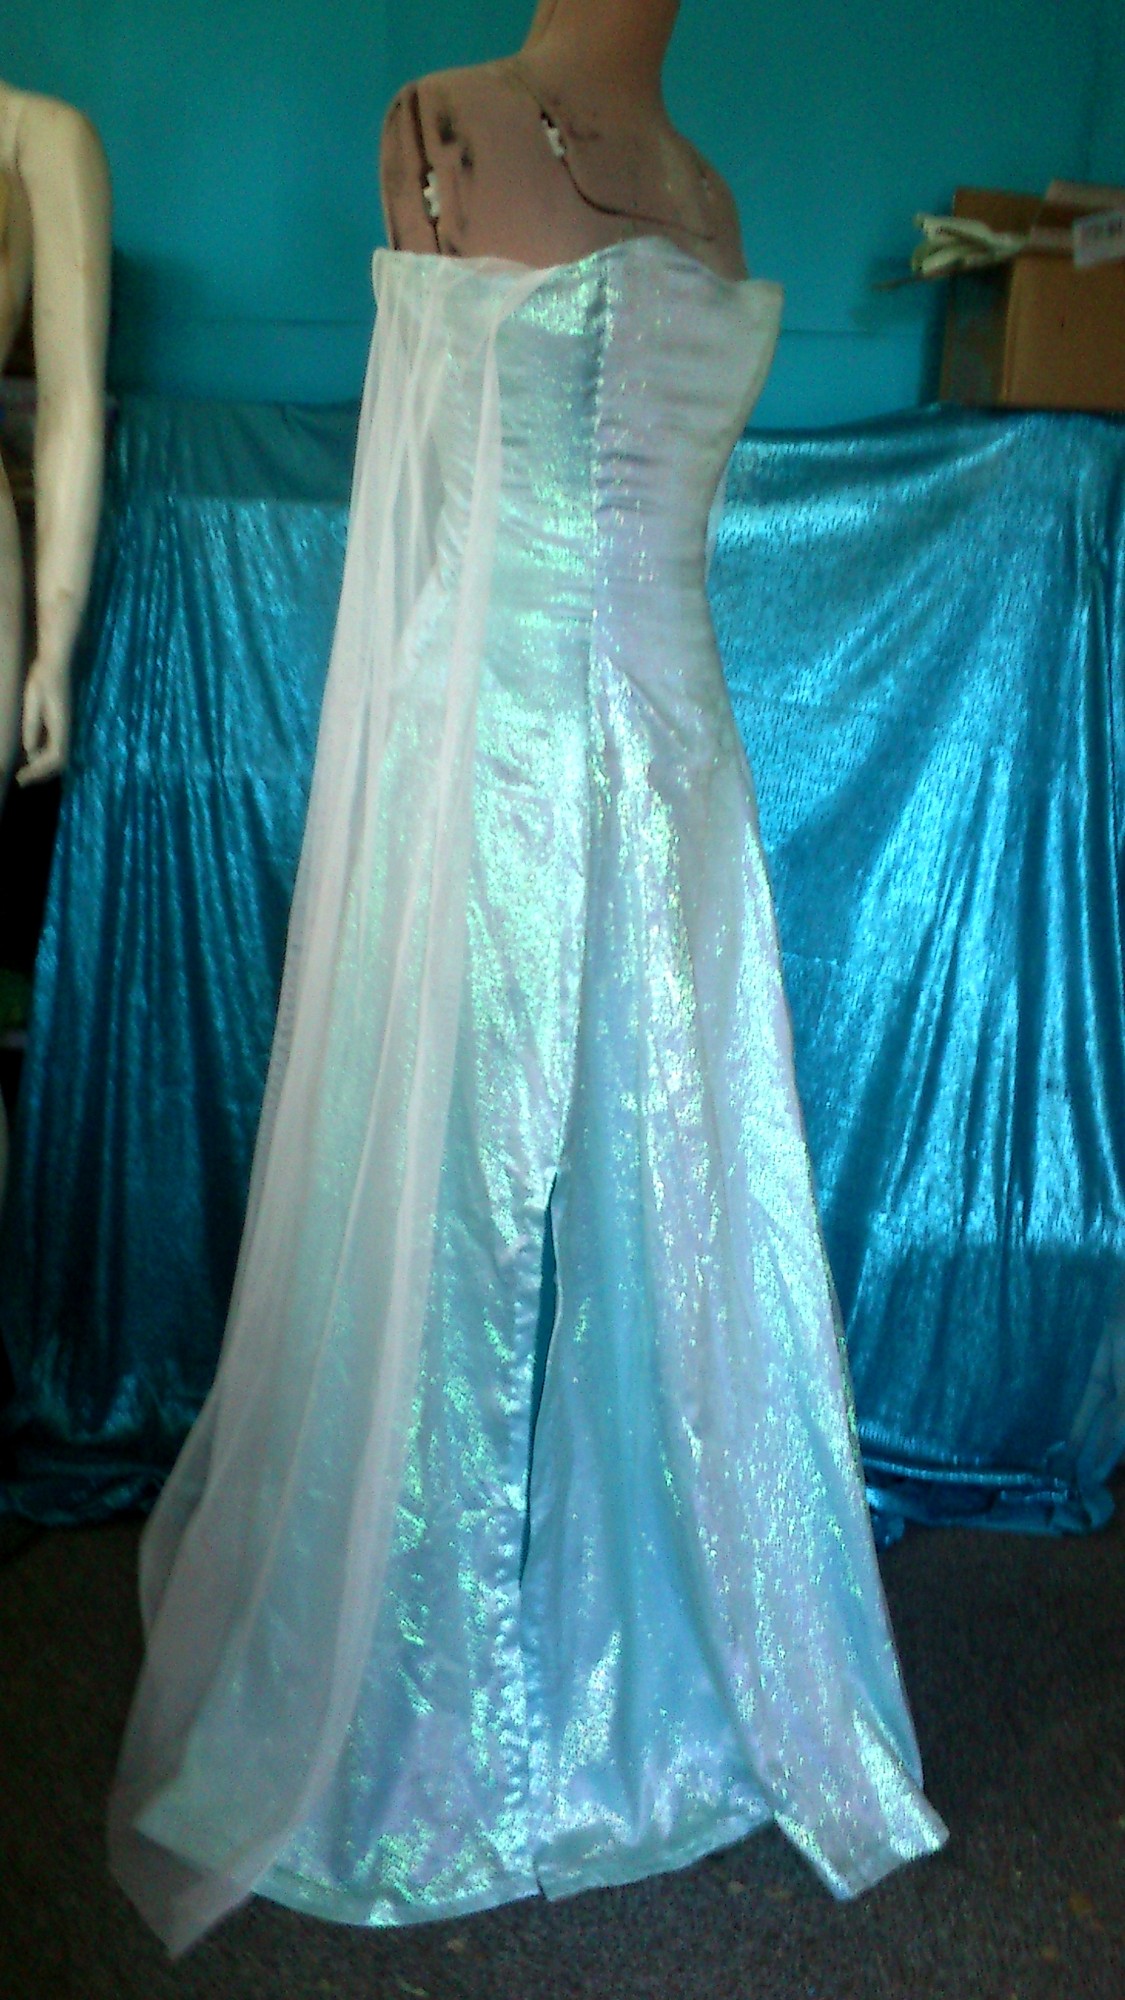
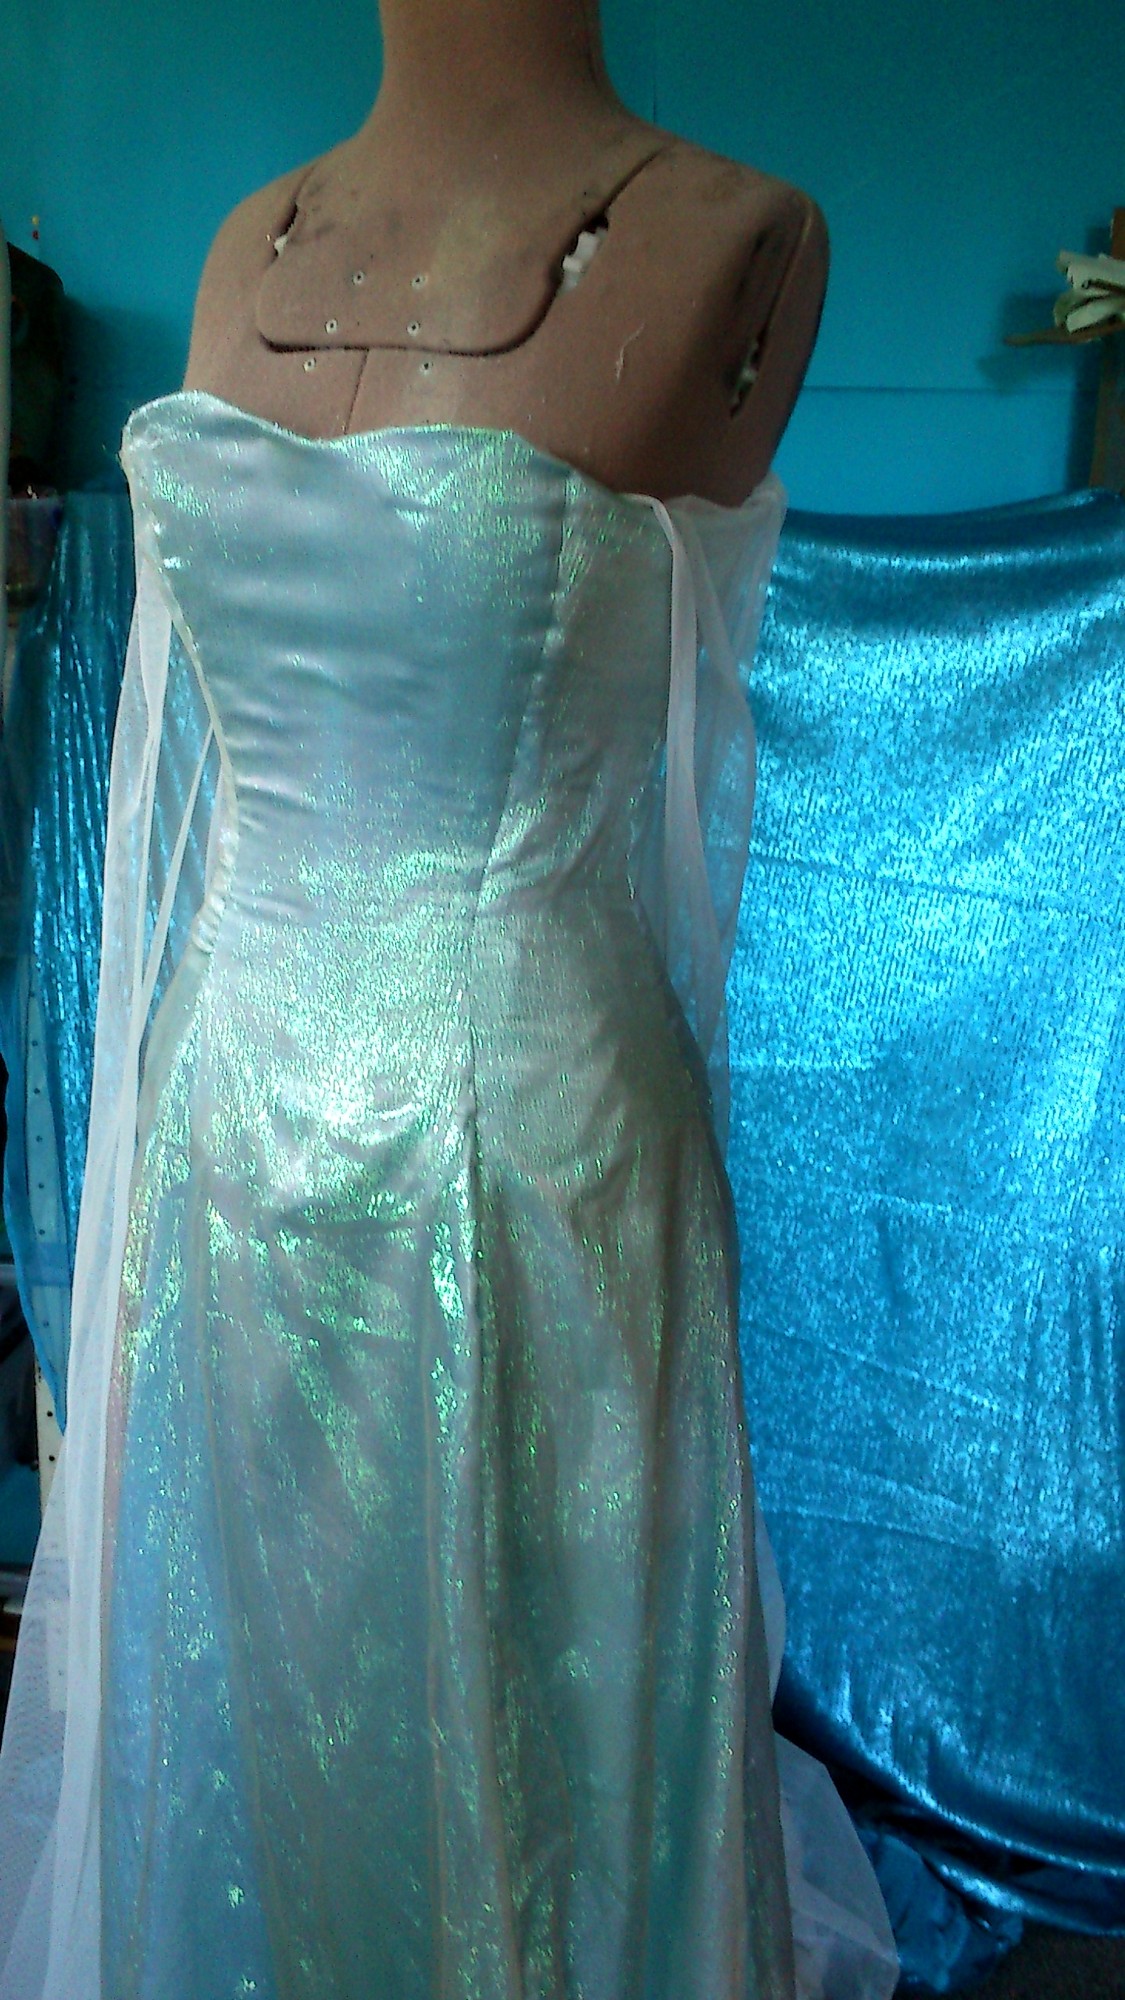
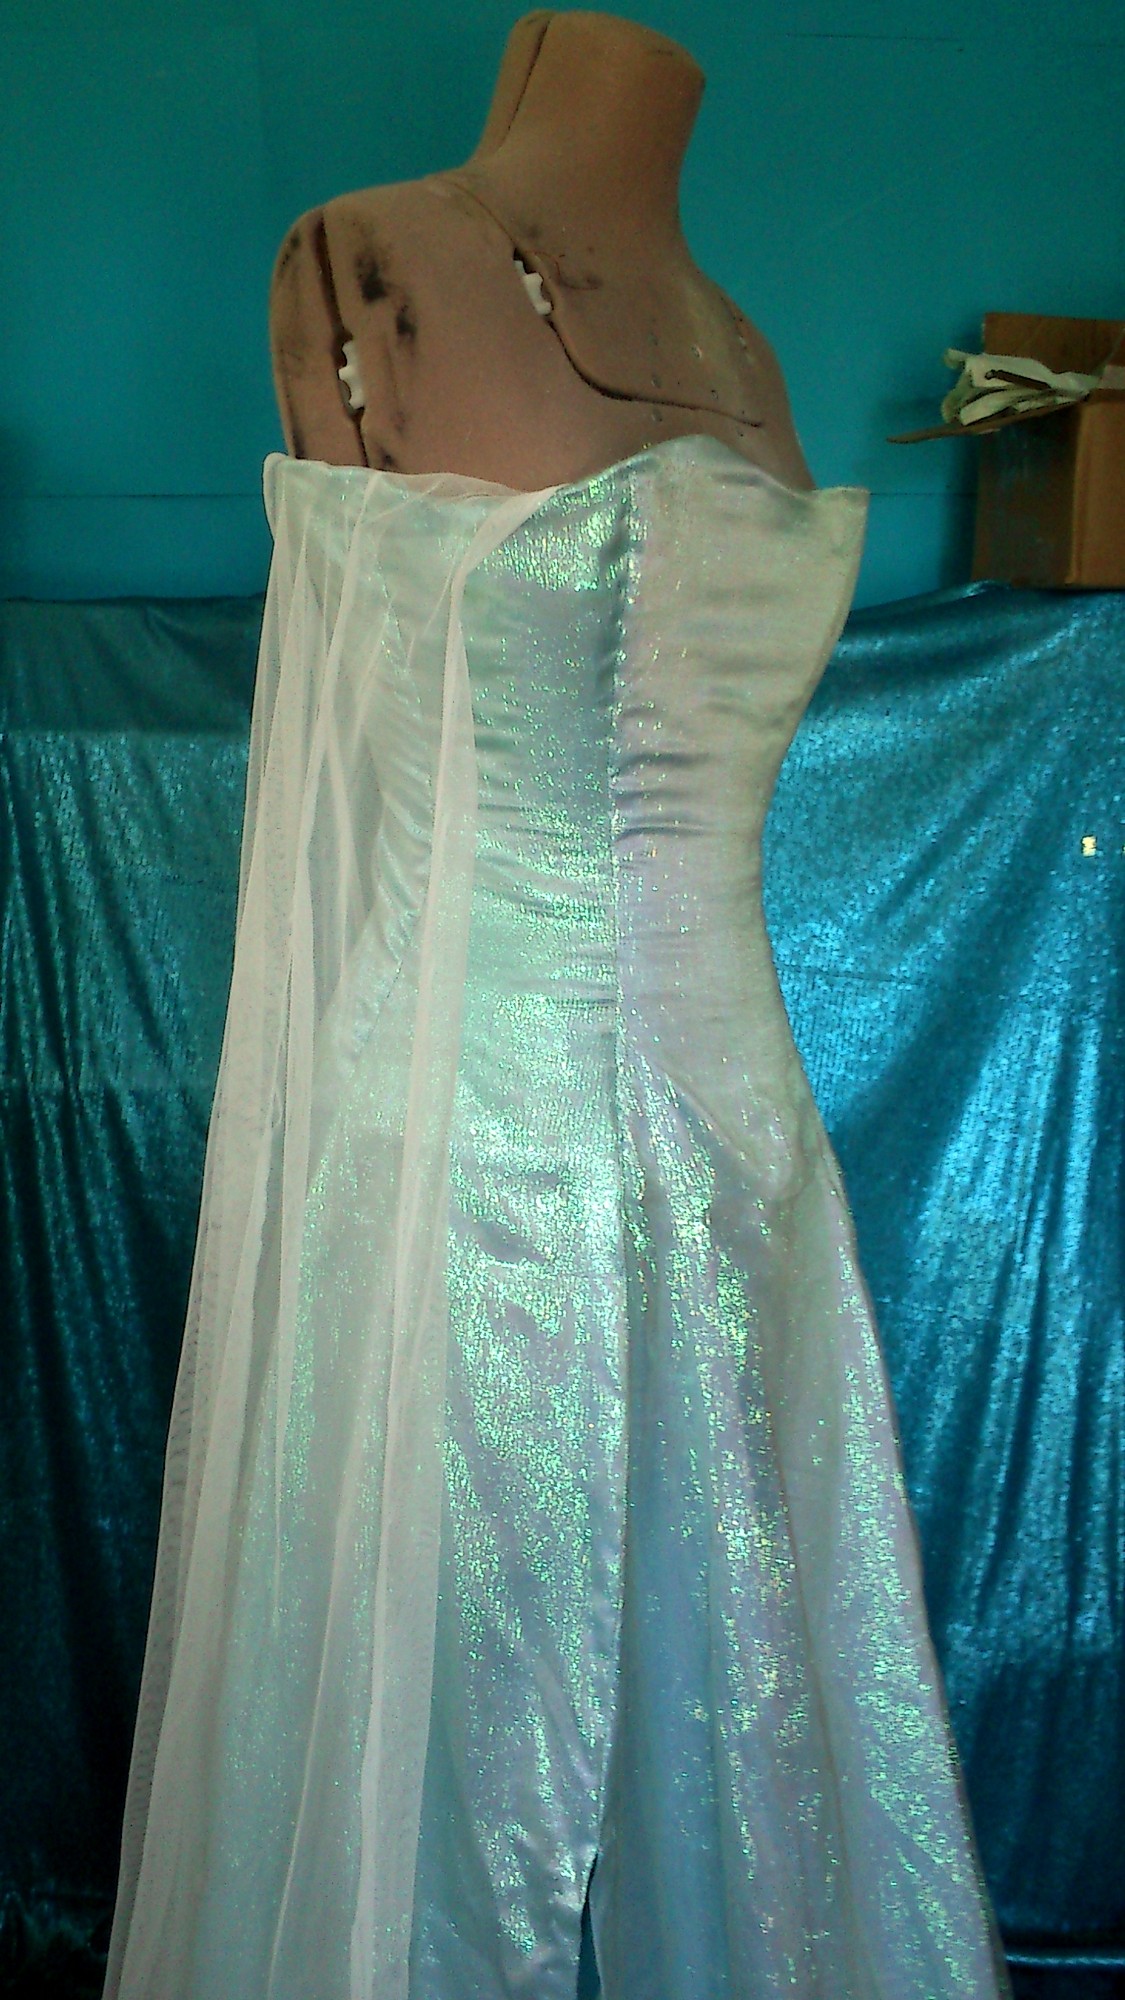
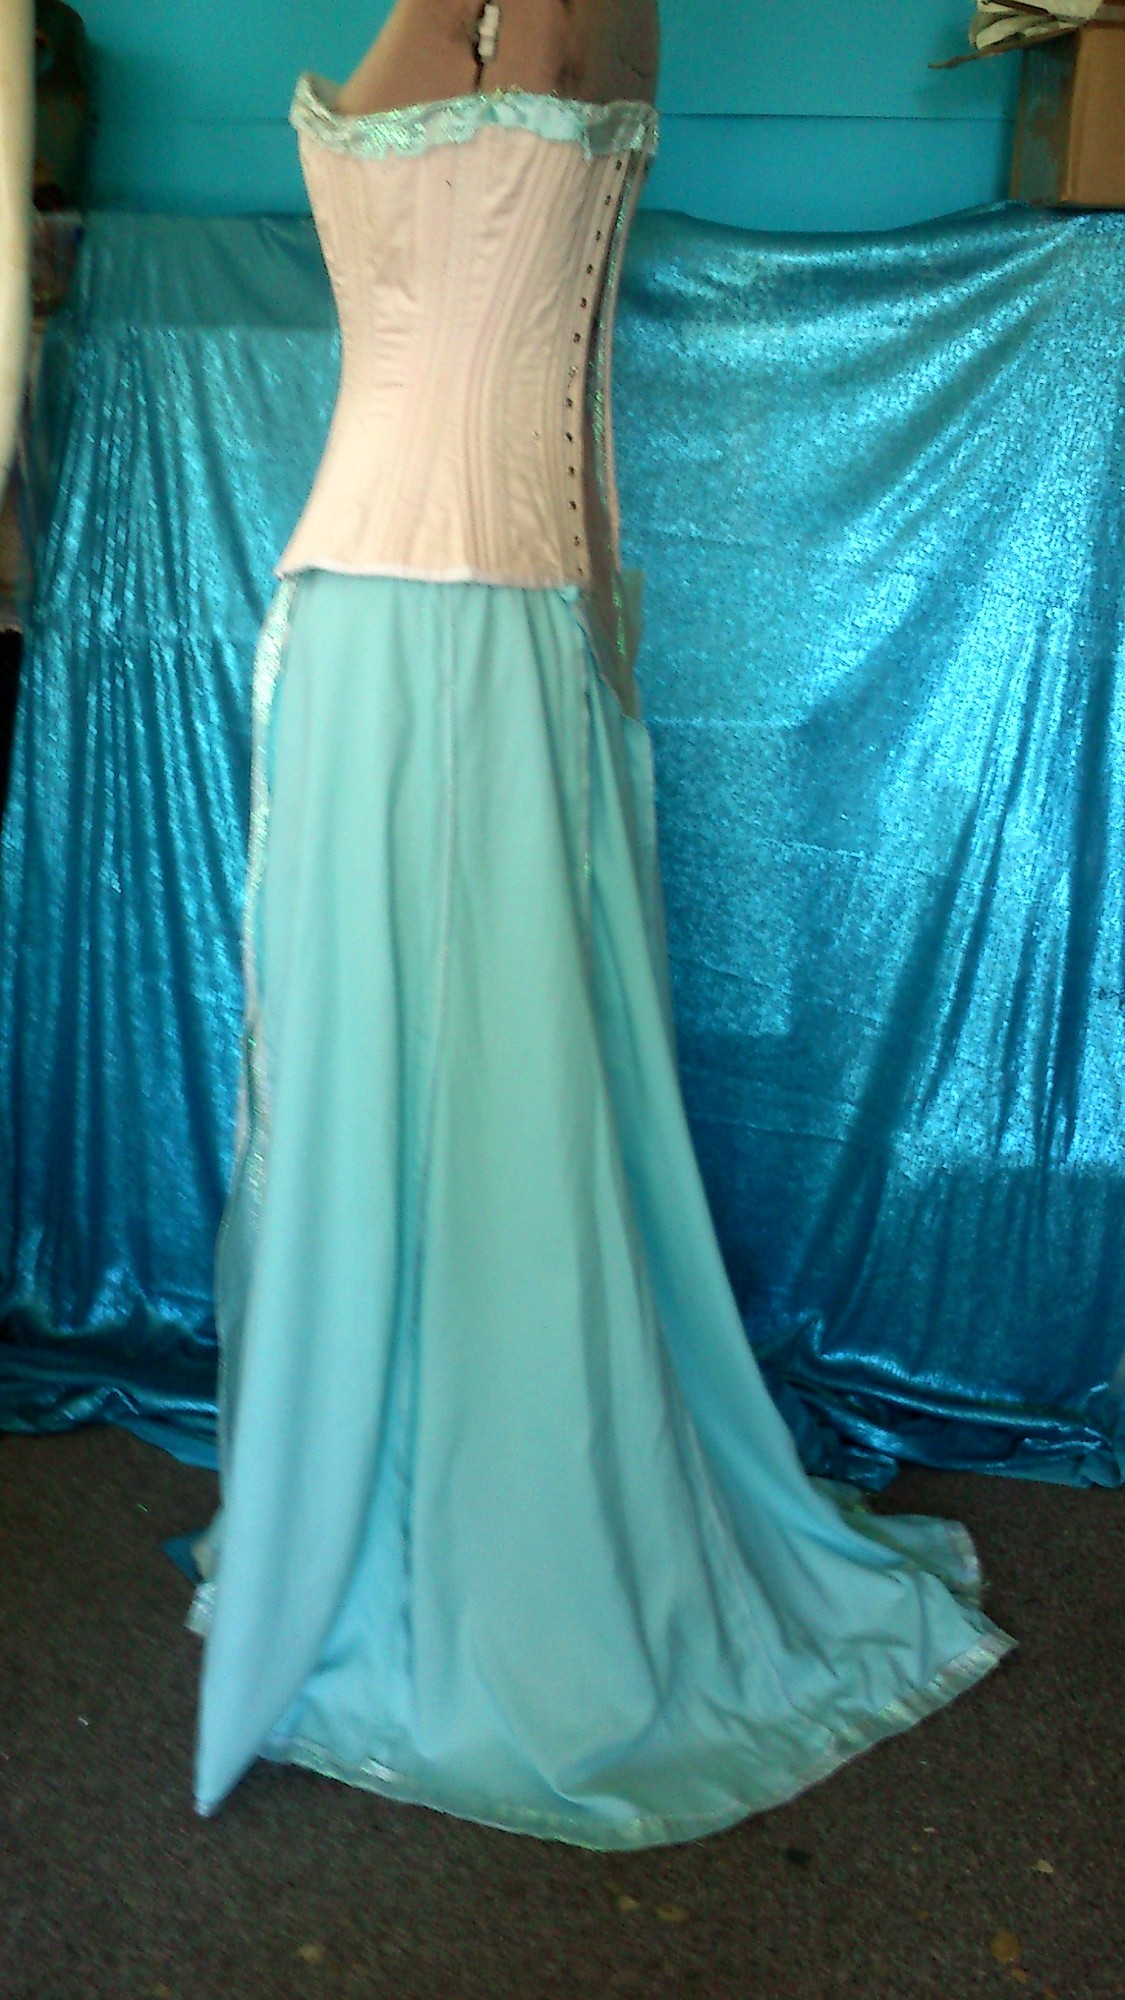
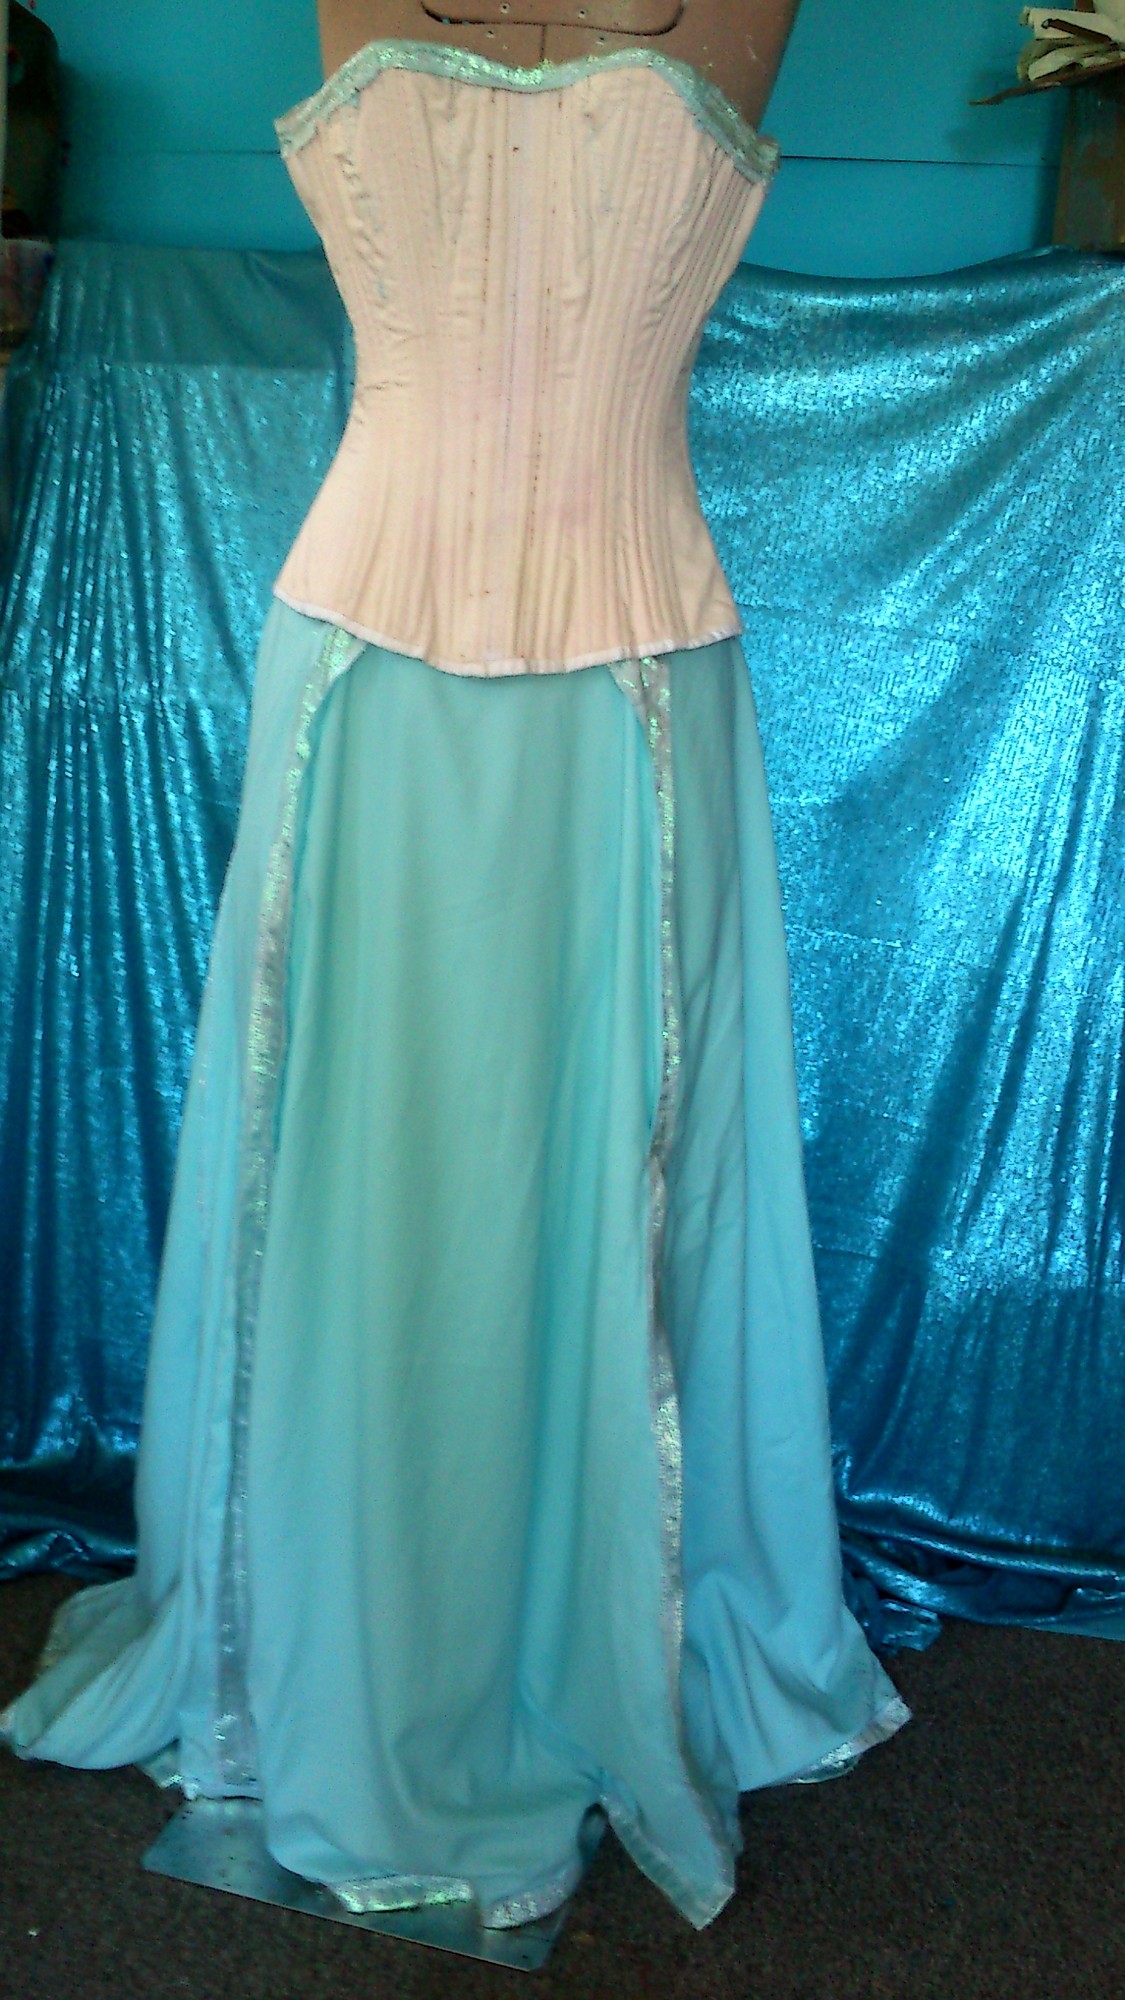
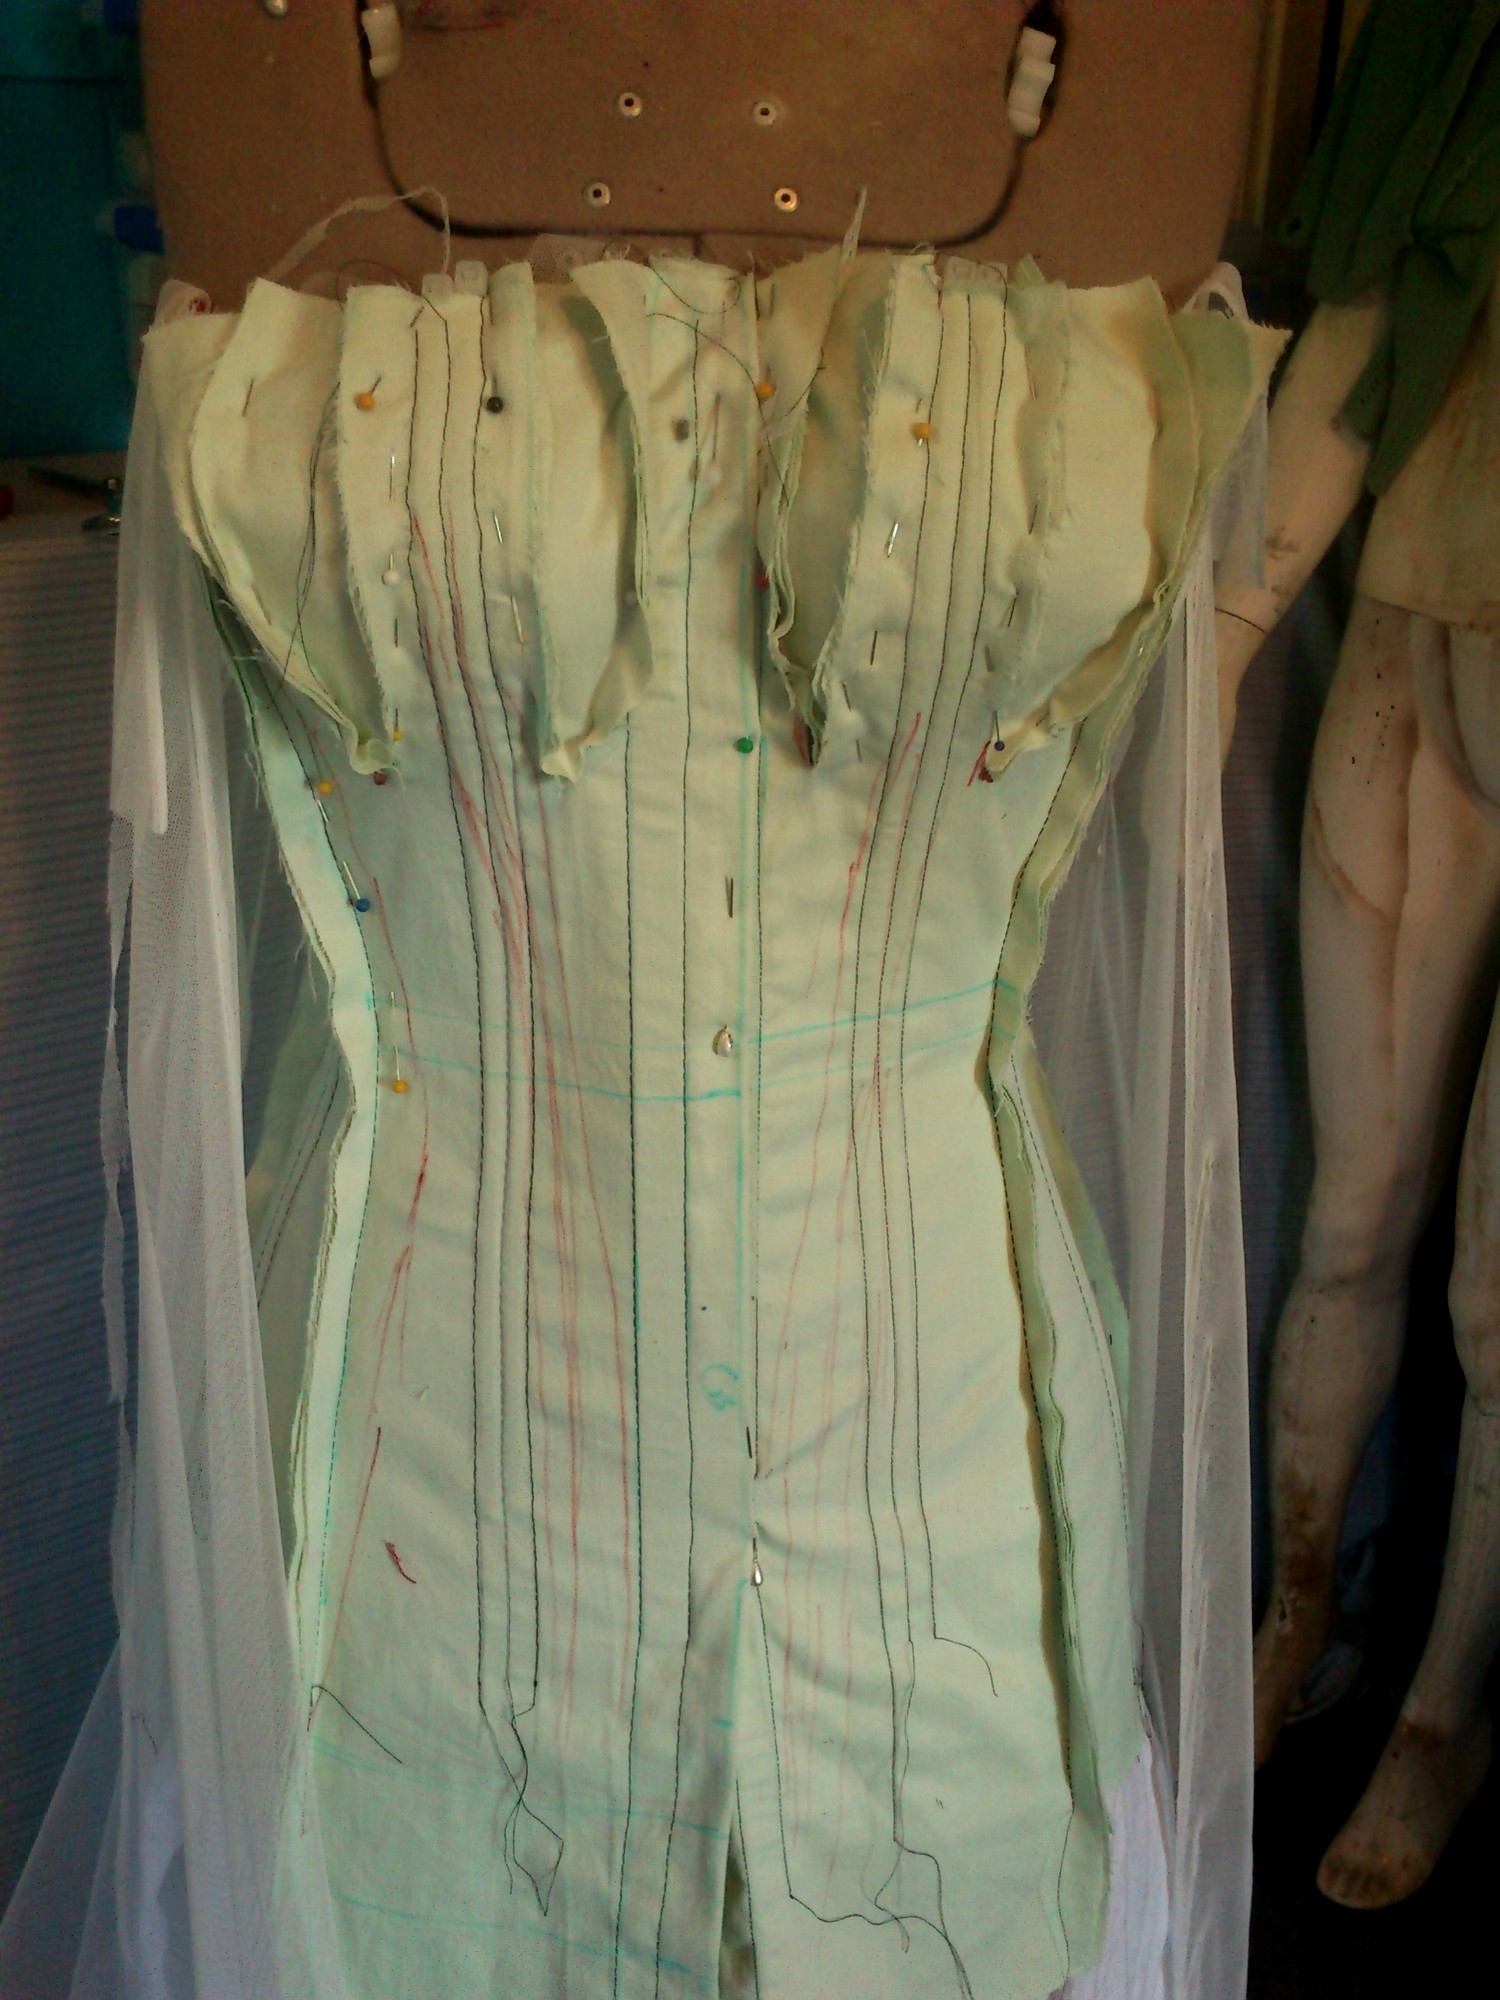
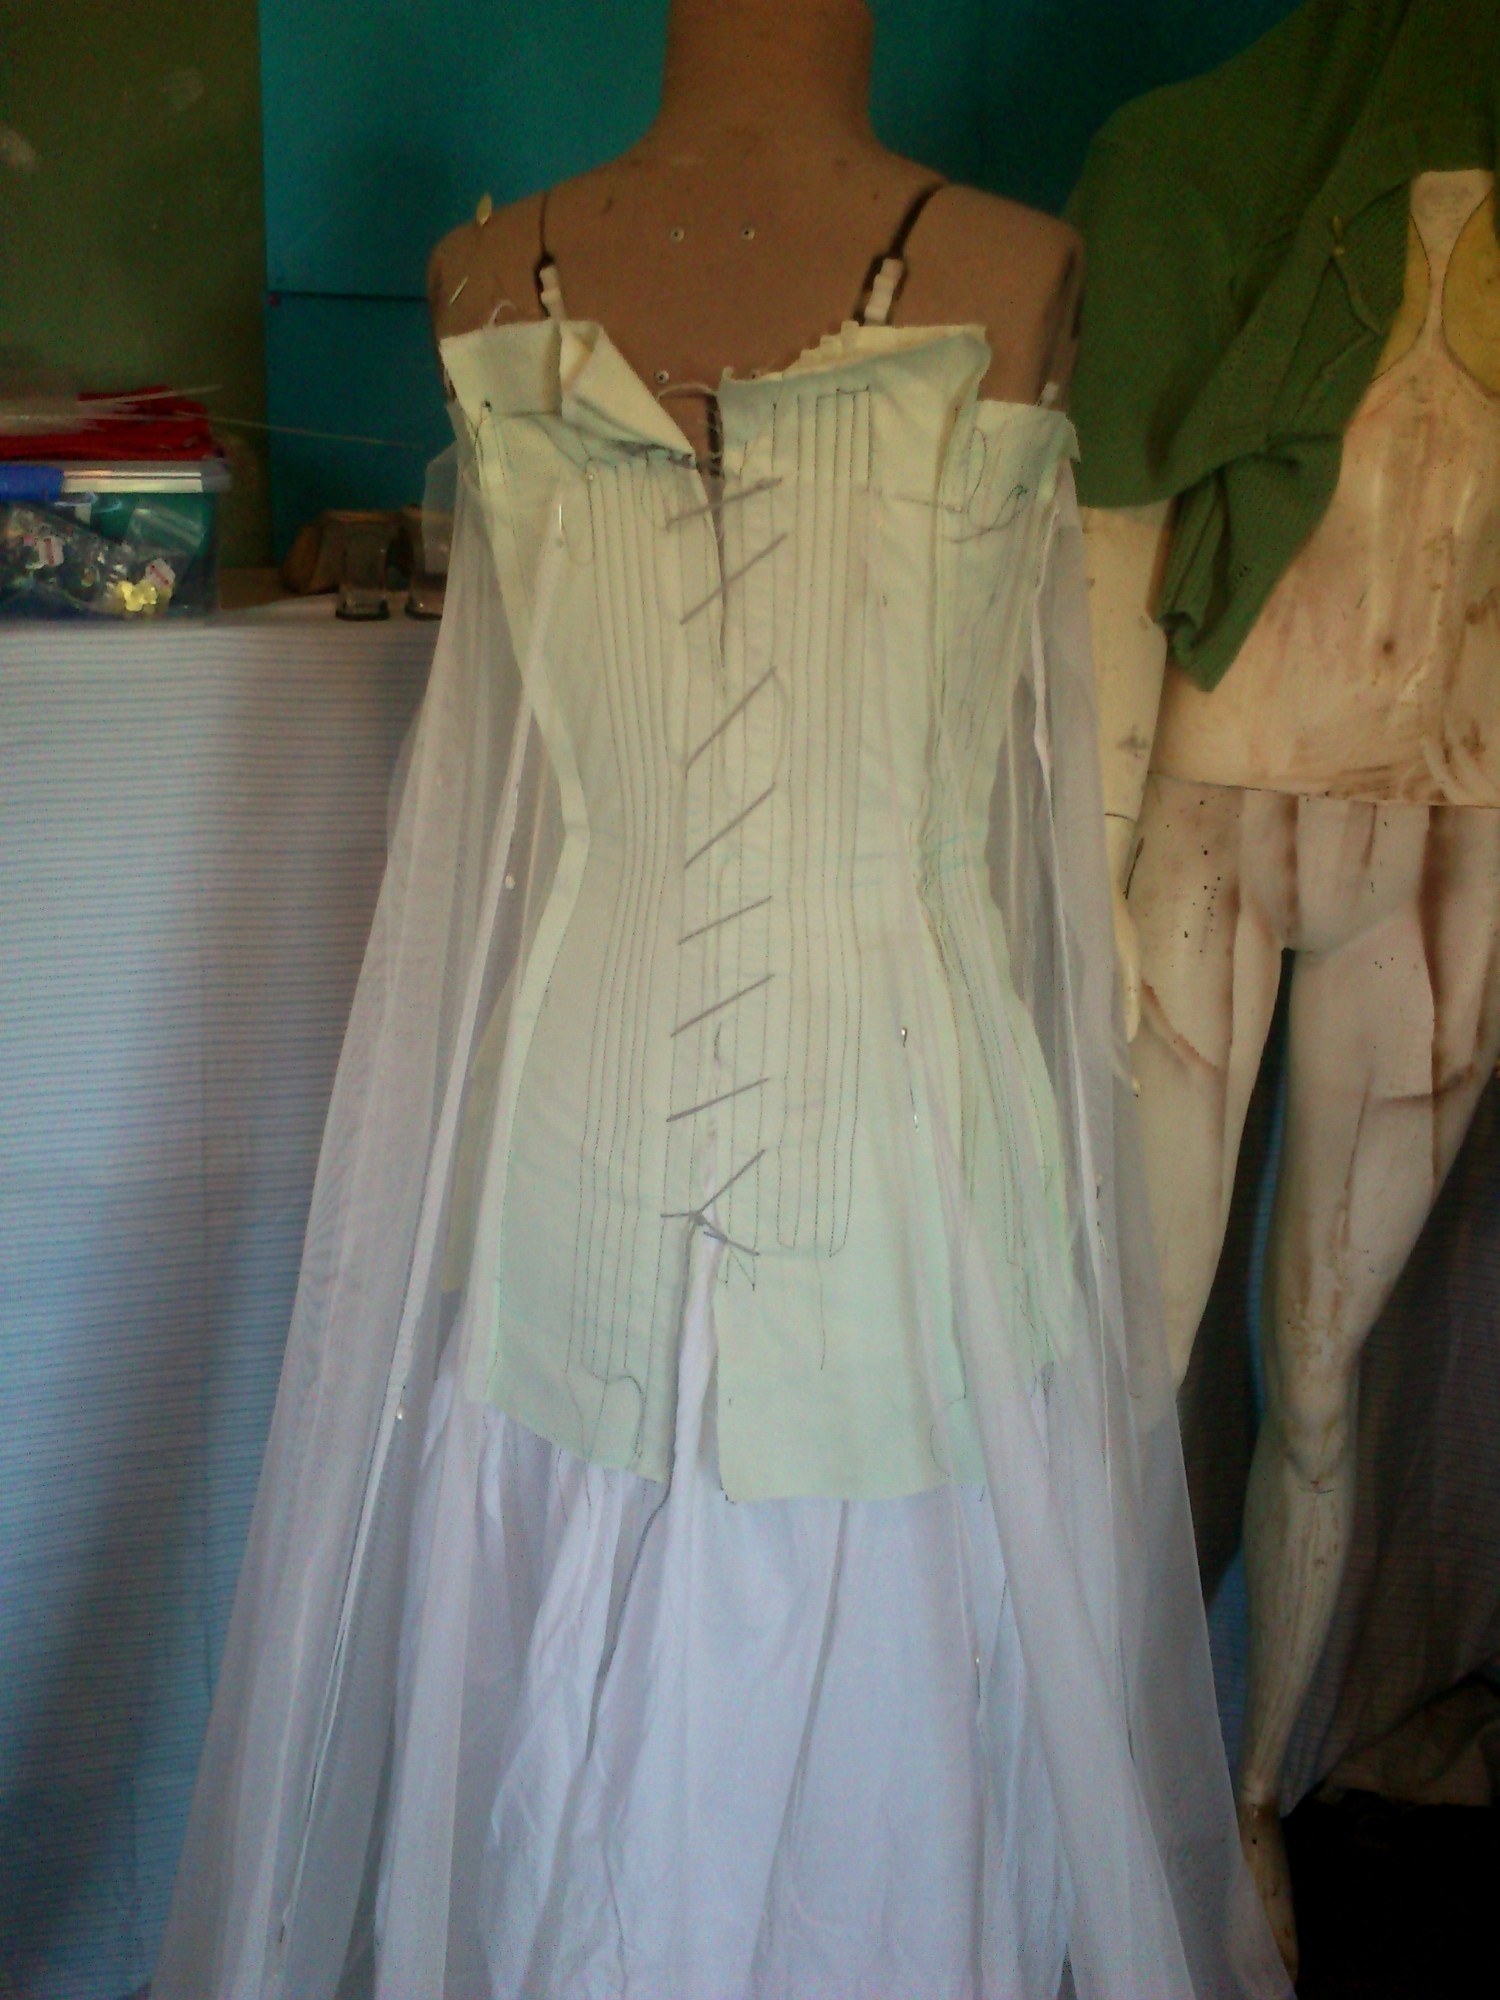
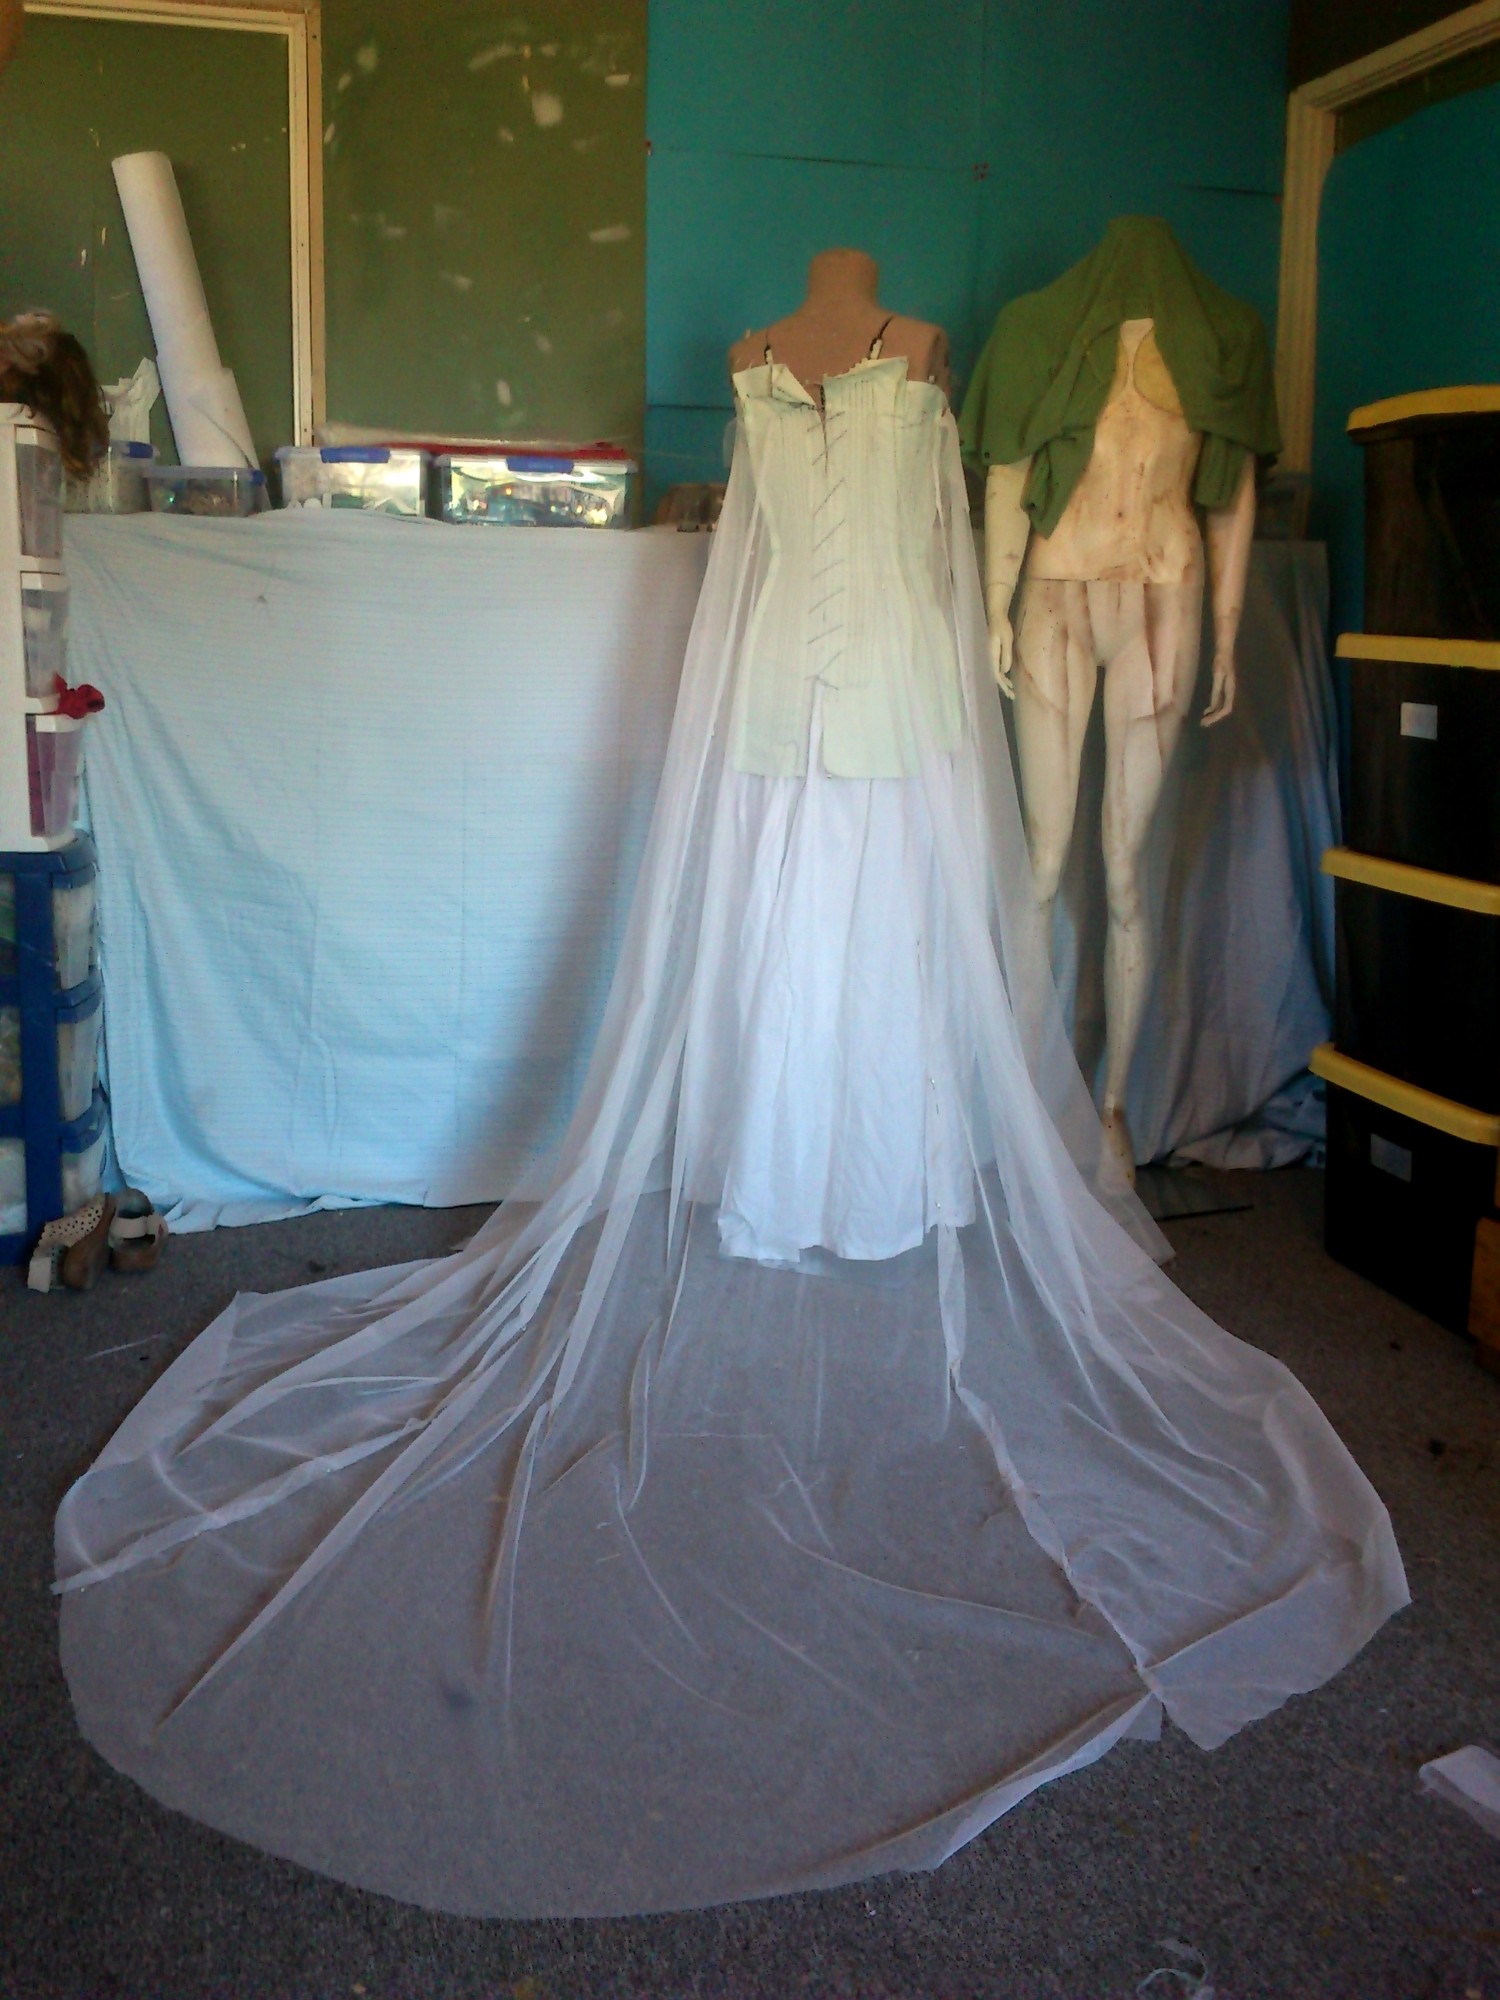
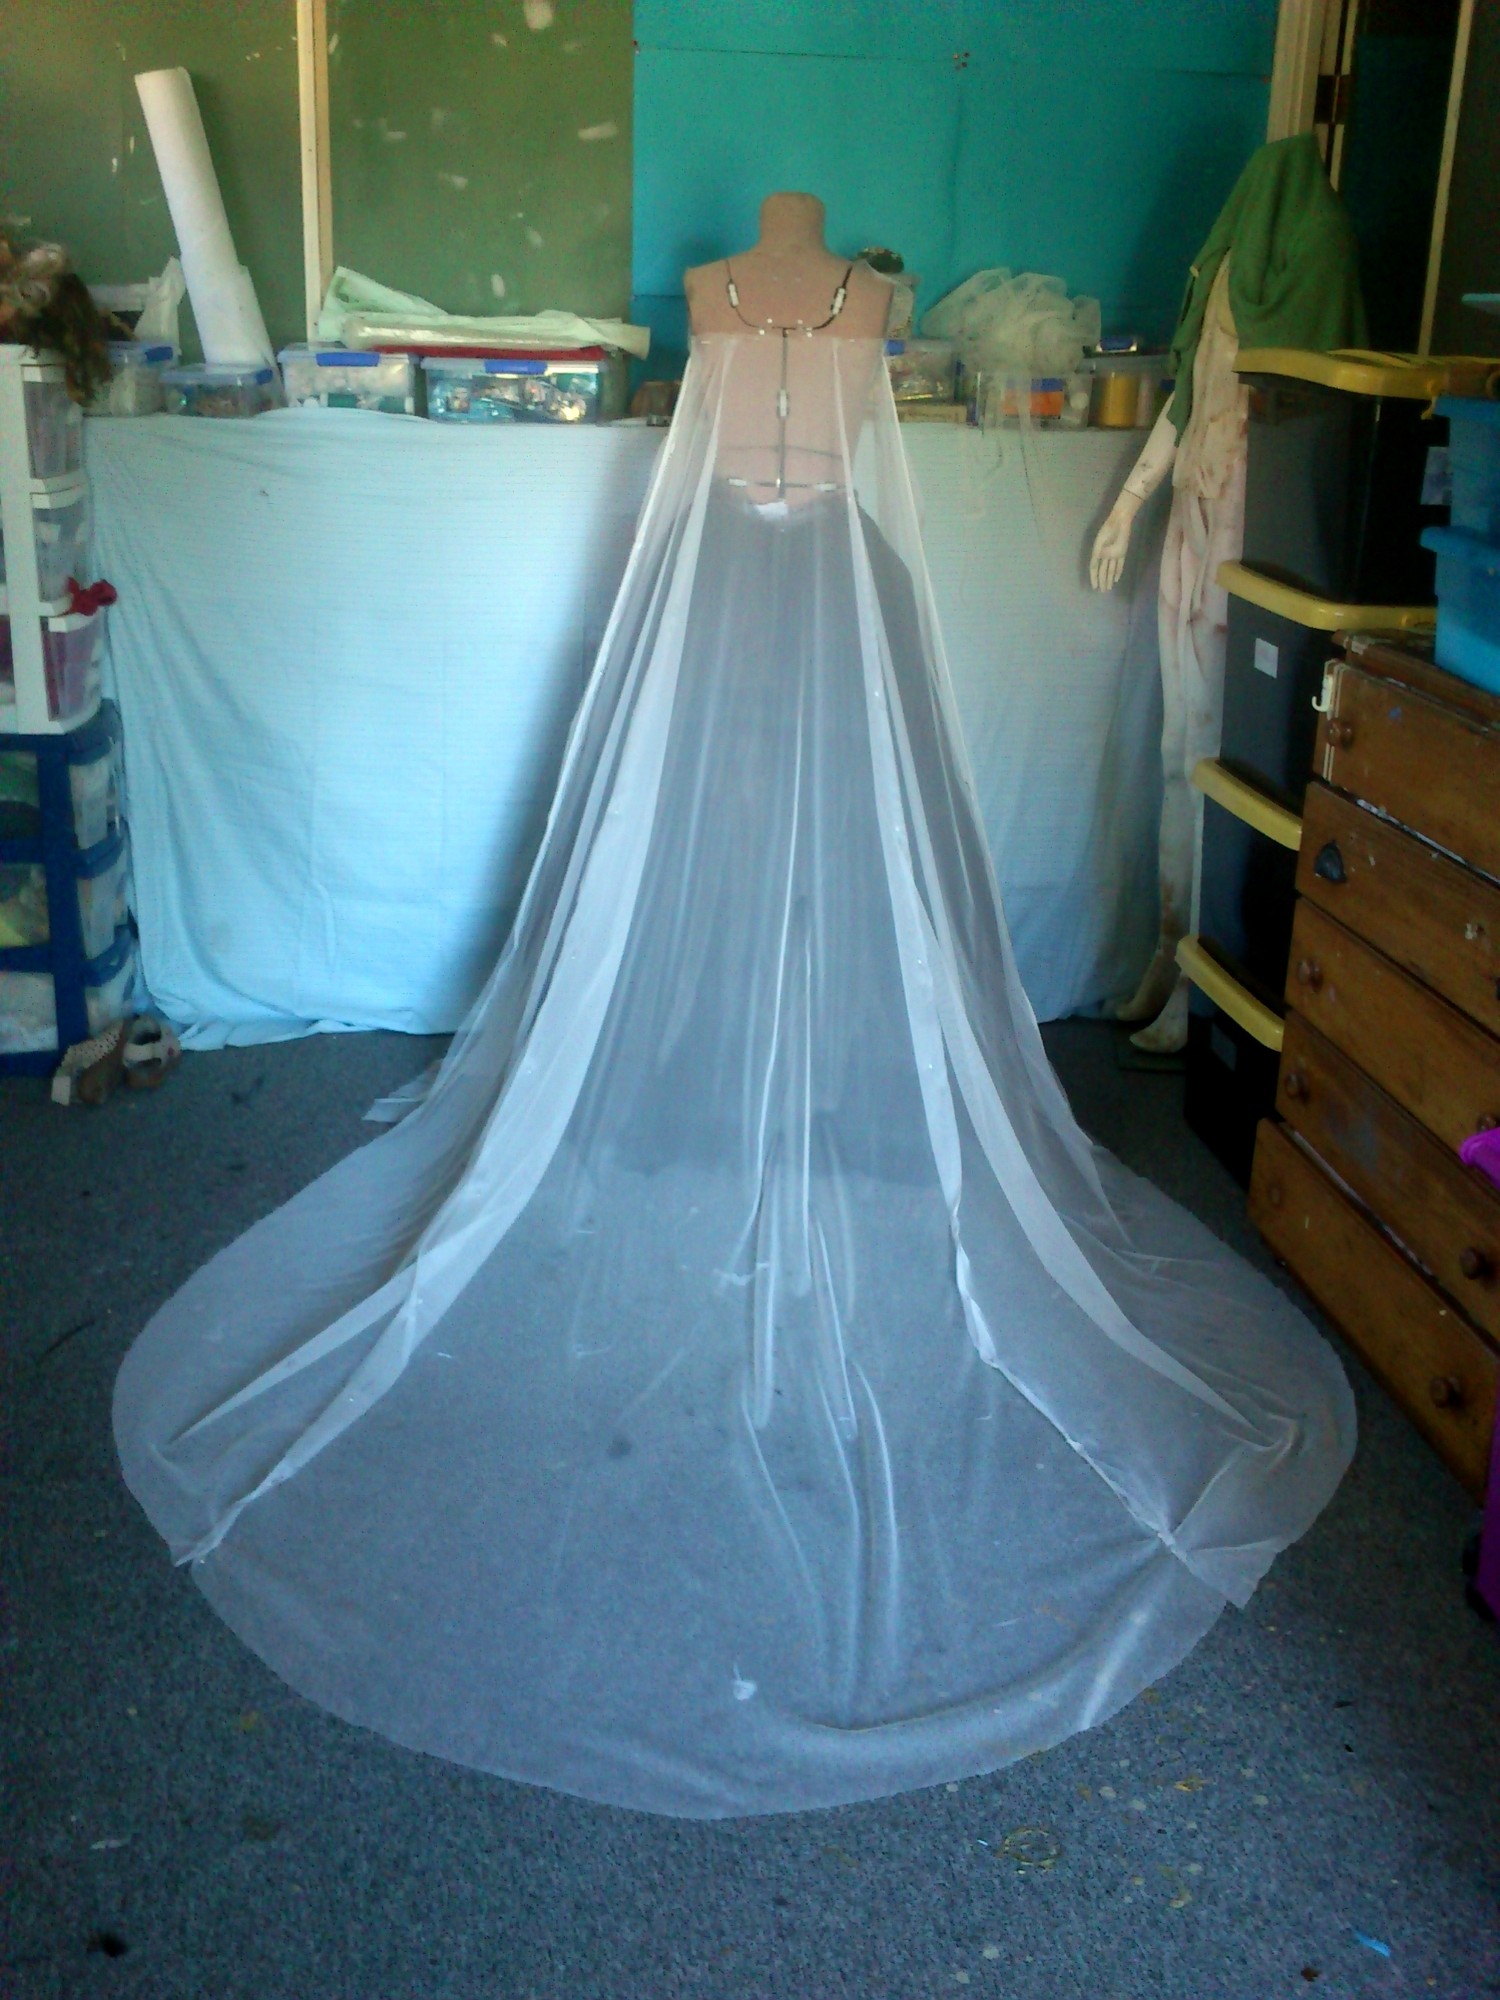
So my corset mock up is ugly. I said it was anyway, so here it is! Institutional mint and badly drawn lines everywhere! But look, a cape! And from just barely over 4m of fabric!

sm_DSC_2601 sm_DSC_2605

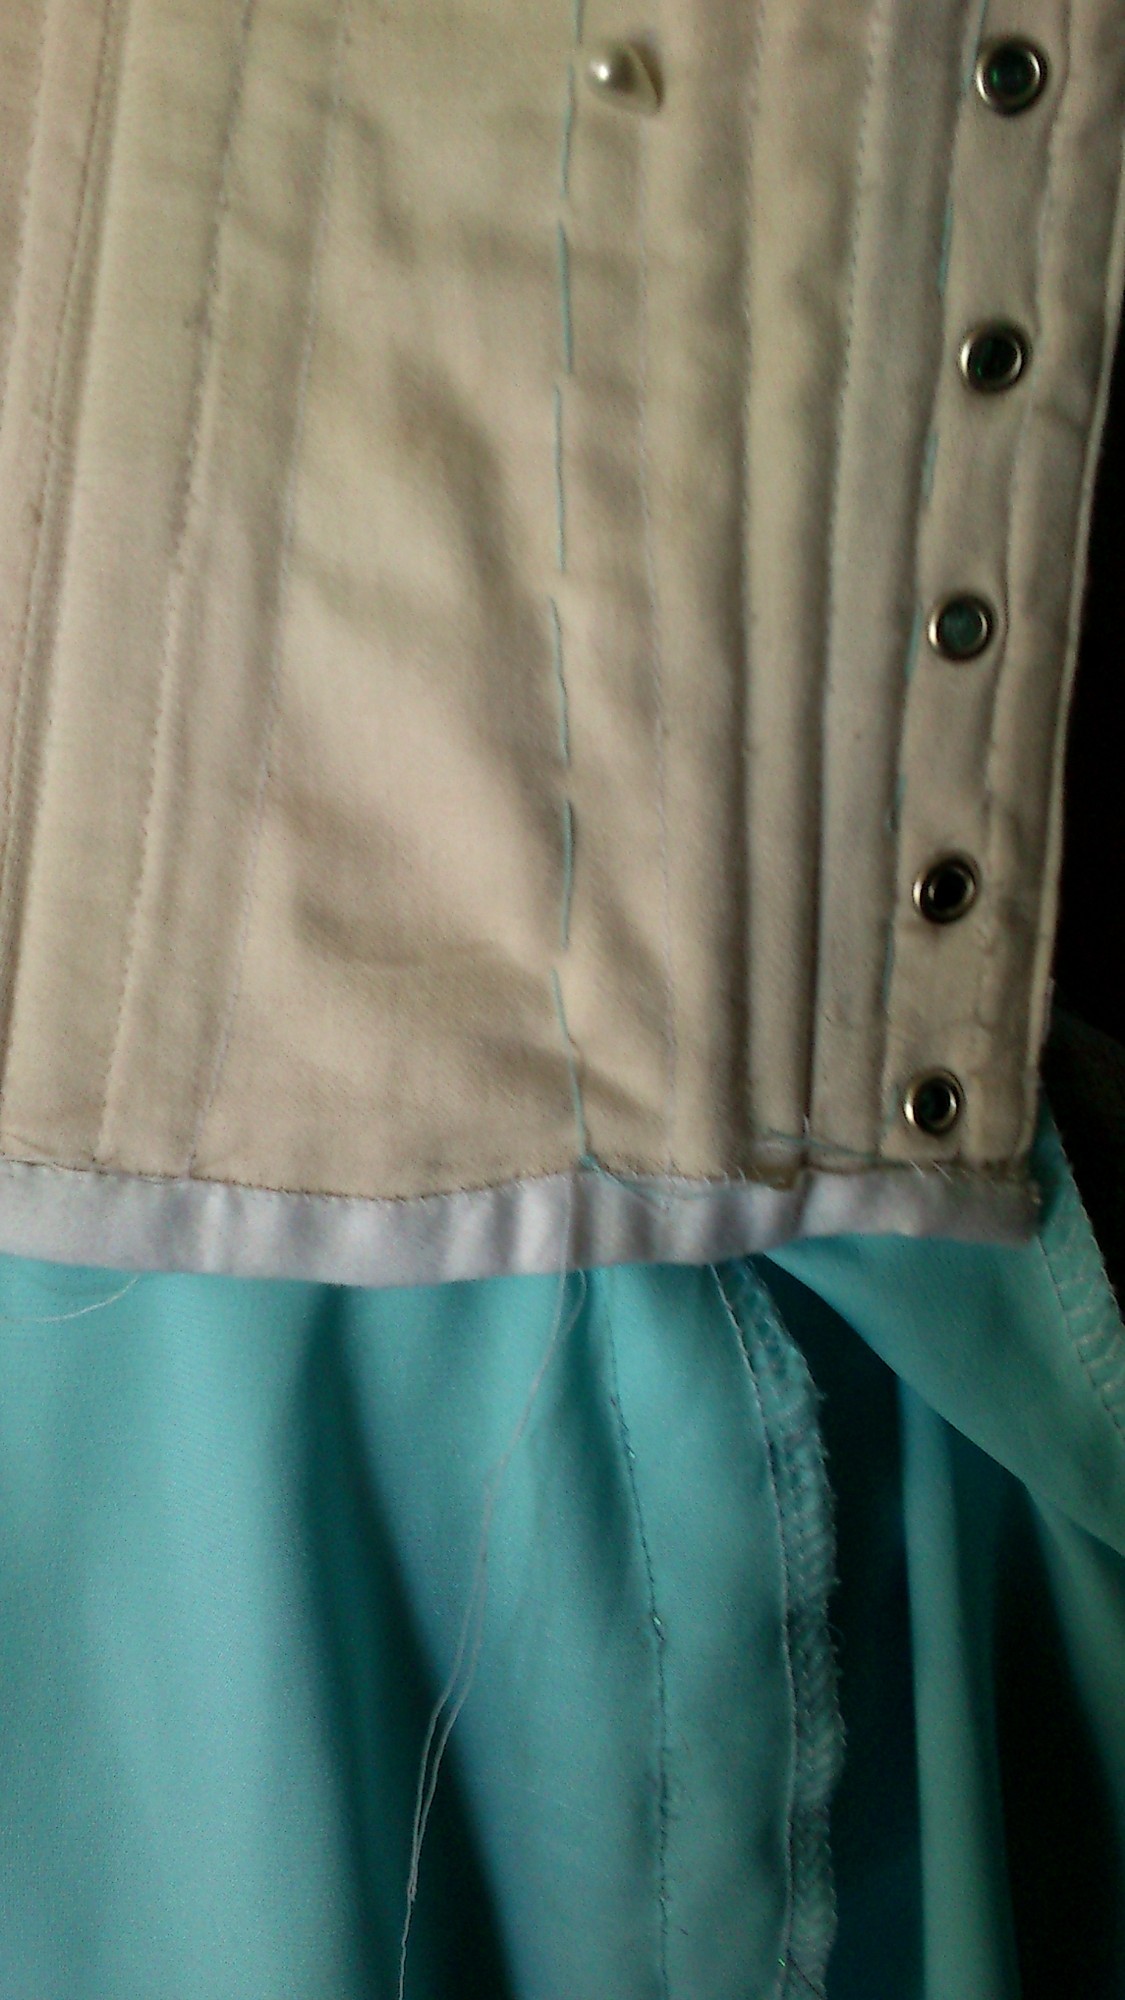
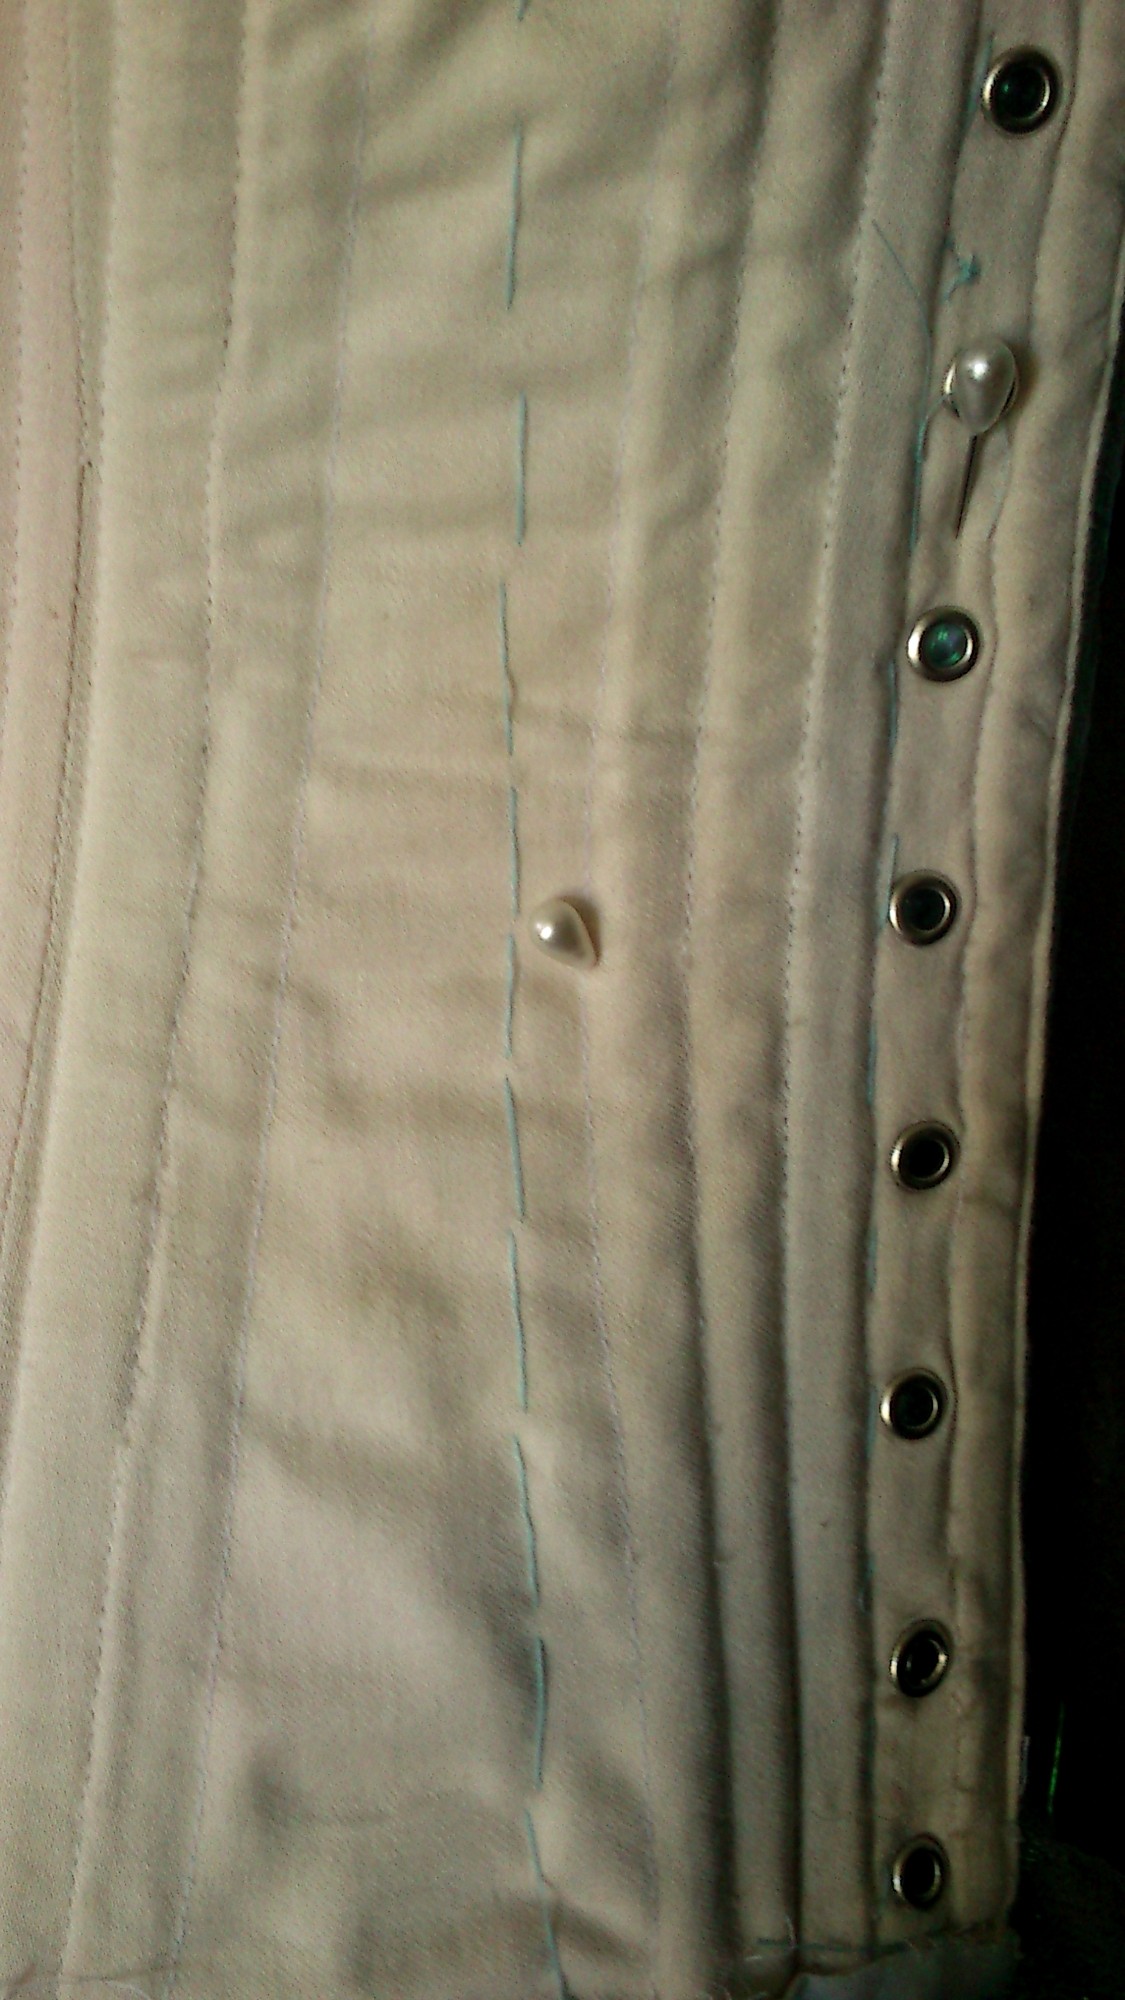
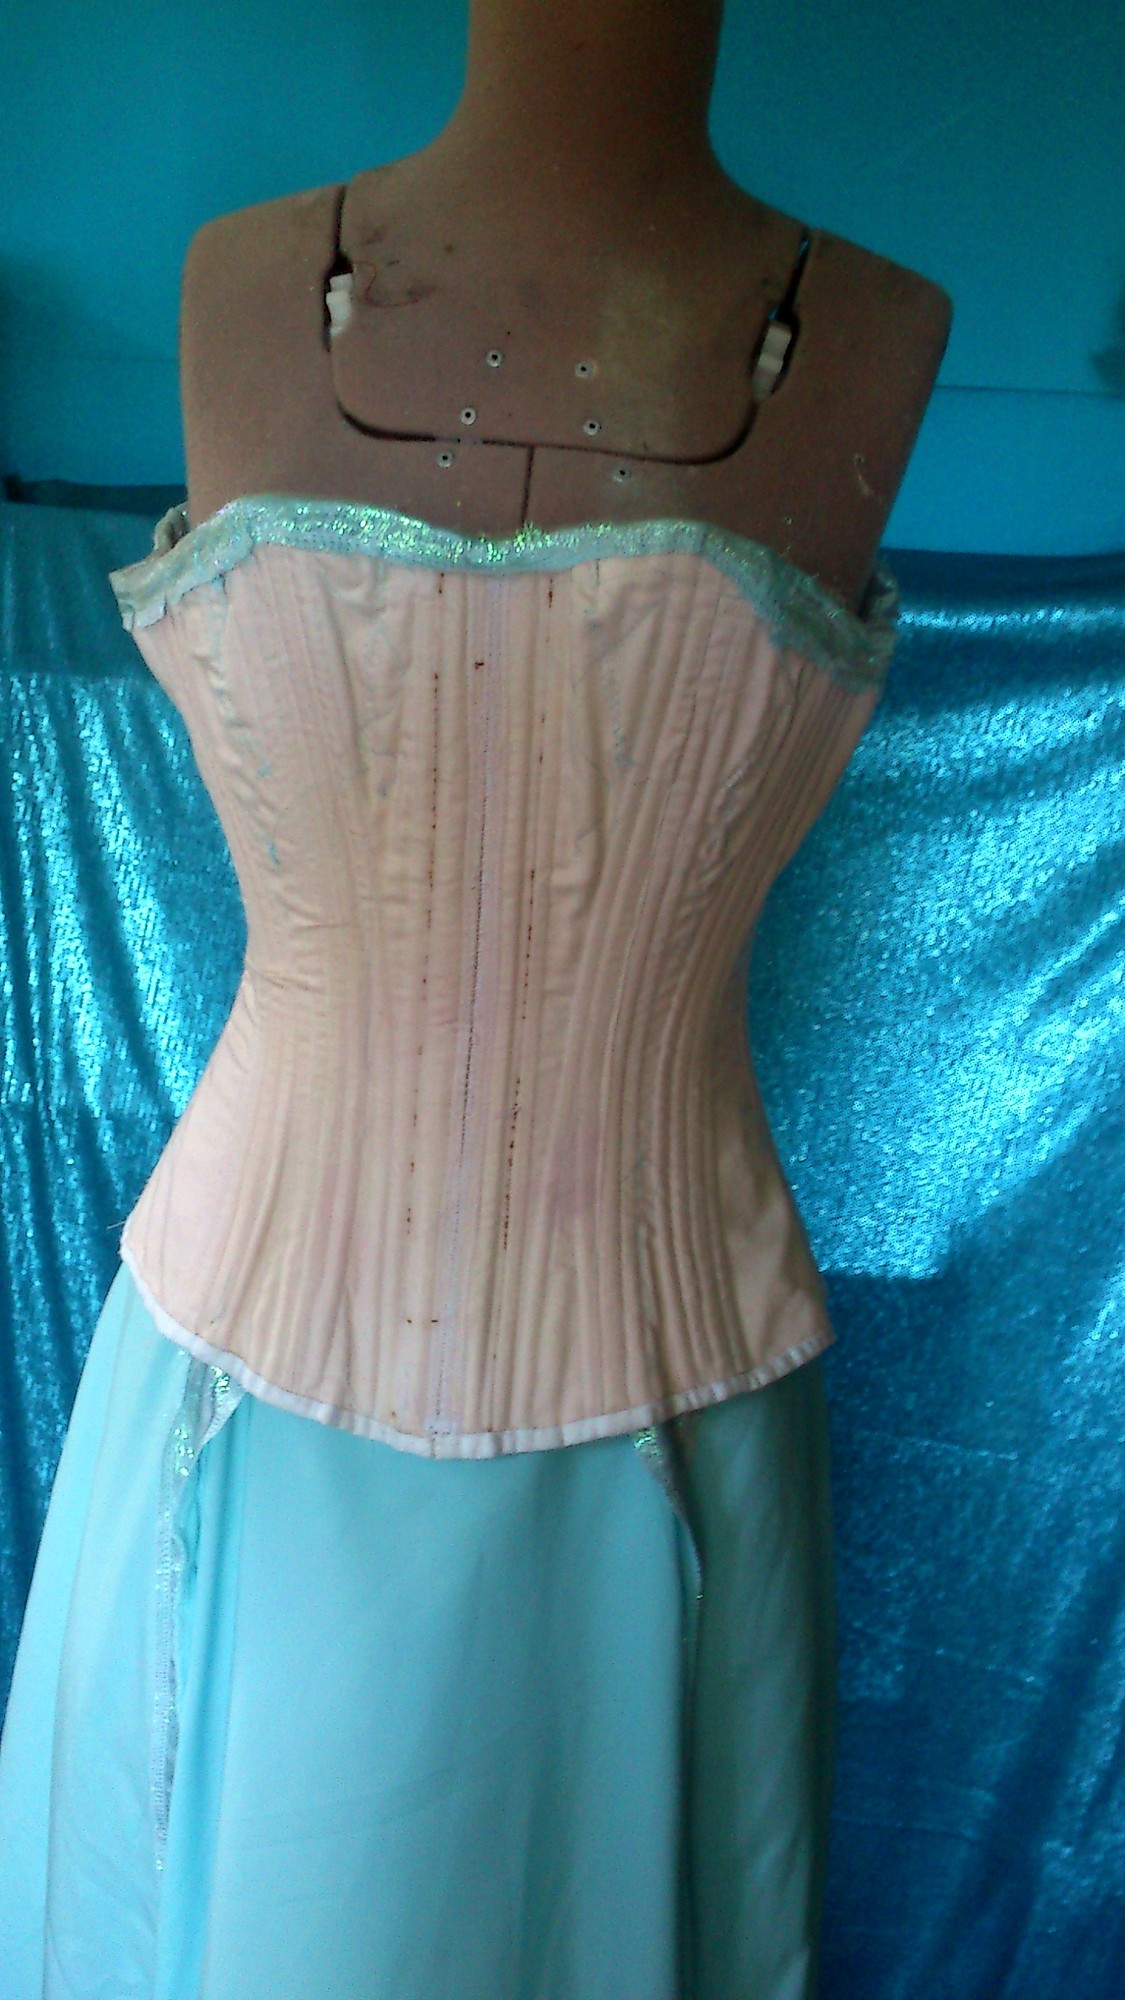
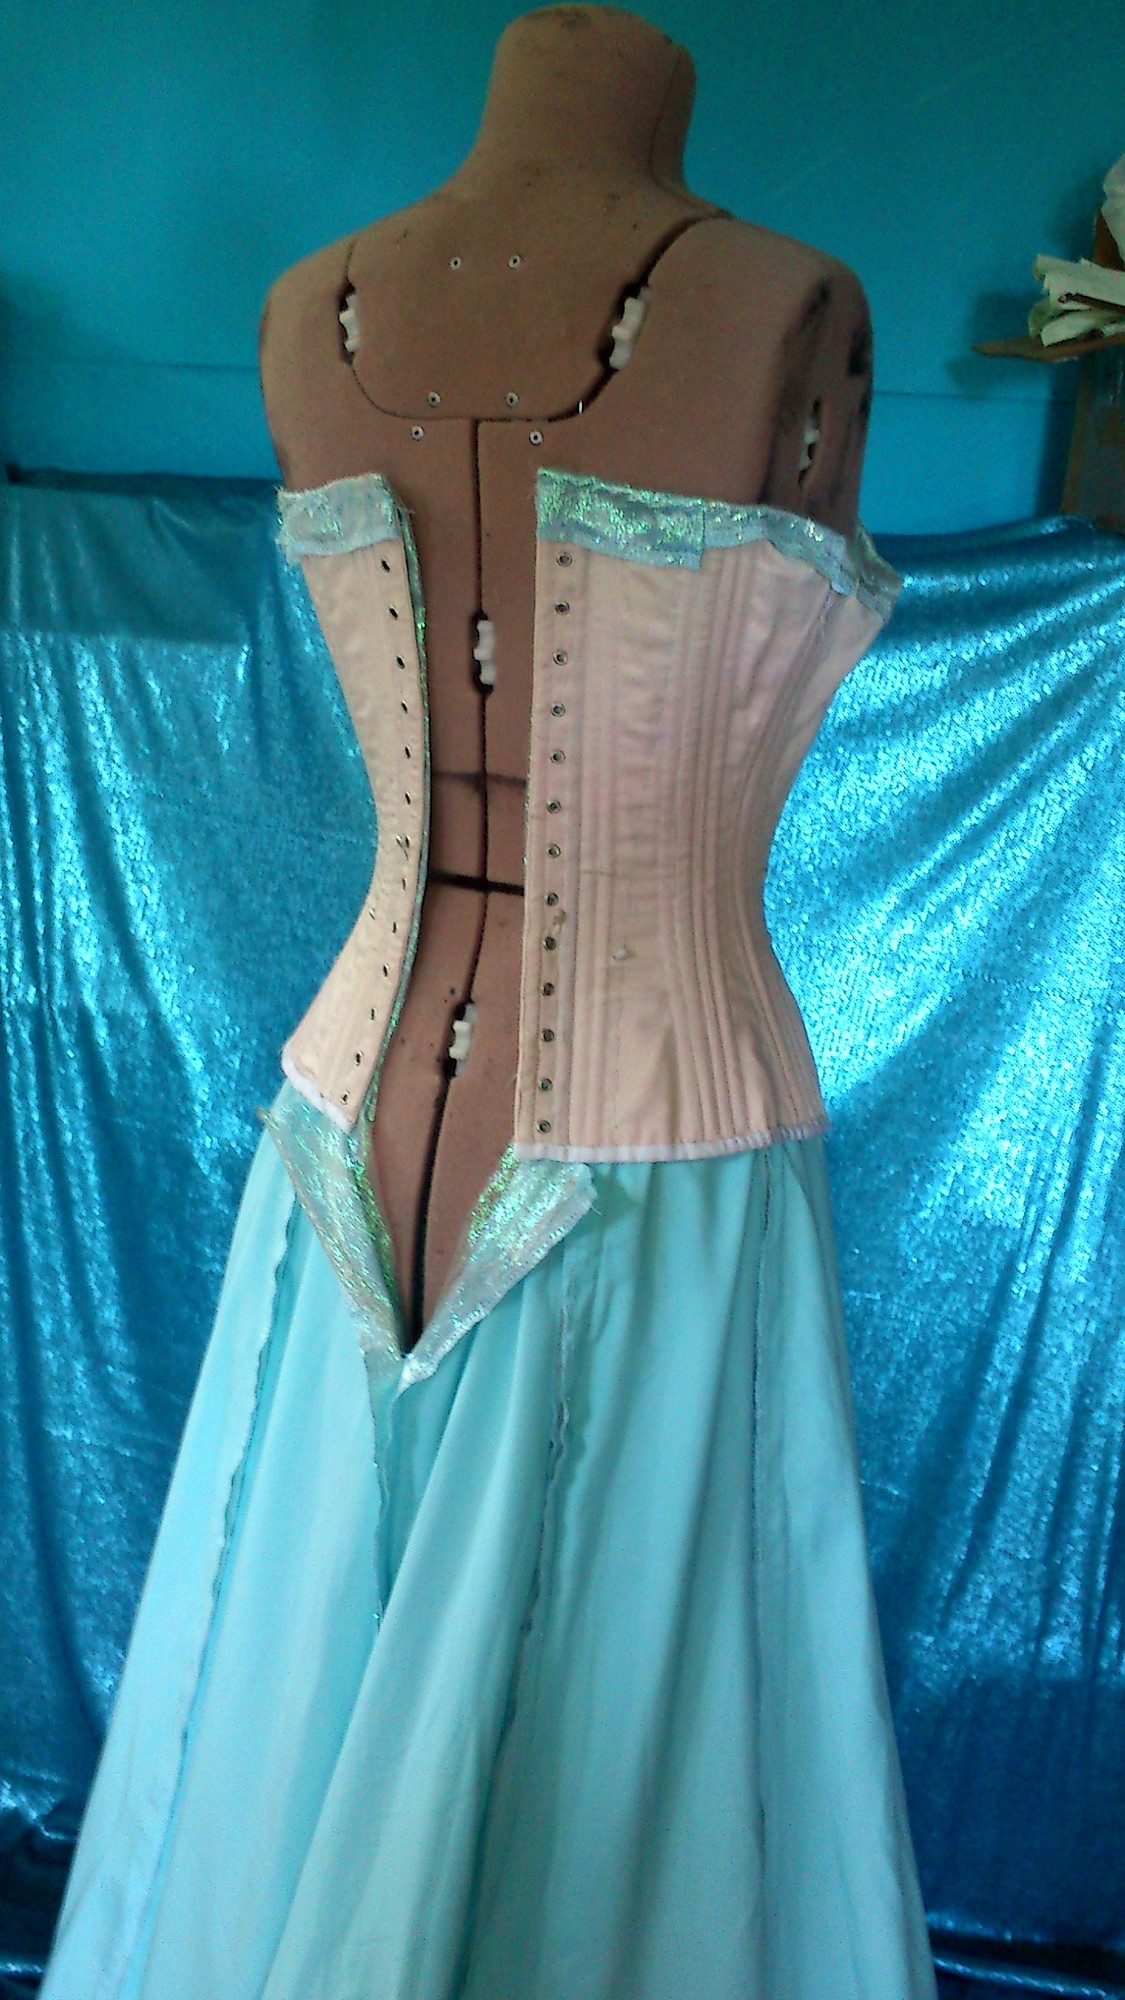
She has boobs! Yes they are OTT but you can see the places I am taking in and will also balance those puppies out 😉 This is also for an over bust which means it does look ridiculous! This is my base pattern to fit me and work with my idiosyncratic shape. There was a lot of experimentation in the 19thC for corsets so mine is a blend of genuinely conceivable pieces. I do only have four panels but may wind up cutting through the bust and angling to CF hem.

So, now the Elsa cape:

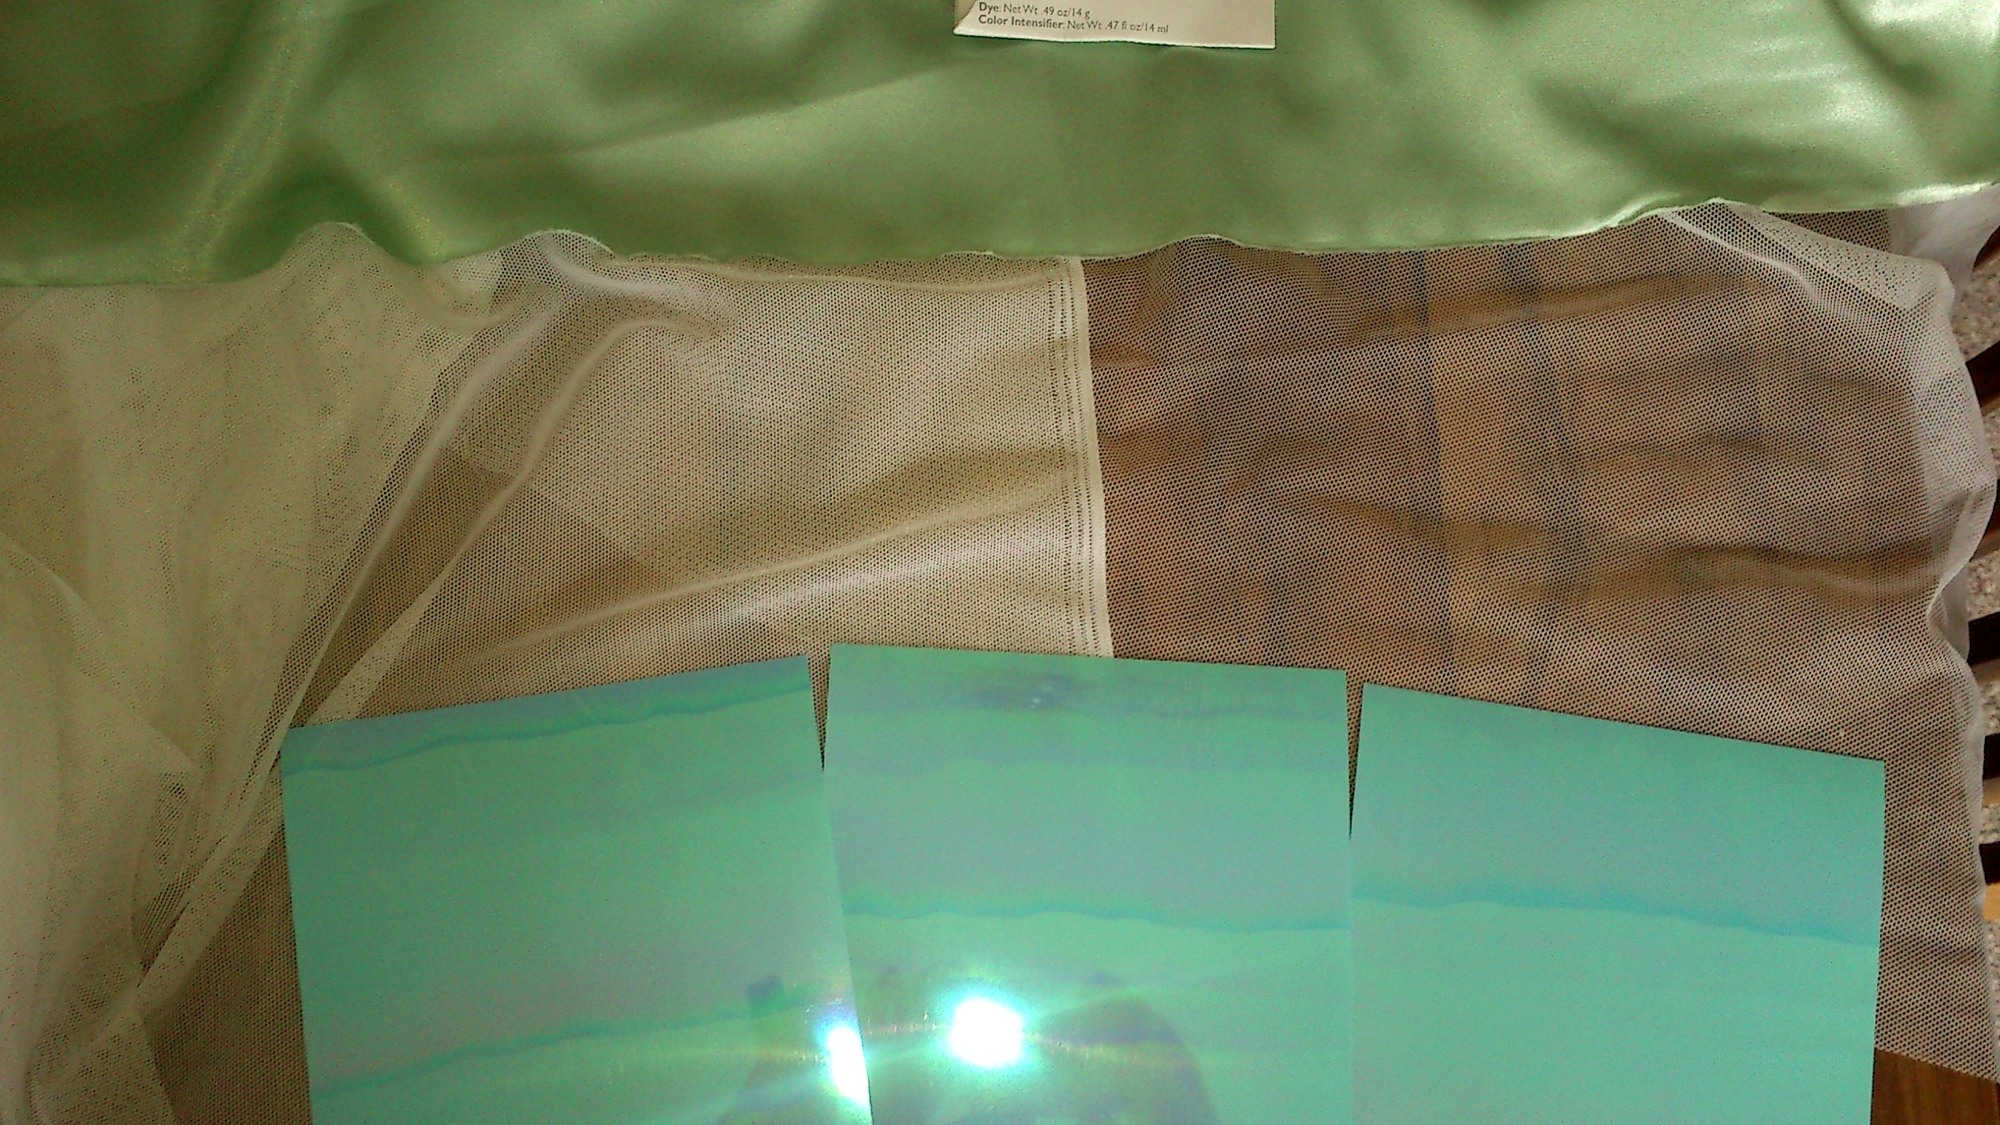
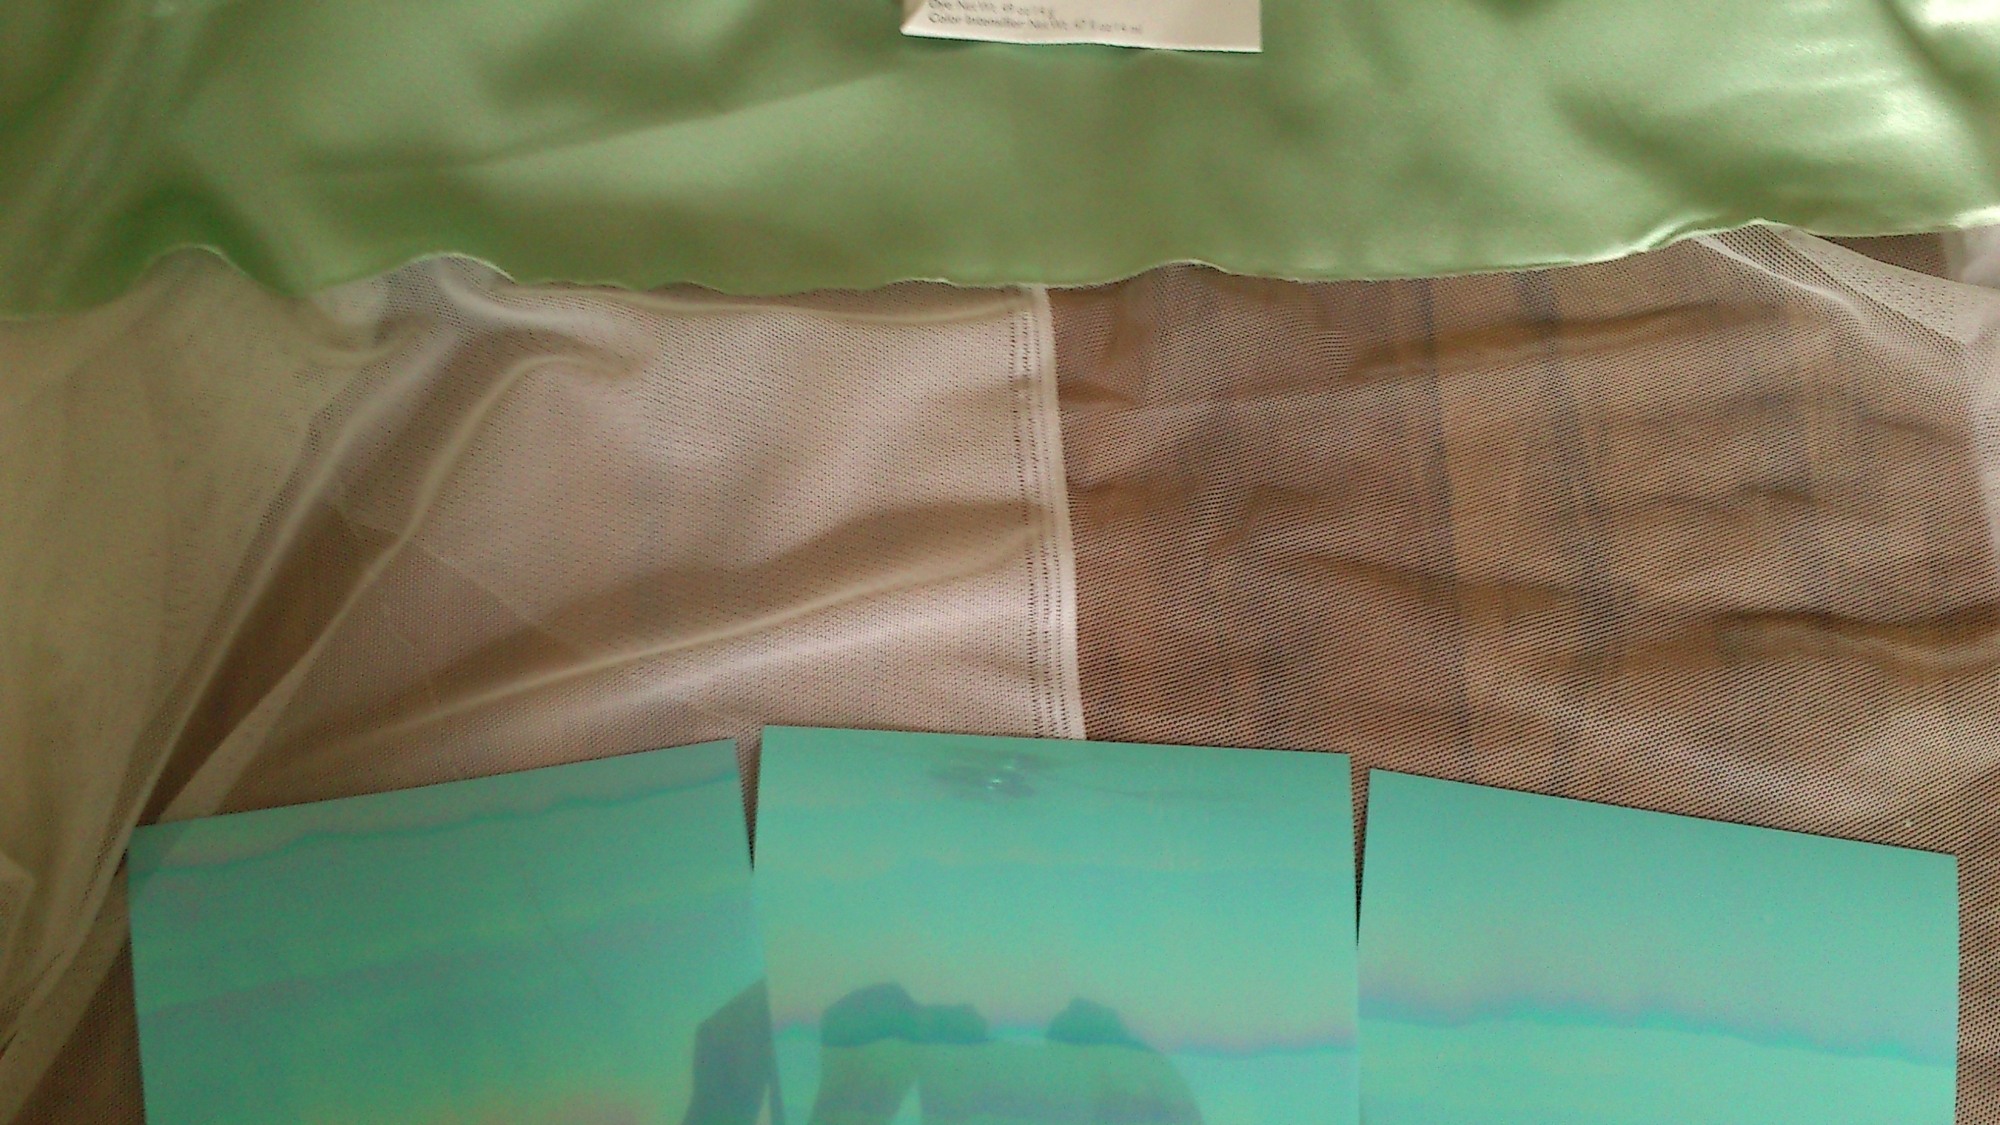
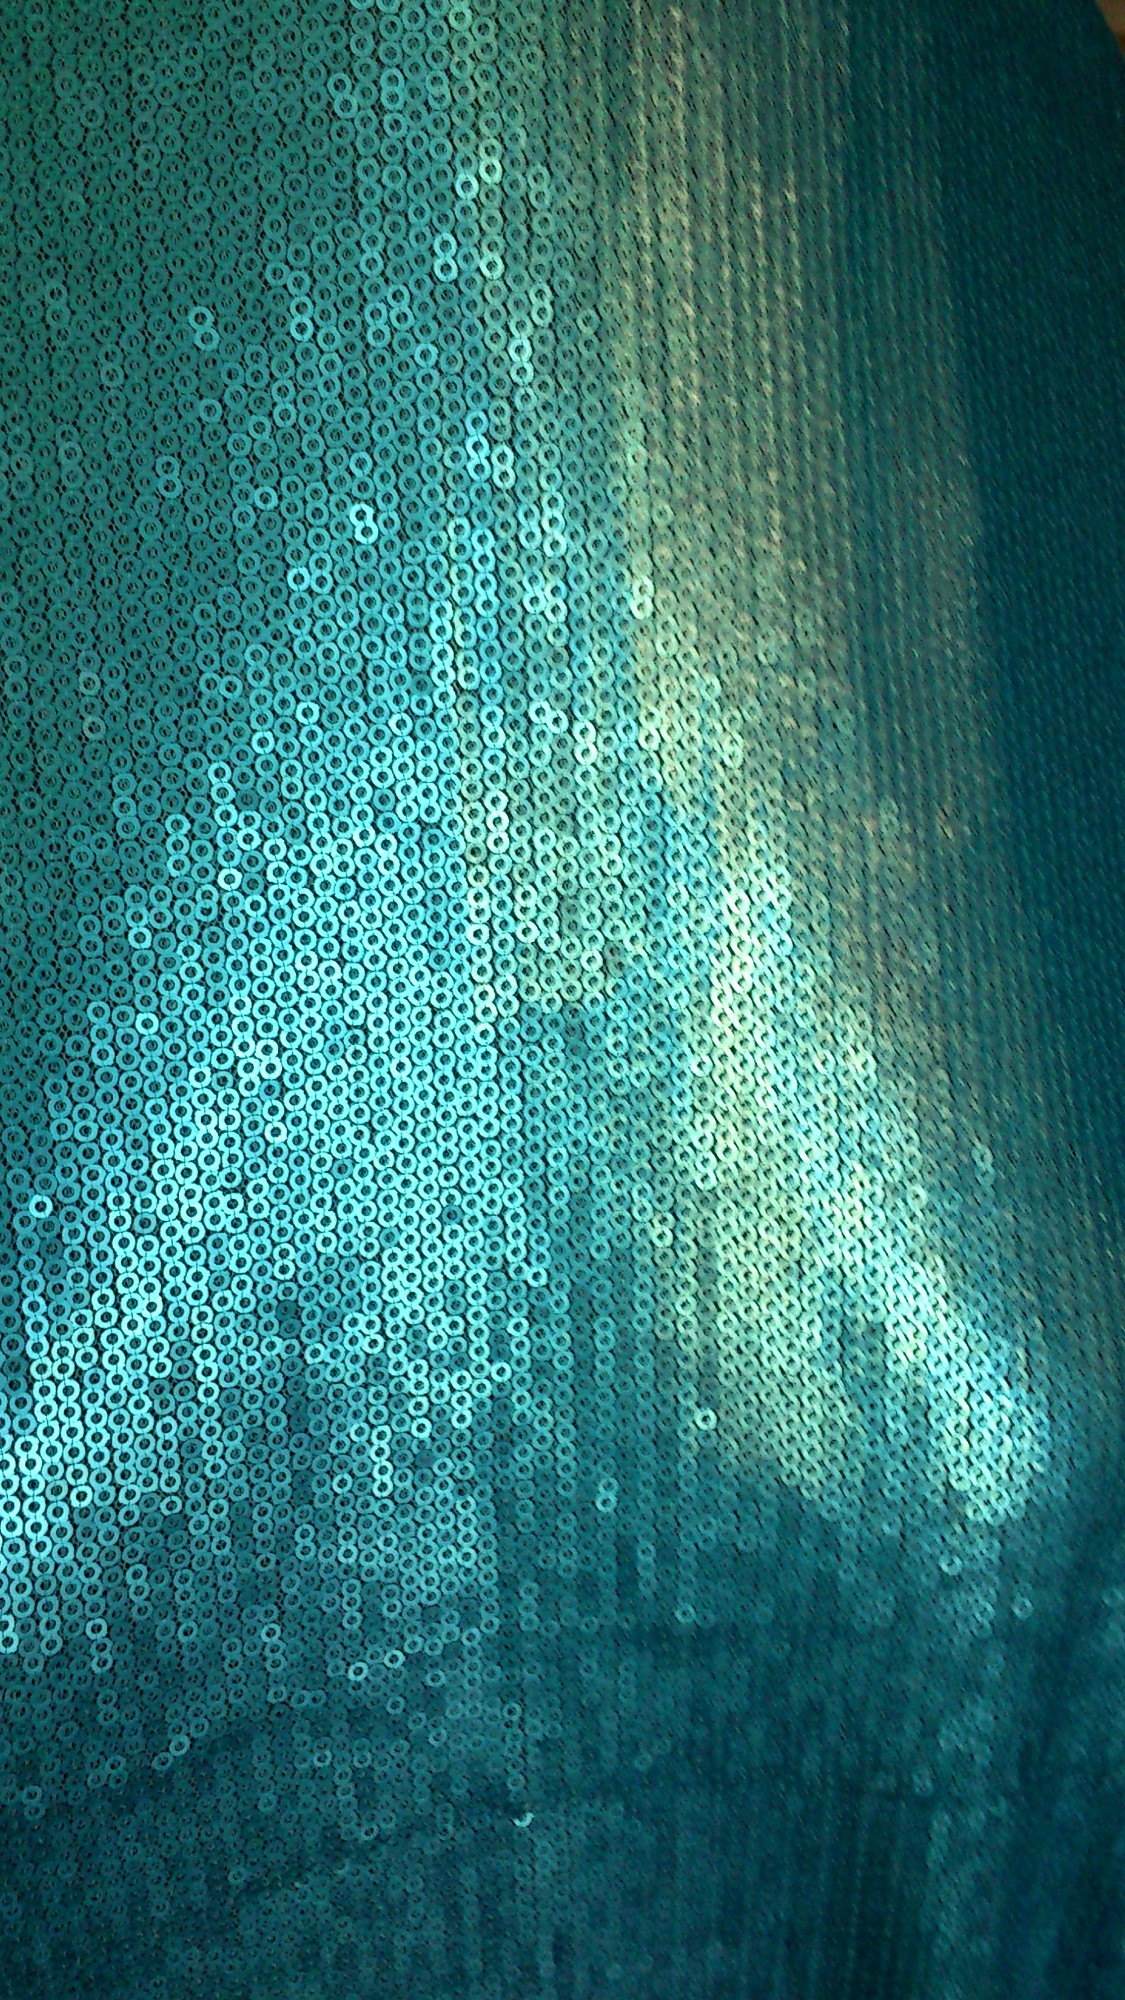
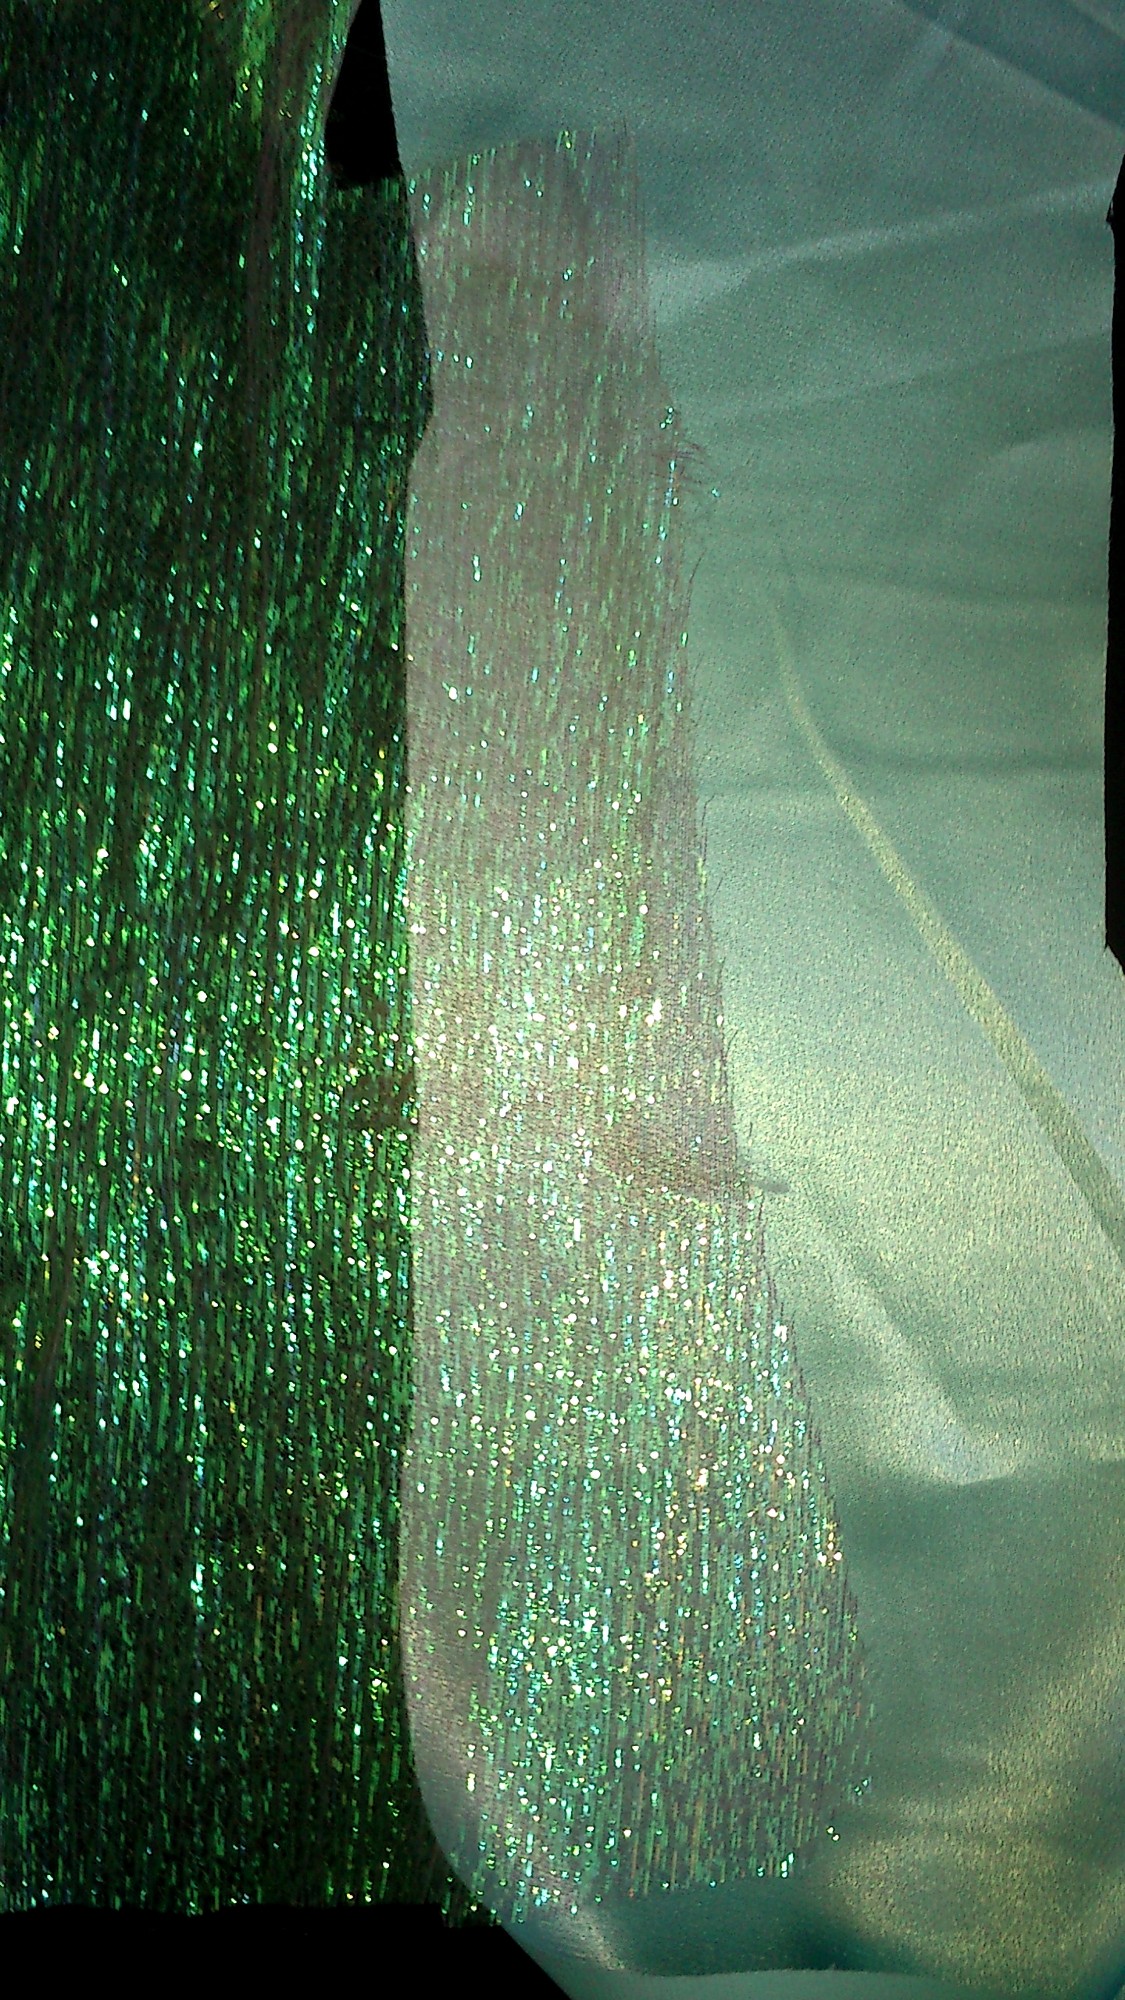
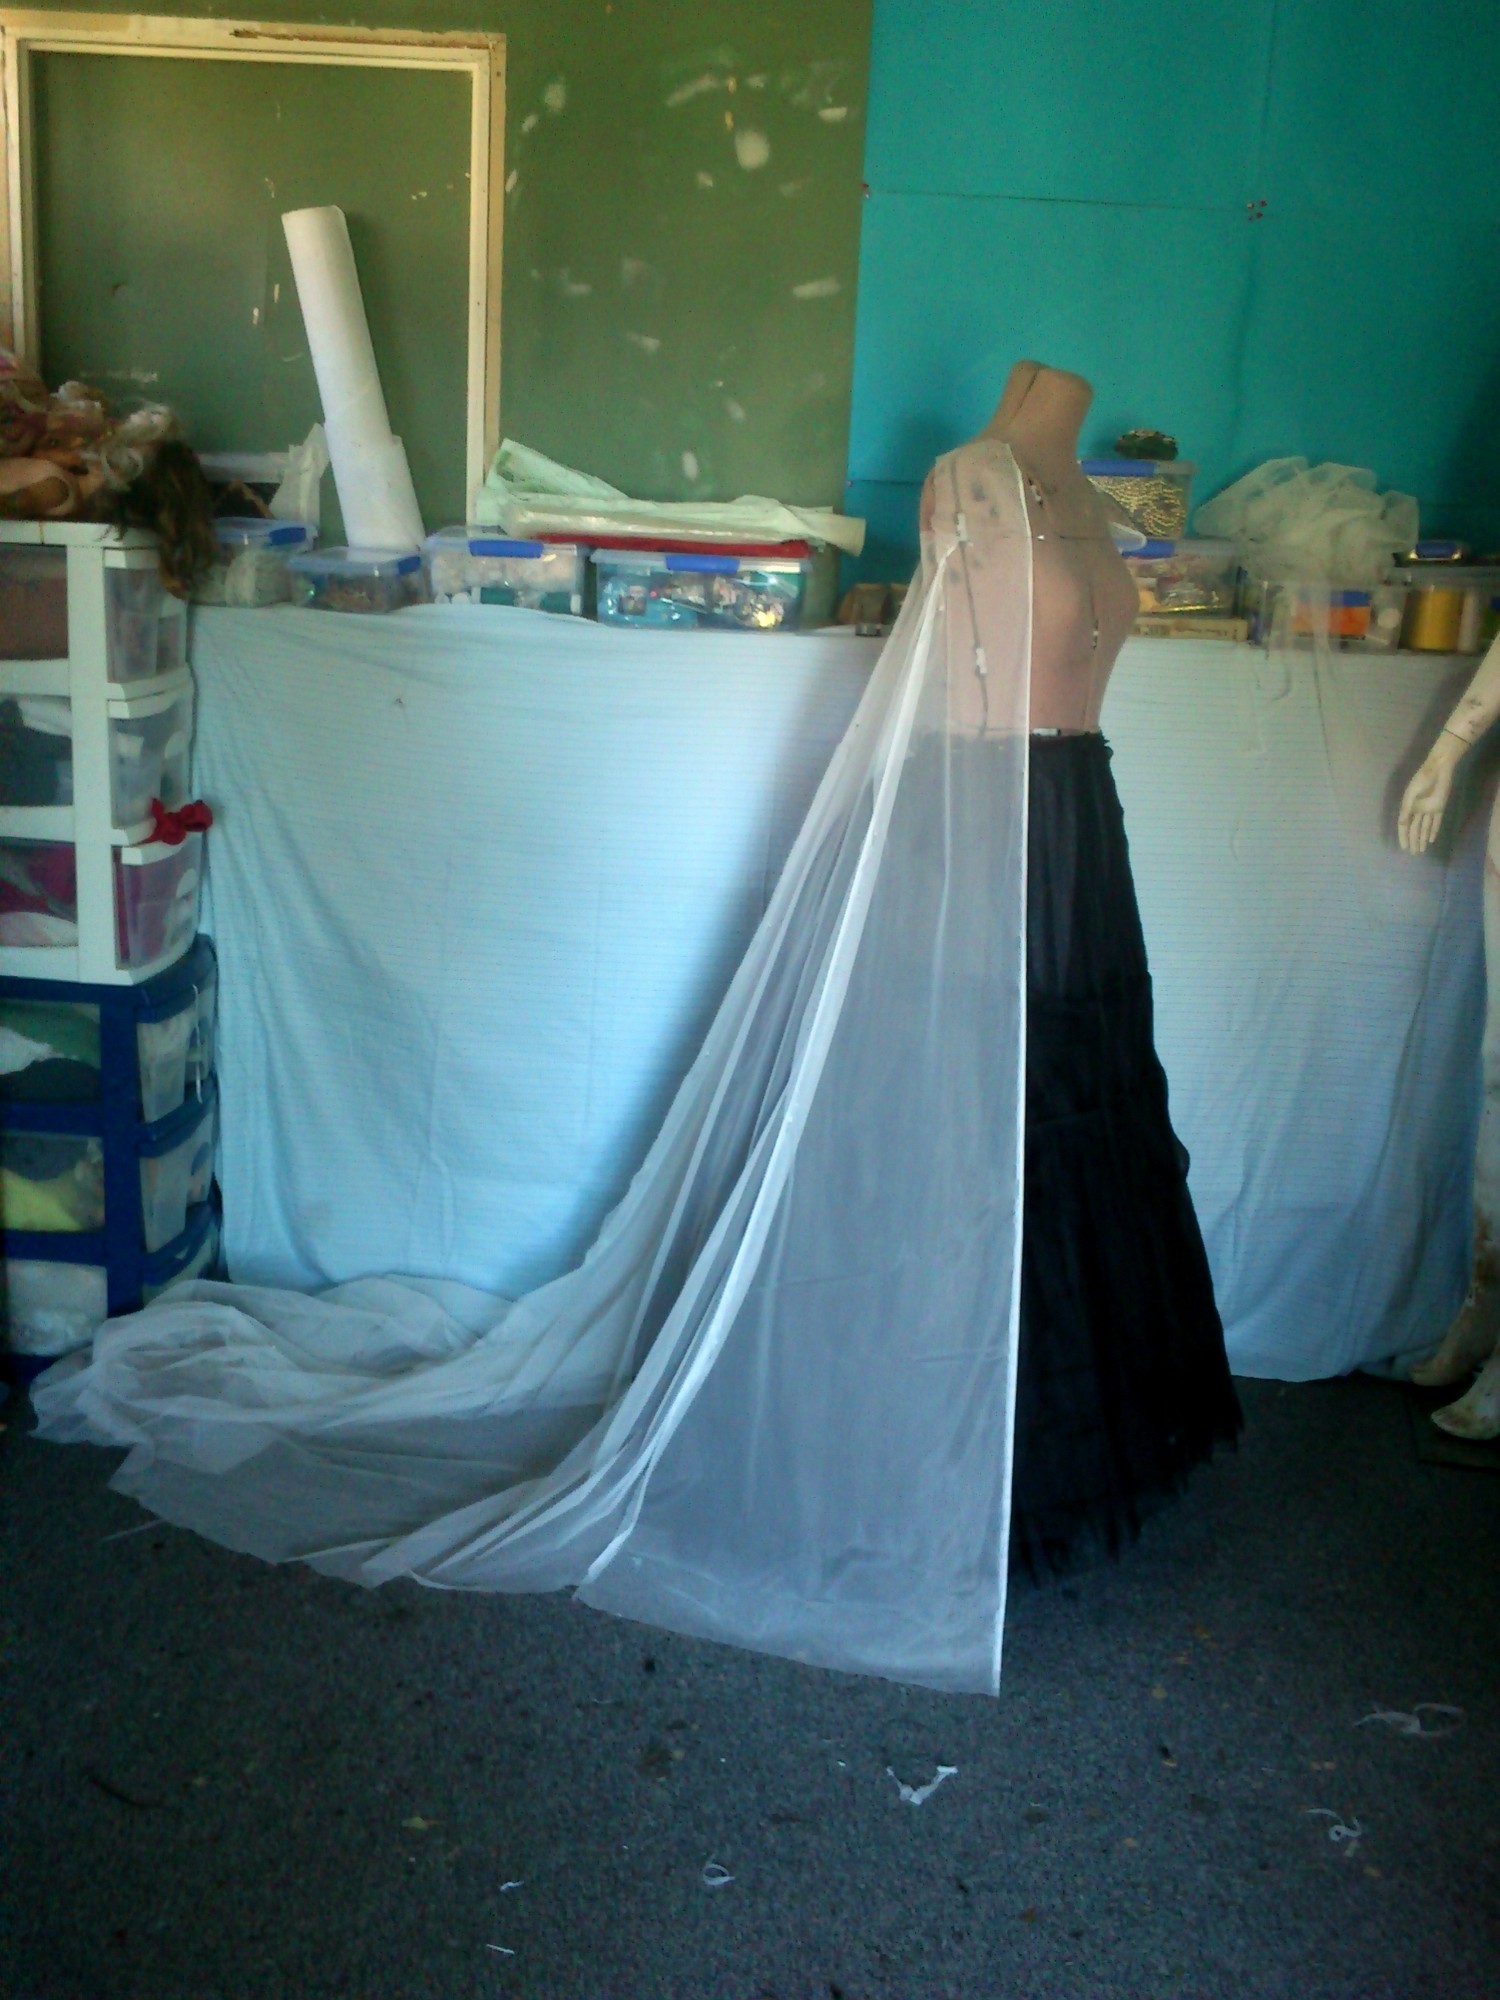
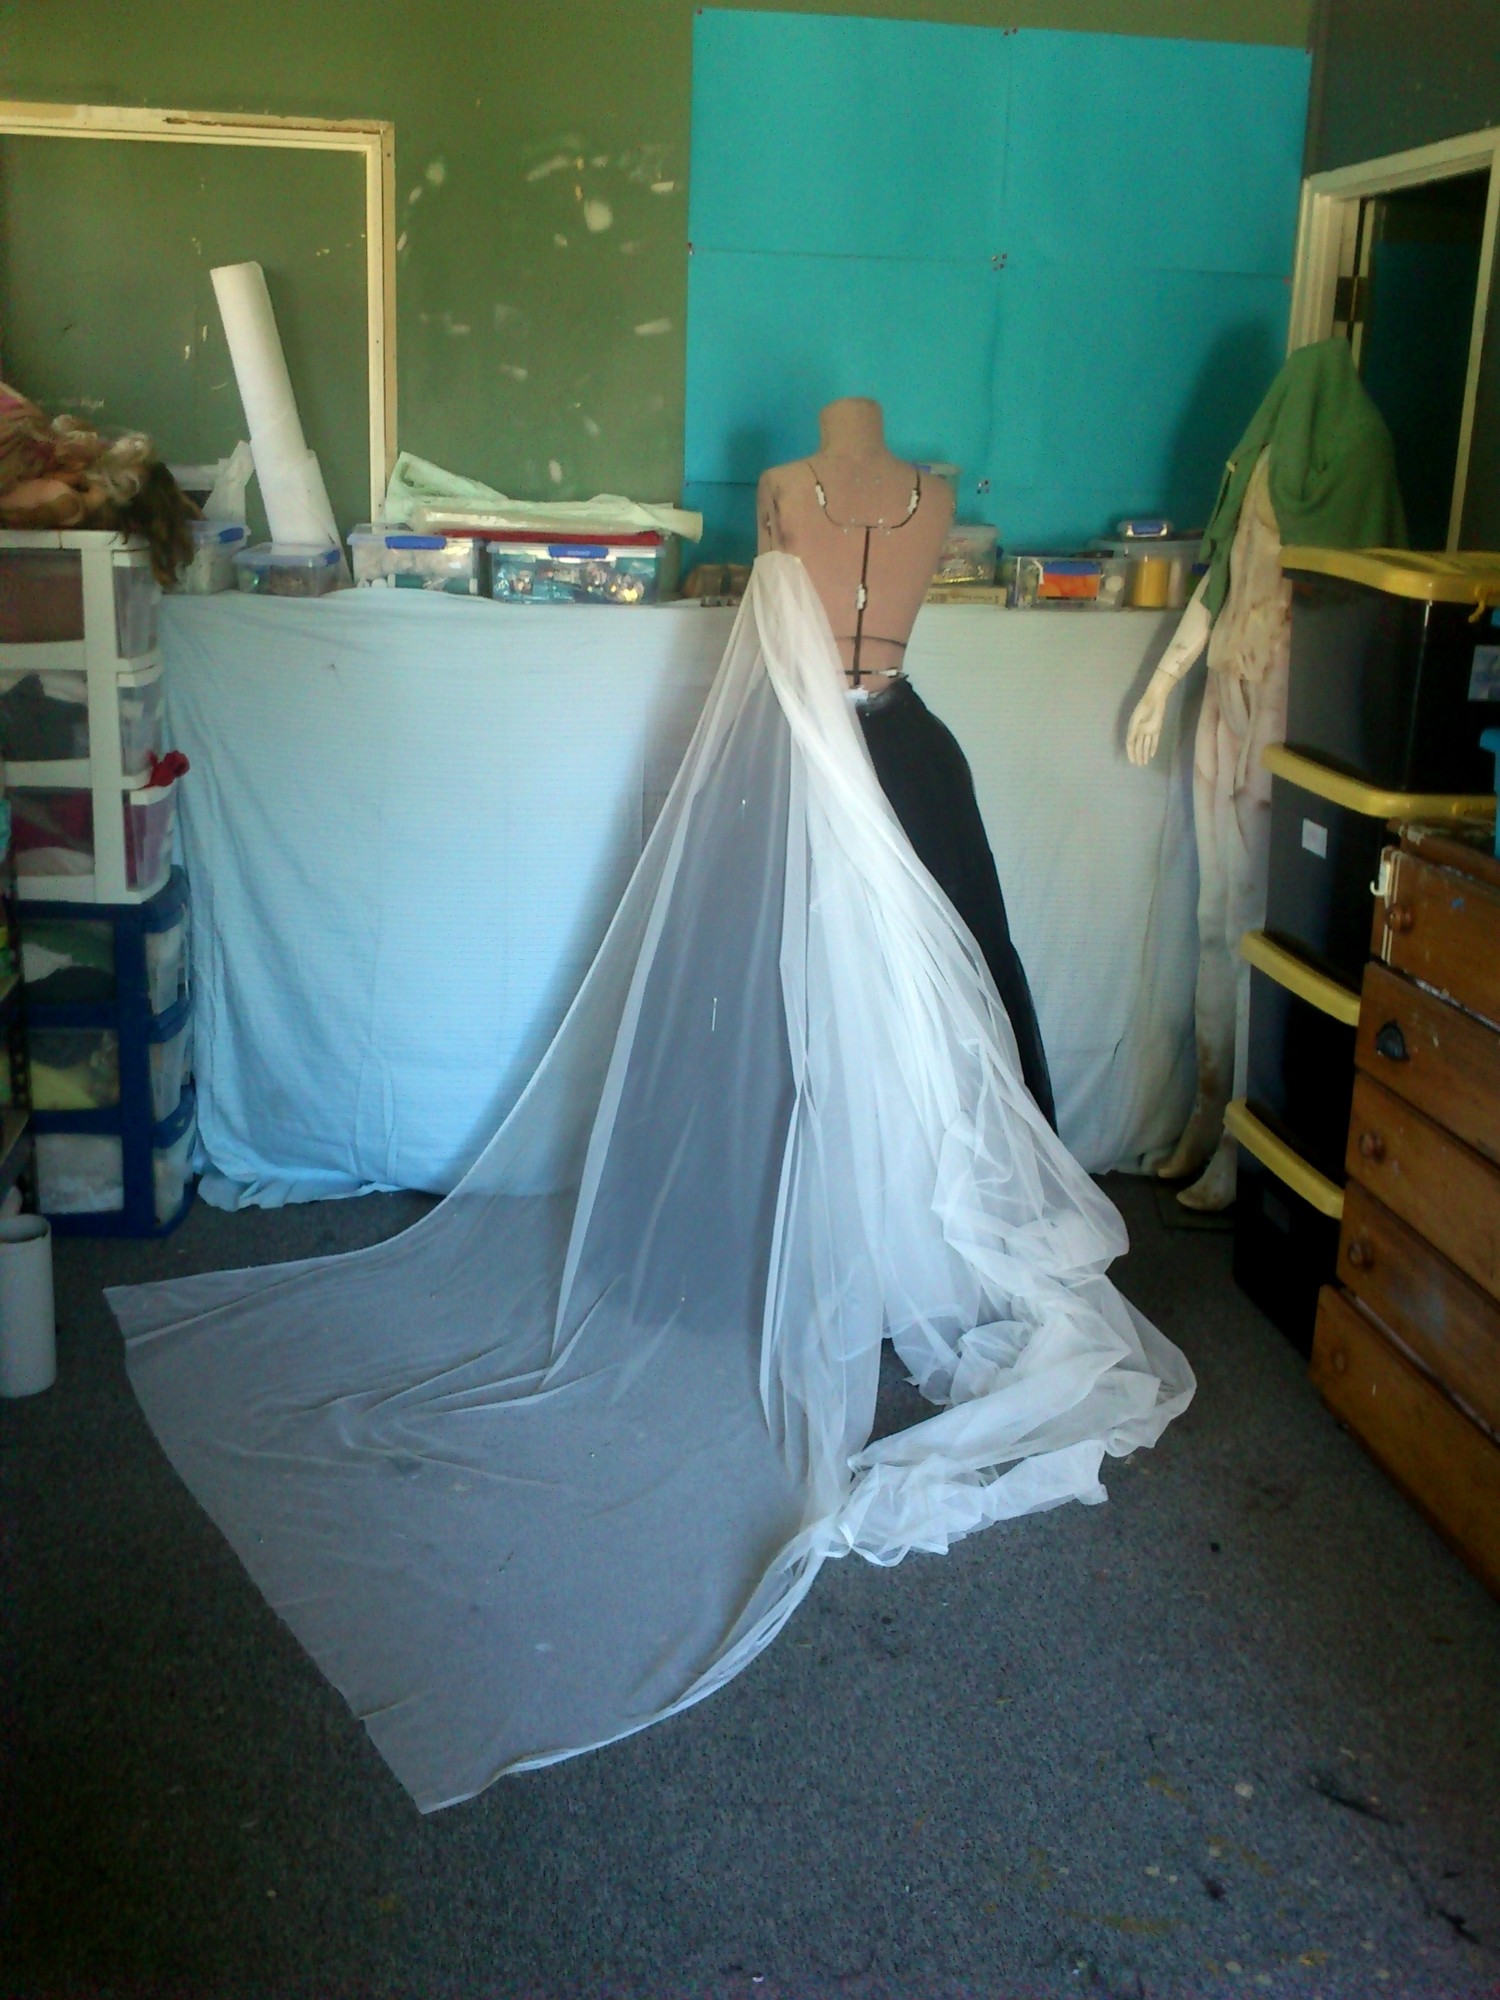
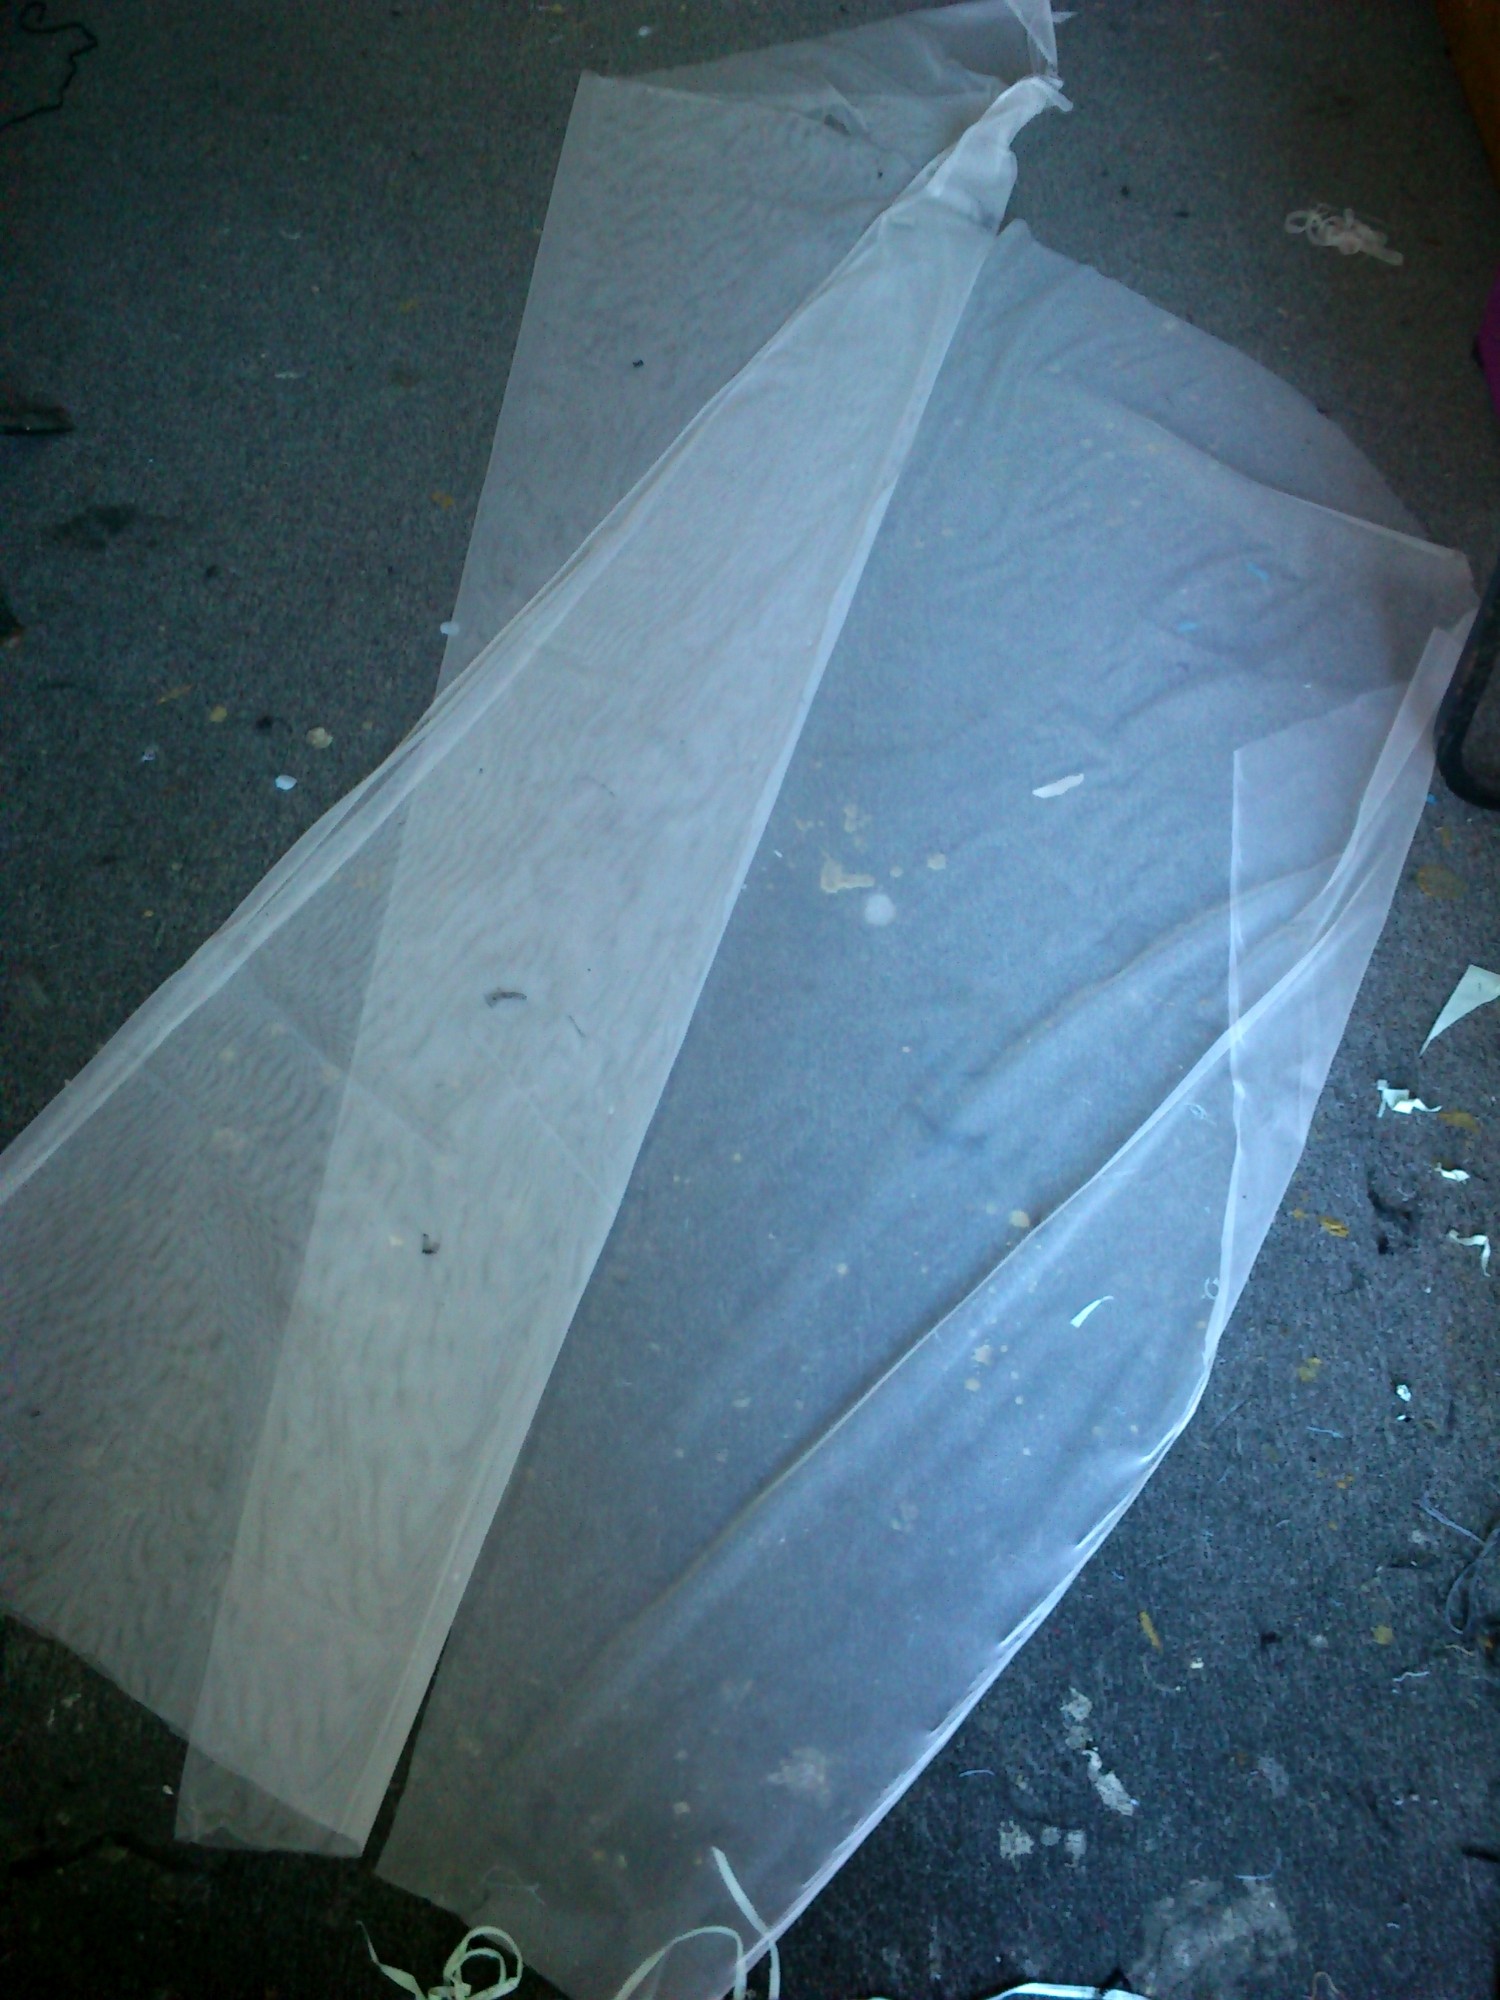
Super sturdy but fine tulle (photos show how transparent it is.) I cut the pattern over my Elissa underskirt to make sure I got the train as long as possible and forgot to account for it going over a pair of legs and a skirt.

sm_DSC_2603 sm_DSC_2600 sm_DSC_2594 sm_DSC_2593


1) I started by pinning the tulle to the form, selvage for the side/front seam and to see how long the gore would be on the diagonal, ending at the point which winds up side back of the train.

sm_DSC_2585

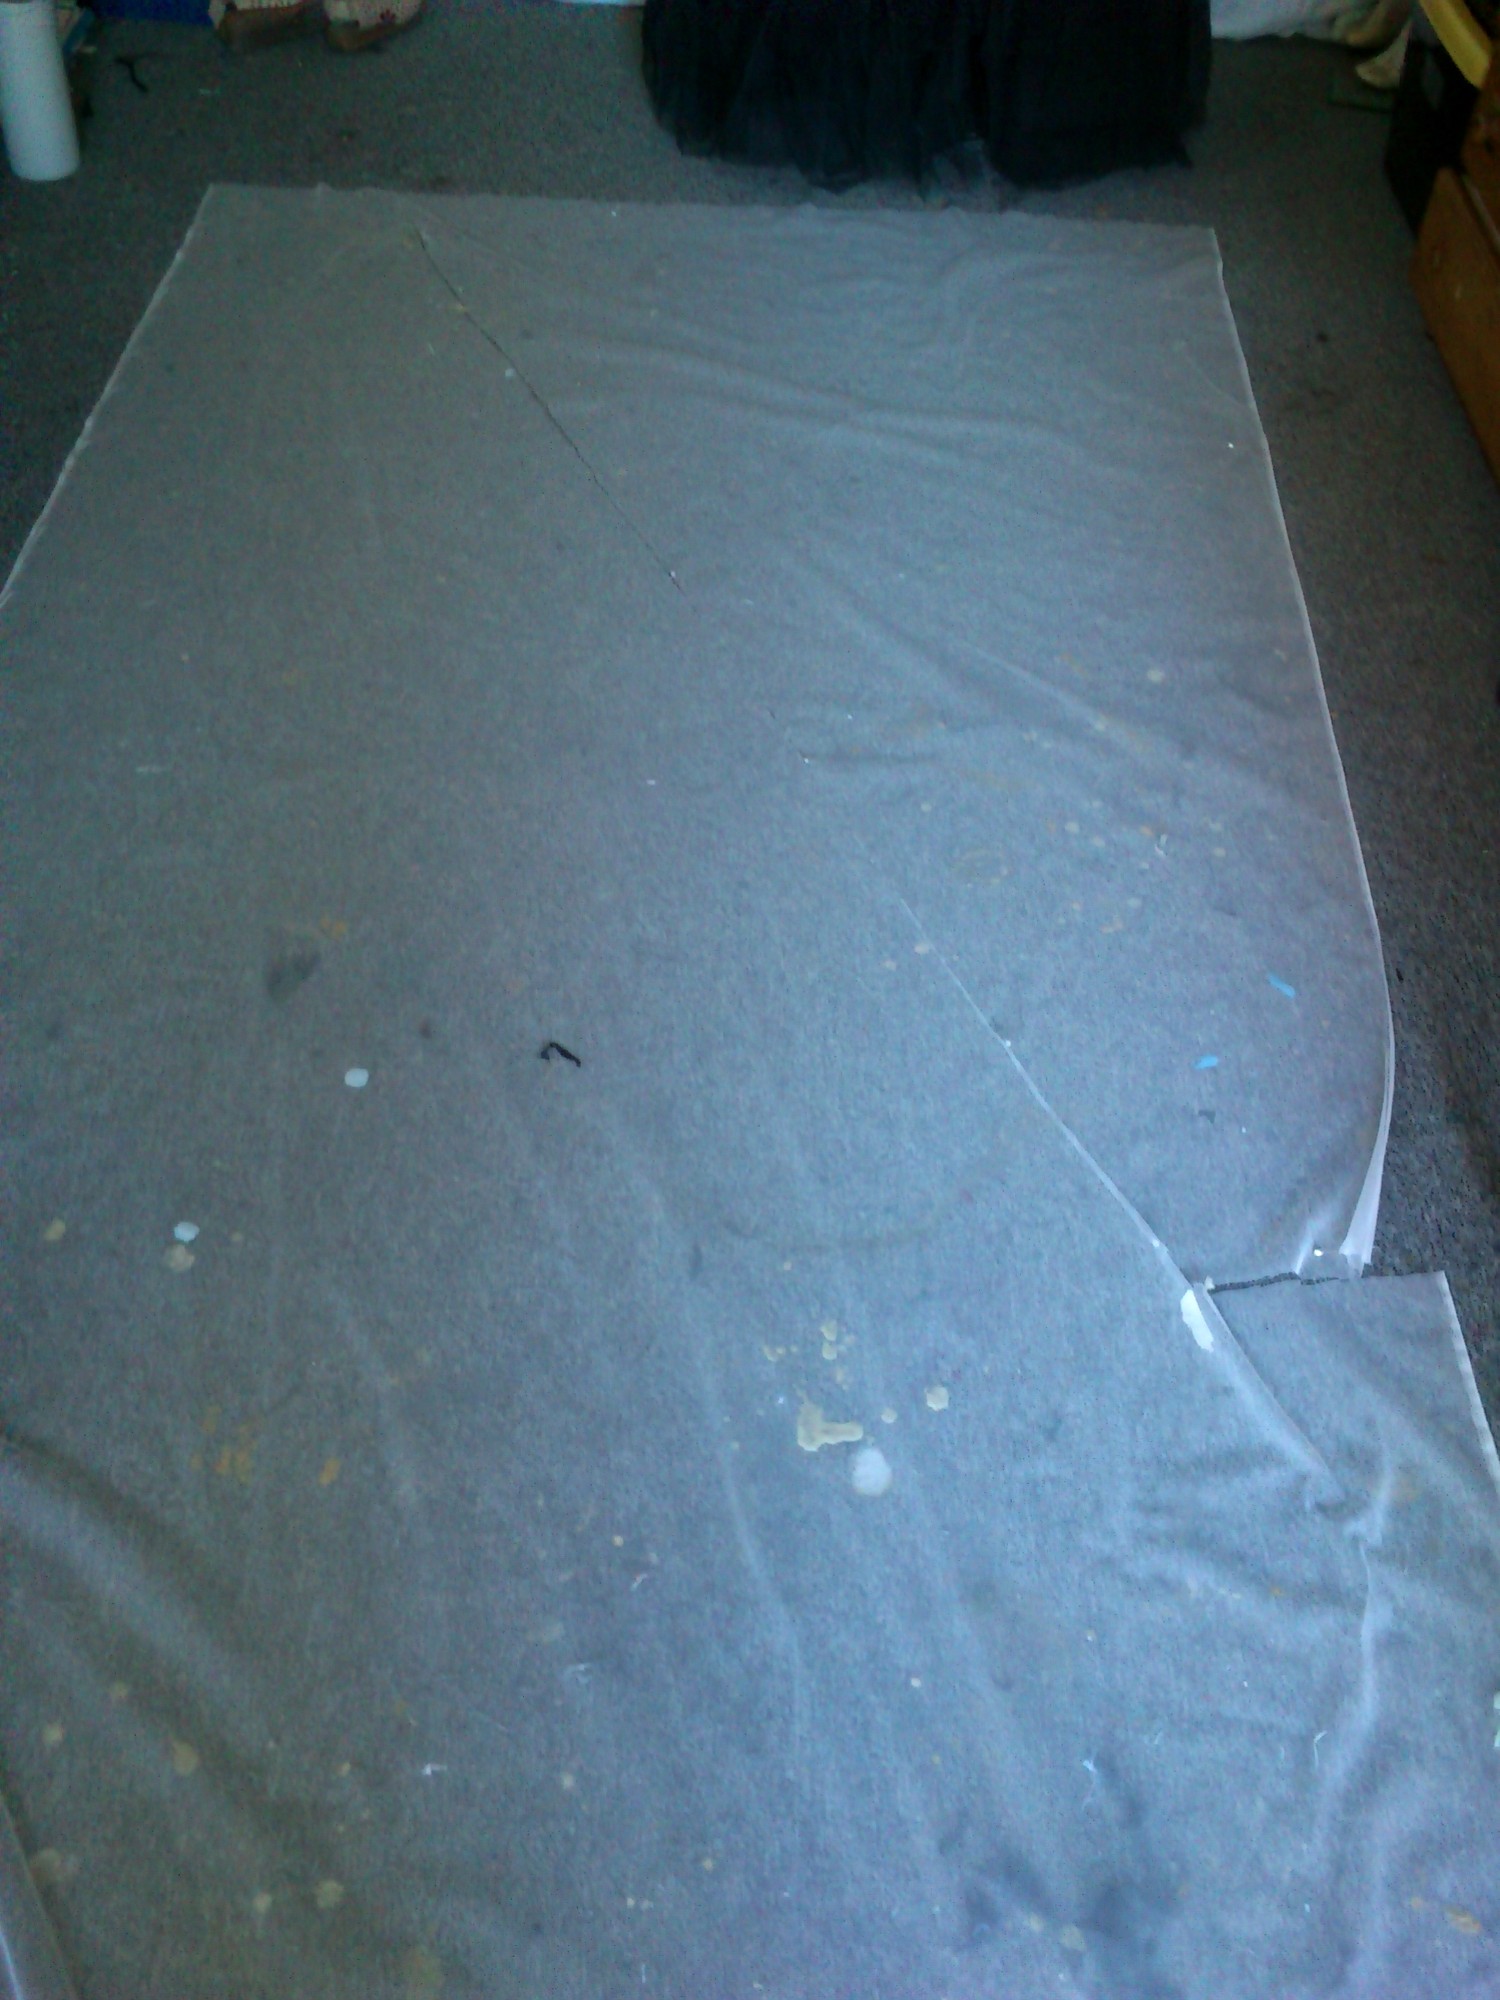
2) so this created a gore that I could top and tail (yay for reversible fabrics!) And so I smoothed it out by folding the fabric along the line and then cutting the first gore. sm_DSC_2586

3) I then laid that over the other side and cut and trimmed to match (if this was not reversible this would not work and I’d have two of the same sides)

sm_DSC_2587

4) So this creates the sides. I had measured to make sure there was enough length left that the back could be cut. This meant at least as long as the diagonal line plus any extra.

sm_DSC_2588

5) Success! Enough with a little left over. So I then pinned the remaining fabric to the back (cB on the fold and pinned at the hem as far to the selvage as possible) and pinned to best shape with the already cut pieces:

sm_DSC_2589

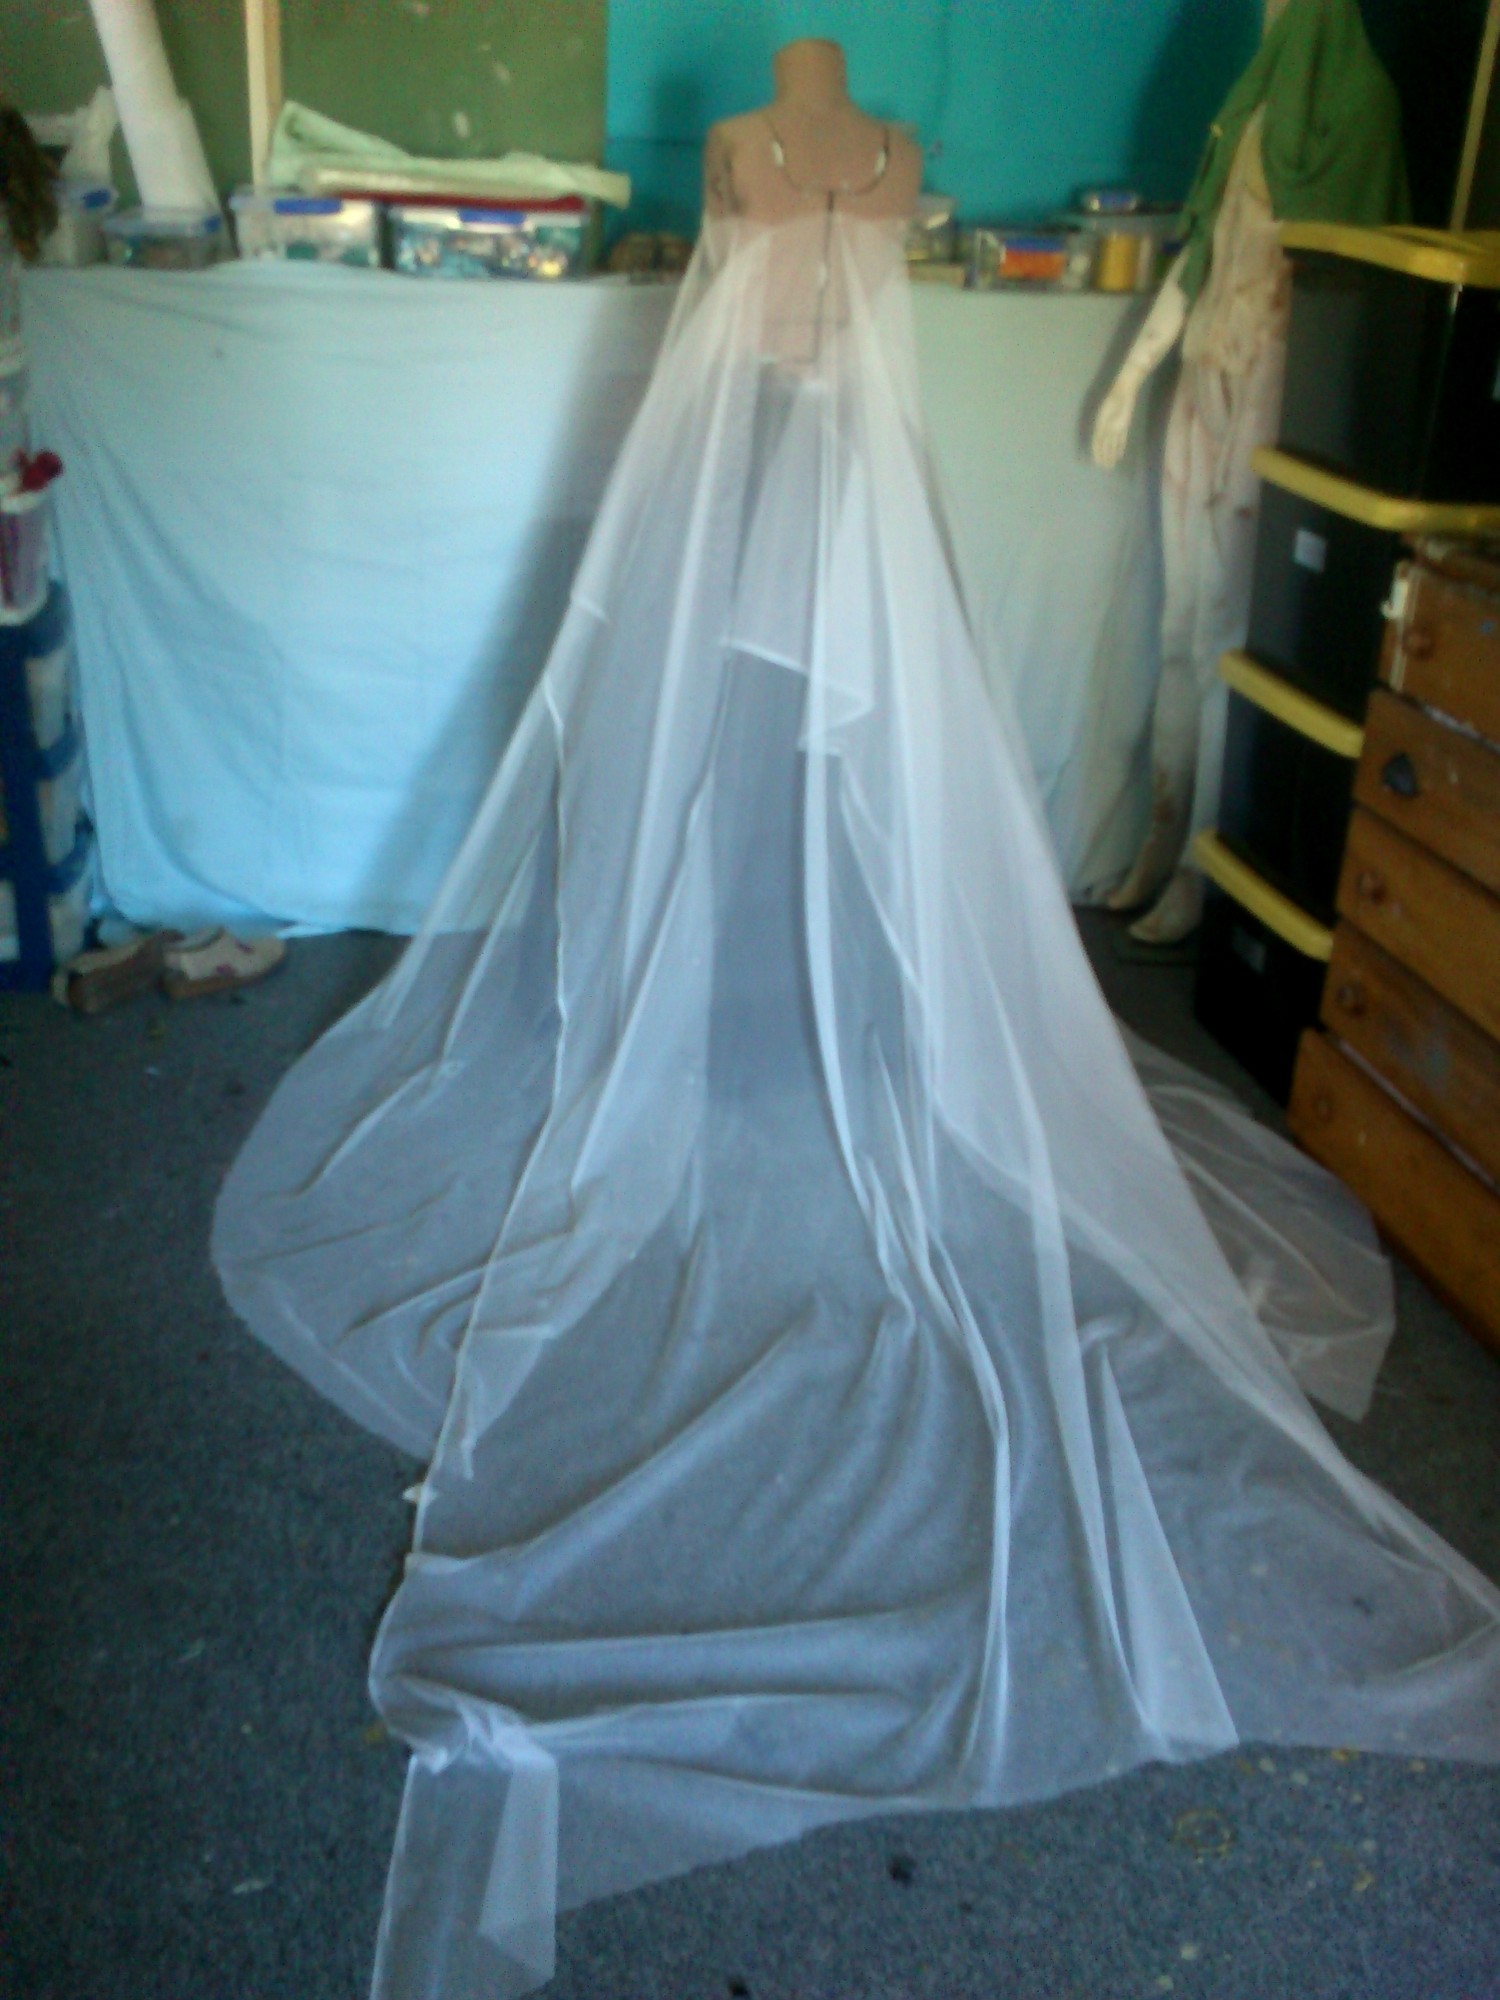
6) I laid the fabric on the fold and then used the same folding on the diagonal to smooth the line as before, matching the length to the side gore:

sm_DSC_2590

7) this left a narrow gore on either side. So rather than waste it I added it to the fonts and then reshaped all seams (smaller at the top tapering as wide as possible to the bottom).

I’m pretty sure there are five panels I just am not sure if I got them exactly where they are in the film (you see one straight to diagonal seam in the last scene on the fjord at least and the way it folds suggests seams) but i’m not too worried if not. This tulle is $14/m and I still have to dye it 😉 So I wanted best bang for buck!


Leave a Comment

Filed under Uncategorized