Tag Archives: cleves

further to hemming freedom

So I have been thinking a lot about order of sewing, technologies, and workshop roles a lot. I just have forgotten to apply it to my own work and finally made that connection 🙂

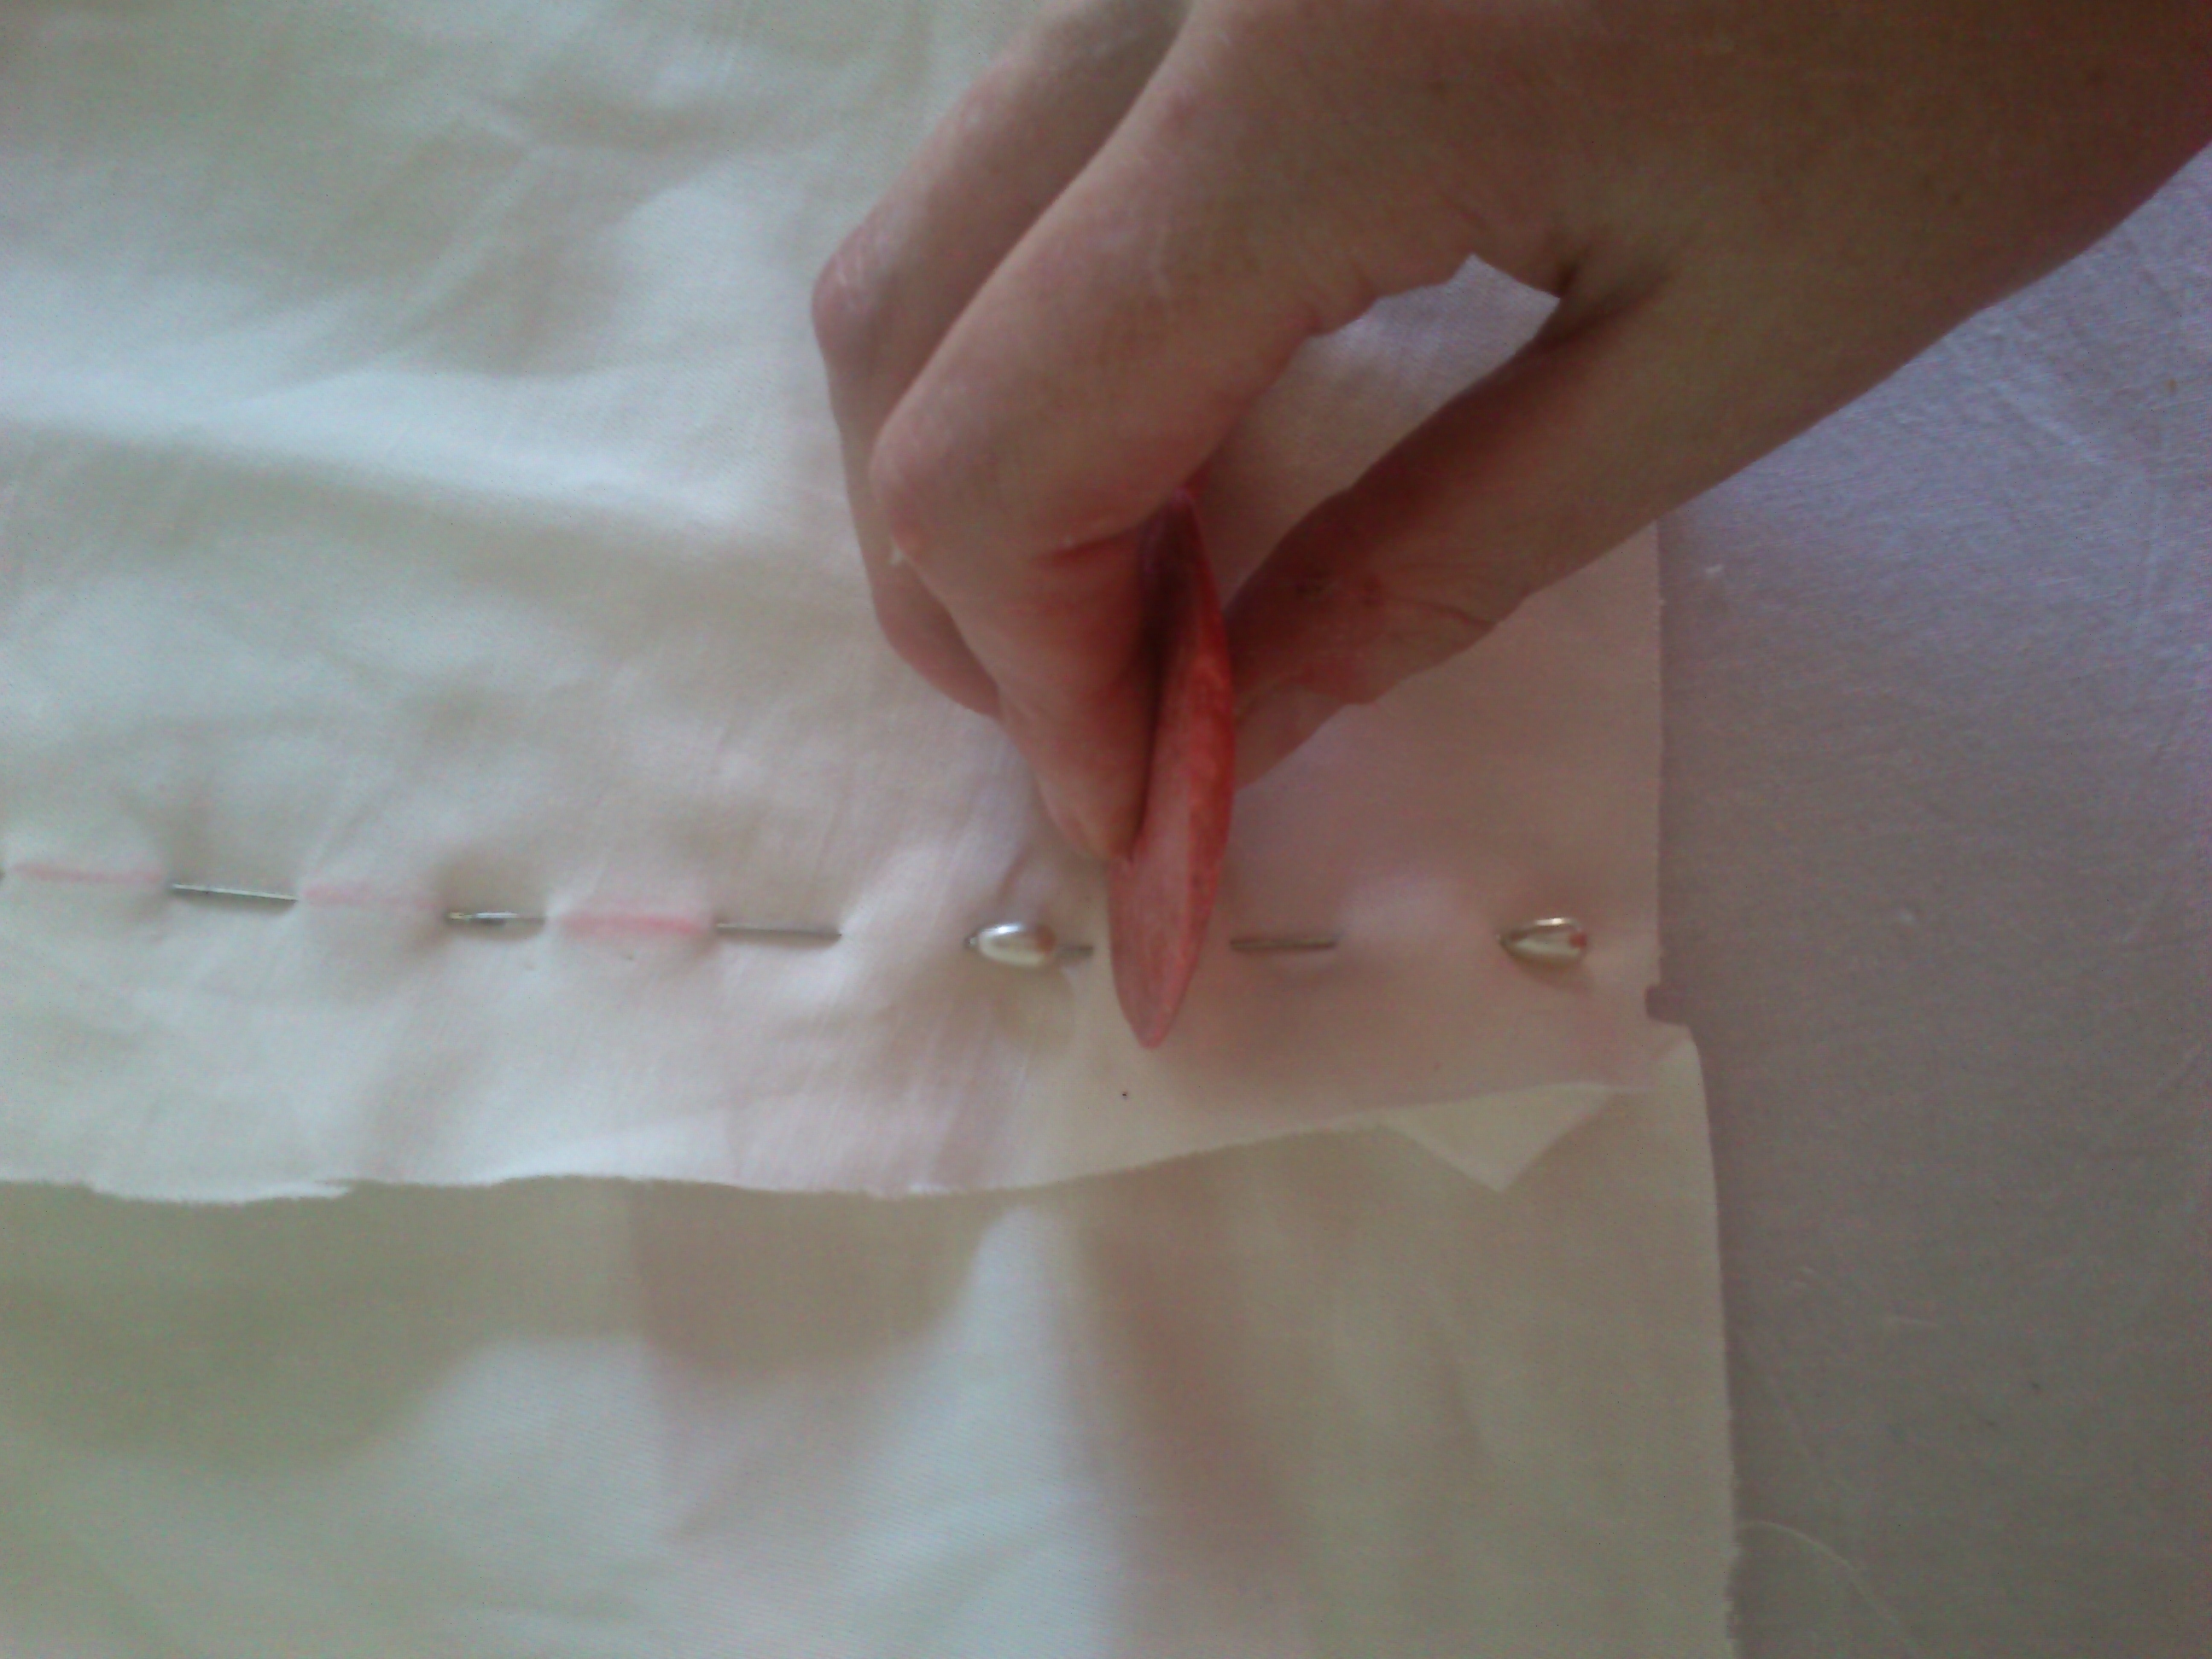
I keep stalling hemming because I want it to go fast, it hurts physically so I use long needles so I can reduce stress on any one finger but instead use three fingers and thumb. And I know people expect a “laurel” finish.

Well okay so no my hems don’t look like a master made them.

But they sure as heck look like the real deal because hems weren’t done by a master.

My work looks like it was from a workshop not a single hand. And I like that.

But it took a long time to like that. It’s not about sloppy stitches it’s about practical stitches that are also speedy. I may not have had my daily rations to aim for as a reward but I do get my frock that one step closer when it’s done. So not the same thing and it really does make me appreciate the anonymous workers who made up the garments we now know by the designer or the wearer.


Anyway. So finding that appreciation for my own work again made it much more enjoyable. I stopped making excuses to not do it because it was not good enough. It is.


Now redoing the hemming of my suite of ruffs… I’m not looking forward to that. That does need teeny tiny stitches and having lost TWO(!!!!!!!) ruffs hemmed to ridiculous fineness I also really don’t want to invest in stitching something that will likewise get lost again.

Well okay. Let’s see if I can put the same positive thought process into the hemming of the ruff.


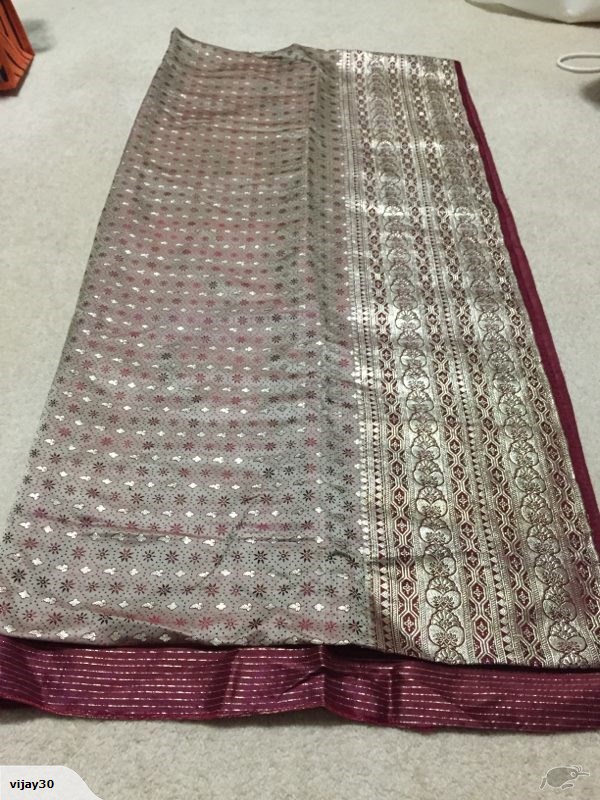
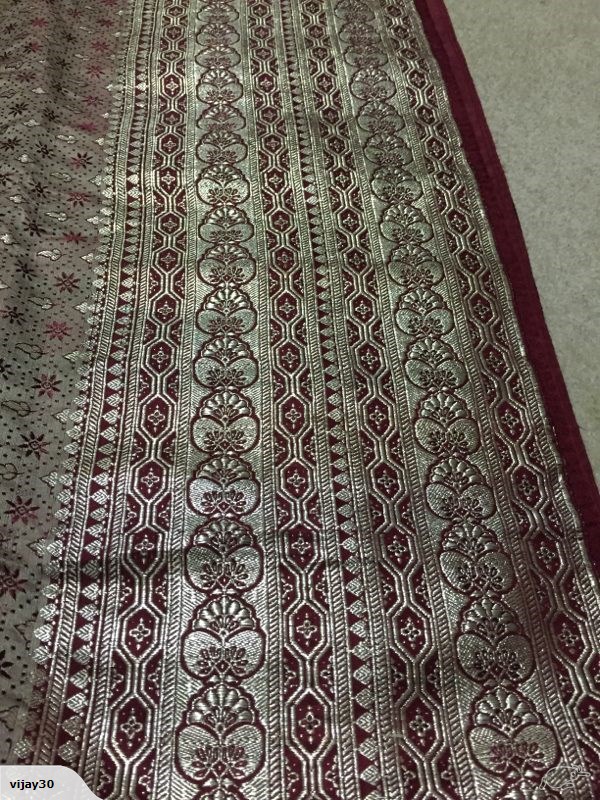
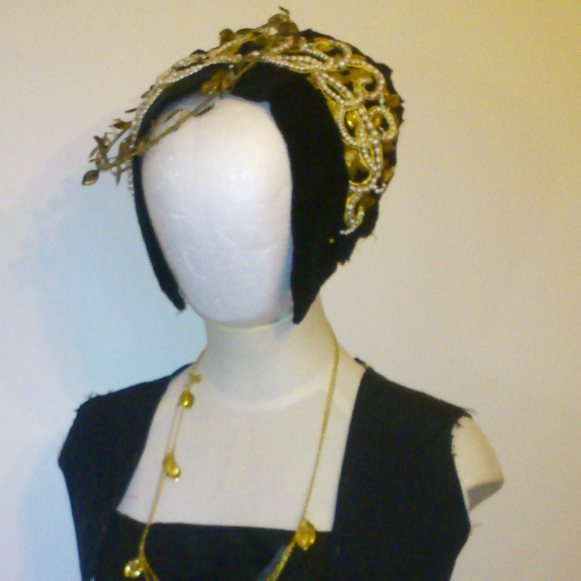
Oh but hemming took about 3 hours as it was so no, I was most definitely not making excuses for my work. It’s a hard task as it was the wool facing that needed stitching- it needed to be caught to match the edge of the gold braid to make sure it didn’t self collapse. And I still need to tack the layers together underneath the row.

Leave a Comment

Filed under Uncategorized

sewing day

I wound up breaking out the overlocker all day instead of working on horns. Which was probably wise. The rain is still leaving everything damp so curing would be risky.

So I zipped around the edges of my Worth sunburst skirt (the satin is so perfectly buttery that it was just nice to do!) and used the drafted bodice pattern from the 1876 tool to trace a new pattern for my new Phantom wedding dress bodice. I did use the vintage organza after all so that leaves some of the crepe for a potential Moulin Rouge dress. If I ever find a trim that works!

So that was tracing and transferring the pattern to a layer of twill, a layer of calico, and a layer of organza then overlocking all the edges tidy.

And then finally I cut the trim for my Cleves sleeves having removed the colour from the silk. And that leaves some softer trim for the undersleeves.


And finally, my last cast from my Ahsoka molds finally worked!

Leave a Comment

Filed under Uncategorized

big day

Finally have my studio feeling spacious. There has been a lot of digging through stash to divest the burden, still lots more to go and we have so much old furniture to get rid of too.

Anyway. Today I cut and pressed all the gold trim of the saree. Well now gold. I used RIT color remover to turn the base fabric yolk yellow and the metal tarnished to gold.


These are photos from the auction. As soon as the seller added these I clicked by it now 🙂 That double border does go from one end to the other, or did, and there was a 2 yard length on the other side (one width). Real metal, cold to the touch.

The space between the double border has also been turned into narrow trim for the chemise.

The main body? Well I’ll have to cut to shape then use that for the kirtle bodice. That is mostly not metal, but a double satin. It’s pretty darn amazing as a piece that has been totally able to be used with minimal waste.

Today I cut the sleeves and lined the bodice and refitted it (based on the Mary of Hungary bodice which really relies on the bias at the waist to fit!) So on the whole really stepped up to get this ready.

I have plans to go to Hamilton Gardens with a good friend and get photos. Honestly, I just want to get all my gear out there and photographed. All of it. No, no exceptions. All  of it.


Leave a Comment

Filed under projects: early historic

very down

Not sure if fatigue is worse this year or what, but today has been spent trying to be at least upright and it has felt like a struggle all day, and that is after a day sleep that usually does help.

But we did have “not a storm really” last night which brought down this tree. And it was partially sheltered by the garage and house next door.

So pretty much all I did was overhand over my seams to stop them from twisting in the skirt.


Okay I did also manage to mostly remove colour from the saree borders, but I have to be careful as it’s the same kind of fabric as one I took too far. And there are still red patches.

Leave a Comment

Filed under projects: early historic

cleves is sort of on track

I woke early and put Pride and Prejudice on and sewed. And sewed.

Backtracking a few days: My support bodice has been theorised and made. Basically I went this area has both Dutch and German influences and I really don’t want another sidelacing support so what if…?”

The shoulder is cut separately like in Alcega and other tailors. Because like me those tailors said “man this wastes fabric also I want a stable neckline all on the grain thankyouverymuch.”

I have done this since.. well the Kampfrau at least, but  in all the site moves this has been lost. So, that’s the two-fold benefit of cutting shoulders separately. Oh, but the shoulders are a single layer like the Effigy stays because it really is super comfy!

Then I wanted to try to use the overhanded body seams. This was nervewracking! I know the curvy S front seam means that’s where fitting happens, but it is very apparent from extant items that the side back was where the final fitting happens. This is clear when you look at the even seam allowances at the front but uneven allowances at the side back. That can only happen if the fronts were fitted and made up and the side backs done last.

I have managed that through very bad initial fitting stages though…

So here is my cunning method of transferring a seam and also my curvy S front seam. The entire bodice (aside from sloping neckline) is straight from a tailor’s book seen in Kohler’s History of Costume that looked like it was made up but is definitely from an extant manual.

I thought it was in Drei Schnittbucher (which really I hope everyone has) but I think was in another article. I will find it. Meanwhile the Kohler diagrams:

So finally I used twill tape to stabilise where I’ll be poking lacing holes, and bound the entire piece by hand.

Lots of falling in love with all the characters from P&P here and also lots of life lessons between my first viewing and latest!

So that wasn’t enough. I also removed the dye from the brocade for the hem of the gown proper and started putting the stickelchen together properly.

I like making hats, I love millinery. So of course am doing this as complicated as possible. But it’s at least plausible and mimics the structure I know was used for rigid headgear at this time. Oh trust me that documentation is coming but it’s been a slog to reverse image search as my bookmarks are out of control! And because it’s been over a decade since this project started there are broken links to hunt for archival forms 😉

The twill tape is to stabilise the edges.And the front shell is in place and the jeweled band is in progress. Just second guessing a few decisions for that one. I just don’t have the finding I know I want to use. The pretty ones clearly have glued stones and the “aged” gold is just not what you want for period items (you didn’t pretend the bling was dirty or not real, you wanted the bling!.)

Leave a Comment

Filed under projects: early historic, Uncategorized

insta-blogs

#cleves progress looks better with a head on the form! Skirt is assembled, needs guards but I have done so much piecing today.

View in Instagram

Leave a Comment

Filed under Uncategorized

insta-blogs

#cleves frock hem piecing. I had epic fail yesterday and vut my waist too deep so wound up with the skirt sitting on my toes.

View in Instagram

Leave a Comment

Filed under Uncategorized

cleves progress

Today the carpal tunnel injections have proven their worth 🙂 If I can do this one or two more times before I have to have surgery I’ll be happy. Sounds like I need my ulna’s chopped off sooner, but, maybe?

Also I may have gone through 1/4 of my Hot Cinnamon Sunset tea. Now if I could get a perma-stash of that I’d be happy 😉

Okay so putting fabric away up high just made my radial stuff really make a statement but I am just wandering around with bandages around my wrists not full splints 🙂

But I have cut my Cleves skirt fully, an entirely new kirtle bodice (hey Michaela it’s summer, you do not want linen canvas, cotton twill, and silk underneath those layers for the bodice) from my linen twill.

Just took a break to share this. I usually work with non easy to photograph fabric so this is why I’m sharing now! I usually use a mechanical pencil and draw directly under the pins that emerge from the top but I just had chalk out there today.

Also yes, florist pins. They grip better and I can really pull in my seams to fit properly. It’s easy to see how, I also overlap them to work like boning/support.

Leave a Comment

Filed under life with disability/illness, projects: early historic

insta-blogs

#cleves ready for all the handsewing! Skirt layers, support bodice, and headdress. Now… Can I do this in a week?

View in Instagram

Leave a Comment

Filed under Uncategorized

cleves bodice fitting

I started with taking a copy of my Braunchweig gown and a transfer of my “german” kirtle to make my two bodices.

This is the Braunchweig copy as it is regionally close but also able to swing into the more dutch bodice shape.

I did also keep the Mary of Hungary bodice in mind.

How this works is the edge is on the grain so you have to smooth and stretch the fabric from there  under the arm and to the waist. So yes the waist is off the grain. This is how the Mary of Hungary gown works too- if the edge was taken off the grain you get stretch going around the neckline that needs to be stabilised.

The down side to this is it makes fitting the armscye a nightmade.

But I kept going.

Ugh, look at how that now sits. Oh the back fits beautifully but where the excess fabric is moved to shows I needed a longer narrower back to be able to support this open neckline.

So my options were to remake the back panel or put in a seam. I dislike putting seams in the CB of my German gear but I am also running out of this fabric!

But it worked.

Then of course I had to copy the seam placement from one side to the other.

Side back matching, and shoulder matching.

SIde front matching.

The silk has almost no give! So I also also had to do a few tweaks on the form. I smoothed the left shoulder up and pushed the excess to fold over the shoulder seam.

As can be seen the armscye is very tight in the front of the arm, this will be clipped but only after I have properly assembled the kirtle layer and have the support this gown needs.

So I may see if I can get the kirtle underneath already to fit the way I need it!

Leave a Comment

Filed under projects: early historic