Tag Archives: ahsokalives

Ahsoka progress

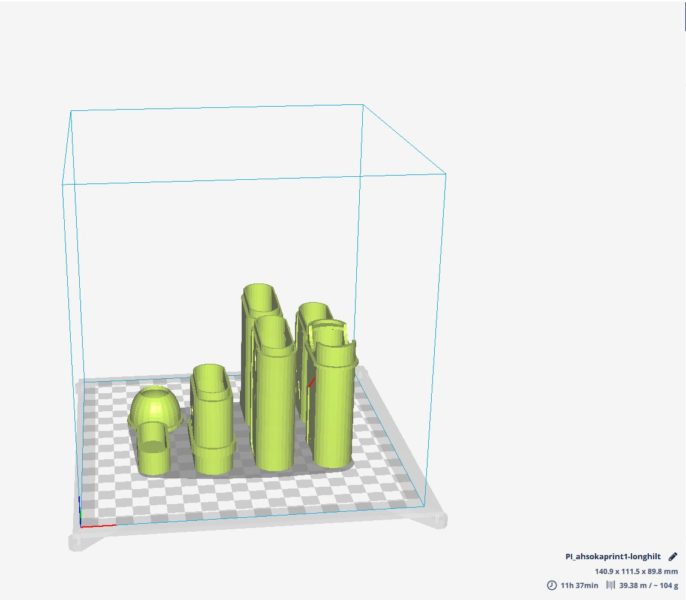
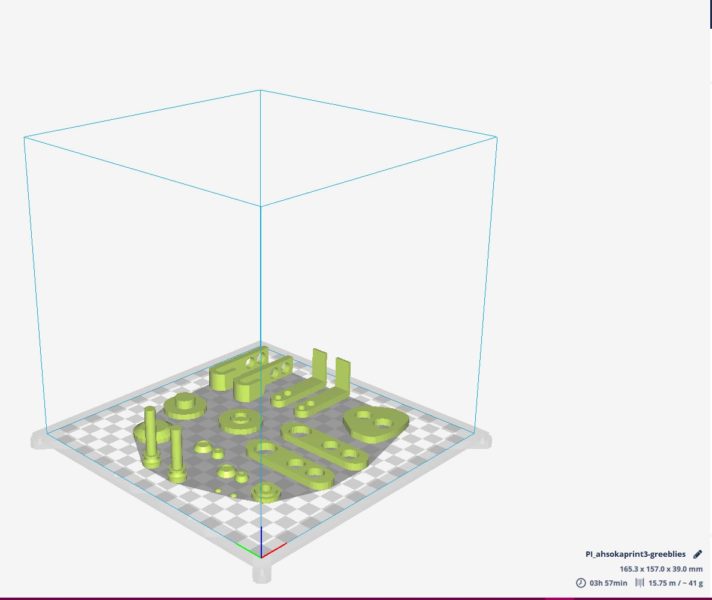
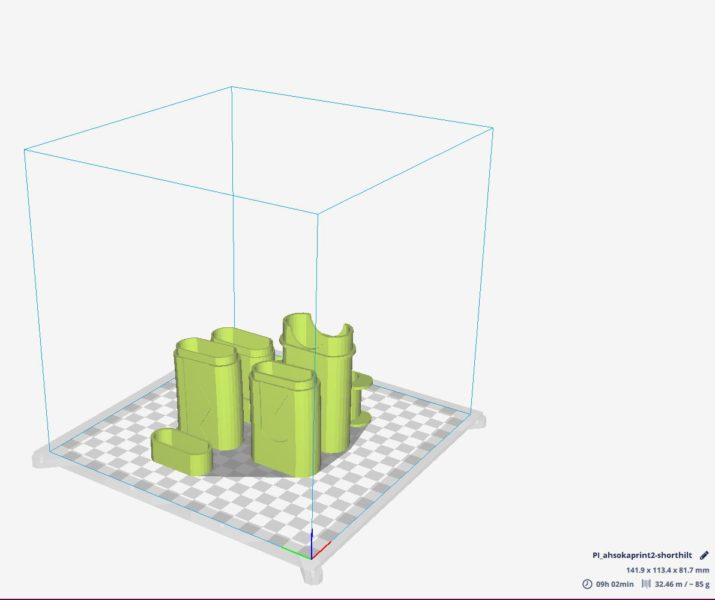
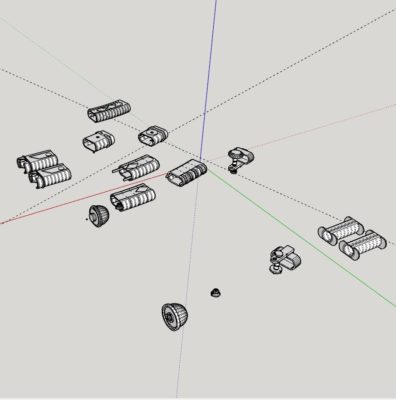
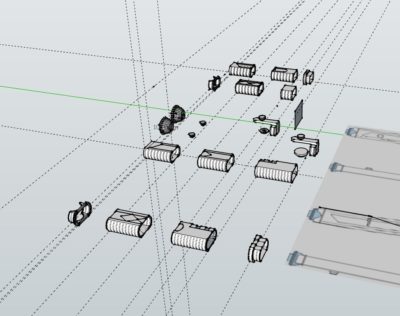
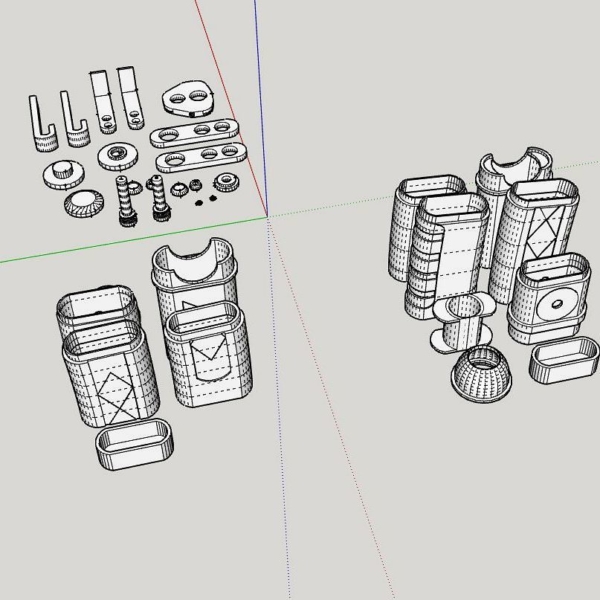
I had left the hilts and greeblies looking good πŸ™‚ But then… today as I was arranging all the parts on a stand in plate… well I found that I needed to cut one hilt section in half, and also find an emitter end cap.

But this is how it all looks now so it should be good πŸ™‚ Okay I know it’s good as I error checked and used Cura πŸ™‚


If you look closely I’m printing at draft quality because I don’t really want to have my printer going for a week. I just don’t trust power/machine combos atmΒ ever πŸ™‚

But it’s really not that bad as I can just sand and acetone wash as planned. So it shouldn’t be extra effort to save a little filament and a lot of time πŸ™‚


It looks like I only have photos of the previous sets of hilts over here. Yes. I had to rebuild my hilts from scratch as bending the hilts slightly early lead to something being off by about 1mm over the whole length. I managed to do so in a much shorter time frame but… it was still a lot of work. So to find the hilts still needed work today… ugh.

But, yes, all in parts.

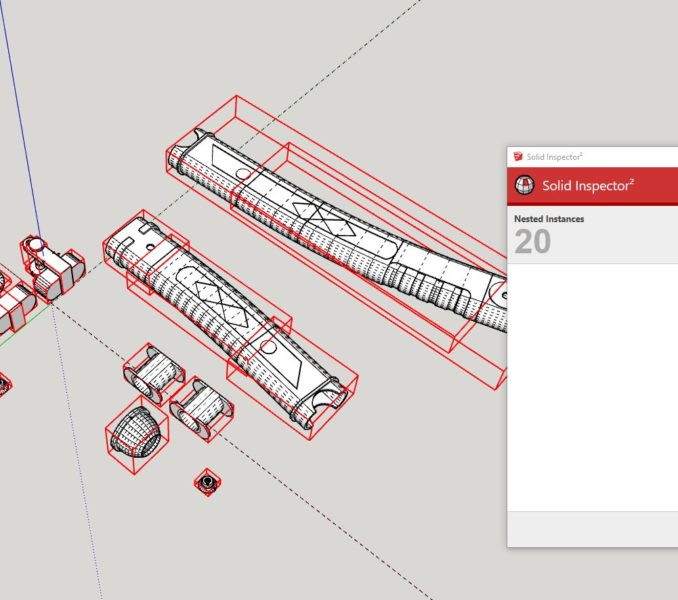
I believe this is actually of my final set πŸ™‚ The emitter got lost so I have put it back in the file here (with all the pieces nested) and in the file at the top (all parts in areas about the size of the plate of my printer) and are in the three files for each print job.

I used LIPID object exporter plugin for Sketchup and opened them in Cura to make sure they were all aligned correctly.

I do really enjoy this. Well most of it. Once the order is sorted and I don’t have to work in the air as such.

 

Leave a Comment

Filed under Uncategorized

Stalled progress

My Ahsoka lekku did not cure as well as needed. So I’m going to see if I can tidy the belt template and start tooling leather.

Leave a Comment

Filed under Uncategorized

It took all day

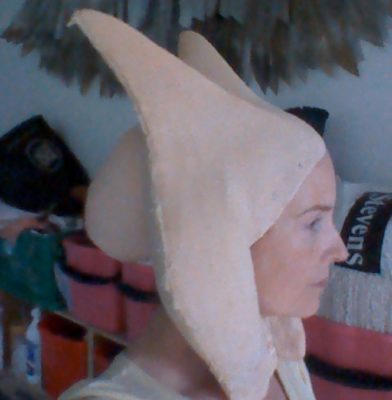
But I am nearly back to where I was. I decided that I was too annoyed by the short back lekku to be happy. Side track to making a new stand for sculpting and I now have wiggly lekku- one attached two on the floor.


And so much mess.


So much.


But the back lekku has a layer of latex, there is latex grouting on the new montral seams (actually an older cast that was still in pieces) and I also templated a headband for her.

Leave a Comment

Filed under Uncategorized

time to latex

I had a good start yesterday. Having experiemtned with many tools now I will be able to do a poper tutorial on making best use of latex under different circumstances.

I’ve used filler, paints, brushes of all kinds, and now it’s finally paying off. My lekku are looking good and my montral can be trimmed down today πŸ™‚ I tried to get video of the trimming process but had instagram fail. so to the camera and tripod!

I can also get some photos the laying up in progress πŸ™‚

Leave a Comment

Filed under Uncategorized

I think I solved it

Well I have divided the hilts into reasonable lengths and created supports so now… now I hope I can just make a curve and use the plugin. Hopefully. I am exhausted.

Leave a Comment

Filed under Uncategorized

Comments are back and I’m so close to printing

The site will default to your WP login but if you aren’t logged in you can use FB, or Twitter at the very least. Β Woo!

After using the shape bender I used hidden geometry to work out why the end looked blunt and then added lines.

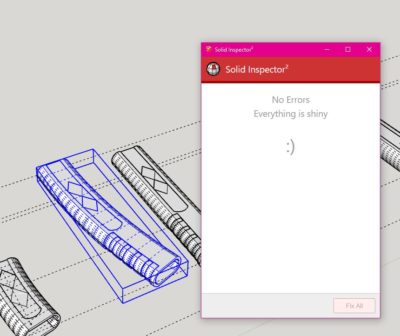
And then used Solid Inspector2 to check for errors. It actually fixed some things that were meant to repair, but not my edges which I did expect.

And then I found trying to slice through horizontally just did not work. The model is perfectly horizontal but as soon as I intersect faces it doesn’t. So lots of short pieces like for Ventress πŸ™‚ I know that worked so this should work too πŸ™‚

I started making fairly the overlaps to help join those pieces once printed but I’m not so I like them, so I’ll spend a little more time today on making ring supports instead.

Each hilt is more than 10 pieces. This is to better reflect the different materials (copper, silver, black) Also to allow the same print to be used as non functional and functional by having some separate blade holders able to be used simply as support, the end cap being functional with the D ring holder and screw. I kept getting errors using the bolt making plugin so I’d rather just not use that atm. It should work at a larger scale but I did find scaling could be unpredictable with curves,

These also have to be arranged in correct alignment for printing. which I will do once the connecting sections are added.


I find this quite painful and painfully slow work. A lot has had to be drawn by hand even after using tools and plugins. For example the supports I’m making can’t be just extruded as they connect into pieces on a different angle. So I have to copy from one piece and add to the first and then measure and draw to size. Luckily 5mm seems to work well so I can at least be fairly consistent with that πŸ™‚

It’s seriously fiddly work, lots of copy paste and drawing on the inside and outside

Leave a Comment

Filed under Uncategorized

Ahsoka plans

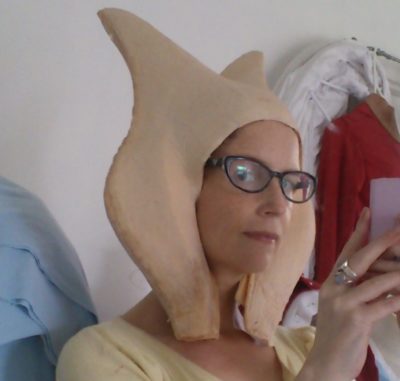
This is where I left her Montral. The lekku are the next on the agenda.

Β 

I have a cunning plan, but I have managed to move and misplace or actually corretly store so many costume elements this year that I am not sure where all my lekku making materials are.

Sadly probably no pictures while I actually do the work. Latex all over the place and latex cures super fast when in thin layers so it’s easy to lift finger prints or grab fibres from anything if I am not careful πŸ™‚ But it’ll be much the same way I worked on all my lekku.

So that is the plan for tomorrow- work out the lekku proportions and start marking the montral for seamlines with the lekku- I hope to hide the seam in the paint.

Leave a Comment

Filed under Uncategorized

Ahsoka progress and plans

It takes 10,000 hours to master something? Maybe an exaggeration but it is many many hours of making good progress and then bad and then good, and then even worse…

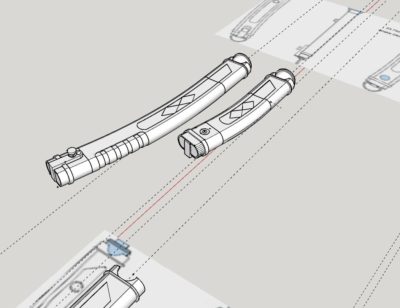
But I have hilts actually curved and tidied fairly reasonably.

I have so many in progress images but none of this particular set. Anyway. Tadah!

Leave a Comment

Filed under Uncategorized

ahsoka hilts genuinely ready for curving!

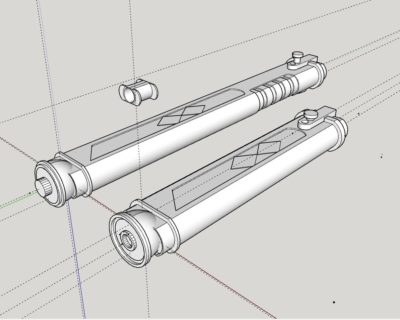
There’s an extension for that.Β A reminder of all the pieces I had made.

And now totally new model with 16 pieces (well will be when I make the blace support for the smaller hilt.

So pretty. And to show they are indeed separate pieces!

Next I am going to use the Bender extenion as that’s what I used for vetress. I’ll have to make sure the ends are definitely straight so they do not affect the greeblies.


I am so happy with these I can’t say how much πŸ™‚ I wish I’d rememered all the extensions I’d used as there are a few very handy one. I hope the threading ext. works. It is going to help me hold the saber in place.

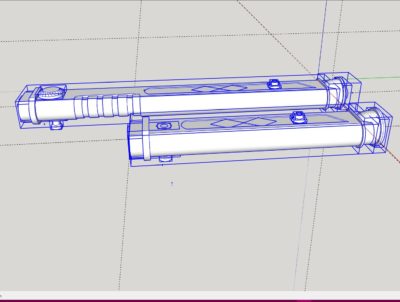
See those long pieces at the end? They are l shaped braces to hold the end cap in place. The screw has been made to go all the way through the model into the corresponding button and counter sunk button respectively in the long and shot sabers.

I think i have a light source sorted. It’s a but spendy but actually within budget so I may hit the “buy now” button on the torch and batteries and charger.


I just need to figure out how to rewire a torch intended to be used with an aluminium body that acts as part of the circuit. I think.

But I wired up my mini hilt last time so…. Also- I can print a battery holder- I have seen some on thingy verse so I think I can use then to help make one that will fit in this. I’ve also figures a way to help strenthen a few weak points in my hilt πŸ™‚


Very next things to do:

Add a tiny stop to the screws. mothers to the button and counter sunk piece.

Get my curves! Get them to full length including straight ends. These are done as lines outside of a group- so I will need to group my components, then make a curve then fingers crossed!

then slice (and I have a tool for that now πŸ™‚


Leave a Comment

Filed under Uncategorized

Ahsoka hilts

I have actually had to redo alllllllllllll of this. Luckily it’s going much faster now. Note: use right click to reverse faces. Trust me you’ll need it a lot.

But this is why I have been so quiet online lately. Relearning the skills I used for Ventress after not using this for a year or so? Tough! Especially when some of the guides are a bit incomplete.

For example for cale? you click the tool click the diagonal and start typing. No right click, no typing into a text. It’s a bit counter intuitive but I think it’s a bit more accessible this way too? Anyway. Saved me at least a little work- by allowing me to copy components from this file into my at true scale new hilts. And then using them as a guide because I change so much!


Leave a Comment

Filed under Uncategorized