Tag Archives: ahsoka

Ahsoka progress

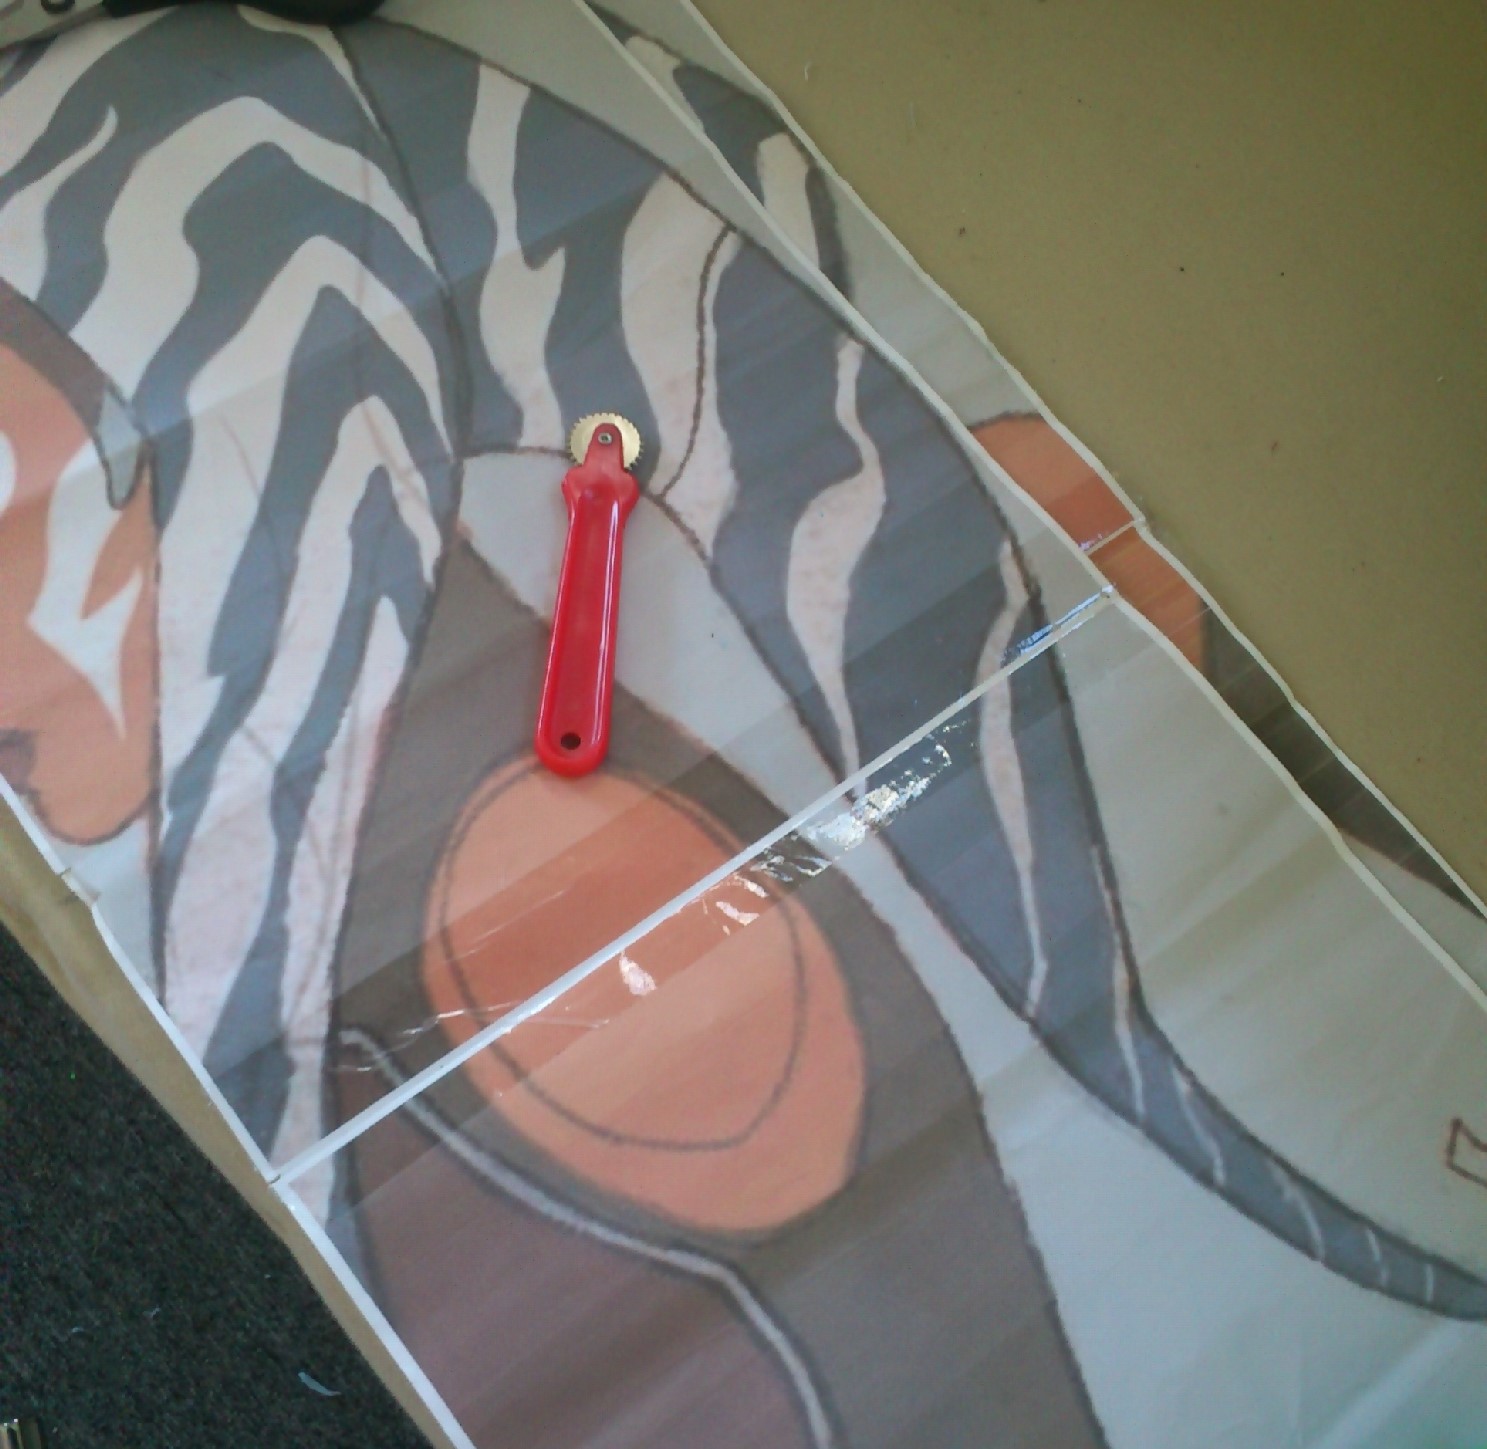
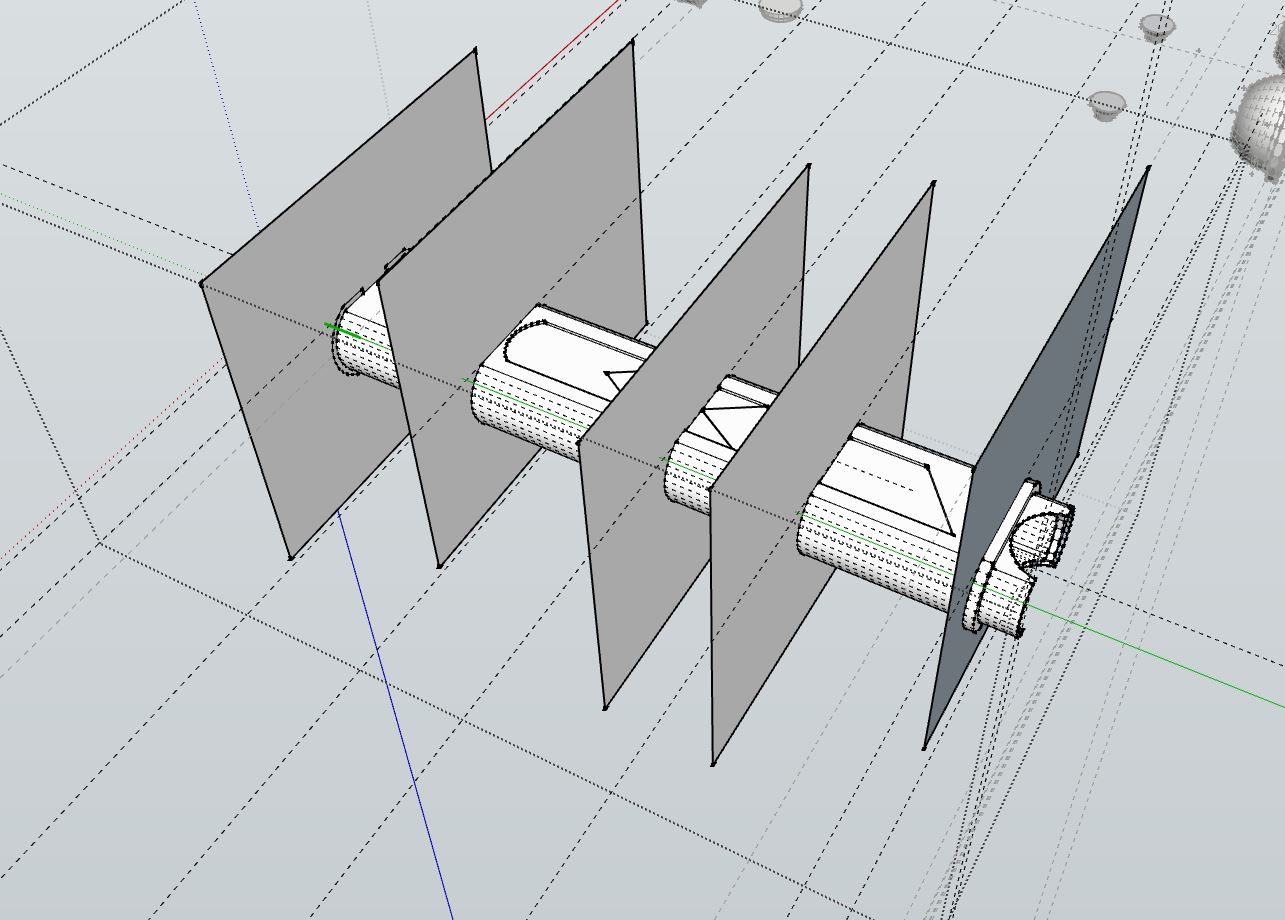
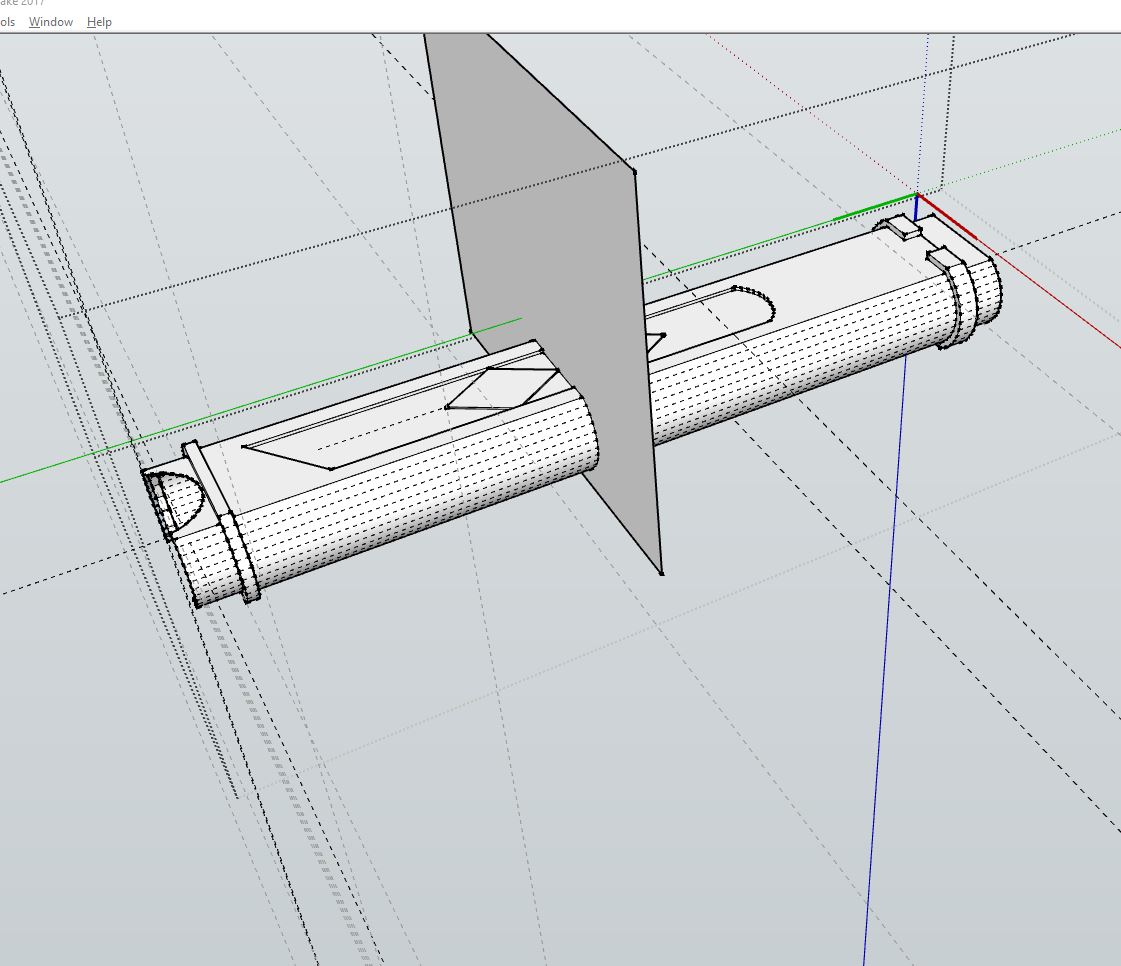
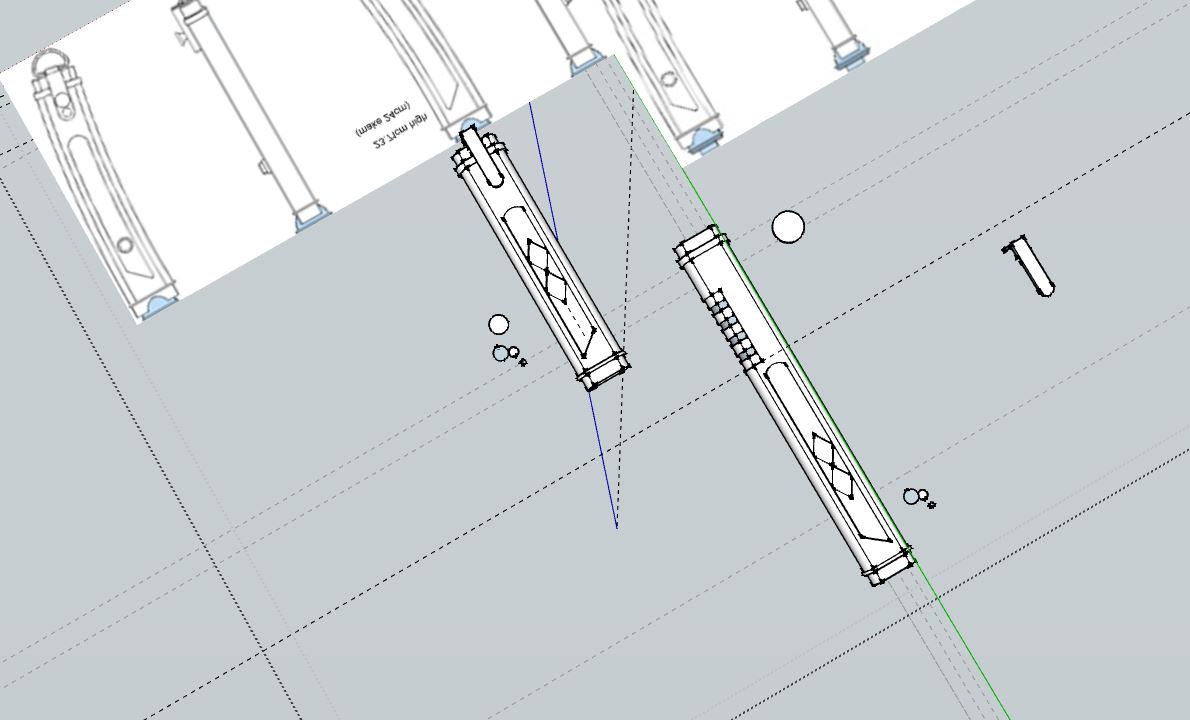
I had left the hilts and greeblies looking good πŸ™‚ But then… today as I was arranging all the parts on a stand in plate… well I found that I needed to cut one hilt section in half, and also find an emitter end cap.

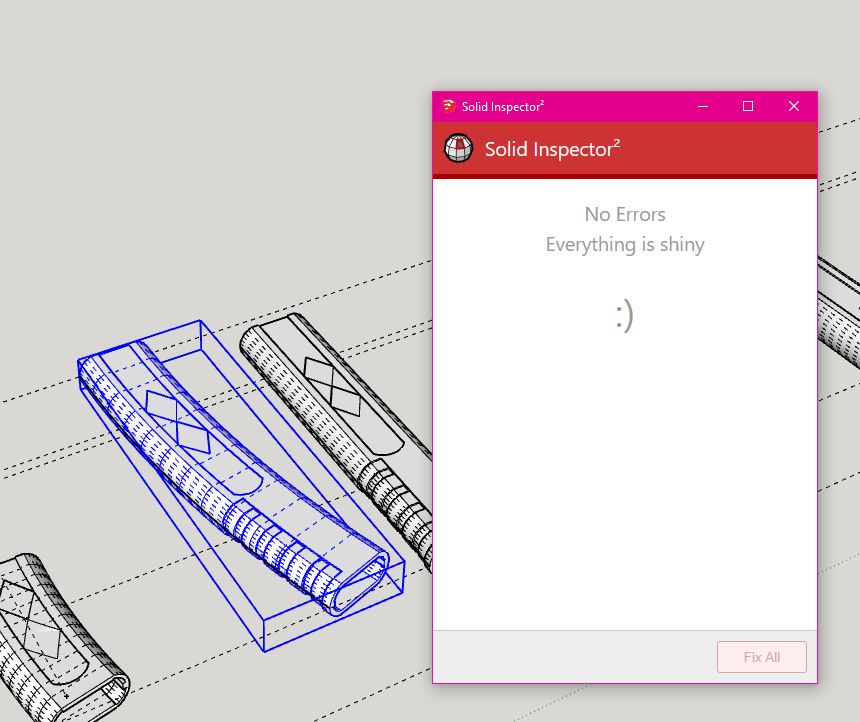
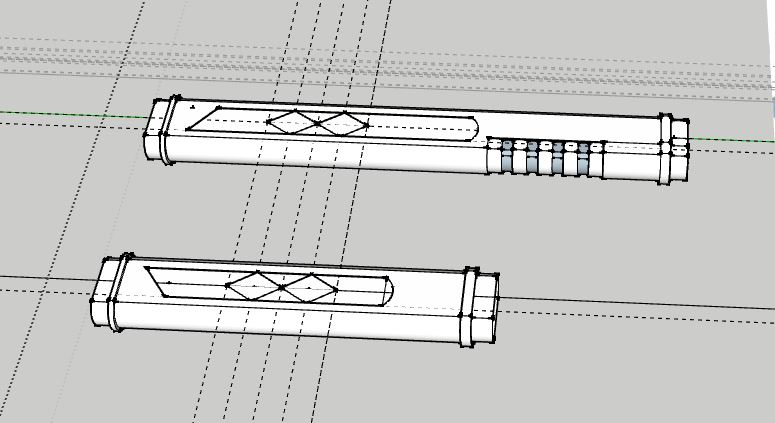
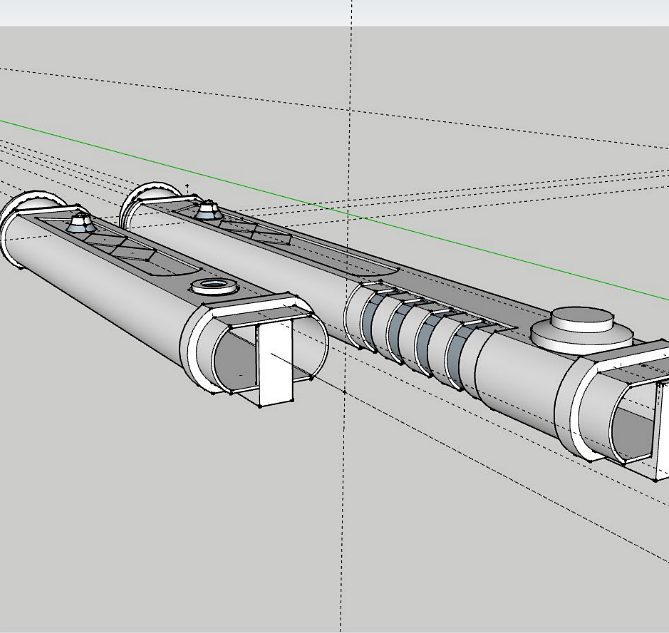
But this is how it all looks now so it should be good πŸ™‚ Okay I know it’s good as I error checked and used Cura πŸ™‚


If you look closely I’m printing at draft quality because I don’t really want to have my printer going for a week. I just don’t trust power/machine combos atmΒ ever πŸ™‚

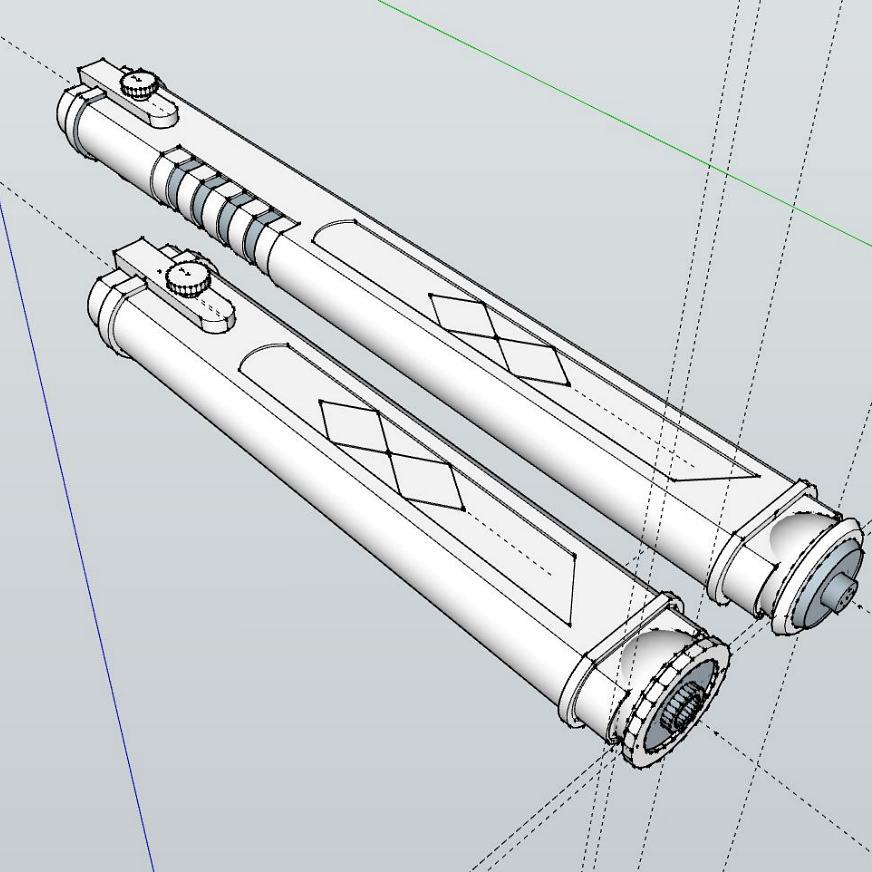
But it’s really not that bad as I can just sand and acetone wash as planned. So it shouldn’t be extra effort to save a little filament and a lot of time πŸ™‚


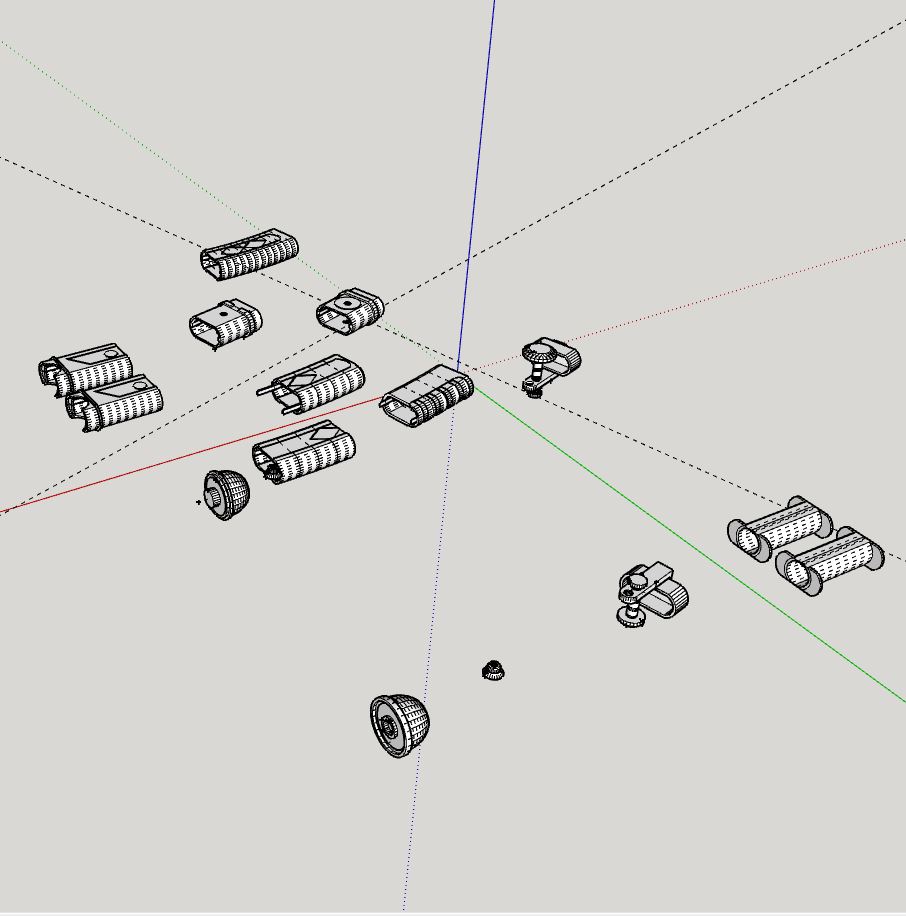
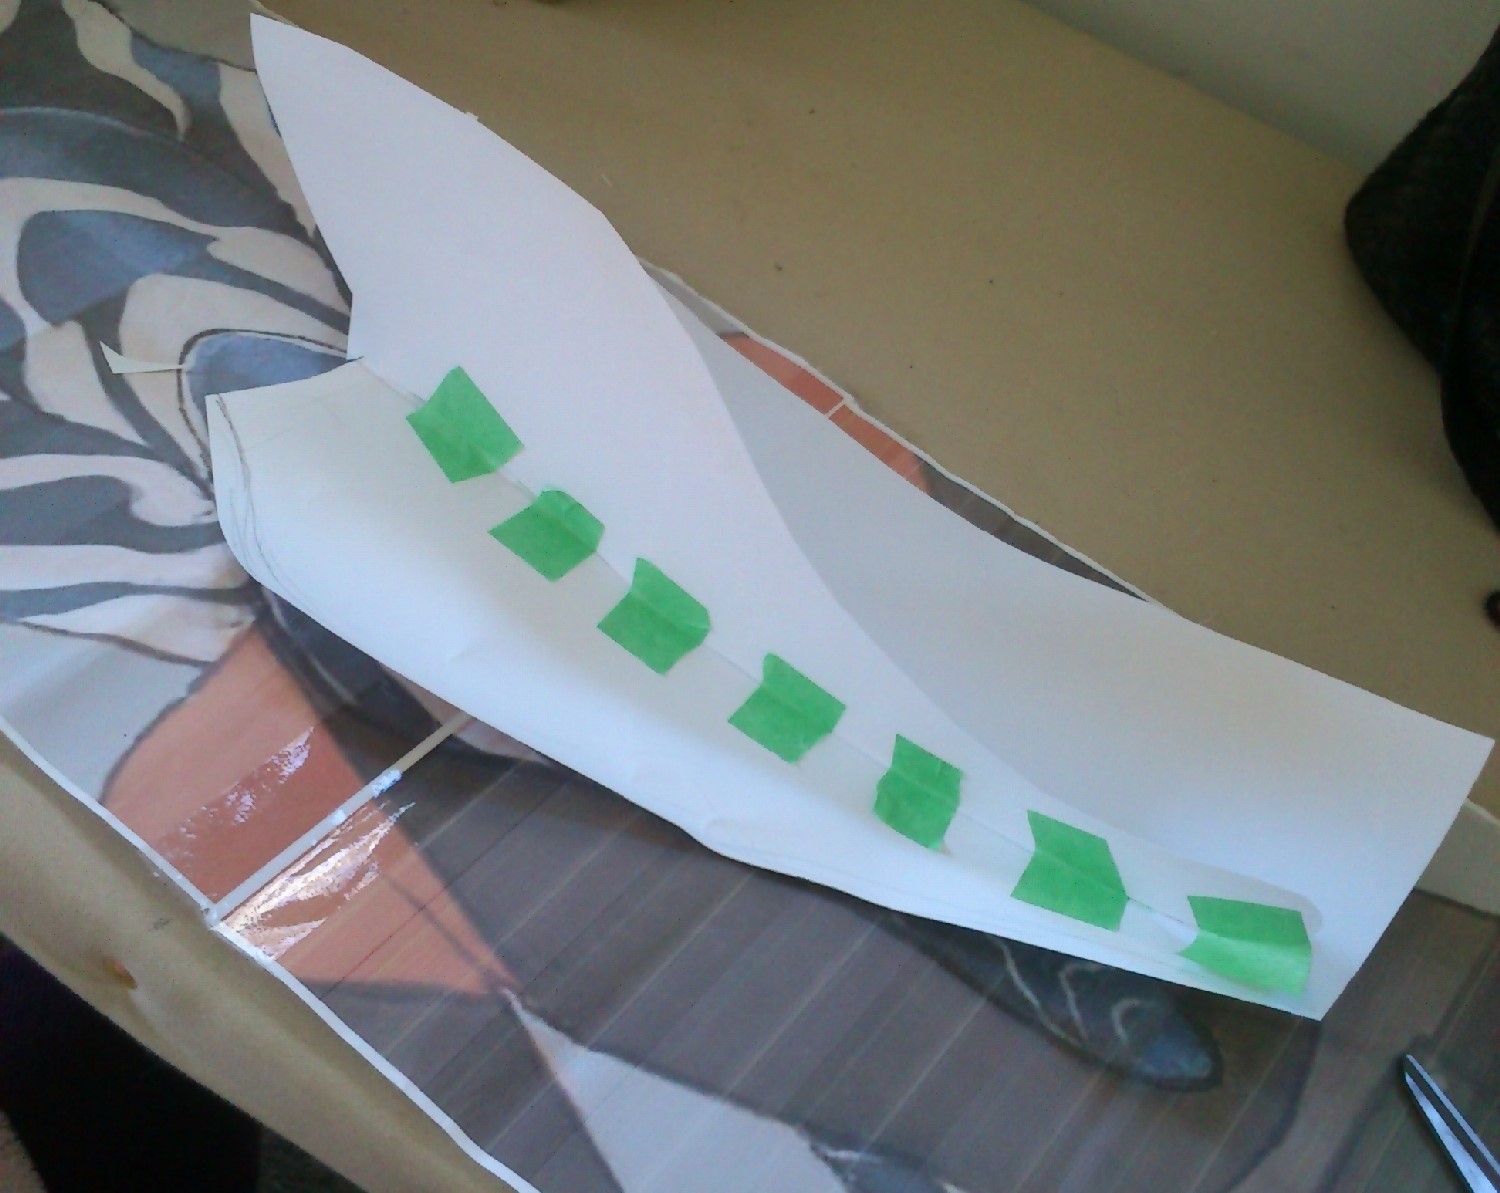
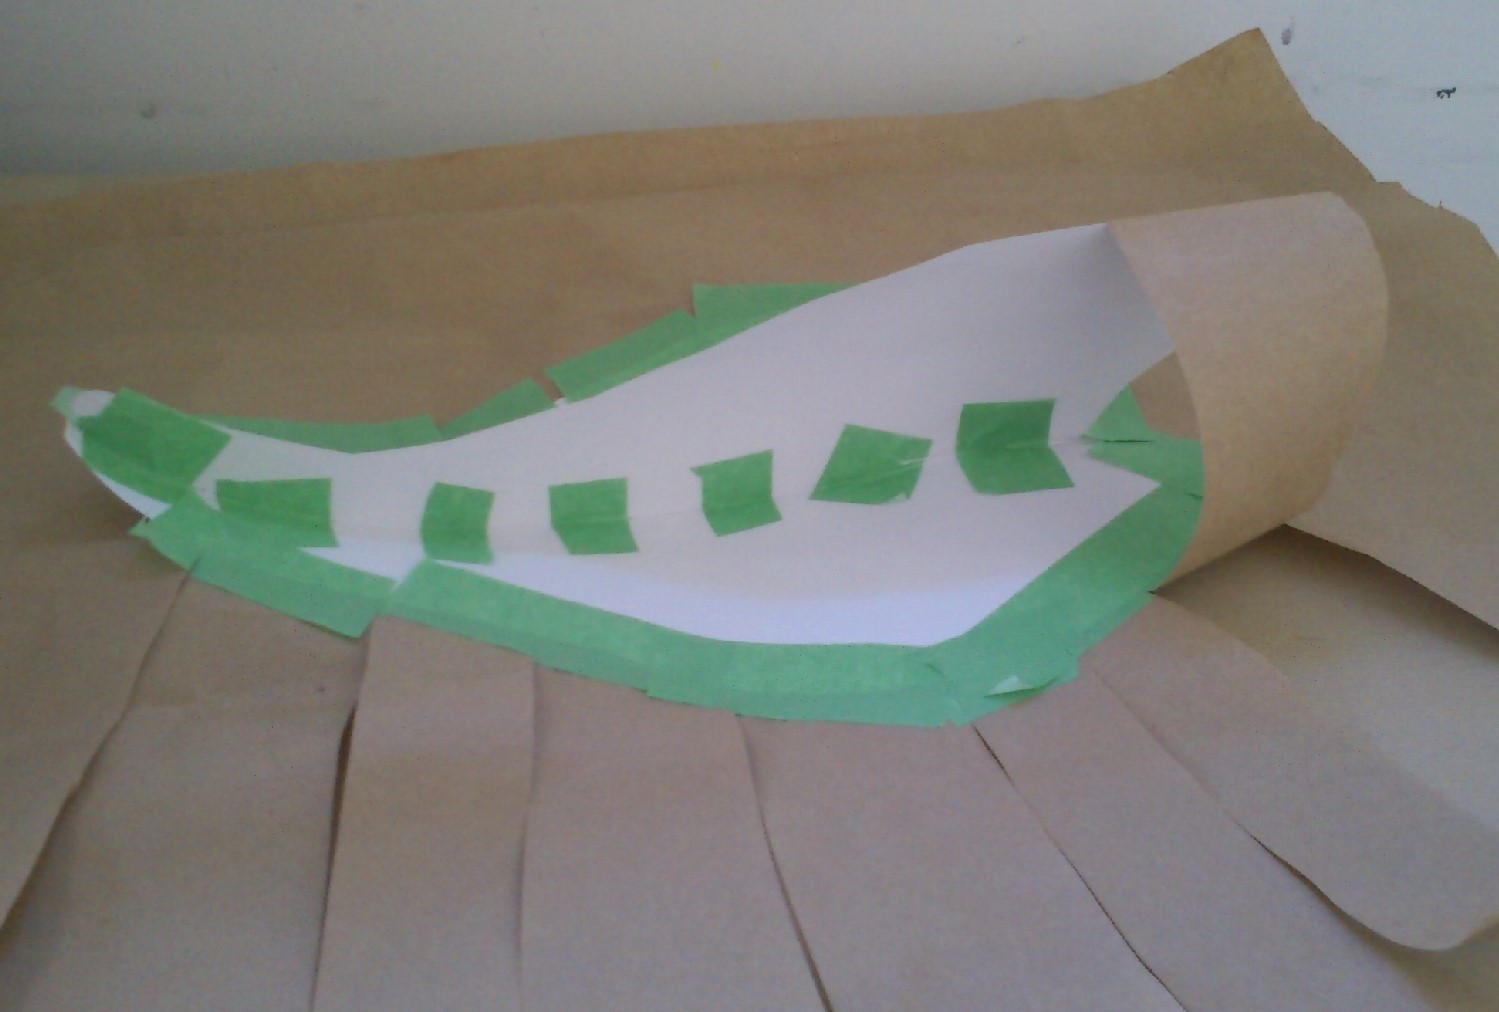
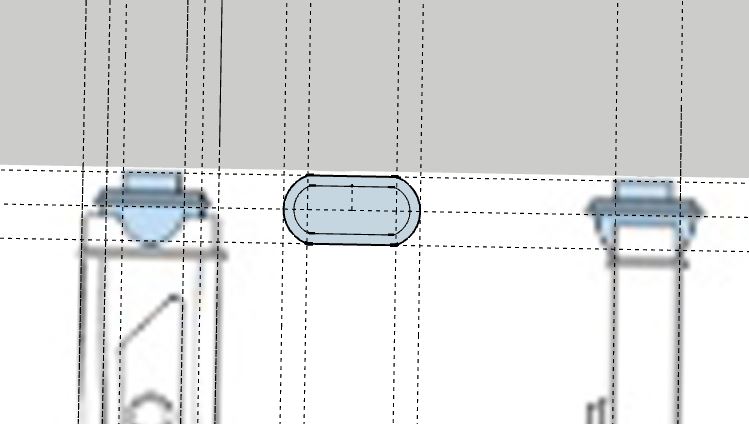
It looks like I only have photos of the previous sets of hilts over here. Yes. I had to rebuild my hilts from scratch as bending the hilts slightly early lead to something being off by about 1mm over the whole length. I managed to do so in a much shorter time frame but… it was still a lot of work. So to find the hilts still needed work today… ugh.

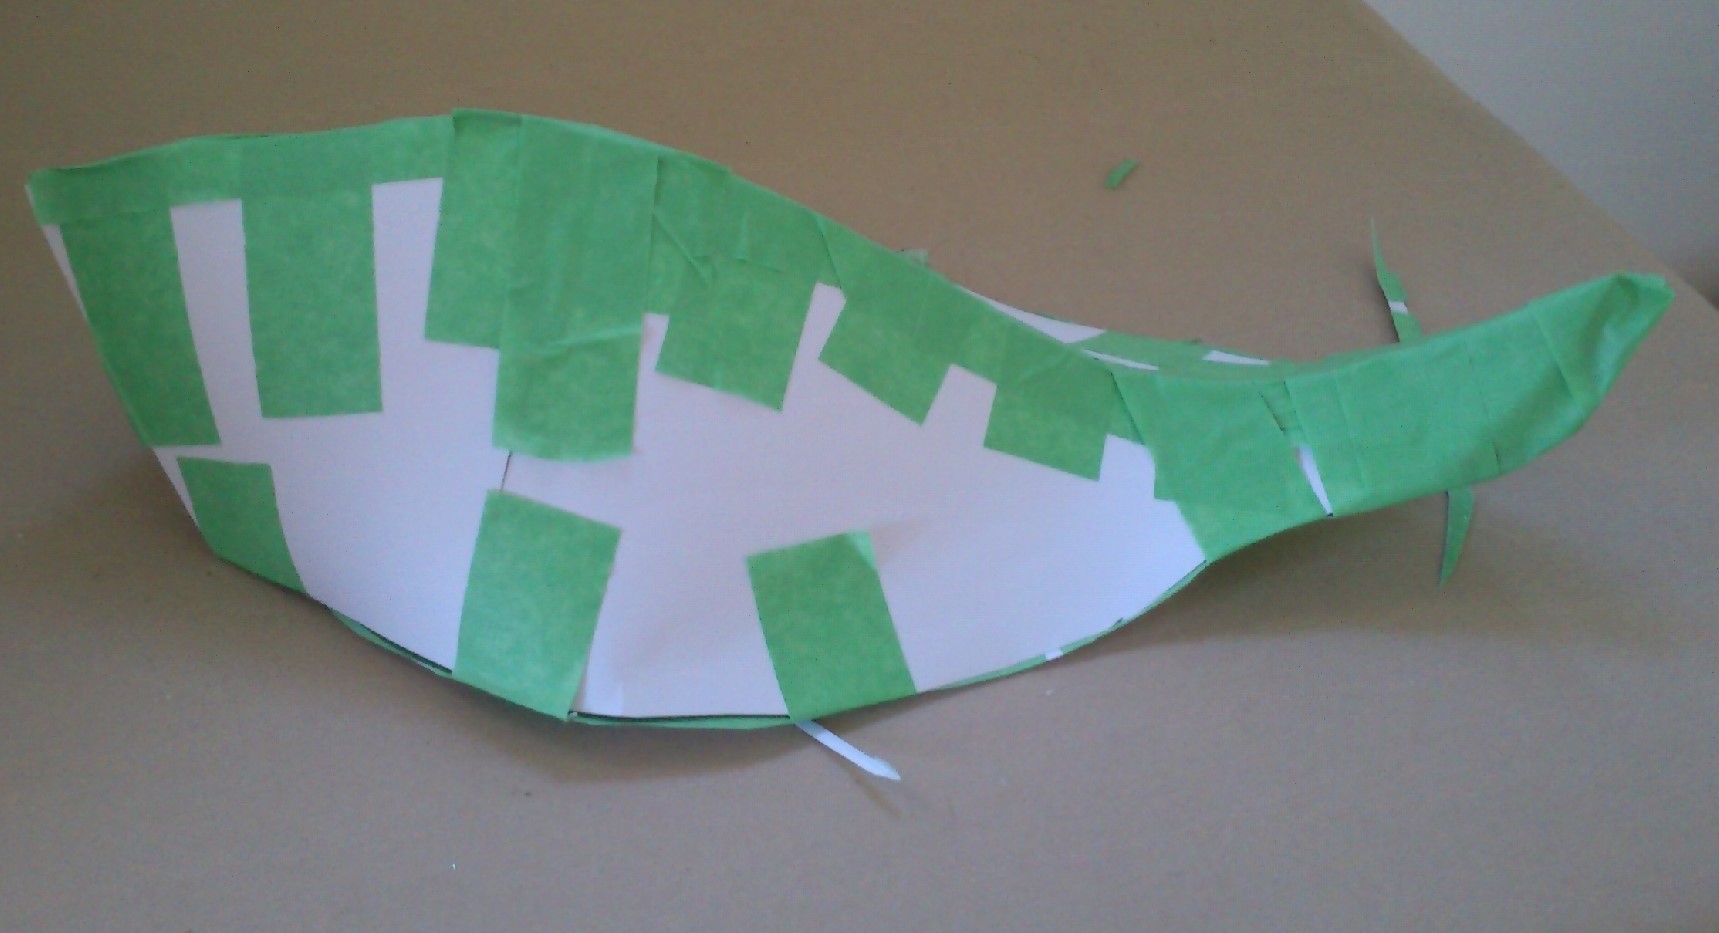
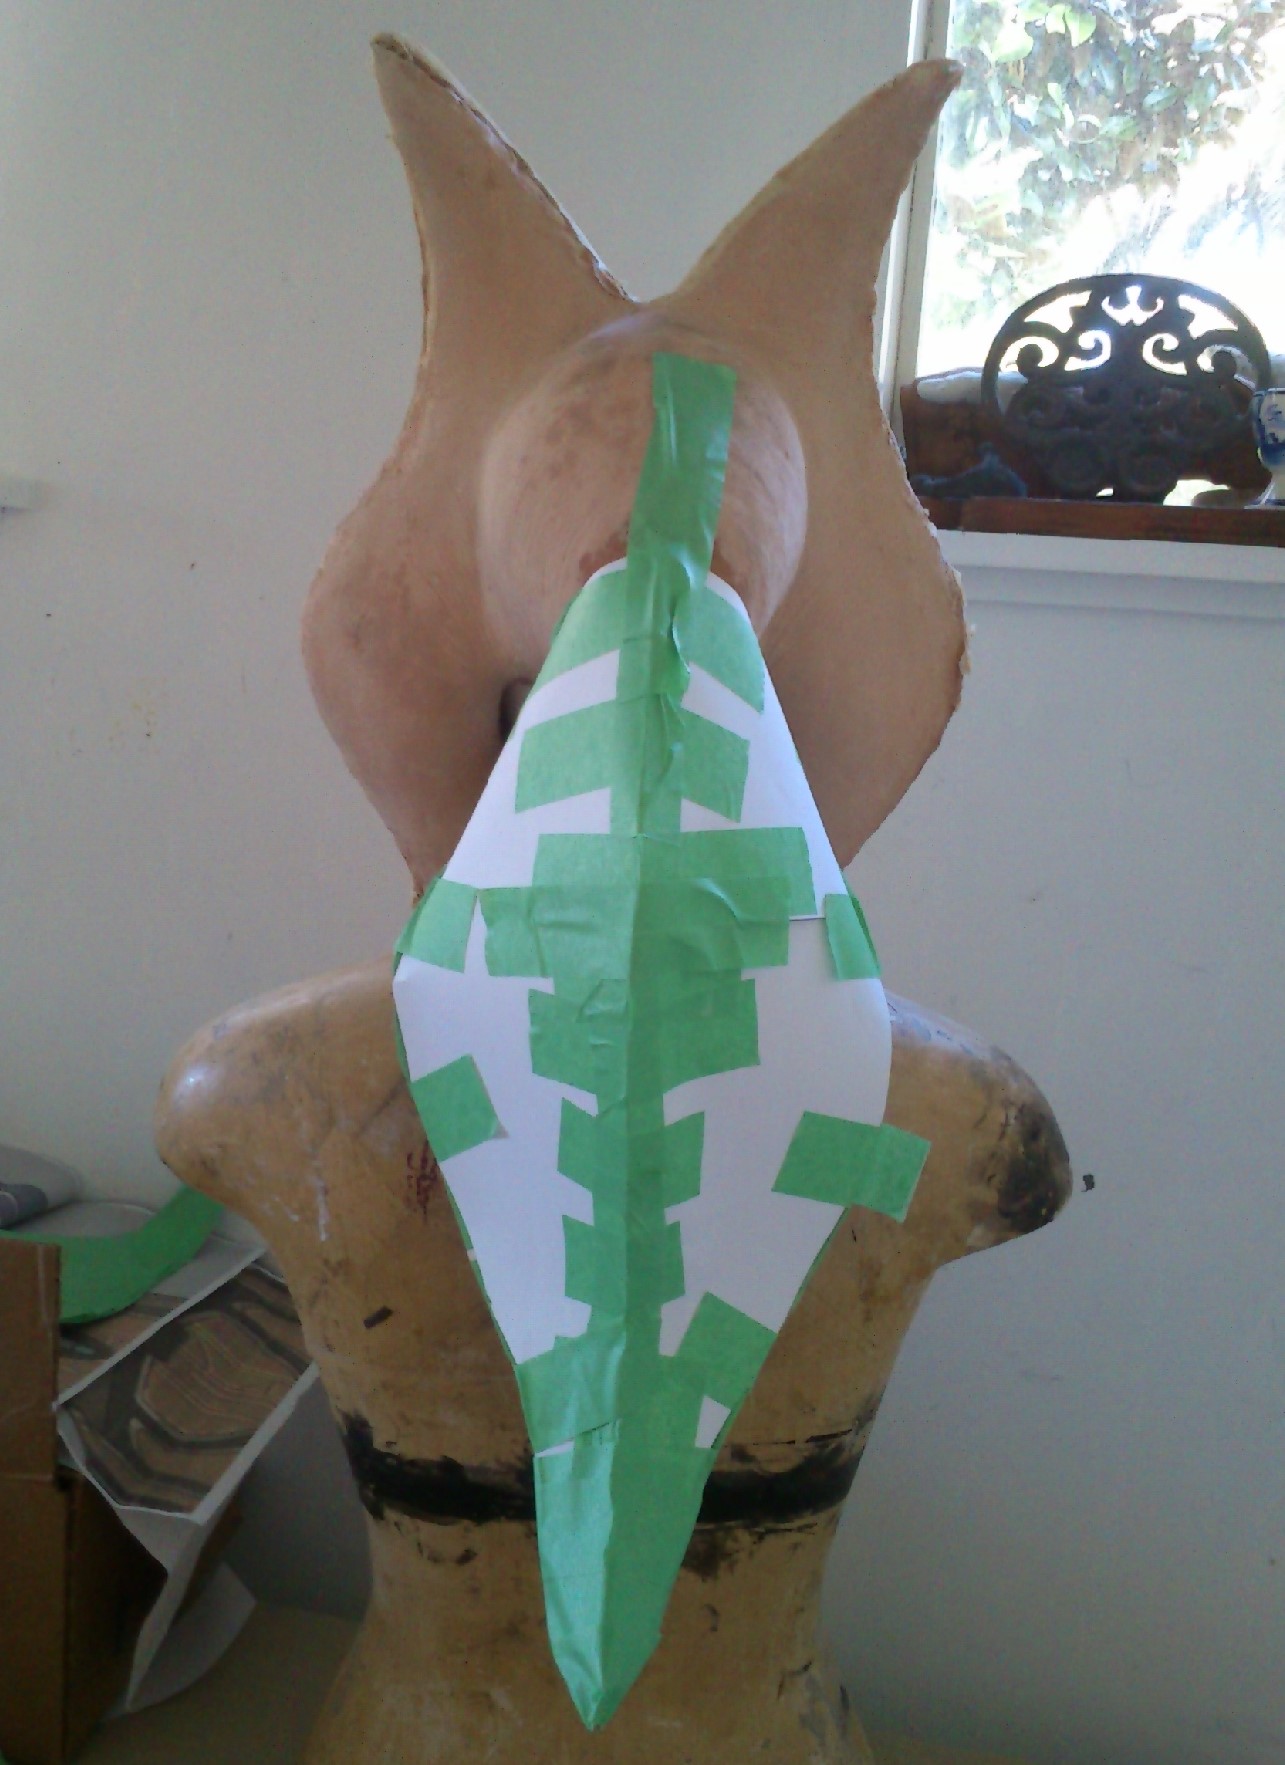
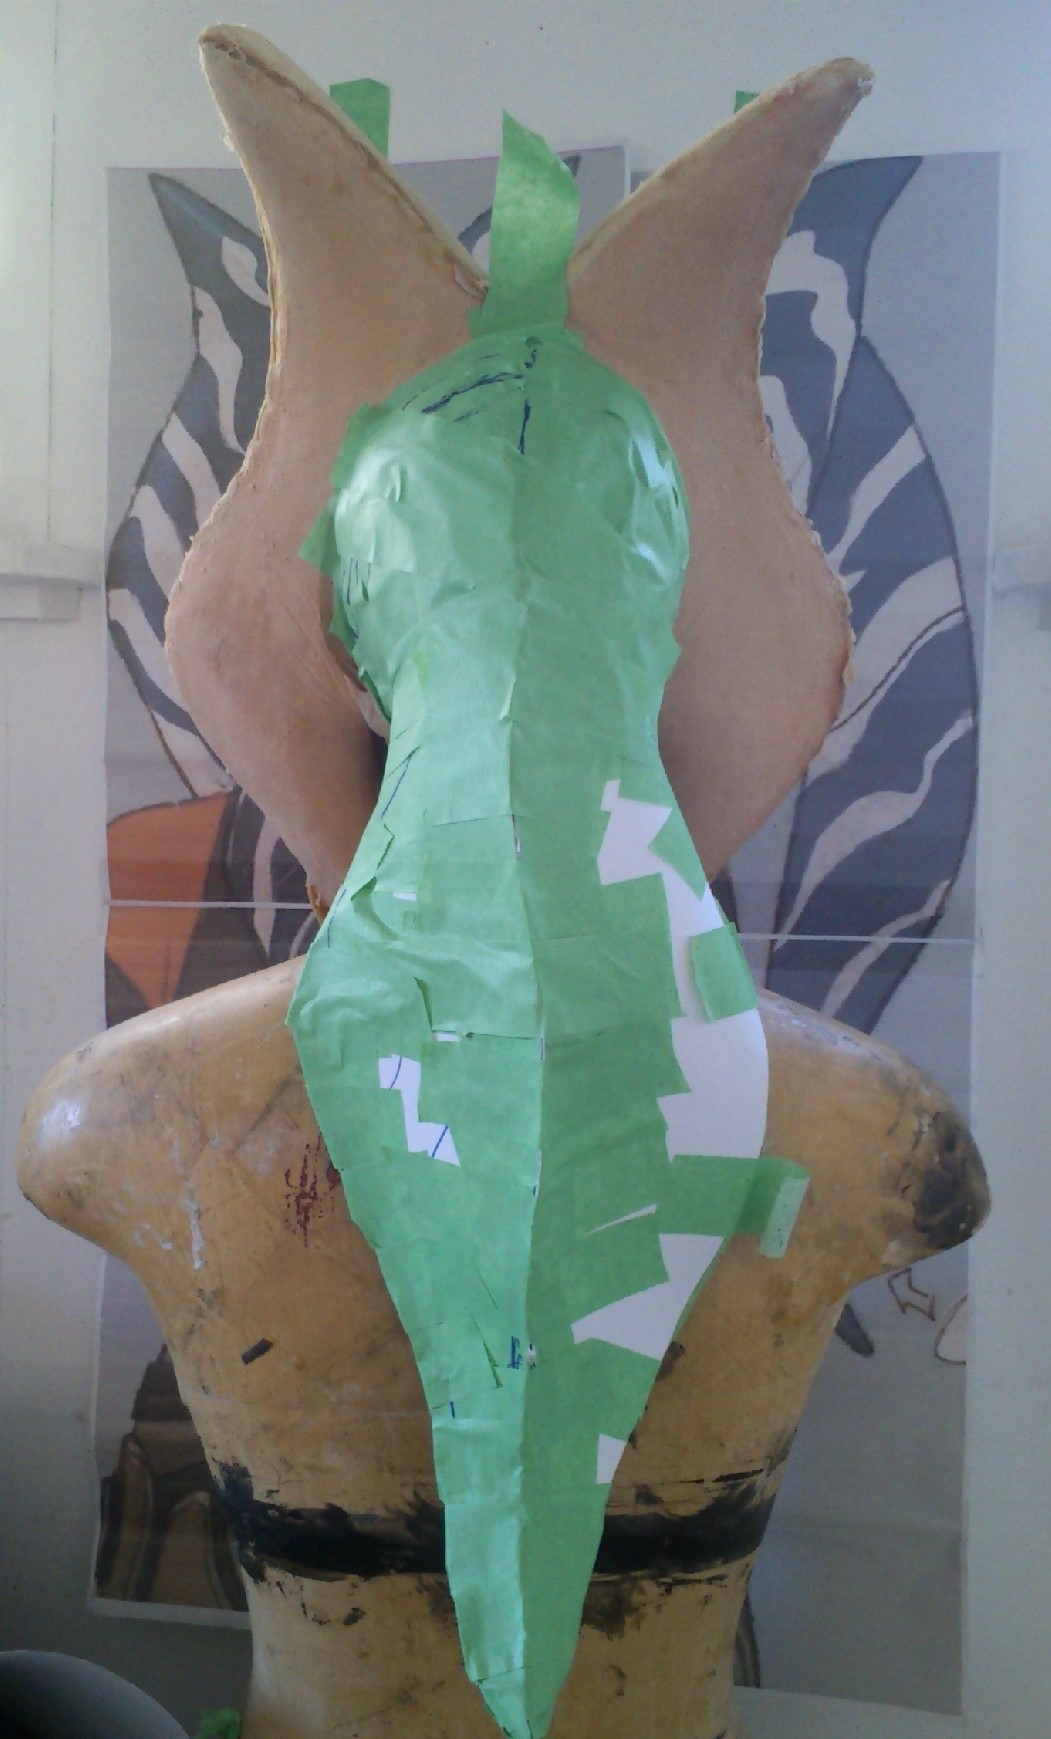
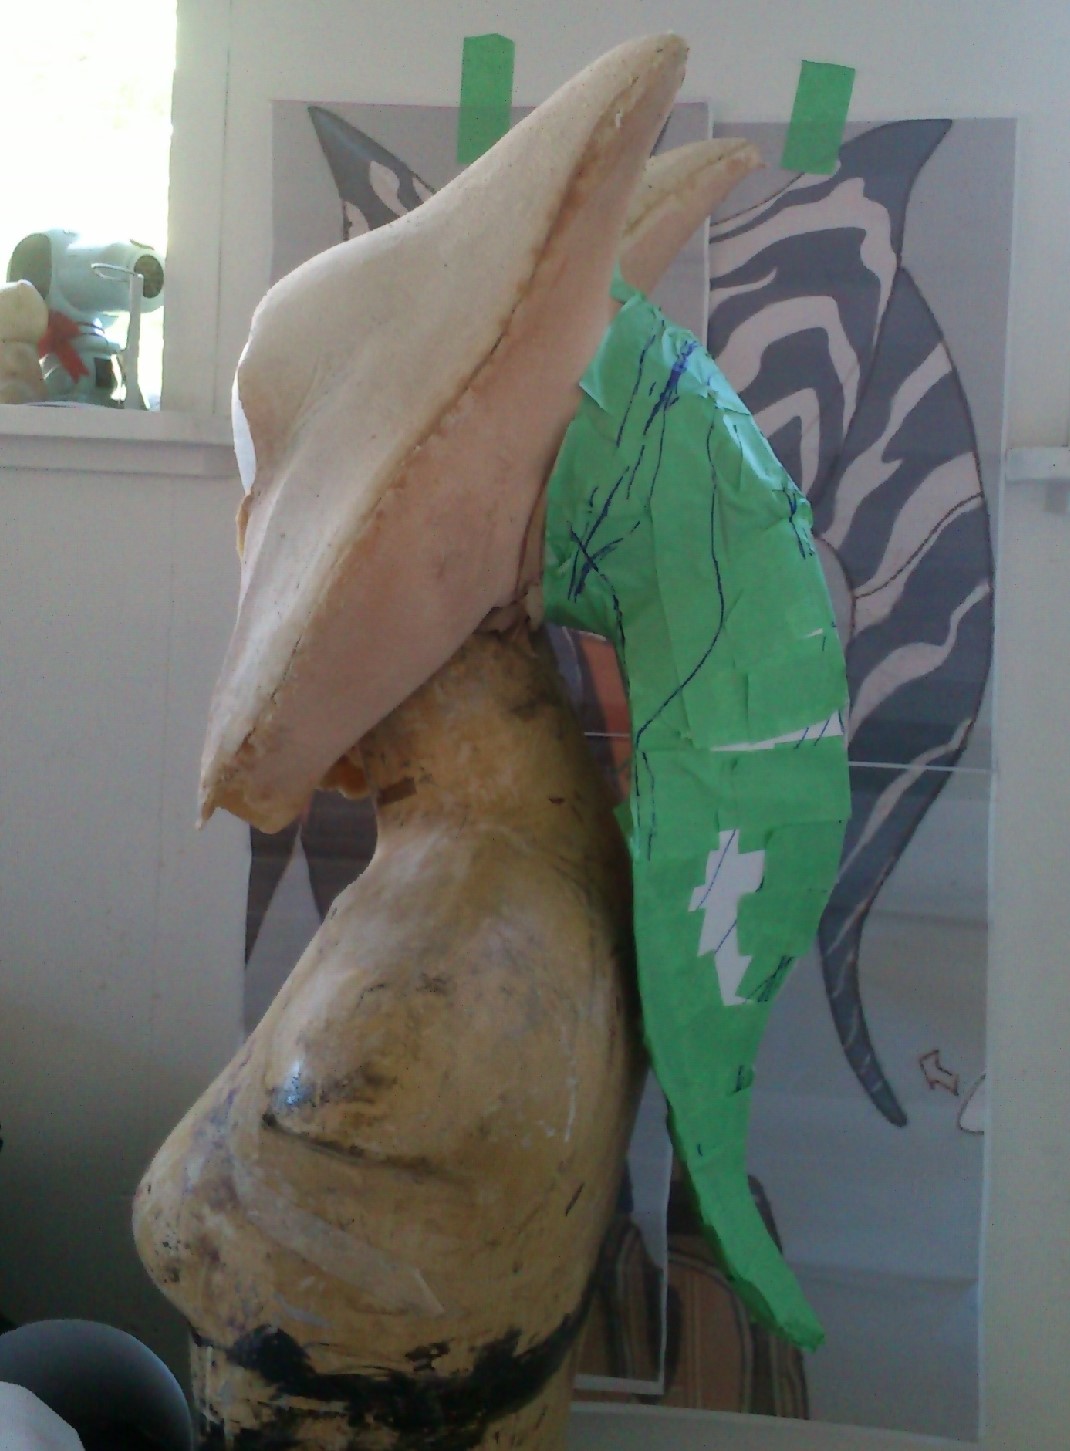
But, yes, all in parts.

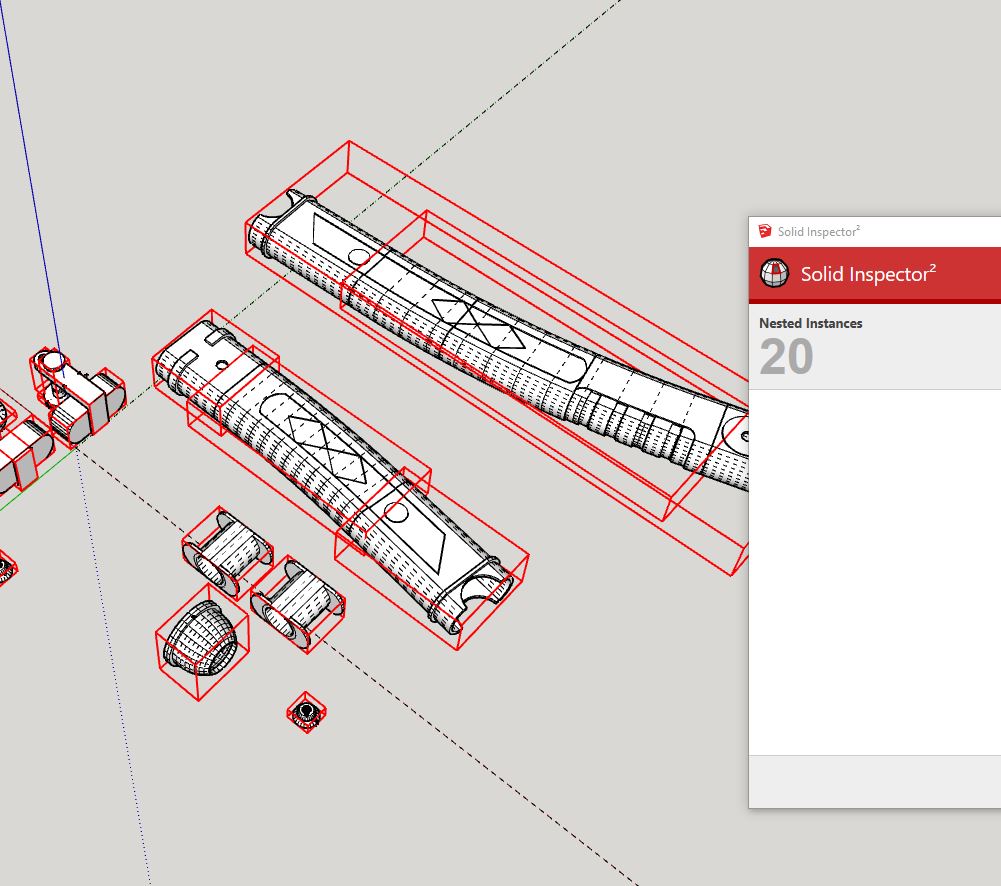
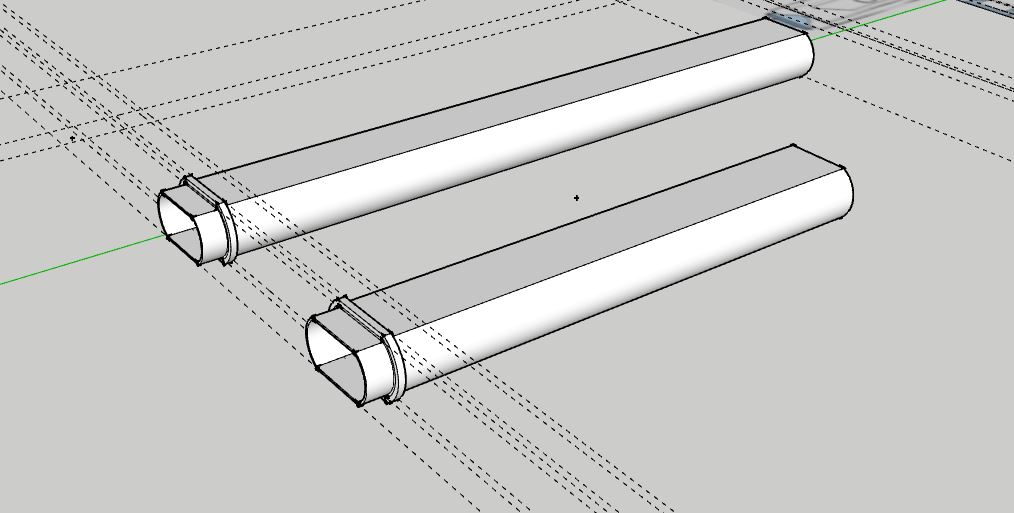
I believe this is actually of my final set πŸ™‚ The emitter got lost so I have put it back in the file here (with all the pieces nested) and in the file at the top (all parts in areas about the size of the plate of my printer) and are in the three files for each print job.

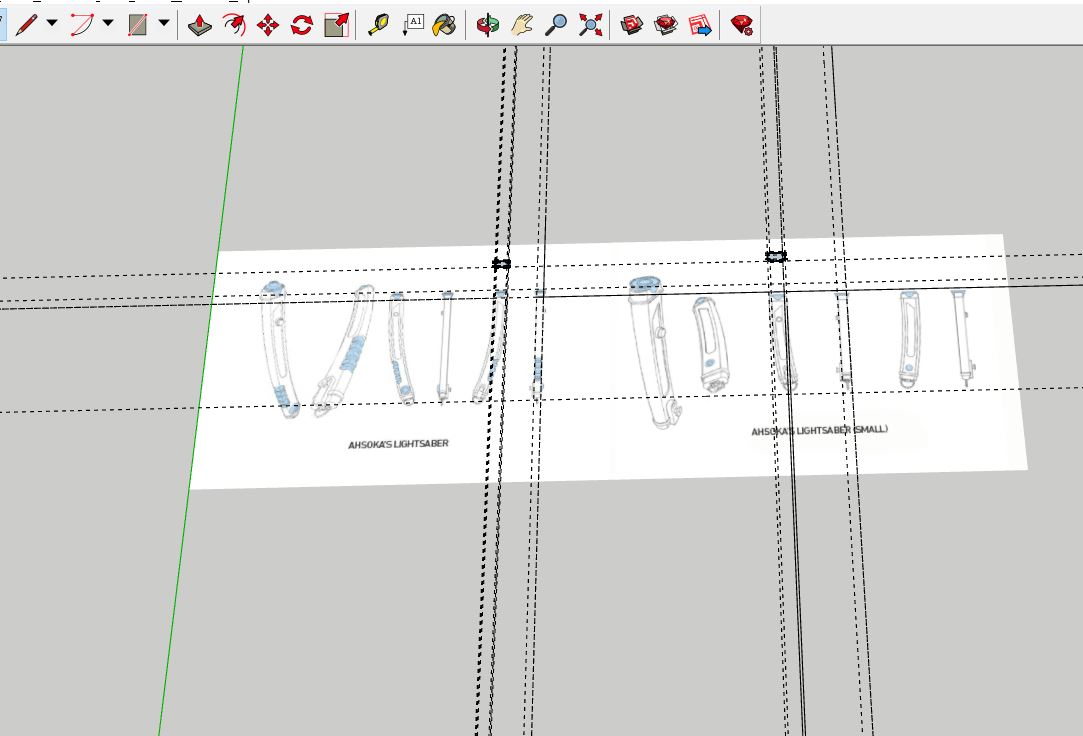
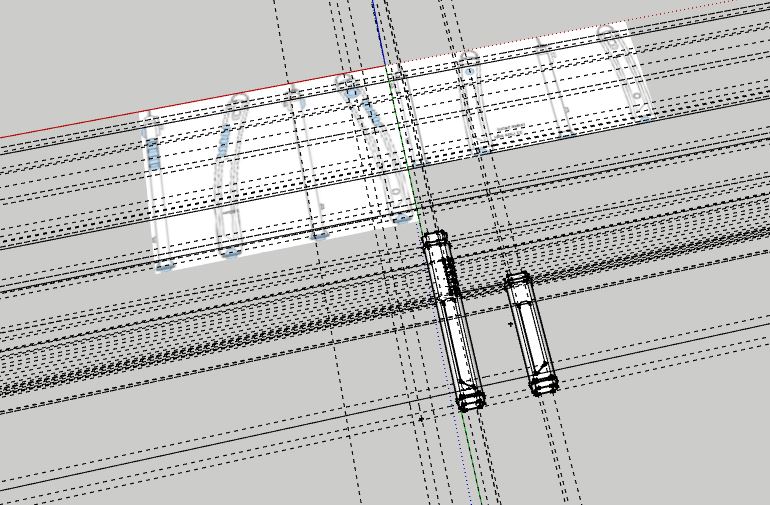
I used LIPID object exporter plugin for Sketchup and opened them in Cura to make sure they were all aligned correctly.

I do really enjoy this. Well most of it. Once the order is sorted and I don’t have to work in the air as such.


Leave a Comment

Filed under Uncategorized

Instagram catch up

Β 

My Take A Breather costume- A remake of my Jem dress πŸ™‚ The belt and shoes were still fine but I also have a glorious new wig. So it needs a really glam dress.

And Ahsoka belt and bracers. I now have the belt wet forming on a dressform.

The horns separated in temperature change, the plastic went up and the clay went down. This necessitated getting the horns able to be worked on more easily and able to be tidied away.

Take the seat off a stool and replace it with the sculpting surface. Perfect height for sitting at πŸ™‚

My back lekku is a little short and the front sit too close so I also had to change how I worked with her.

So I put my old head cast on a dress form. Her neck is so short because I was aligning bust and chin. My shoulders sit much lower and my neck is rather long. This may help exlpain how much work I need to do on patterns to fit them! And why dress forms are rarely helpful.

This is a waratah. It is not supposed to be a standard (long skinny trunk and ball shaped top.) But that is what we have. Also the bottle brush at the back is not a single tree but is doing what the waratah was supposed to.

Finally some of the ducks are back. This one taps on my door for food. And then goes to the other end of the drive to the house to ask for more.

Leave a Comment

Filed under Uncategorized

Stalled progress

My Ahsoka lekku did not cure as well as needed. So I’m going to see if I can tidy the belt template and start tooling leather.

Leave a Comment

Filed under Uncategorized

It took all day

But I am nearly back to where I was. I decided that I was too annoyed by the short back lekku to be happy. Side track to making a new stand for sculpting and I now have wiggly lekku- one attached two on the floor.


And so much mess.


So much.


But the back lekku has a layer of latex, there is latex grouting on the new montral seams (actually an older cast that was still in pieces) and I also templated a headband for her.

Leave a Comment

Filed under Uncategorized

I think I solved it

Well I have divided the hilts into reasonable lengths and created supports so now… now I hope I can just make a curve and use the plugin. Hopefully. I am exhausted.

Leave a Comment

Filed under Uncategorized

Comments are back and I’m so close to printing

The site will default to your WP login but if you aren’t logged in you can use FB, or Twitter at the very least. Β Woo!

After using the shape bender I used hidden geometry to work out why the end looked blunt and then added lines.

And then used Solid Inspector2 to check for errors. It actually fixed some things that were meant to repair, but not my edges which I did expect.

And then I found trying to slice through horizontally just did not work. The model is perfectly horizontal but as soon as I intersect faces it doesn’t. So lots of short pieces like for Ventress πŸ™‚ I know that worked so this should work too πŸ™‚

I started making fairly the overlaps to help join those pieces once printed but I’m not so I like them, so I’ll spend a little more time today on making ring supports instead.

Each hilt is more than 10 pieces. This is to better reflect the different materials (copper, silver, black) Also to allow the same print to be used as non functional and functional by having some separate blade holders able to be used simply as support, the end cap being functional with the D ring holder and screw. I kept getting errors using the bolt making plugin so I’d rather just not use that atm. It should work at a larger scale but I did find scaling could be unpredictable with curves,

These also have to be arranged in correct alignment for printing. which I will do once the connecting sections are added.


I find this quite painful and painfully slow work. A lot has had to be drawn by hand even after using tools and plugins. For example the supports I’m making can’t be just extruded as they connect into pieces on a different angle. So I have to copy from one piece and add to the first and then measure and draw to size. Luckily 5mm seems to work well so I can at least be fairly consistent with that πŸ™‚

It’s seriously fiddly work, lots of copy paste and drawing on the inside and outside

Leave a Comment

Filed under Uncategorized

Ahsoka lekku patterning

I’ve done this before, so thought I’d capture it for posterity πŸ˜‰

I printed the concept art at full scale. What is helpful with these is the flat back. SO we can use the profile as the very first piece to cut.

Β 

This is then taped perpendicularly to card that will form the back. Once the frame is taped then it’s time to try for shaping the back. This is done by eye which can be a bit off.

To create the sides tape the frame to paper and cut radiating strips out. These offer something for tape to adhere to.

Β 

Then these are cut apart and transfered to card for more careful shaping. Keeping the profile shape helps keep this stable as well.

Once taped to the form it is possible to see where shaping needs to happed. As this is a template it’s possible to only alter one side.

Here only the left has been altered.

The top seam also can be adjusted. And the entire pice taken off the form.

I have used a similar method previously for my Ahsara Zavros ensemble:

I used sheer pantihose to smooth the foam. Urethane foam is lovely and squishy but is fragile. The material also allows minimal seepage of latex into the foam to help keep them fairly soft.

Latex shrinks as it cures to the thinner the layer the better.

This is also how I make all my Twi’lek lekku- skinned foam Β πŸ™‚ It takes patience. latex cures very fast in thin layers.

Leave a Comment

Filed under Uncategorized

Ahsoka plans

This is where I left her Montral. The lekku are the next on the agenda.

Β 

I have a cunning plan, but I have managed to move and misplace or actually corretly store so many costume elements this year that I am not sure where all my lekku making materials are.

Sadly probably no pictures while I actually do the work. Latex all over the place and latex cures super fast when in thin layers so it’s easy to lift finger prints or grab fibres from anything if I am not careful πŸ™‚ But it’ll be much the same way I worked on all my lekku.

So that is the plan for tomorrow- work out the lekku proportions and start marking the montral for seamlines with the lekku- I hope to hide the seam in the paint.

Leave a Comment

Filed under Uncategorized

Ahsoka hilt madness

As in the so called definition of madness. Yes I spent a lot of time yesterday trying to do something expecting it to work. In part because the tutortial I used did not really make full use of SKUs component and group features.

I want to make my hilt fool proof for printing and so I’m dividing them up into shorter sections to print only so high- they are hollow so too tall and there is the risk they will skew. This has to do with Z axis (though my machine has a steel frame- less of an issue unless there is a flaw) and cooling/heating issues. I have a heated plate so that is good.

Anyway. to make a slice. Make a square on the green axis make it a component. And then you can merrily place it through your model and it won’t move anything. Then select everything, explode curves, and intersect selection. Then you have the slices in place.

But keep them all as separate pieces before then.

On the right is me using the guide and this shape stretched some interior planes. No idea why. But I didn’t notice until I have all my hilts divided and ready for adding internal support for snapping the pieces together.

So….. I know now. I have had practice now and it means I should., should, be able to do the last tidying of proportions today.

I have been working to the limits of the resolution my printer can manage (apparently 100microns, 0.1mm) but I need to test my machine. PLA at 0.2mm is a bit chunky. I have seen how fine 0.1mm looks on the standard owl model but I don’t know it if was PLA or ABS.

I now have 1.75mm ABS so can test the machine again. And at 0.1mm

I want to make it easier so I’m trying to round all my measurements to full mm so that’s what I’m doing today. Except for anything to do with the emitter. Though I guess I do now know how to cut through a little more easily…

Oh man. What took a couple of days to get “mostly done” for a solid print is taking ages because I want a fancy one that can hold a blade.

Leave a Comment

Filed under Uncategorized

Ahsoka progress

I sometimes think I should try and capture the fun times of working with SKU on screen record. And with mic on so you can hear the sears. They get a creative. Though the f’bomb is usually muttered. and the s’bomb gets stretched out to sheee-er-gerrr.

I saw my PC space with other so it means trying for levity in the stress.

So lots of what the foo, whyyyyyyy? *push keyboard away* Β but whhh-hy-hhy-hy-hy-hy???

Never the less she persisted! Yes I went there. It’s basically the mantra of my life. And there will be a post!

I started with the original images, Note, this is a screenshot, it really is that blurry to work with. I wanted to do a line art originally but used a photocopy in hand and on screen just scaled to hight.

I actually then started a new model with the hilts cropped to height to make it muuuuch easier. And yes, when you import images you need to scale them once in as well. Unless there is a keyboard trick… there probably is.


then I made a series of guides and then drew curves and loved it. Until I realised yes, the sides are totally rounded, I did say the images are fuzzy!

So, Viola! (that was a pun.) New guides new scaled image and new face made the same way. From here I extruded a series of tubes leaving the inside empty. It worked really well for Asajj. But I am making mie a touch simple in the joins this time.

Guides guides everywhere!!!!! This was to create the inset grip of the longer hilt. Basically pecil and extrude and some maths!

And yep the decorations are in place. But I wound up having to move them on my longer hilt. That was just a bit frustrating.

Then came the other pieces; inset switches, what i think are peg/screws to hold the end caps in place, the long end cap holder, and the large button. Finally the emitter caps!

The large button. I goofed and wound up with the circle not centred so yesterday was a day of fixing issues like this. I placed everything together (they are all separate components so they will print separately and in whatever orientation works best. I also adjusted length and made the end cap holders fit smoothly to let them pass so we can gain acccess to the insides to put electronics inside.

Here you can see I had yet to place the end caps. But the are there not. I also got the emitters to their final shapes and sizes. One emitter needs some smoothing but aside from that I think I’m happy.

So today with the emitters lined up correctly it’s time to get the pencil out and start cutting.! Had a few practices but it’s not really been perfectly even as I didn’t have then perfectly on my guides.

Leave a Comment

Filed under Uncategorized