Tag Archives: 3d modeling

actual progress

Genuine real Ahsoka Tano progress! I wasn’t sure if our oven would be reliable to bake my leather armour in. I wasn’t sure if the curves would flatten out while on the trays and I wasn’t sure it would be under 60C but over 50C to get the pieces steaming but not scalding.

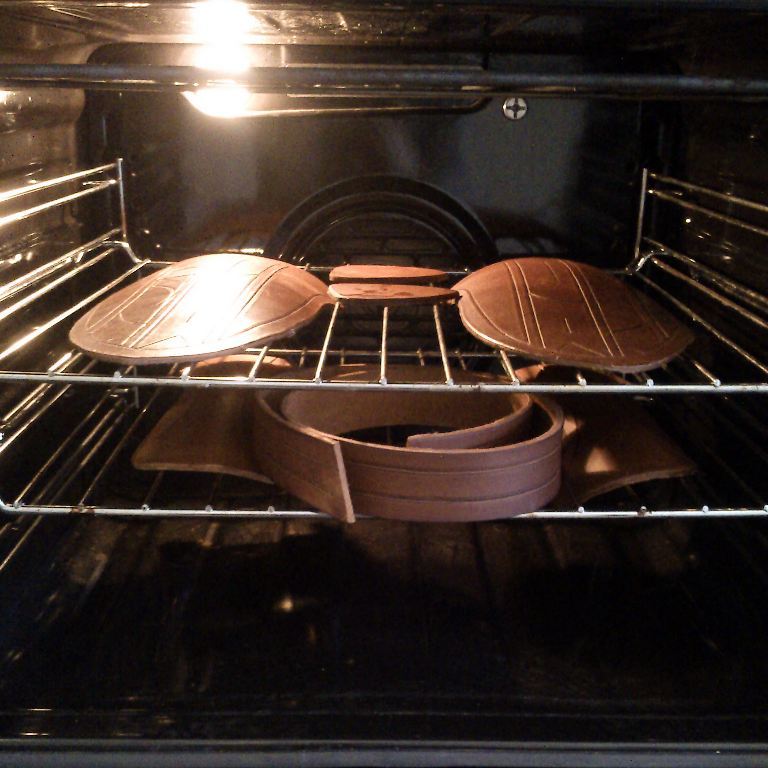
But it worked! THe hip pieces are a little crisper than the gauntlets, they sand very well. But I don’t really want to try and soak the gauntlets again so there is going to just be a little extra edge seal to cure and sand back.

I can paint these today, though it looks like I interpreted the belt strap wrong, it has a single channel. This is fine as the belt more than anything scalded on the racks and then when it fell onto the oven floor.

My montral were not curing, the latex created an airtight seal, so I have then hanging fan heater height and gave them a few blasts to heat up the water and get that to evaporate. I sewed my Padme Light Blue skirt back seam and tidied the zip area, and even sewed most of my Jem dress on between ๐Ÿ™‚

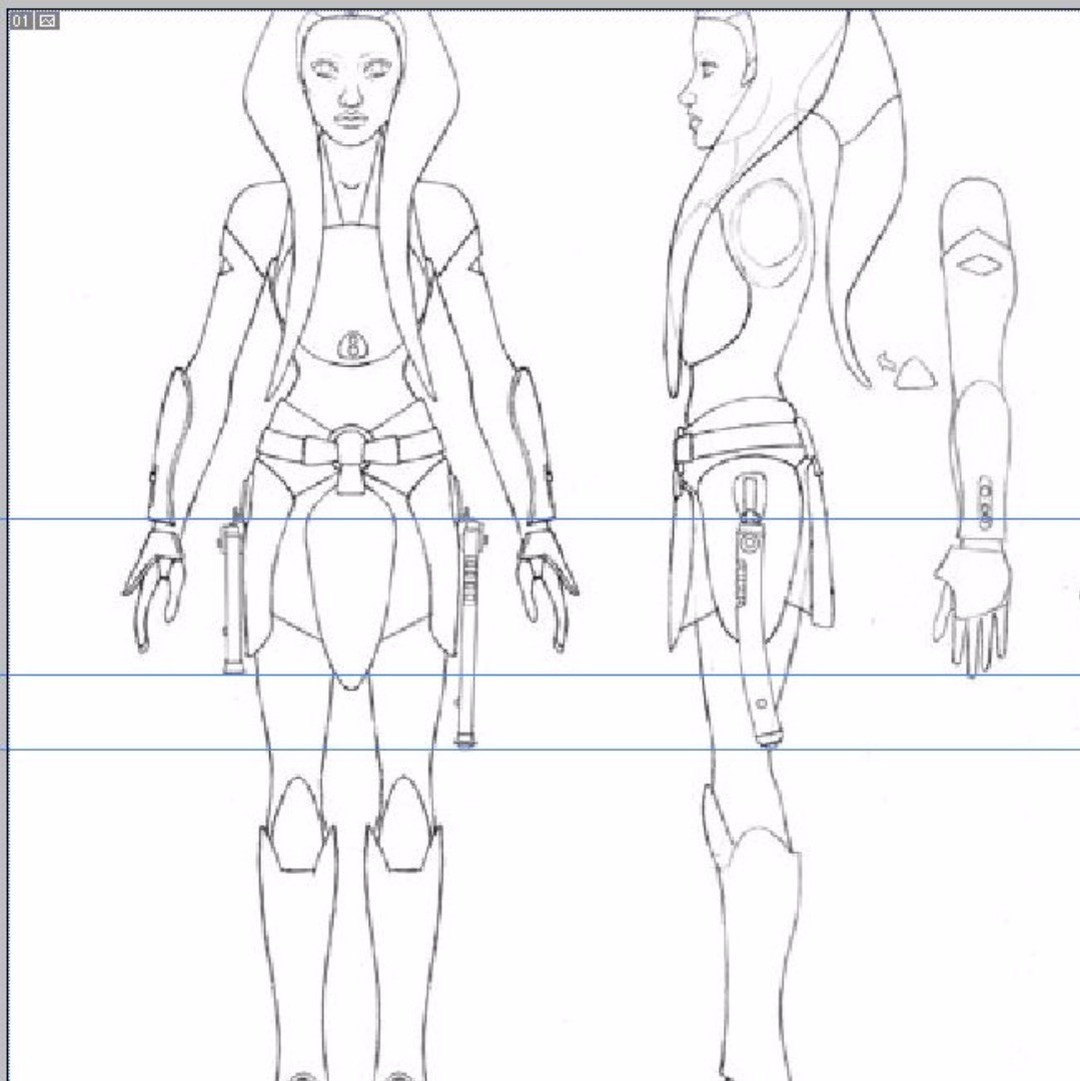
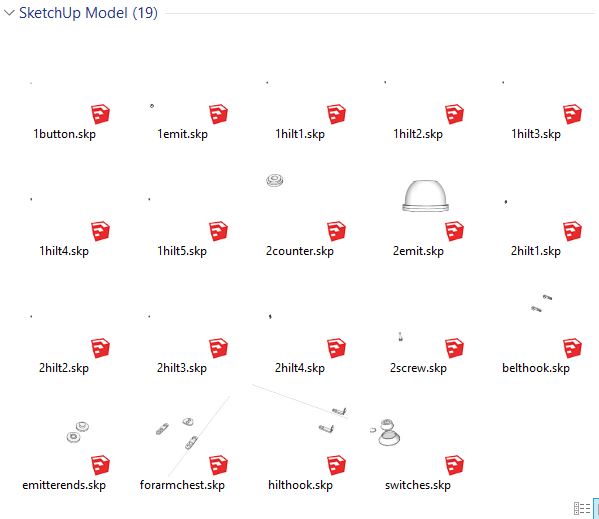
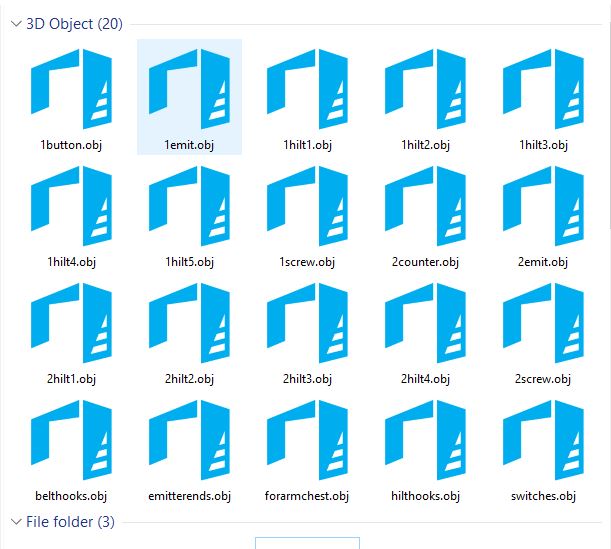
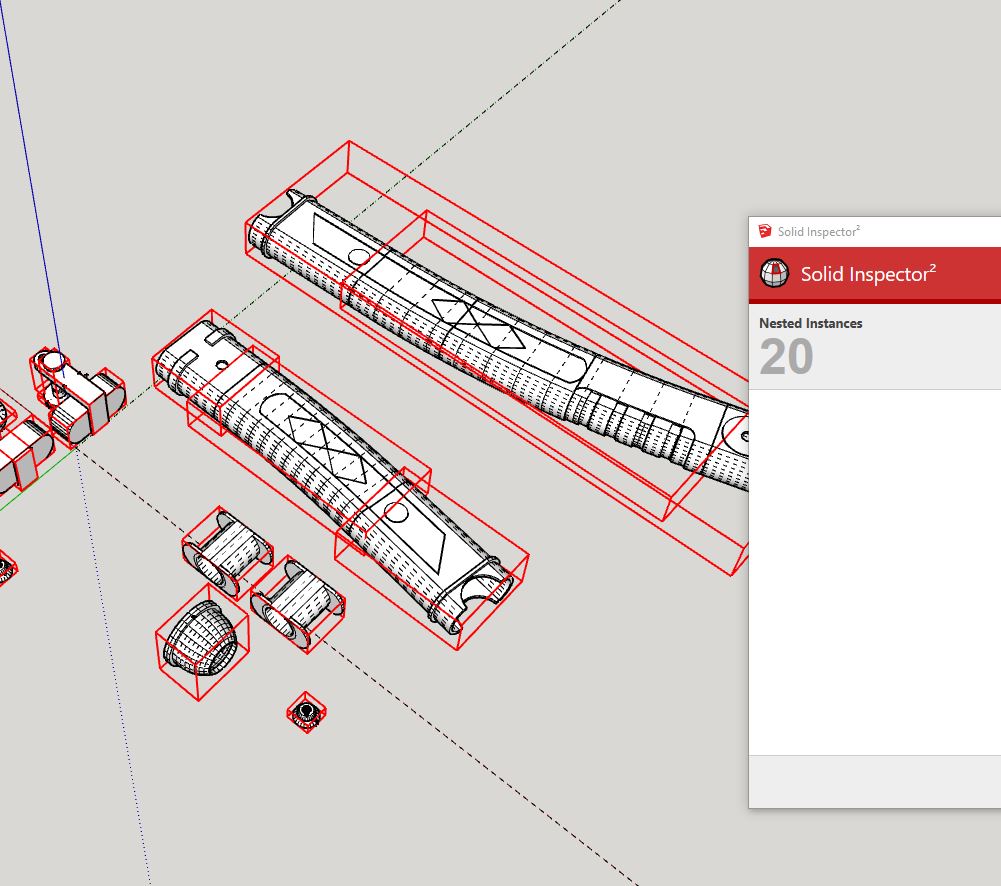
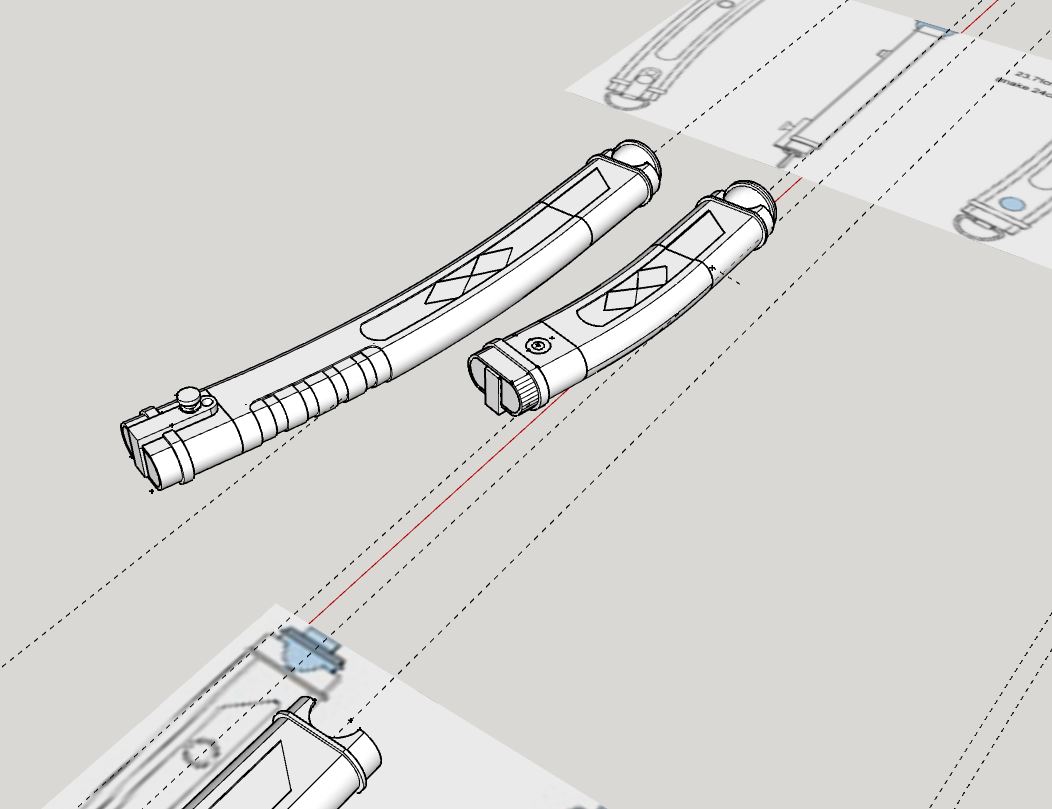
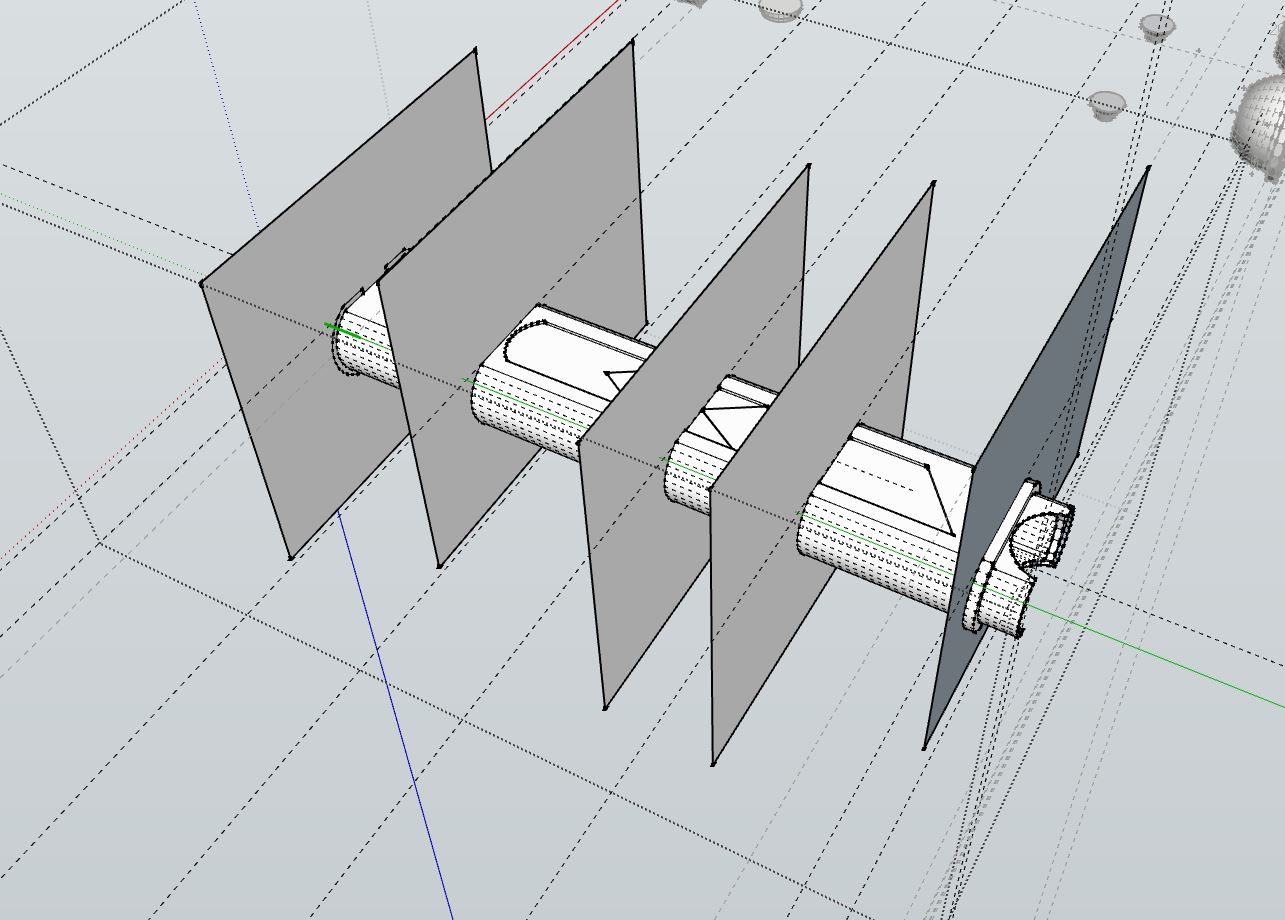
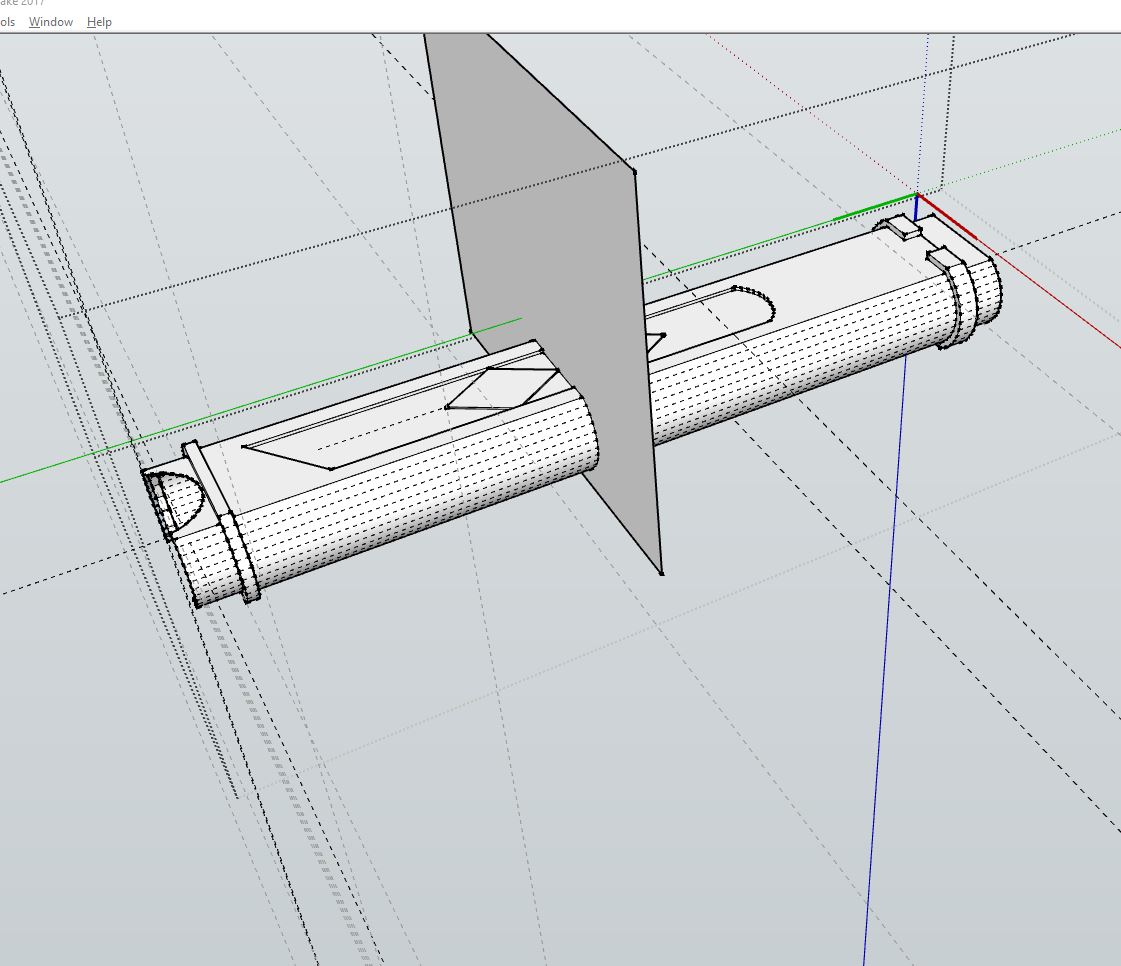
This is how I scaled my hilts. I knew they were much to flat to fit a working blade in the end. And that is still true. I did scale slightly to make them fit a 20mm tube (which is skinny enough for OT and Rebels era blades, the most common 25mm/1 inch) tubes are really good for prequel, TCW, and it looks like the new trilogy too.

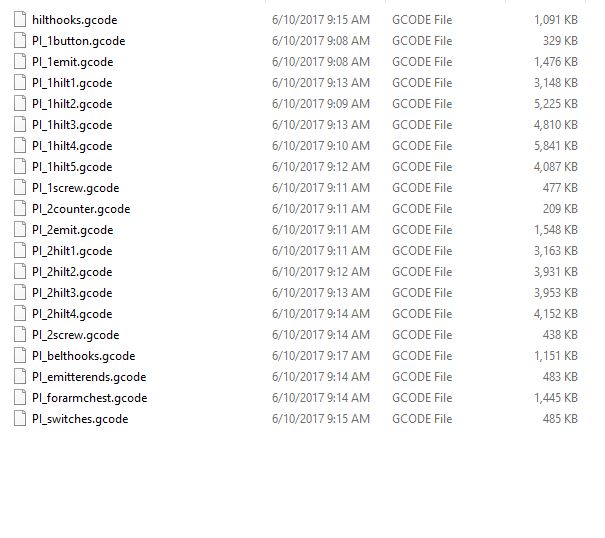
I did check my machine. It is perfect for PLA but it’s not completely happy with ABS. I’d need to set up each time with a new adhesion layer (glue stick did help) and do one component at a time. And that was going to be a week of constant work. Not great for stress levels.

But my scaling made the hilts feel slightly oversized. It turns out I spotted other had this same conundrum of trying to fit a blade in. And so I tend to refer to my own hilts as FX style, after the MAster FX line of light up sabers.

Going by knuckle space it works, but my hand itself is much smaller. On my leg it feels right but I’ve rescaled to the dimensions I think look best and it’s printing now. I did also test and her hand fits four times over the body of the hilt but it looks smaller due to the size of her hands over all. So it’s probably best to aim for that effect in hand.

I’m doing Star Wars Reads tomorrow so sadly no Ahsoka, but I will have her ready for next week.


Leave a Comment

Filed under Uncategorized

Okay. My health has started to go south again- fatigue combined with insomnia is making for a lot of unpleasantness!

but my early mornings are good!

So yesterday I cut my new Ahsoka tunic from a fabric that has a microfine crepe surface, like nylon stockings, which will create a slight glowy effect. I wanted to use my left over Padme Light Blue ans the surface would allow for some hand stitching that would not show. But there was not enough and the fabric store only had it in mustard yellow. To be fair I am thinking of grabbing it for some summer gear…

Anyway.

I spent half my nap stitching in bed to line up the super wibbly wobbly piece. I am fully lining the garment so I can have super smooth hems (bottom of tunic, neckline and halter seams.

It was actually still quite restfu;. So I know I can do that today with my Padme Light blue hem for a rest and progress. Normally that sort of thing is not restful.


Also I tested my printer and it’s great. I need to really be careful with ambient temp and so really do need to see if I can build some walls around it to keep the heat in. I was really lucky and got a model that seems really sturdy on the Y axis (a lot of people find them bent) with the bed (very slightly doming in the middle but was fixable with bed leveling) and while it rattles like the blazes homing on the y axis. I don’t have to make it home.


But I am still stuck with the issues in SketchUp. And that has everything to do with quads vs triangles. In SKU Circles are not circle. They have 12 or multiples of 12 edges. So My test emmiter looks very blocky on the end. I folllowed some online advice and used Blender to change faces to quads and to divide and set smooth to 0.50 (the guide recommended 3, but that is way too much given the flat faces of my model need to remain flat and they have radiating lines still.

Also the dome part of the emitter does subdivide nicely the rim does not due the radiating line thing. I think though increasing the number of vertices will at least help so that I can just sand those rings down a bit. The inside gets a bit messy anyone with or without build support.


Also, my printer did seem to do well with just glue stick for plate adhesion but hopefully by now my ABS juice is thick enough to brush on the plate.

But I am feeling that time crunch so I think I’ll do the blender stuff today and test another part.

Oh but blender won’t recognise STL exports from SketchUp but it does obj. But it does export as stl as well. So today is play tidy all the things also see if slic3r can work. I think I know how to fix the emitter issue, and make the outside curve a little better but not really able to avoid mangling the flat sides of the hilts.


Leave a Comment

Filed under Uncategorized

Printing woes

Well after the excitement of getting the printer to be aligned properly I am now in the situation of trying to make sure my prints adhere to the plate. The best point for adhesion is the middle of the plate, and my experience was that curling happened on part of the file that was printed first, it may be that point of the plate or it may be that it cooled too fast between whatever the slicing chose. So I took each component and made them a separate file:

Okay so a couple of couple of doubles that should be able to print without interfering with the print head (one file is missing from this screenshot)

So that was open in SKU, copy, open new, paste- move to origins, save as.

And then I exported them all:

That was open in SKU, export with plugin, type filename, click window ticky box, close window.

And then exported as gcode:

This was opened in Cura, click export to removable drive. So the fastest of the steps!

Much of 3D printing is this process. I think my horns will be easier as they are organic and I’m much less worried about fractions of millimeters shifting. But it will be a big project!

Leave a Comment

Filed under Uncategorized

Woot

Hilts are go for printing, tested in 3Dhubsย for printability

Phew! The work yesterday was worth it ๐Ÿ™‚ I’ll do the greeblies first then the short then the long hilts ๐Ÿ™‚

Leave a Comment

Filed under Uncategorized

Ahsoka progress

I had left the hilts and greeblies looking good ๐Ÿ™‚ But then… today as I was arranging all the parts on a stand in plate… well I found that I needed to cut one hilt section in half, and also find an emitter end cap.

But this is how it all looks now so it should be good ๐Ÿ™‚ Okay I know it’s good as I error checked and used Cura ๐Ÿ™‚


If you look closely I’m printing at draft quality because I don’t really want to have my printer going for a week. I just don’t trust power/machine combos atmย ever ๐Ÿ™‚

But it’s really not that bad as I can just sand and acetone wash as planned. So it shouldn’t be extra effort to save a little filament and a lot of time ๐Ÿ™‚


It looks like I only have photos of the previous sets of hilts over here. Yes. I had to rebuild my hilts from scratch as bending the hilts slightly early lead to something being off by about 1mm over the whole length. I managed to do so in a much shorter time frame but… it was still a lot of work. So to find the hilts still needed work today… ugh.

But, yes, all in parts.

I believe this is actually of my final set ๐Ÿ™‚ The emitter got lost so I have put it back in the file here (with all the pieces nested) and in the file at the top (all parts in areas about the size of the plate of my printer) and are in the three files for each print job.

I used LIPID object exporter plugin for Sketchup and opened them in Cura to make sure they were all aligned correctly.

I do really enjoy this. Well most of it. Once the order is sorted and I don’t have to work in the air as such.


Leave a Comment

Filed under Uncategorized

Ahsoka progress and plans

It takes 10,000 hours to master something? Maybe an exaggeration but it is many many hours of making good progress and then bad and then good, and then even worse…

But I have hilts actually curved and tidied fairly reasonably.

I have so many in progress images but none of this particular set. Anyway. Tadah!

Leave a Comment

Filed under Uncategorized

Ahsoka hilt madness

As in the so called definition of madness. Yes I spent a lot of time yesterday trying to do something expecting it to work. In part because the tutortial I used did not really make full use of SKUs component and group features.

I want to make my hilt fool proof for printing and so I’m dividing them up into shorter sections to print only so high- they are hollow so too tall and there is the risk they will skew. This has to do with Z axis (though my machine has a steel frame- less of an issue unless there is a flaw) and cooling/heating issues. I have a heated plate so that is good.

Anyway. to make a slice. Make a square on the green axis make it a component. And then you can merrily place it through your model and it won’t move anything. Then select everything, explode curves, and intersect selection. Then you have the slices in place.

But keep them all as separate pieces before then.

On the right is me using the guide and this shape stretched some interior planes. No idea why. But I didn’t notice until I have all my hilts divided and ready for adding internal support for snapping the pieces together.

So….. I know now. I have had practice now and it means I should., should, be able to do the last tidying of proportions today.

I have been working to the limits of the resolution my printer can manage (apparently 100microns, 0.1mm) but I need to test my machine. PLA at 0.2mm is a bit chunky. I have seen how fine 0.1mm looks on the standard owl model but I don’t know it if was PLA or ABS.

I now have 1.75mm ABS so can test the machine again. And at 0.1mm

I want to make it easier so I’m trying to round all my measurements to full mm so that’s what I’m doing today. Except for anything to do with the emitter. Though I guess I do now know how to cut through a little more easily…

Oh man. What took a couple of days to get “mostly done” for a solid print is taking ages because I want a fancy one that can hold a blade.

Leave a Comment

Filed under Uncategorized

Scaling funtimes

I’ve taken the concept art of Ahsoka and scaled her to my height- so 168cm from heel to top of head- so I cropped the montral off and the heels of the boots.

And I have checked head height is accurate, height from waist to should is right..

Her “big” lightsaber hilt winds upย 34cm long! And yeah in the concept you can see it goes from about hip crease to above the knee.

It just feels very weird!

I’m going to check the scale on the figure because I don’t think they follow that proportion. The figure is about 125mm from heel to crown.

X/168= 21/125

X= 28.224

Hmmm. I wonder if I should just say 30cm/12″? I know one person has gone for 12″ and it does seem to be the middle ground.

I grabbed these images as screencaps, her arm and saber are approximately on the same angle, mirrored, and then in line:

ahsokascalereย ahsokascalere2

I used a line tool for the length of the light saber then copied to a new layer and altered the angle to follow the arm.

In both cases they line up.

And that is as close to 30cm on me as can be fairly judged.

To note, the saber is curved, quite definitely so, but I have printed out and used my ruler to compare length from top to bottom along the surface and at right angle to the top. It’s very similar.

So, now that I have a dimension I am happy with I can actually start work in Sketchup!

Leave a Comment

Filed under Uncategorized

Health update

In my last post I mentioned, almost offhand, I make while I can still make.

I’m having this tested somewhat as the fatigue that has dogged me for so long returns after a short few weeks.

I am sort of okay with this. I know what to expect, I know I can pace things out, to make sure I have a little something for each day, but it’s obviously an unavoidable halt and that is a challenge in many ways. Not least of all the feeling and dread of the most likely what ifs.

What ifs are difficult, but when you already have experienced so little support while trying to continue through them is very difficult. I don’t need someone to talk to, I’ll need someone toย do things for me. I’ll also have to just sleep. For a few days at a time. I don’t mean nap, I mean sleep for 48 hours or so. Not watching tv, not playing games, not resting. Sleeping.

I’m a bit like my camera. The battery says there is 25% left, which should be enough to get through the day. But my camera turns off at this point, I’m still not sure why- maybe the process of writing files could be interrupted and corrupt the card?ย Whatever it is, it just stops.ย I am at that point now. I suspect if I try to stick out the day I’ll do damage but I keep thinking I have enough energy.

I did start to make horns in Sketchup. I am a whizz at some elements and not at others (mainly getting things to work in different planes) but I think I can genuinely get this and sculptris to do what I need ๐Ÿ™‚

Comments Off on Health update

Filed under Uncategorized